
Jiminy Cricket! There’s something kinda sweet about taking one of children’s favorite cookies and creating a lovable character with them. These Nilla Wafer Pinocchio cookies are so simple, so fun, and oh-so adorable. But I think the best part is the pretzel nose. How big of a lie did Pinocchio tell? Only the nose knows.
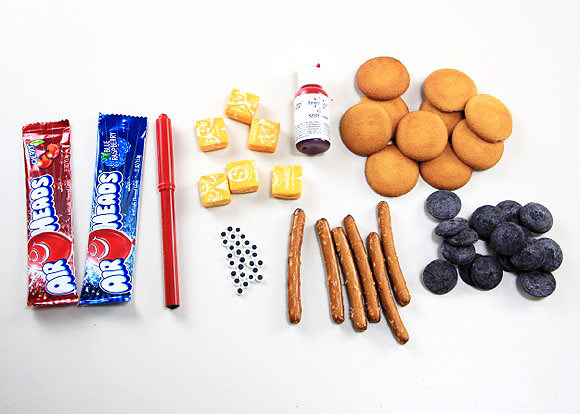
Ingredients
- Nilla Wafer cookies
- Stick pretzels (I used larger “dipping sticks”)
- Black candy melts
- Pink food coloring
- Icing eyes (found in most hobby & craft stores)
- Red food coloring marker
- Yellow Starburst candies
- Red and blue Airhead candies
Step 1
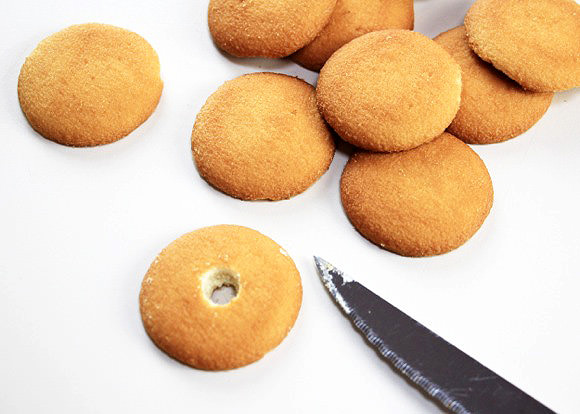
Make holes in the Nilla Wafer cookies with a sharp, pointed knife. I started by twisting the cookie in a circle with the point of the knife in the center. Be sure your holes are large enough to fit your pretzel noses.
Step 2
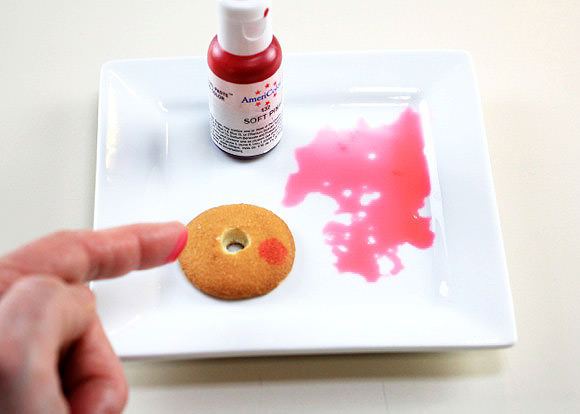
Dilute some pink food coloring with water. Dip the tip of your finger into the food coloring and dab it on both sides of the cookie to make Pinocchio’s rosy cheeks.
Step 3
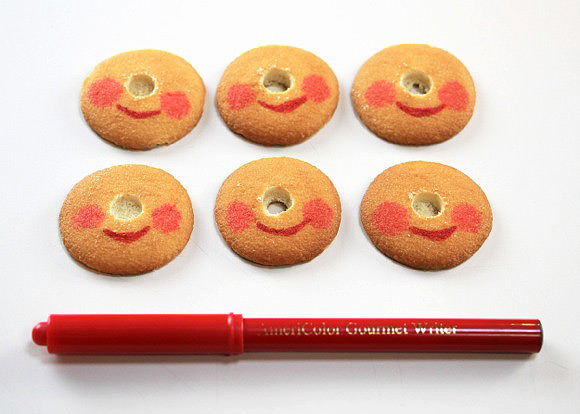
Draw the mouths onto the cookies using a red food coloring marker.
Step 4
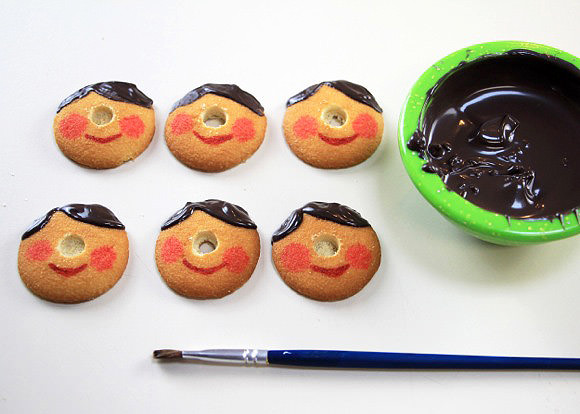
Melt 2 or 3 ounces of black candy melts in the microwave. Using a food-safe paint brush, paint the candy melt hair on Pinocchio’s head.
Step 5
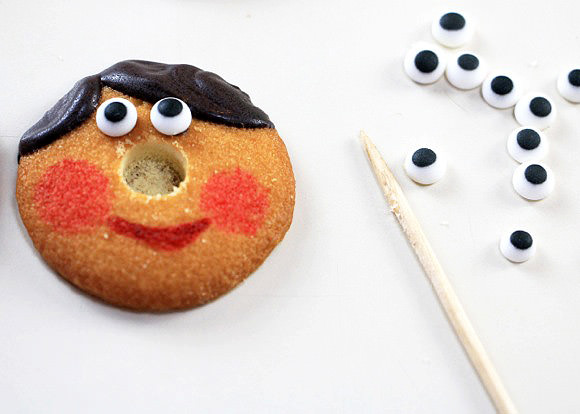
Attach the icing eyes using just a dab of the candy melt on a toothpick.
Step 6
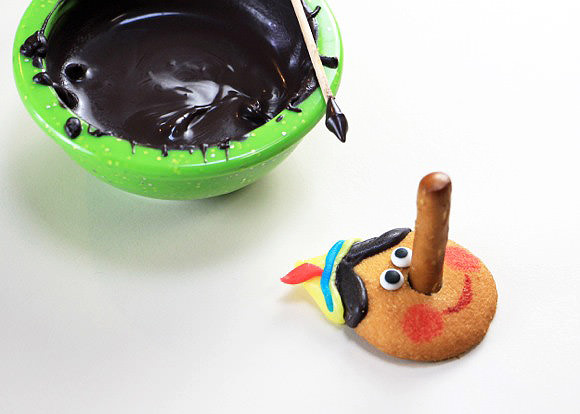
Cut your pretzel noses to the various sizes you prefer. Dip the bottoms into the candy melt and insert them into the cookie holes. Allow them to cool and set in place.

Step 7
Make candy hats by cutting yellow Starburst triangles with a pair of scissors. Add a blue Airhead candy stripe and a red Airhead candy feather to each yellow hat. Attach the hats to the tops of the Pinocchio cookie heads with more of the candy melt.
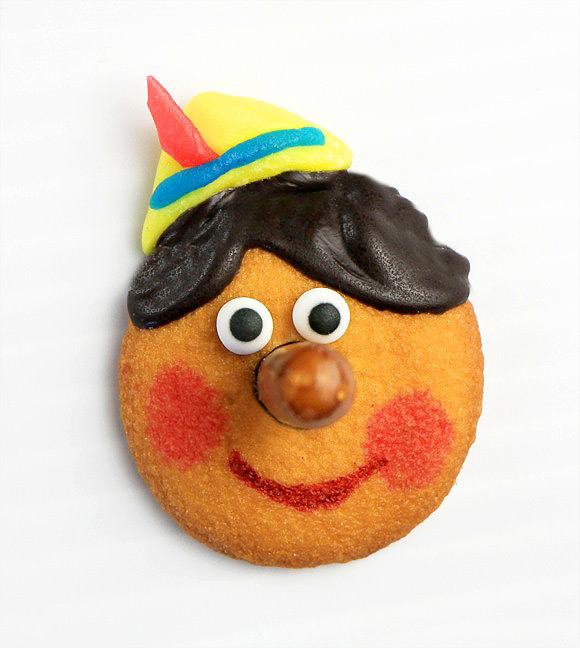
You’ve created a real Pinocchio cookie boy!
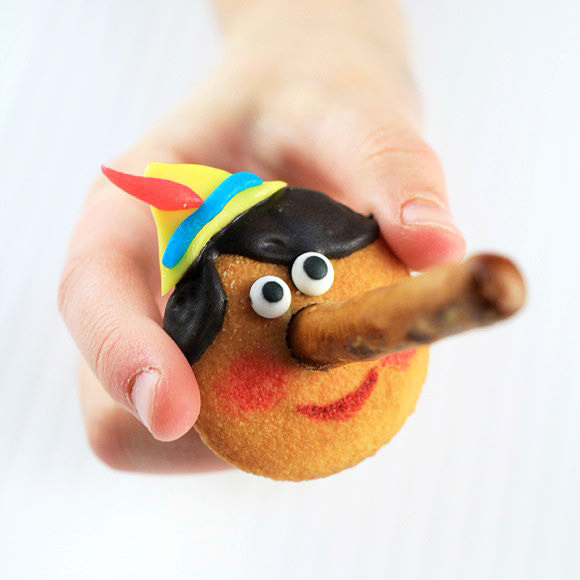
Enjoy!