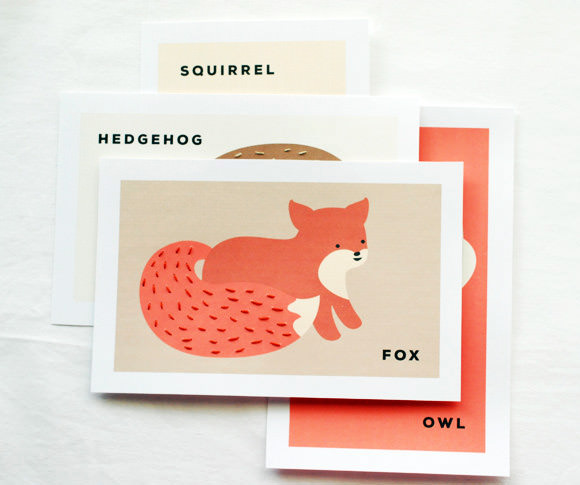
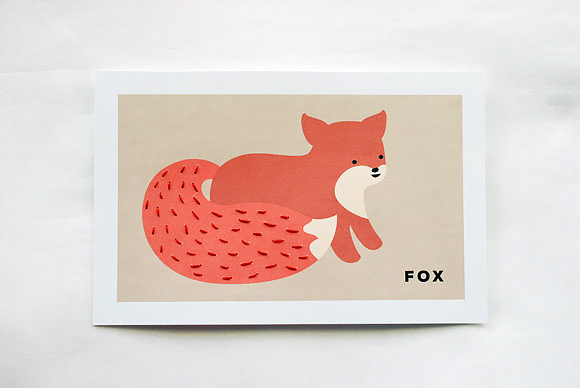
Sewing cards are tons of fun and provide great practice for kids and grown ups alike. Plus, you’ll love the look of the texture you end up with when adding fur and feathers to these flash card–style animal friends!
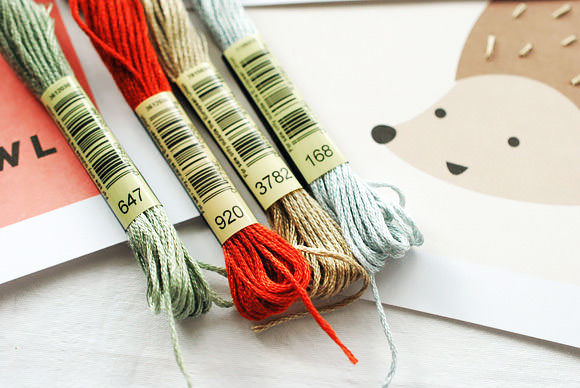
What You Need
- Printable Animal Stitching Cards (download here)
- Scissors
- Straight pin
- Needle
- Embroidery floss—I used DMC 647 (Owl), 920 (Fox), 3782 (Hedgehog), and 168 (Squirrel)

Step 1
Print the stitching cards onto card stock and cut them apart. Use a straight pin or a sharp needle to poke holes in the card stock at each end of the stitch marks on the animal you are working on. You can hold the card up as you go or place it on a folded towel or some corrugated cardboard.
Step 2
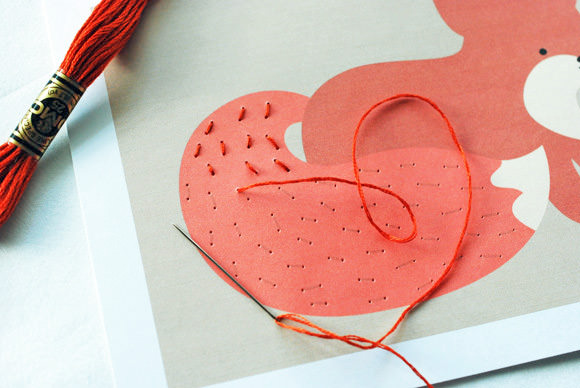
Cut a piece of embroidery floss in a color that matches the fur on your choice of animal and separate out three strands of the floss. Thread your needle and tie a knot at one end of the floss. Start stitching, making one straight stitch on each fur line.
Step 3
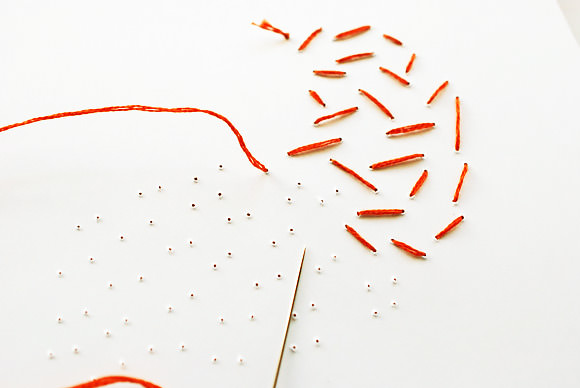
As you work, you’ll find that it helps to turn the card over when you are bringing the needle from back to front so that you don’t make extra holes. You’ll end up flipping the card back and forth with each stitch, but it’s worth it so you finish with a pretty card. This is also a great habit to be in when stitching other things…the back of your work is almost as important as the front!
Step 4
When you reach the end of your floss or have finished with a section, tie a knot in the floss so that it’s close to the back of your card.
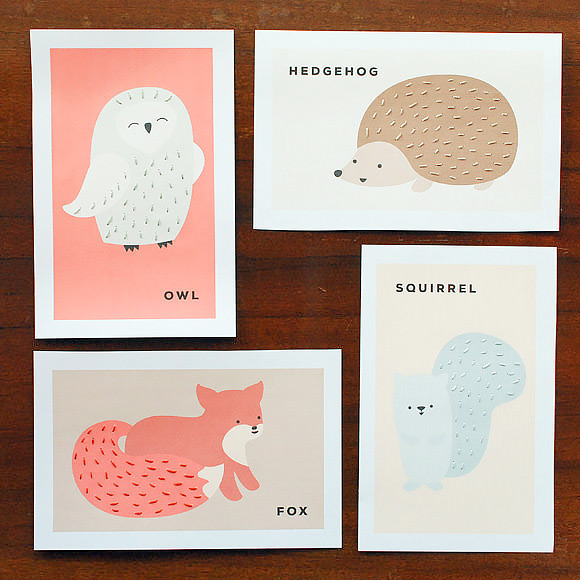
Stitch one animal or stitch them all! Whether you add thread to match their fur or give them some wildly colorful highlights, they’ll be fun to work on and they’ll look great hanging on your wall or refrigerator!
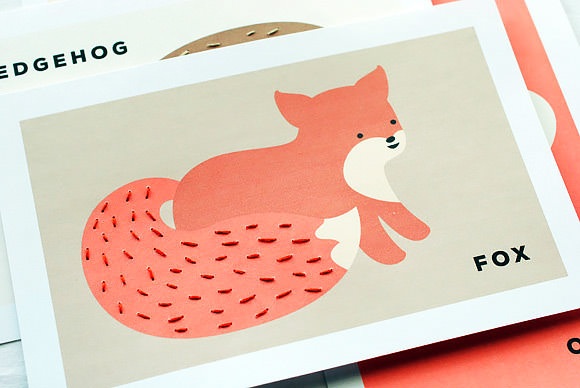
Happy crafting!