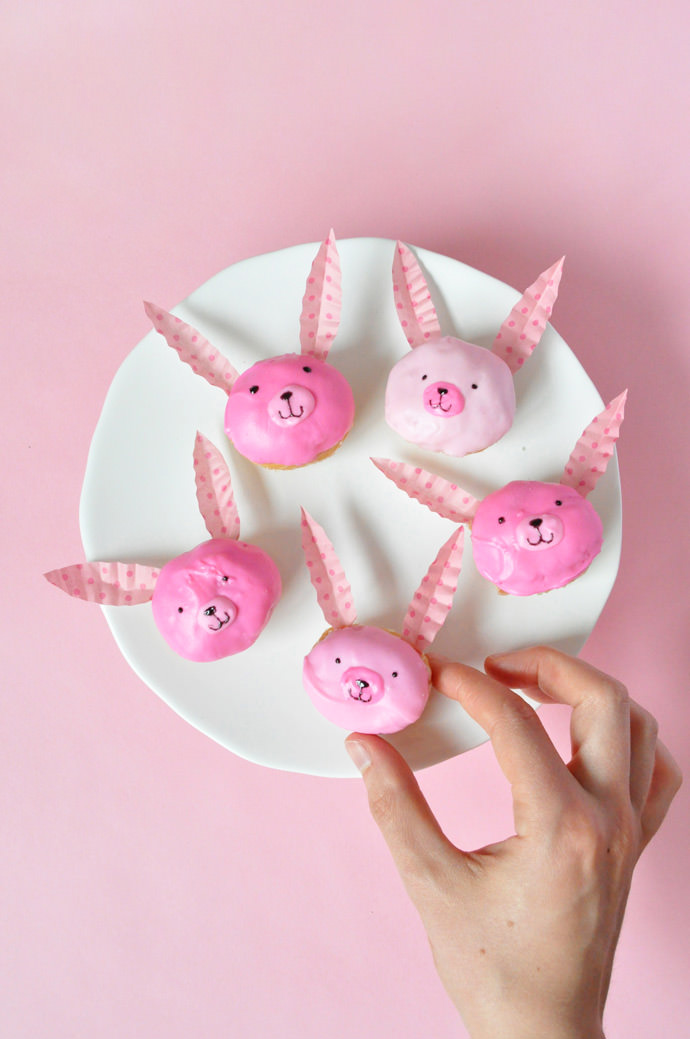
Public Service Announcement: bunnies aren’t just for Easter! I will admit to being a bit of a crazy bunny lady – we have two pet rabbits (Pancake and Pixie) and they are the sweetest pets you’ll ever meet. Usually bunny-themed projects are saved for Easter and spring, but I’m here to remind everyone that bunnies are adorable all year round. :)

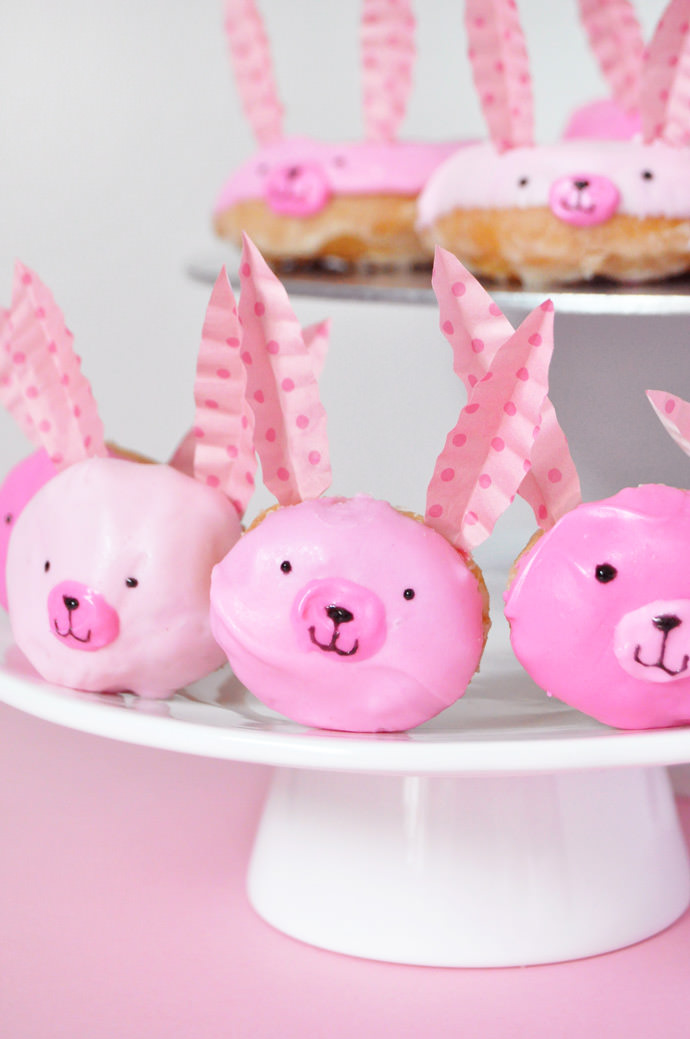
Decorating donuts to look like cute rabbits couldn’t be easier! I used store-bought donuts and donut holes, so I didn’t even have to turn my oven on. I especially love how the donut holes turned out – they’d be adorable as fancy cupcake toppers too!
What You Need

- Spoon
- Bowl
- Donuts and donut holes
- Scissors
- Muffin papers
- Black icing gel (and tooth picks)
- Pink chocolate melting wafers
How-To
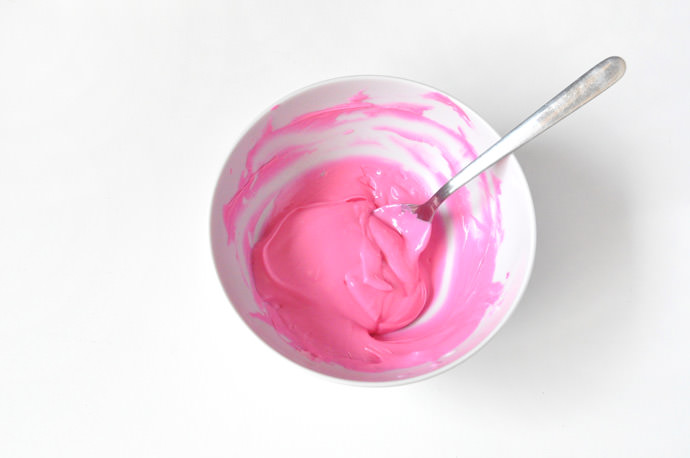
Step 1
Melt the chocolate wafers in the microwave 15 seconds at a time, stirring after each time. For these bunnies, I melted pink and white separately and then mixed as I went for different shades of pink.
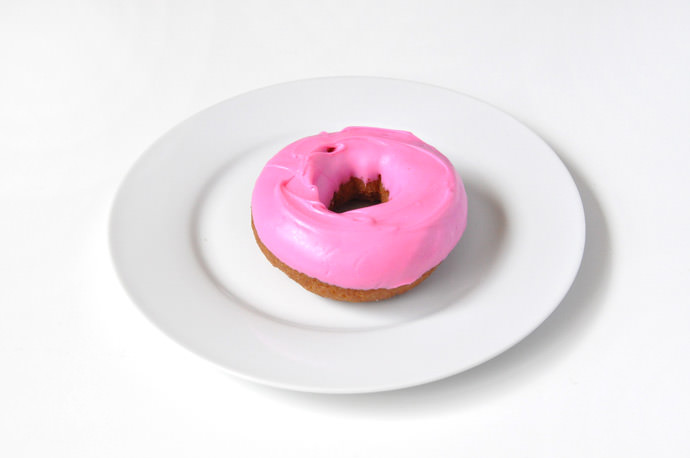
Step 2
Dip the donuts and donut holes into the melted chocolate and use a spoon to tidy up or smooth any messy blobs.
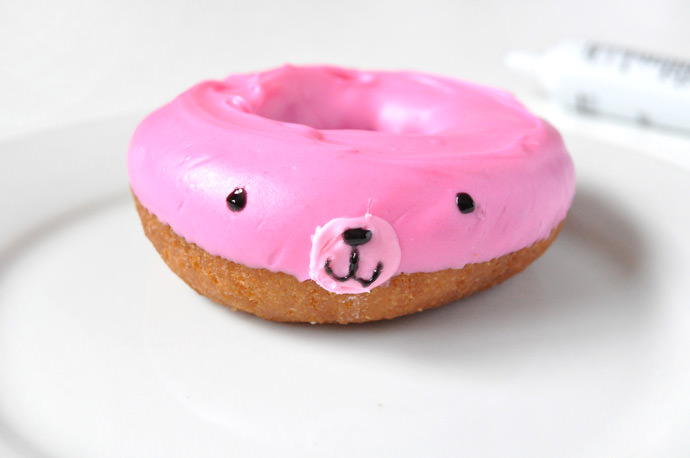
Step 3
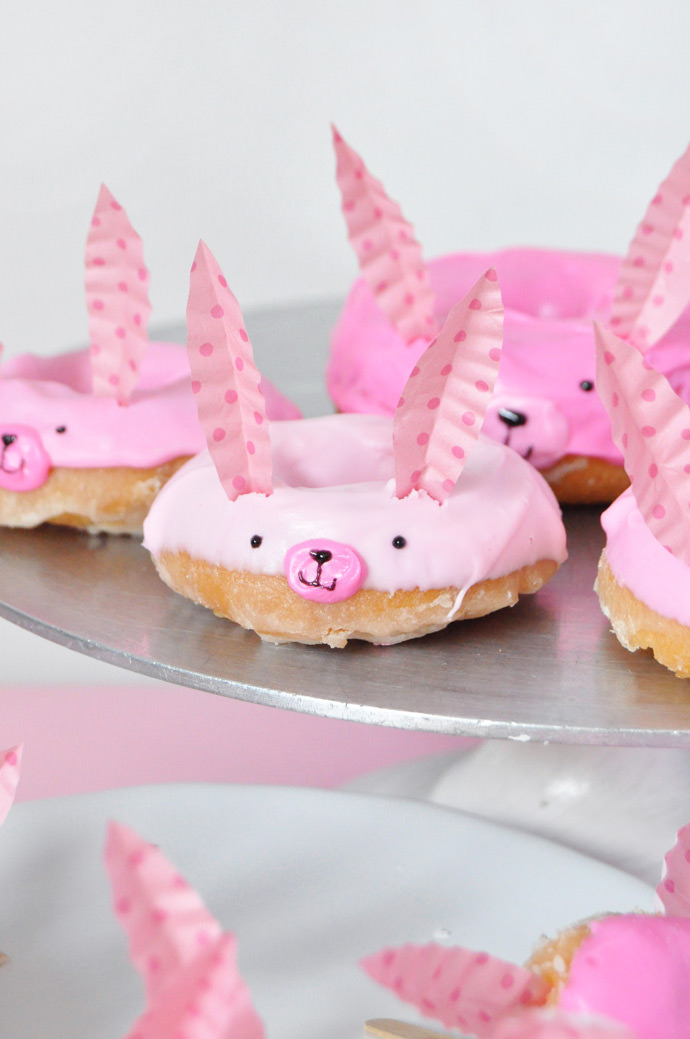
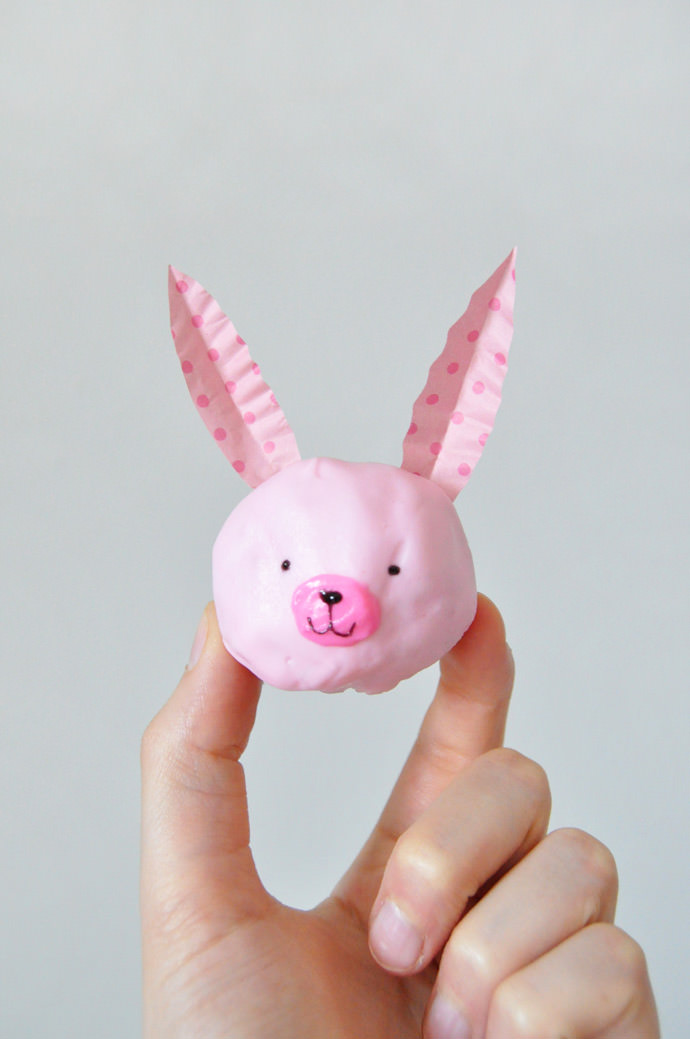
Use a contrasting pink to make a small circle for the bunny’s mouth and nose area. Let dry and then use the black icing gel (and a toothpick) to draw on a nose and mouth, and then eyes.
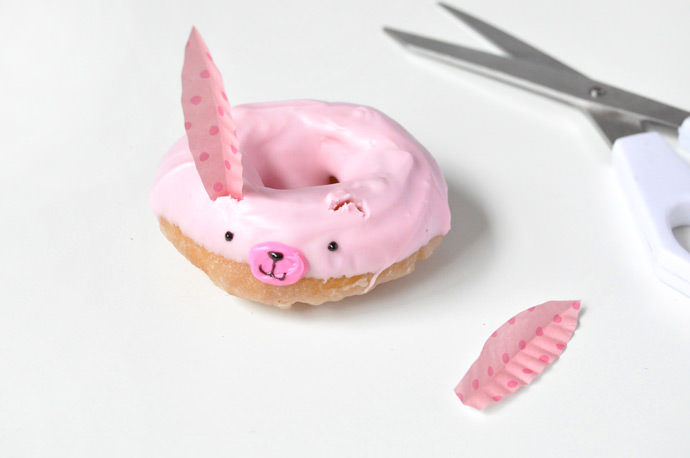
Step 4
Cut muffin papers into ears about 1” tall, creasing them down the center to help them stand up better. Use a toothpick to make a little slot in the icing and insert the ears. (I love the way Jodi Levine made these bunnies so I borrowed this technique from her tutorial.)
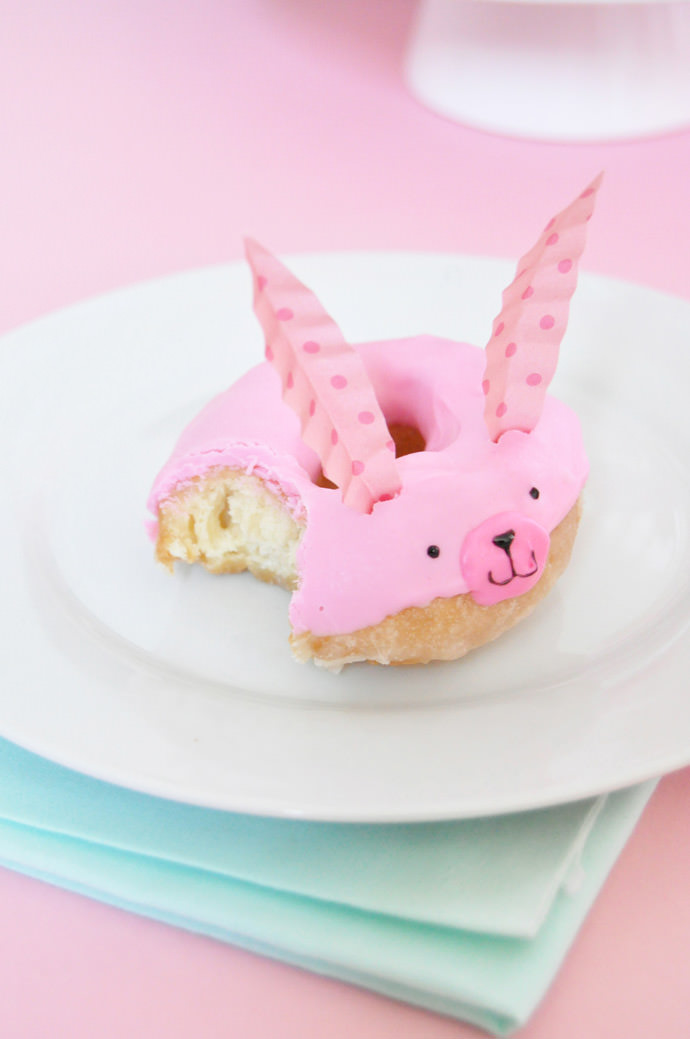
Bon appetit! :)