Watch the video tutorial below or scroll down to view the instructions.[adthrive-in-post-video-player video-id=”mbACwKmE” upload-date=”2020-04-23T20:29:24.000Z” name=”Candy Bar Pups Recipe and Tutorial” description=”A super easy treat that’s almost too cute to eat!” player-type=”default” override-embed=”default”]
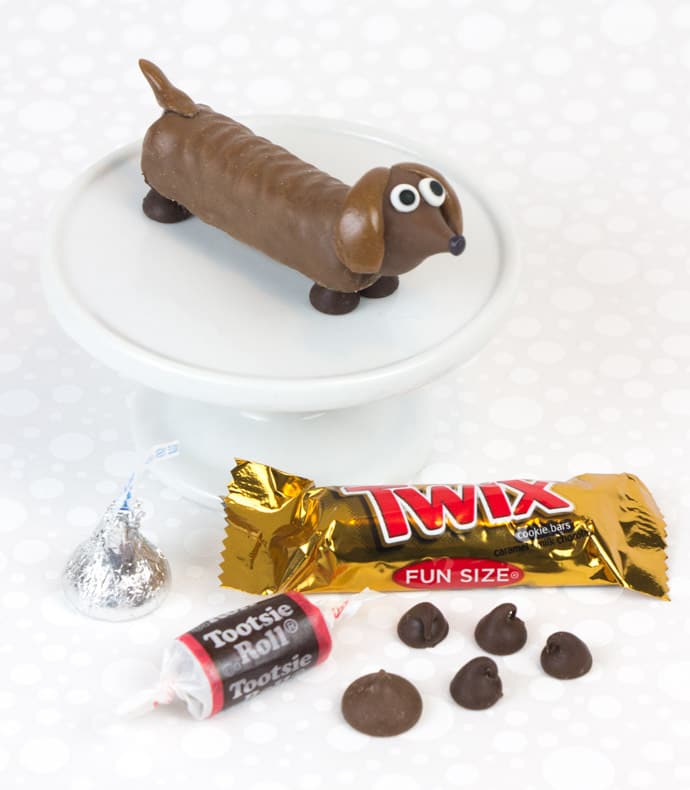
These candy canines are so doggone cute, I had a hard time giving them away! I surprised my daughter’s second-grade class with a great big litter of these chocolate dogs on the last day of school. The kids just loved guessing all the different types of candies that were used to make them – Twix candy bars, Hershey’s Kisses, Tootsie Rolls and chocolate chips.

They might appear a little time consuming, but they’re not really. I found that an “assembly line” method worked best. Have all of your candy unwrapped and make your Tootsie Roll tails and ears before you are ready to attach everything with the candy melt.
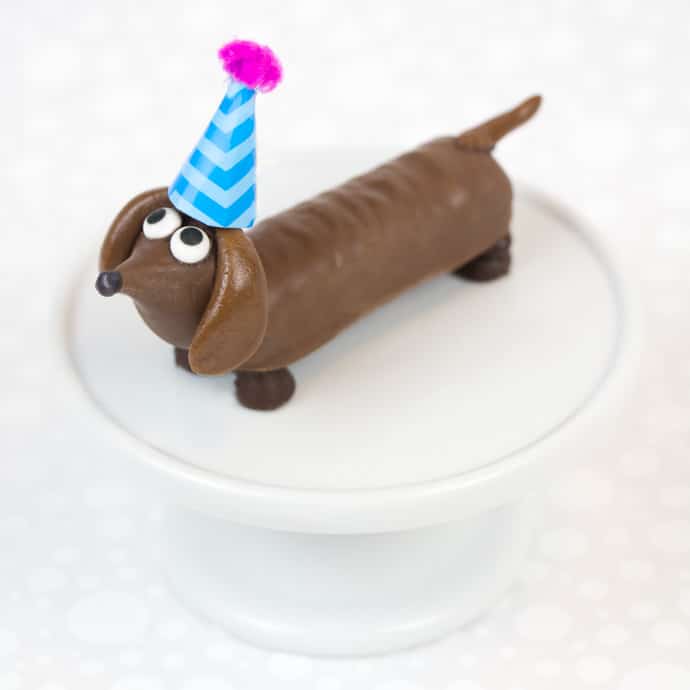
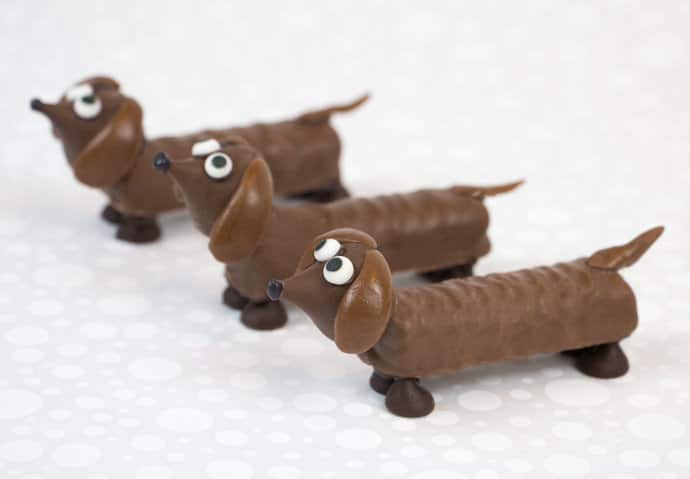
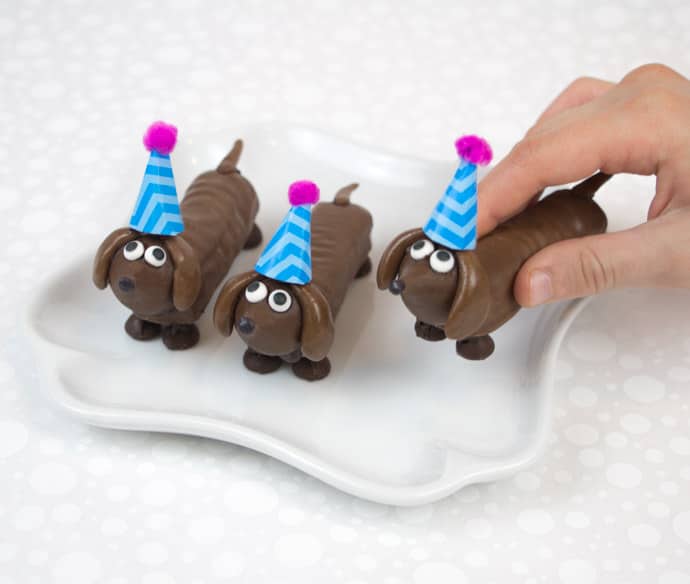
I love how their sweet puppy-dog eyes look up at you as if to say “Don’t eat me. I’m too cute.” Unfortunately, they are delicious. As if they weren’t adorable enough, I decided to add some tiny party hats to a few of them. They would come in Best-of-Show at any dog-themed party, for sure.
For this recipe, I used the smaller, fun size Twix bars. But now that I think about it, they would be pretty hilarious if you used the full-size Twix bars, making extra-long wiener dogs!
What You Need
Makes 12 chocolate dogs, approximate preparation time: 1 hour
- 12 small Twix candy bars
- 6 small Tootsie Rolls
- 12 Hershey’s Kisses
- 12 mini Hershey’s Kisses (found in the baking aisle)
- 48 chocolate chips
- 24 icing eyes (found at most baking or hobby and craft stores)
- ¼ cup chocolate candy melt wafers
- 3 or 4 black candy melt wafers
- Small plastic squeeze bottle
How-To
Step 1
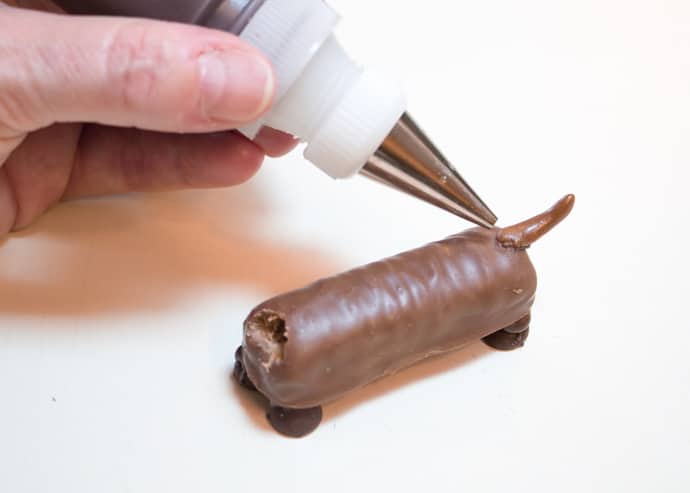
To make the dog bodies, start by carving holes at the front of your Twix candy bars. (This is where the heads will connect.) Tear off tiny pieces of Tootsie Roll and roll to form the tails. Melt the chocolate candy melt wafers in a microwave for 30-second intervals, stirring until smooth. Pour into a small squeeze bottle. Attach the tails to the back ends of the Twix bars with a dab of candy melt. Squeeze four dollops of candy melt to the bottom corners of the Twix bars, and attach the chocolate chips for the legs. Set aside, letting everything cool and harden.
Step 2
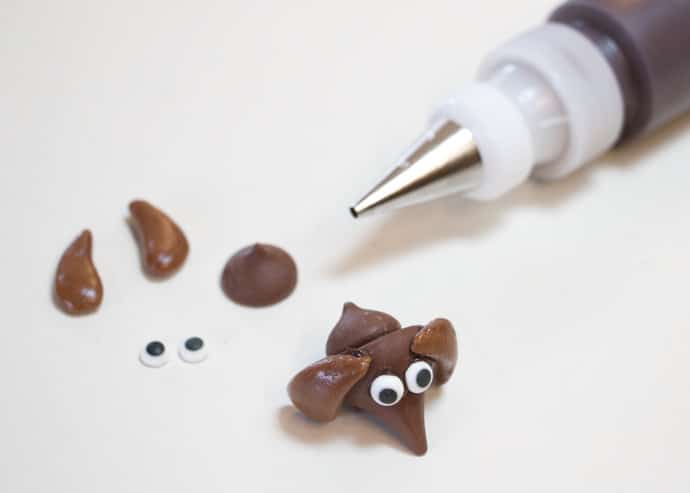
To make the dog heads, start by forming the ears with small pieces of Tootsie Roll. Attach the ears to the sides of the Hersey’s Kisses with dabs of candy melt. Attach the icing eyes with more candy melt. Then, attach the mini Hershey’s Kisses to the backs of the heads with more candy melt. (This will become the dog’s neck.) Allow the heads to cool and harden.
Step 3
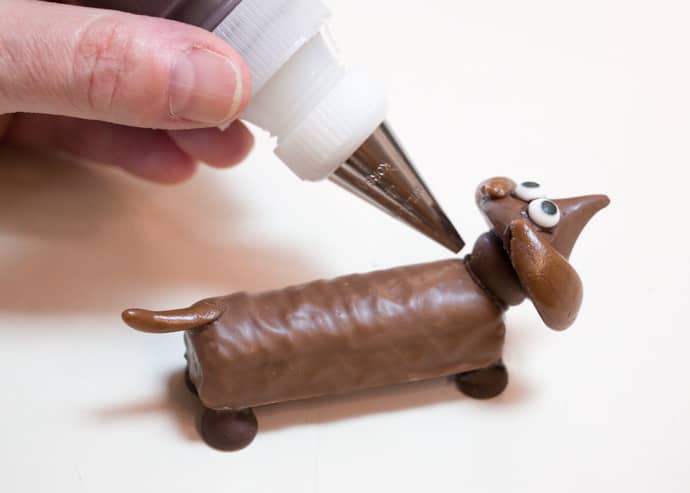
To attach the heads to the bodies, squeeze candy melt into the carved holes on the fronts of the Twix bars. Insert the mini Hershey’s Kisses into the holes and allow them to cool and harden. You may have to hold the heads in place for few seconds while they cool and harden.
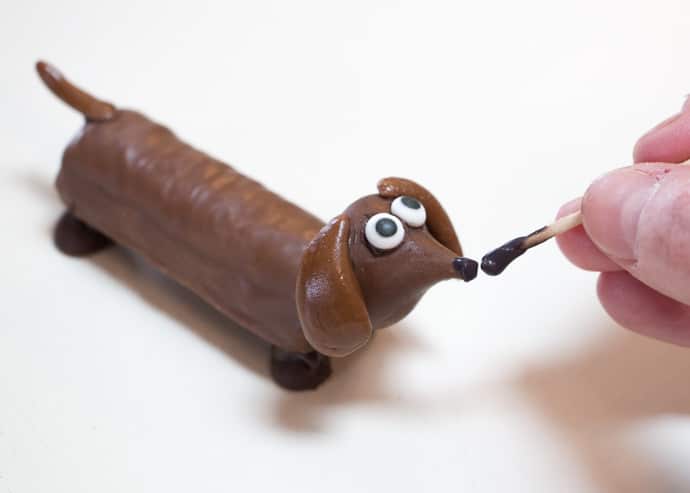
Step 4
Melt 3-4 black candy melt wafers in the microwave. Using a toothpick, dab the candy melt onto the tip of the Hershey’s Kisses to make the dog’s nose.
Step 5
If desired, add some paper party hats!
Chocolate dogs will keep at room temperature for 3-5 days or may be stored in a sealed food container for up to a month.