
When I was a kid, I had a sky-high stack of notebooks that I used for just about anything and everything under the sun. I had one for stickers, one for sketches and doodles, a few for class notes, etc. Today I thought it would be fun to combine all the millions of things that kids carry around notebooks for and create one pocket-sized pad of awesomeness.
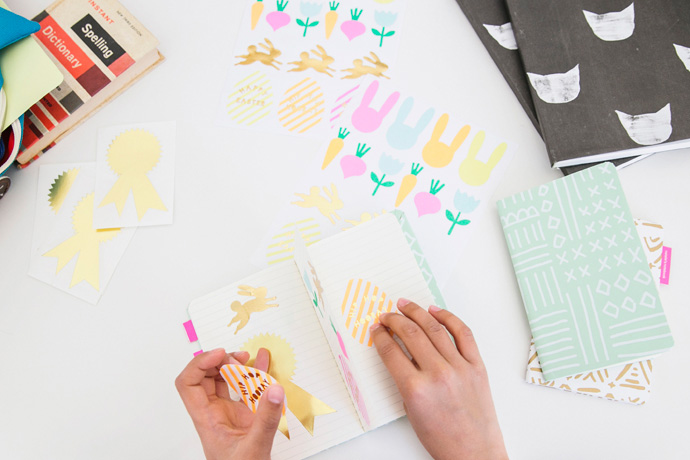
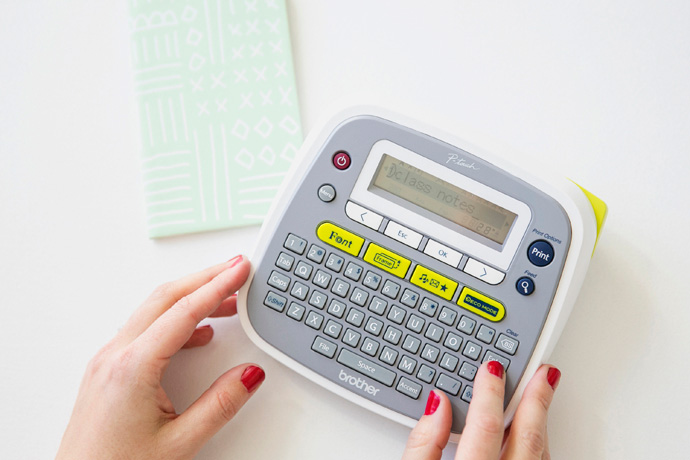
It’s really easy and much more organized than it may sound. With some help from the Brother P-touch PT-D200 Label Maker, you can whip up a multi-tab notebook perfect for tiny hands on-the-go. Create a section for notes, addresses, drawings, stickers, photos, movie ticket stubs – anything you can think of! Want to make your own? Here’s how!
What You Need
- Brother P-touch PT-D200 Label Maker
- Notebook
- Decorative Paper
- Scissors
- Glue Stick
How-To
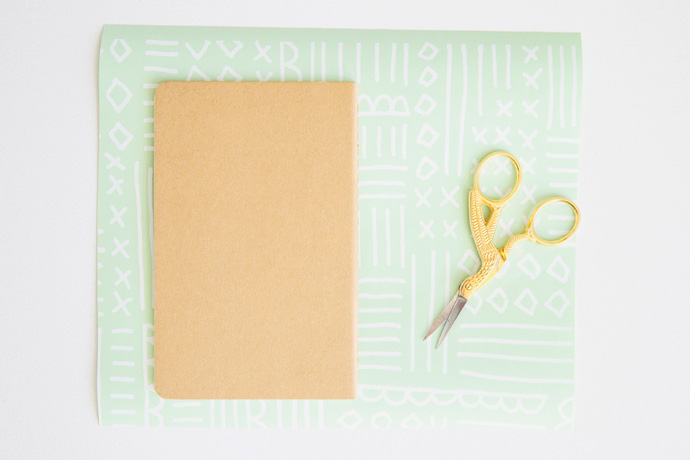
Step 1
Cut the decorative paper so that it is slightly more than twice the size of your notebook. I found it helpful to wrap the paper around the notebook to test the size before making my final cuts. You’ll want about an inch of margin around the sides for wrapping the edges at the end.
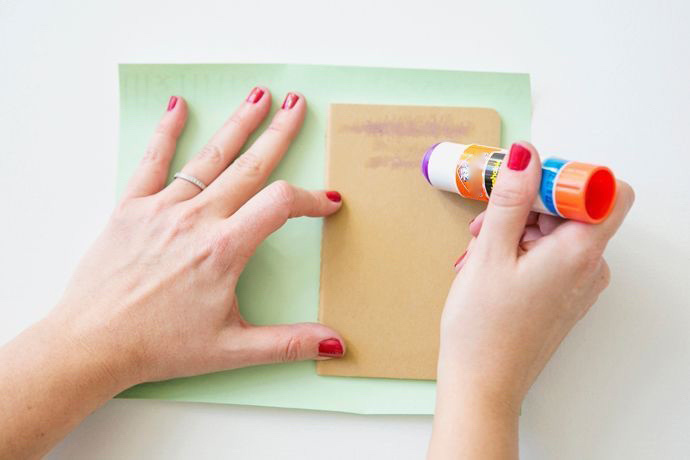
Step 2
Apply glue to the front of the notebook and press the glued side onto the left half of the paper. Flip the notebook over and smooth out the paper. Then, apply glue to the spine and back of the notebook. Adhere the paper to these sides by smoothing the paper down at the spine first and then smoothing down the back.
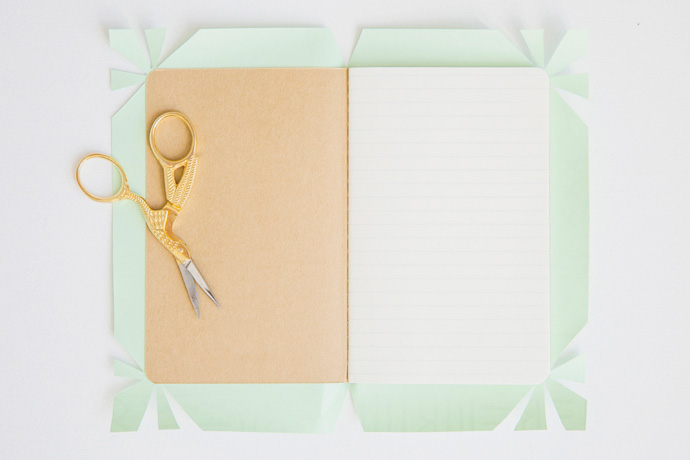
Step 3
To finish your notebook, one option is to cut the paper around the edge. Another option is to wrap the edge, which will make the cover extra durable. To wrap the edge, cut vented slits in the decorative paper at the spine and at the corners. Then glue. If your notebook happens to have rounded corners like mine does, cut multiple vents at the corner to achieve a curved wrap.
Step 4
For the finishing touch, create personalized tabs with your Brother label maker. The great thing about this guy is that it comes with so many features (including up to 2 lines of text). There are also lots of colored ribbons to choose from, so you can personalize your tabs any way you’d like. A neat little trick for creating notebook tabs is to add a carriage return after your text. With the text sitting on the first line and the second line blank, your label is now a perfect little tab.
Once you’ve printed your labels, cut the excess off with scissors.
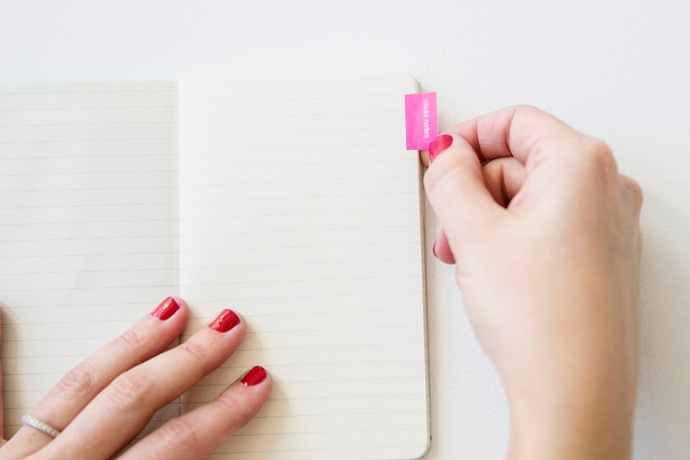

Step 5
Remove the backing and stick the label onto a page in your notebook. Then, take a blank label and stick it to the back of the first label. This will give you a nicely finished tab with smooth sides on both the front and back.
These little guys are so easy to make, you may find yourself making several at a time. Keep extras in the car to keep all passengers busy!

For more amazing Brother crafts, check out our boards on Pinterest here and here!
Photography by Heidi Geldhauser
Craft production assisted by Linda Jednaszewski
Art direction, styling, and concept by Brittni Mehlhoff
This post sponsored by Brother.