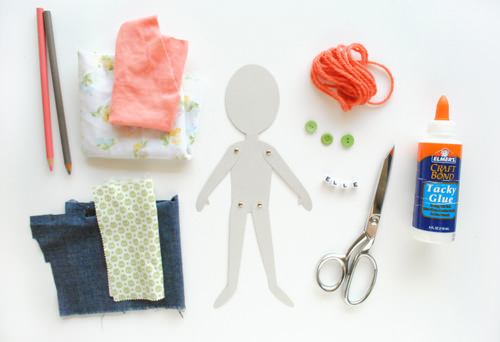
One of my absolute favorite crafters, Merrilee of Mer Mag, will be crafting for Handmade Charlotte this summer. Yay! This week she’ll be sharing her take on an old classic, paper dolls.
Hello friends! I’m thrilled to be working with Handmade Charlotte and can’t wait to share some of our favorite summer crafts as of late. Today we’re sharing with you a simple yet super fun articulated paper doll craft to create with your Littles (or paper “action figures” as my boys call them around here).
To start you will need to gather together an assortment of supplies that will help to create and customize your character.
Materials
- 8.5 x 11-inch card stock in various hues (have fun with it! think green monsters, blue mermaids, etc.)
- Hole punch (we used 1/8″ hole punch for ours)
- Small brads for securing appendages onto to character
- Glue
- Scissors
- Markers, pencils, etc. – whatever you want to use to bring your character to life
- An assortment of fabric, paper, yarn, buttons, etc. – whatever inspires you to adorn and accessorize your character
Instructions
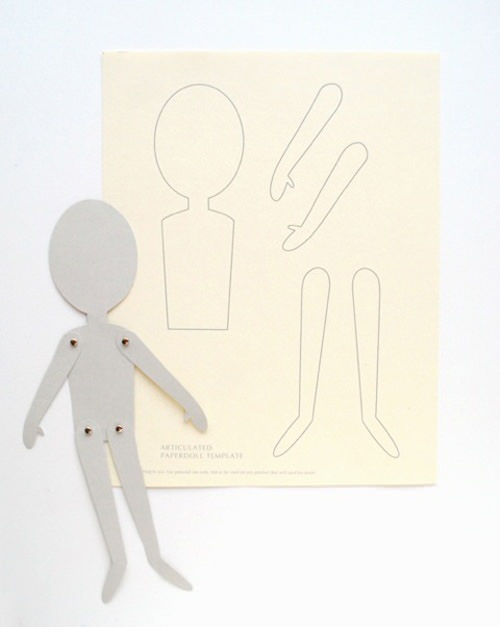
Download the template here and then print it out on an 8.5 x 11 stiff sheet of card stock. After cutting out the various parts you can then punch holes in the arms and shoulders as well as the legs and hips.Place appendages onto the body and fix in place with small brads.
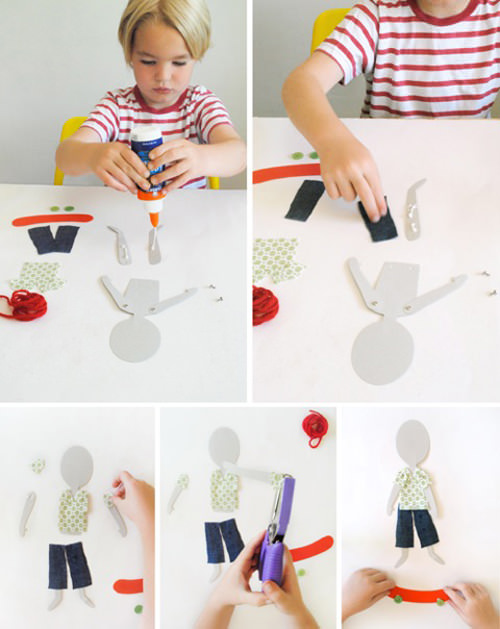
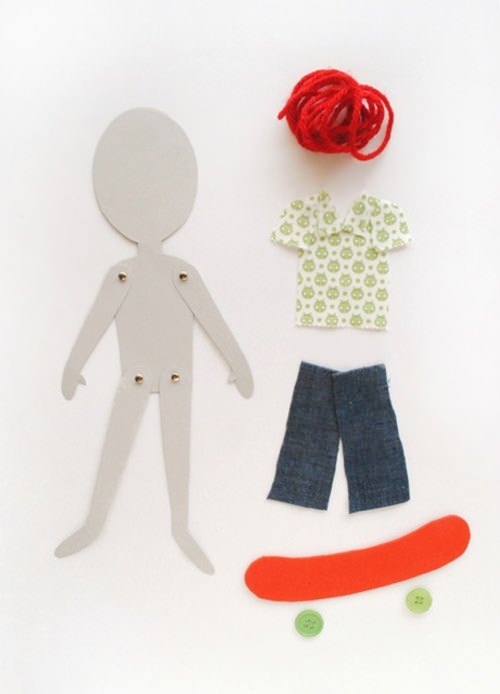
Now for the fun part. Gather your Littles together and play around with scraps of fabric, yarn, ribbon, etc. to decide just who or what you want your character to be. Feel free to add accessories and props such as this skate board. Have fun with it! The possibilities are endless.
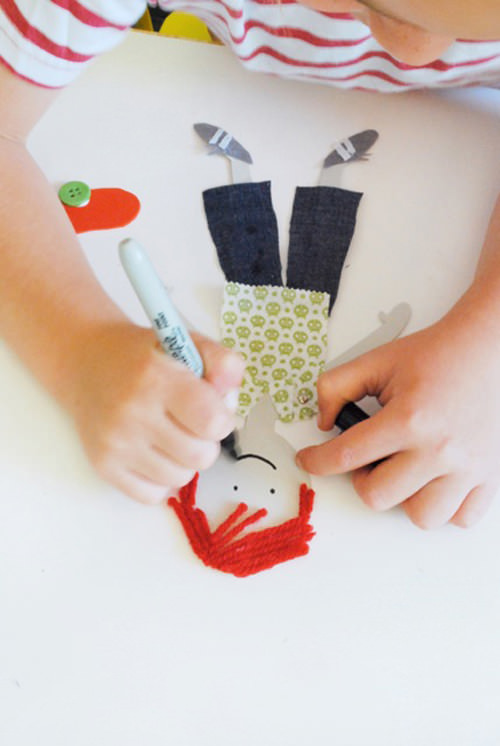
Once you have decided on and have cut out your characters attire you can start gluing the clothing on. We took the brads out for this part to make gluing and dressing our doll that much easier. Once the clothing is glued in place you’ll need to punch out holes from your clothing in the same places that you have the original holes. Once all the clothing is affixed and more or less dry, place the brads back in. Create and attach the hair (we used yarn for ours) and then draw on your face. Now sit back and enjoy your new articulated friend.
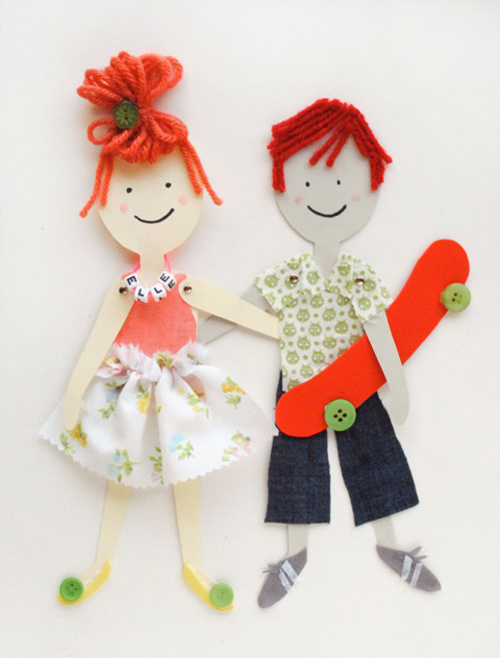
And that’s it! Once everything is dry and your character is complete, you are ready for hours of play (and perhaps a stop motion animation summer cap project for the kids!?). And don’t forget the make a number of friends to go along with your new paper friend such as our little dancing friend Elle, or Mr. Rodeo Clown and more!
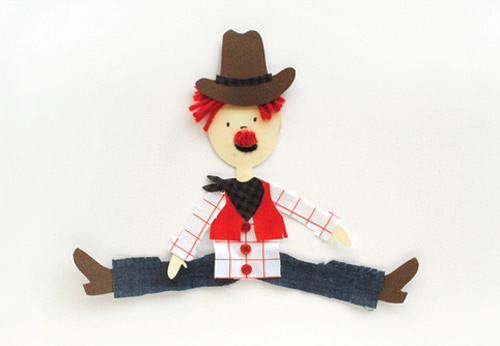
Costumed and favorite characters are a great way to go with this as well. The boys have put in an order for a pirate and Darth Vader. I have couple of mermaids on my list. Or better yet, make one to represent each member of your family! They’ll be a keepsake for years to come!