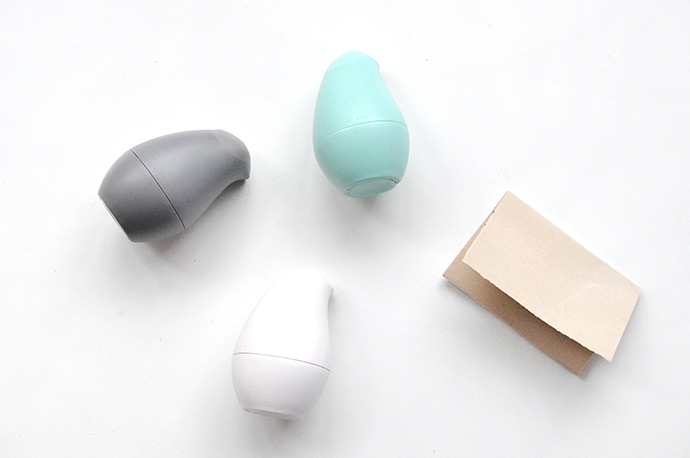
We’re huge fans of reducing, reusing, and recycling, so of course we love turning recycled materials into fun crafts. Today we’re partnering with OLIKA to spread the love for their adorable new hand sanitizer, Birdie! With a shape inspired by Scandinavian design, Birdie was named “the World’s Most Beautiful Hand Sanitizer” and we have to agree! Birdie is really one of a kind: not only is he filled with the cleaning power of hand sanitizer (including essential oils and aloe vera leaf juice!) but the base also houses dry wipes for capturing dirt, grime, and in our case, glitter.
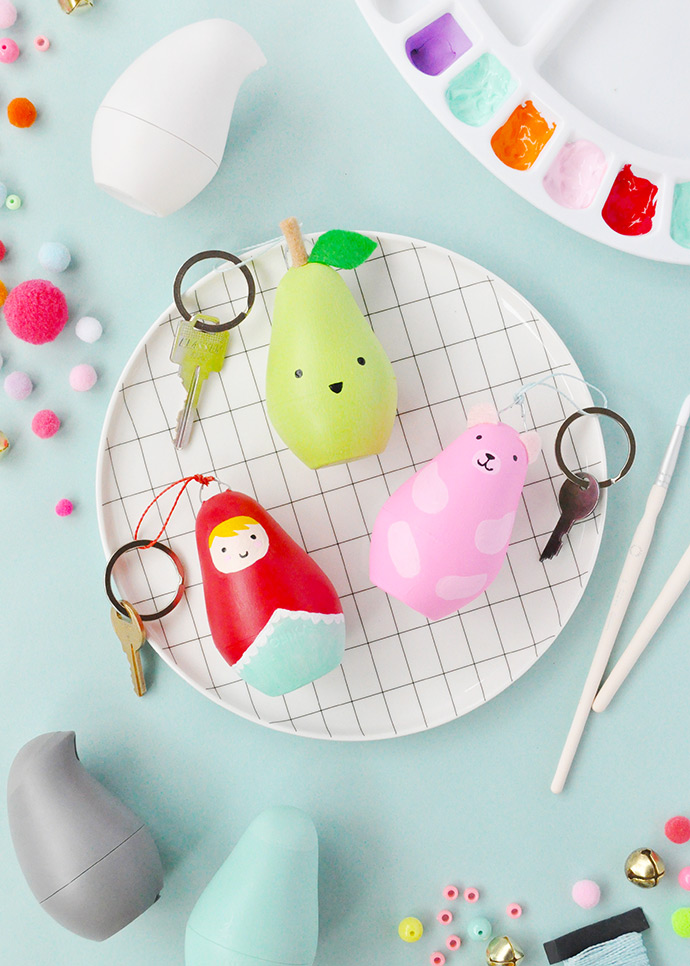
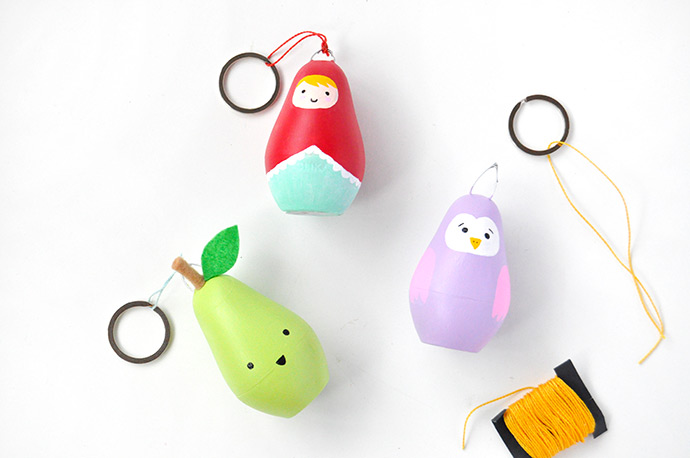
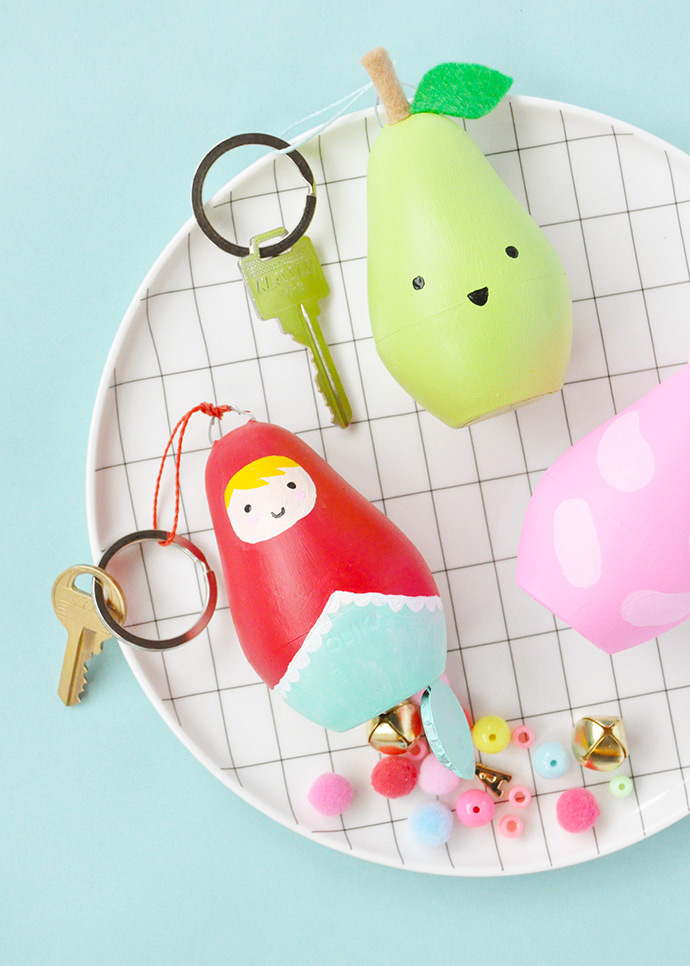
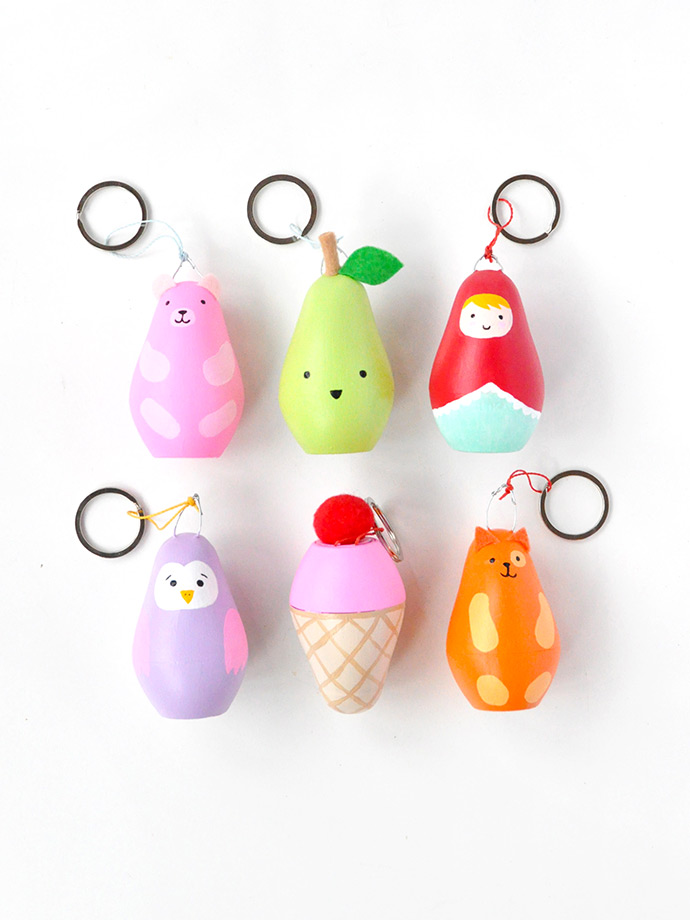
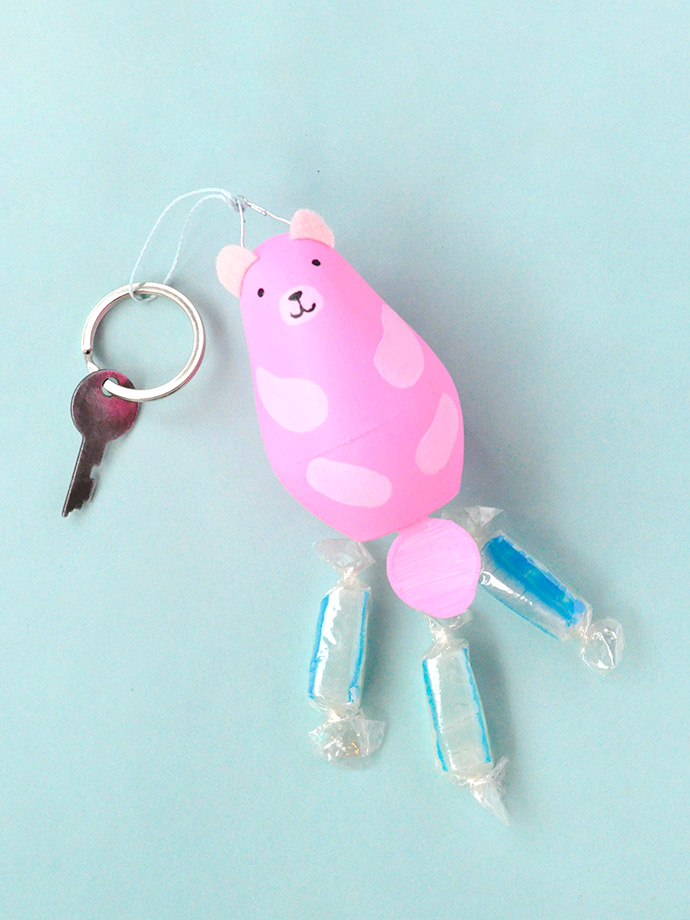
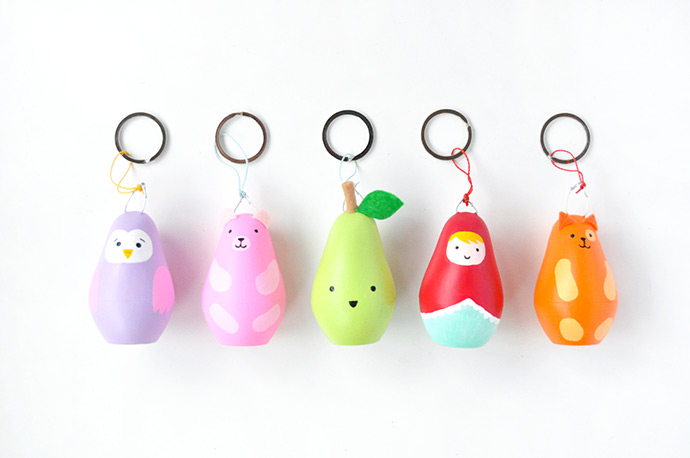
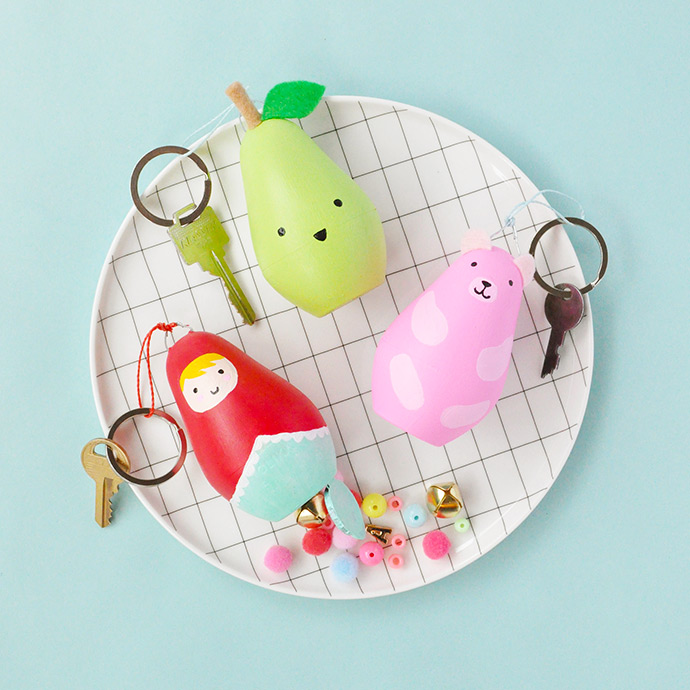
When Birdie is empty, turn him into a fun keychain to take along with you on your daily adventures! We turned ours into this fun crew of animals, treats, and a nesting doll. Plus, the now empty compartment in the base is the perfect spot to store your mini treasures! Pom poms, confetti, wrapped candies, beads, and bells, you’ll be ready for anything that comes your way. Keep reading to see exactly how to make your own Birdie keychains!
what you need:
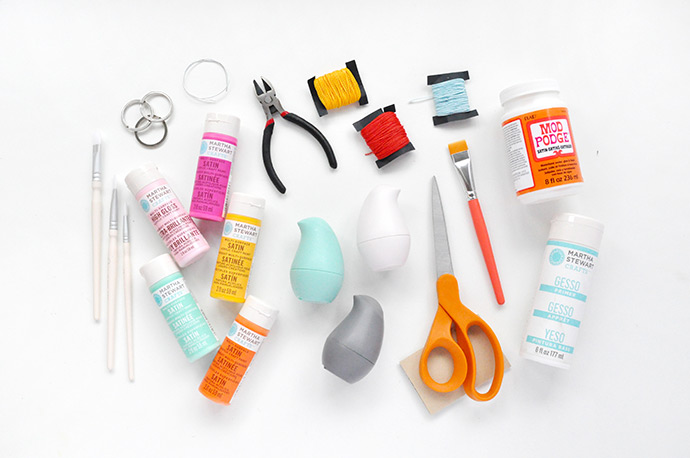
- Emptied Birdie
- Martha Stewart Multi-Surface Acrylic Craft Paint
- Martha Stewart Gesso Primer
- Mod Podge
- Brushes
- Scissors
- Fine-grit sandpaper
- Wire
- Wire cutters
- Key rings
- String or cord
- Pompoms and felt (optional)
- Hot glue gun (optional)
how-to:
Step 1
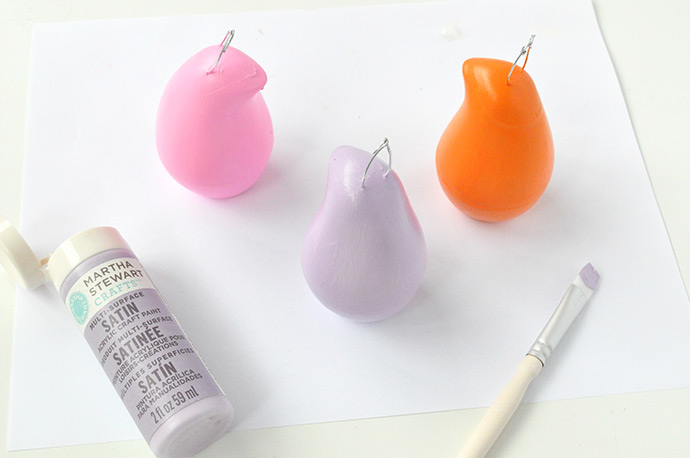
Give the outside of Birdie a quick sand with some fine-grit sandpaper and then wipe clean with a damp cloth. This will help the paint adhere better.
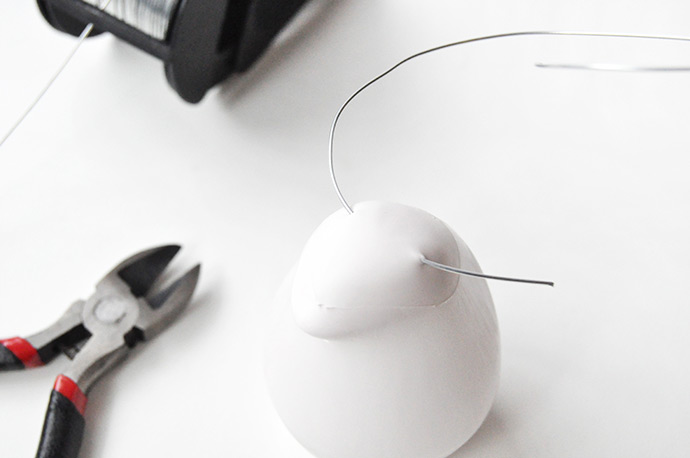
Step 2
Pierce a piece of wire through the rubber top of Birdie.
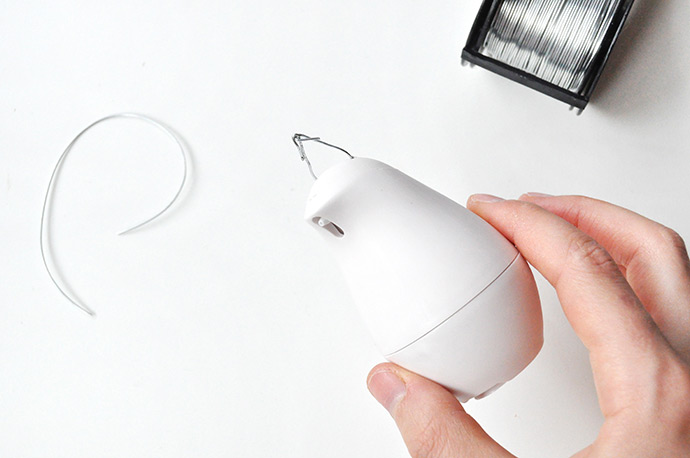
Step 3
Cut off any excess wire and then bend the wire to form a loop. Depending on your wire, you may be able to do this with your fingers, but small needle nose pliers can help if you’re having trouble.
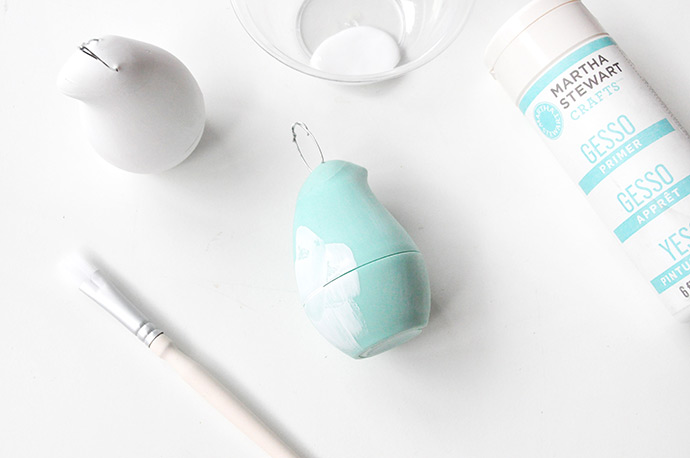
Step 4
Give Birdie a coat of gesso primer and let dry.
Step 5
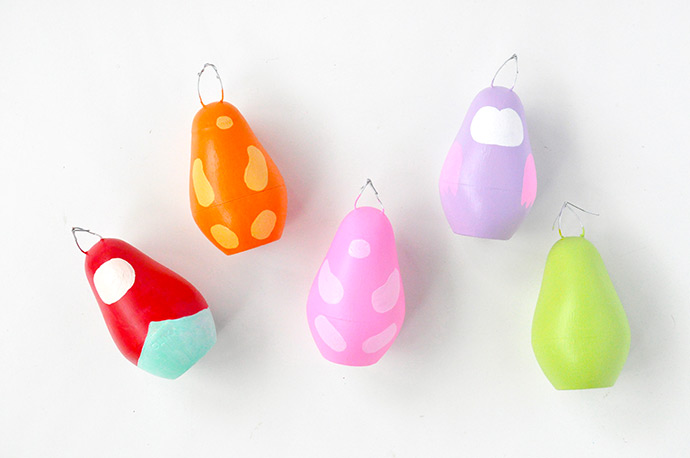
Time to paint Birdie! We used Martha Stewart Multi-Surface Acrylic Craft Paint because it’s formulated to adhere to plastic. Let dry.
Step 6
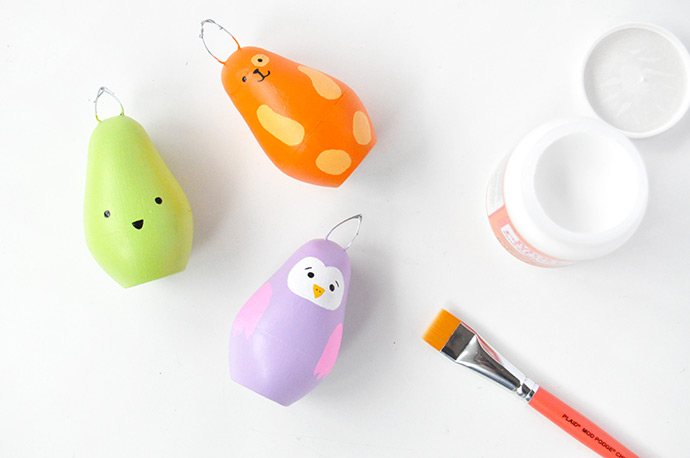
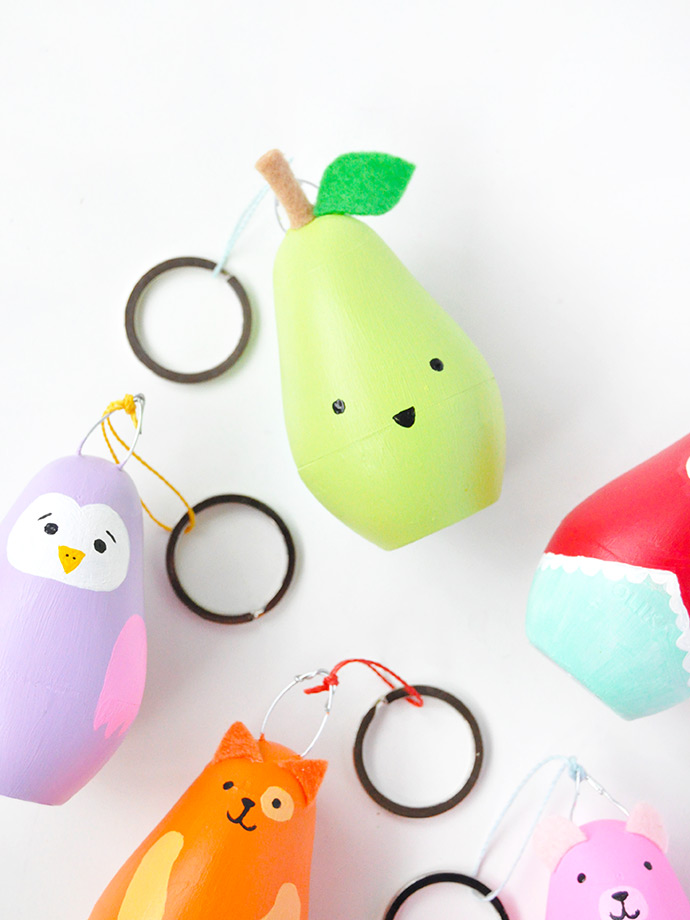
Add more details onto Birdie using different colored paints. For the owl, we added a face and wings, for the cat and bear we painted on arms, legs, and snout/eye patches, and for the Russian doll we added a face and contrasting scarf.

Step 7
Add the final details on – use a fine-tip brush for small face details and let dry. For the bear and cat, we left the ears off for now but you could paint those on now if you prefer!
Step 8
Once the paint is all dry, give each one a good coat of Mod Podge to seal everything in. Let dry.
Step 9
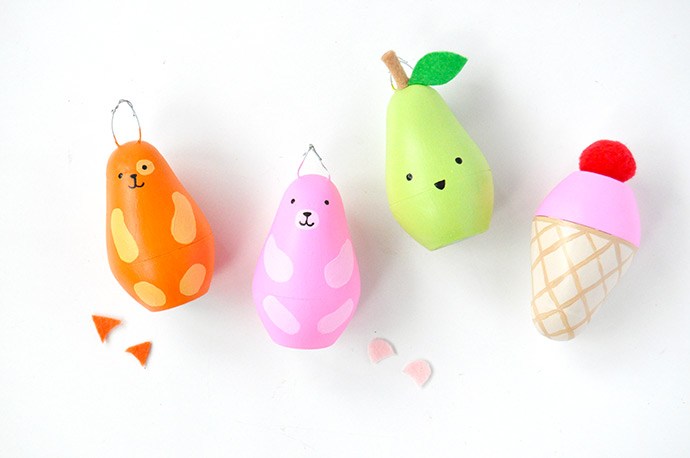
If you like, add on felt and pompom details with a hot glue gun. If you want to skip this step, feel free to paint on these details instead – there are no rules, so have fun with your designs!
Step 10
Thread a key ring onto a piece of cord and tie into a loop around the metal loop on top of Birdie.
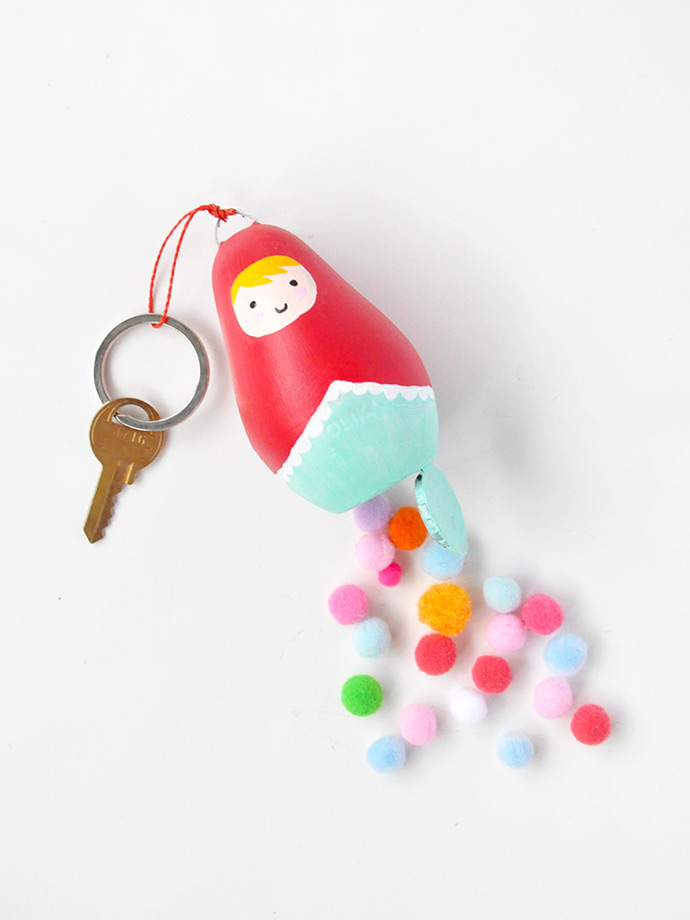
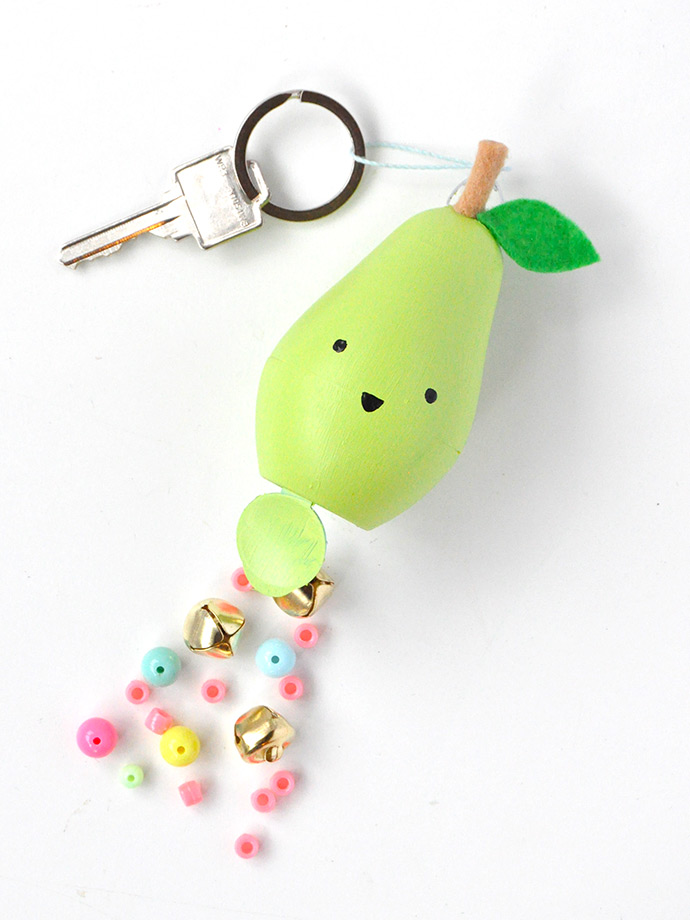
Don’t forget to fill your painted Birdie keychains with small treasures!! Pom pom confetti, wrapped candies, and colorful beads for crafting on-the-go!
This post is sponsored by OLIKA.