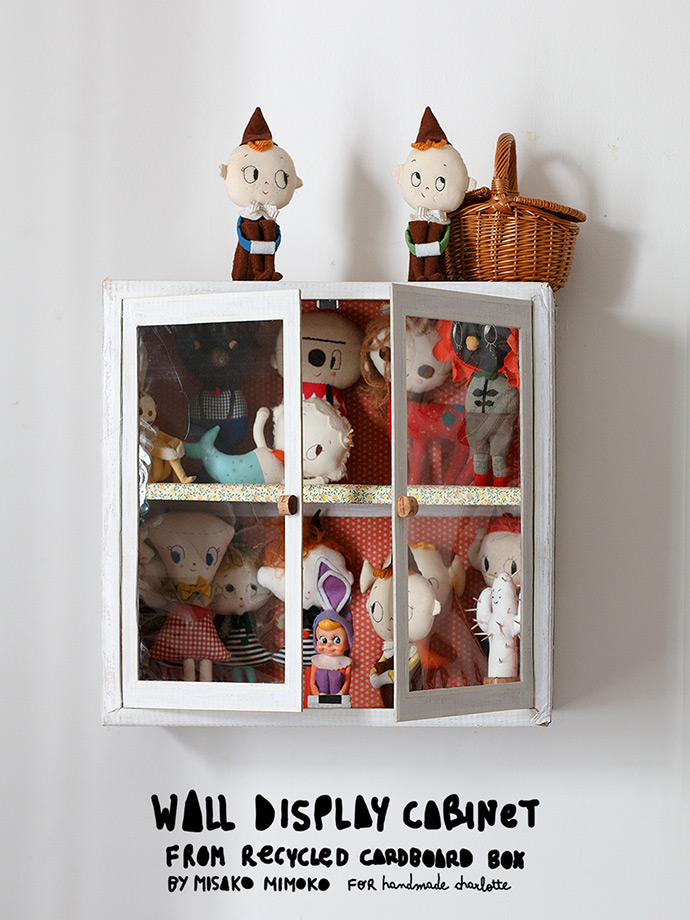
Got a large and sturdy cardboard box that you want to repurpose? Learn how to turn a cardboard box into a wall display cabinet! Sturdy boxes are perfect for making play furniture and kids are sure to have fun painting and decorating them.
This is such a fun way to play with cardboard and to repurpose it into a cute play cabinet for kids! When you’re done, you can use it to display your favorite dolls and toys. Let’s get started!
what you need:
- A big and sturdy cardboard box
- Another cardboard piece (for shelves)
- Cellophane wrapping paper
- Wrapping paper
- Wine bottle cork
- Magnet Sheet
- Cord
- Ruler
- Pencil
- Cutting mat
- Craft knife
- Masking tape
- Duck tape
- Paintbrush
- FolkArt Acrylic Paint
- Scissors
- Hot glue gun
- Glue stick
how-to:
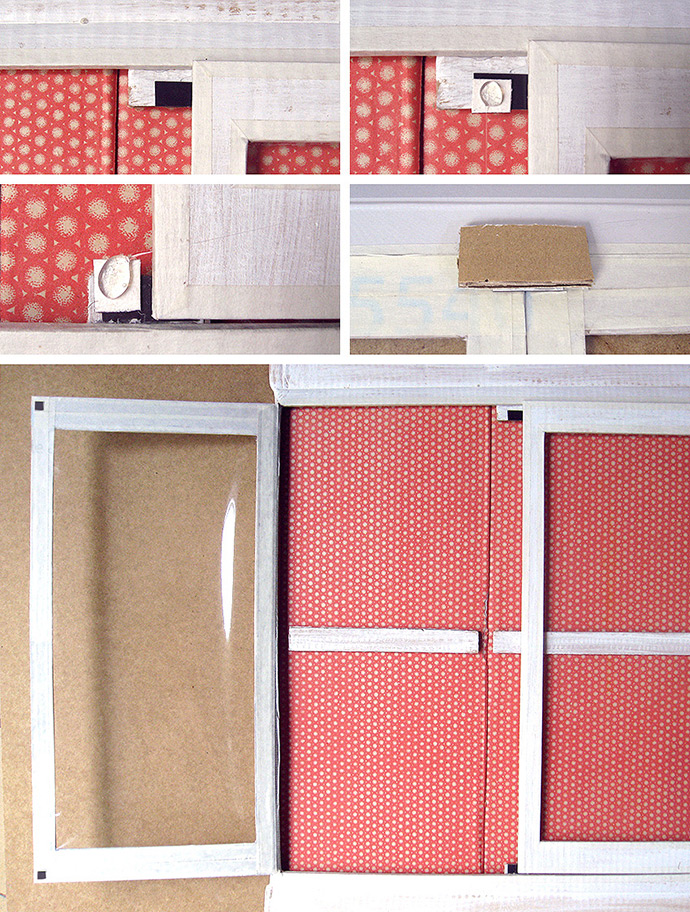
Step 1
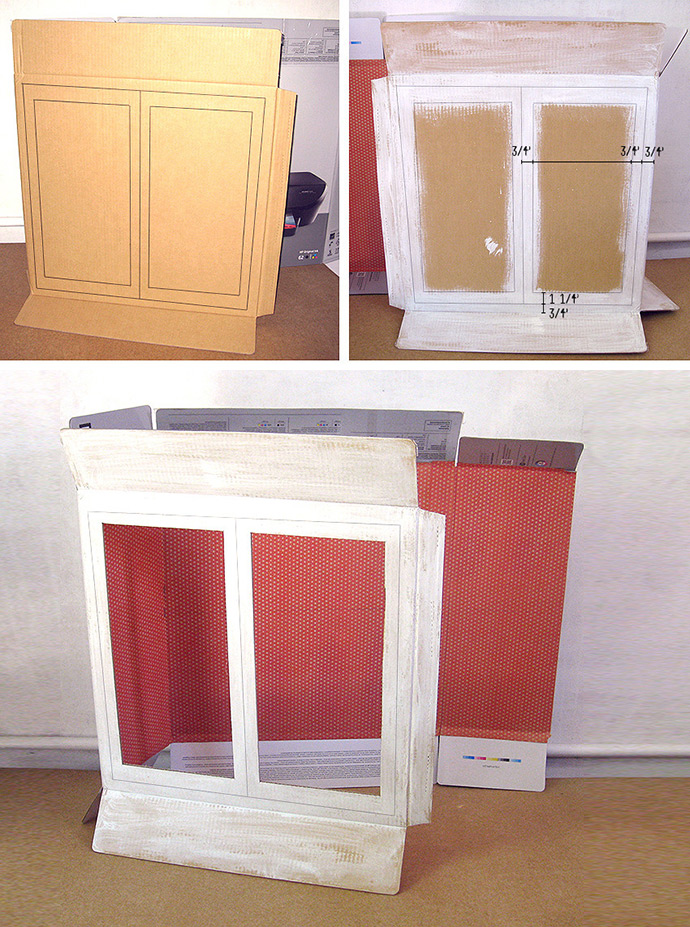
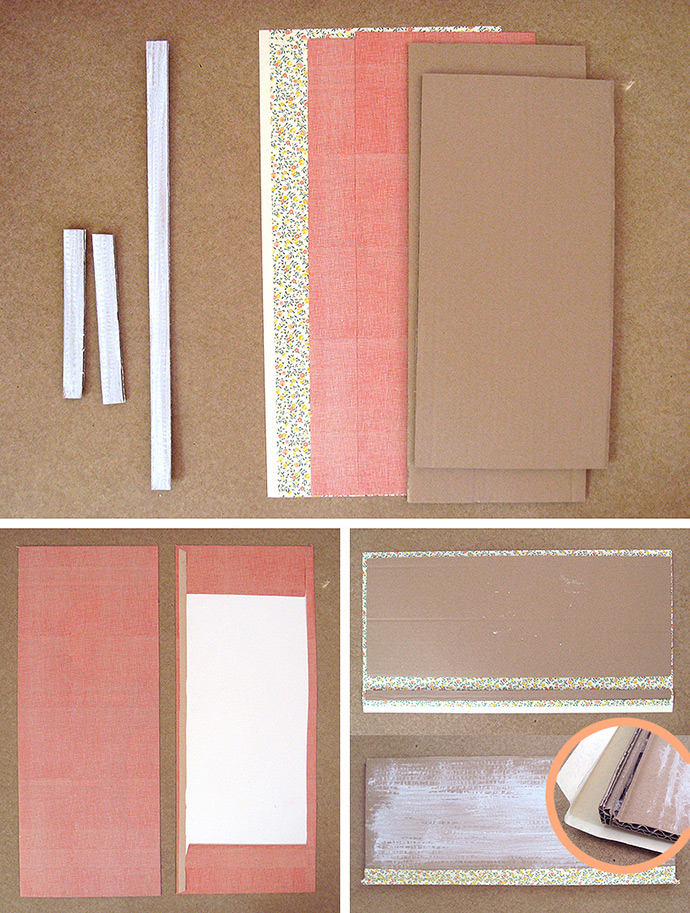
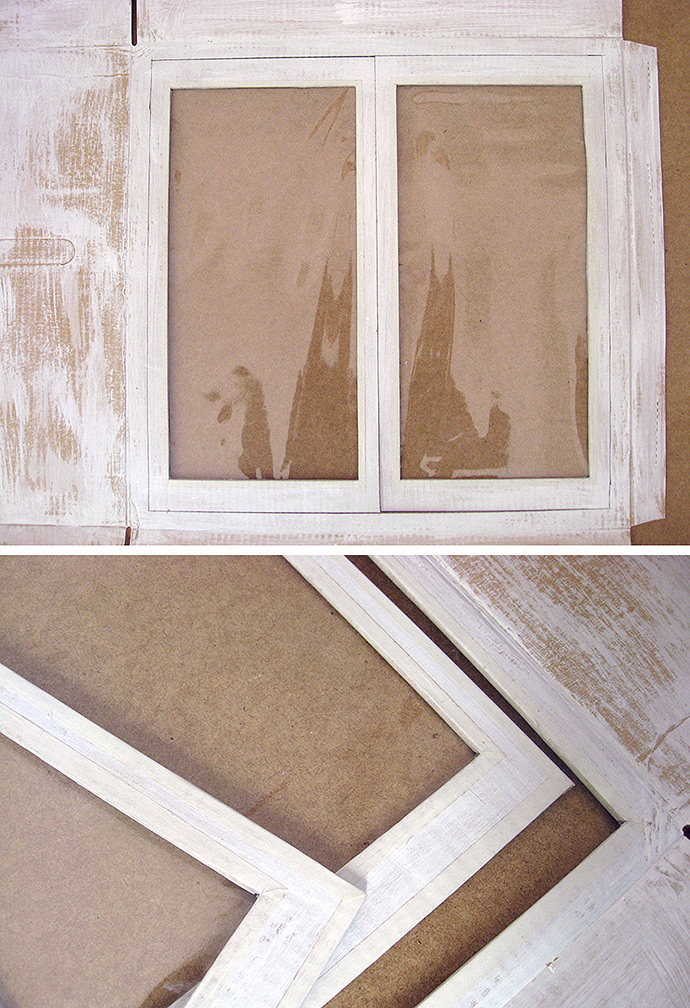
Turn your box inside out if you prefer the bare brown cardboard on the outside to decorate. While the box is flat, draw a ¾” frame on the front side using a ruler and pencil. Divide the framed rectangle in two parts to make the doors and draw a window on each door. My window’s frame measured ¾” on top and both sides and 1 ¼” on bottom. Paint the outside of the box to give it a distressed faux-wood look. Glue and cover the inside of the box with a decorated paper. Use a craft knife and a ruler to cut the windows out.
Step 2
Measure the length and width of your box. Cut out one cardboard rectangle with the same length and ¾” width; also cut two smaller cardboard rectangles using the width of the box as their length, and then with a ¾” width. Cut off ½” length to make them slightly shorter and paint them white.
To make the shelf and top and bottom liners for the inside of the cabinet, draw three rectangles with the same length and wide as the cabinet but subtract the cardboard’s thickness (usually between 1/8” to ¼”).
Cut a long 1/2″ wide piece of cardboard and glue it to the front edge of the shelf cardboard piece at a right angle, as shown above. Cover shelves in decorated paper.
Step 3
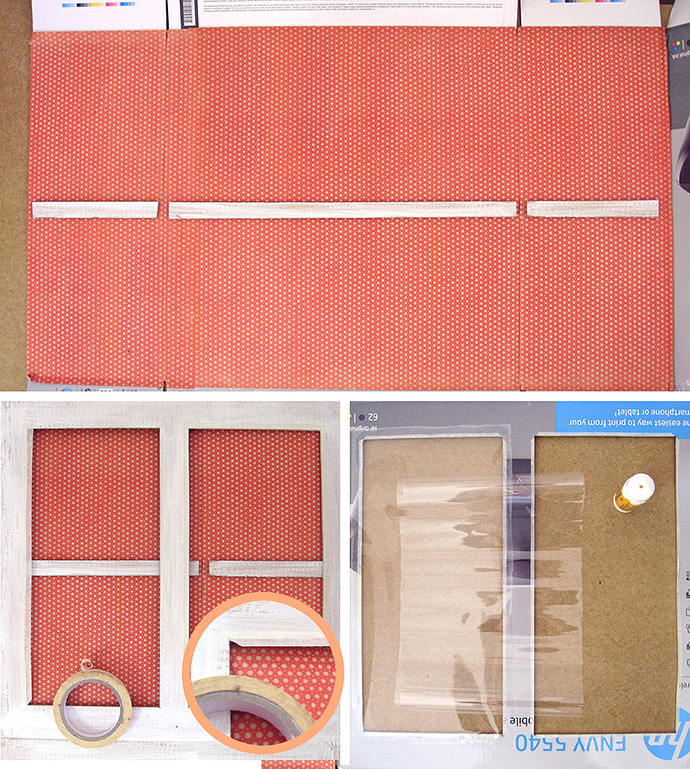
Draw a horizontal line across the inside of the box so that it splits the box’s height evenly in two – this is where the shelf will go. Then, glue the three white long cardboard pieces along the line – these are supports for the shelves. Cover window edges with masking tape to seal in the open corrugated edges. Add window panes by gluing two rectangles of cellophane paper to the backside of the door window frames.
Step 4
Cut out the doors, then cut 1/8” off each door width to help them open and close more easily. Cover door and box frame edges with masking tape as before.
Step 5
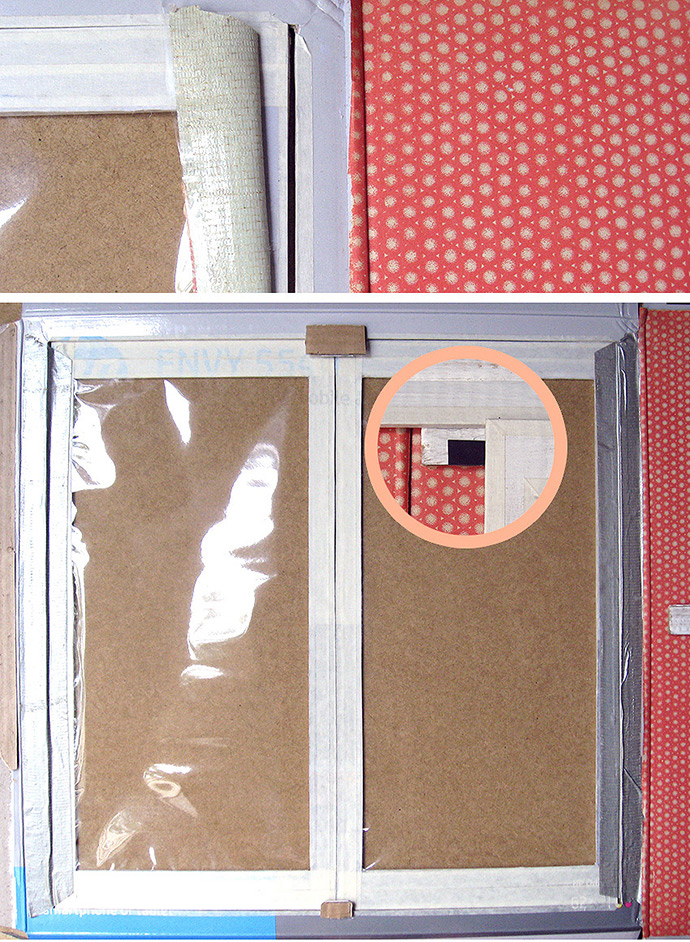
Line up the doors together at the center of the box and leave a small gap at the hinge side. Attach the doors to the box with metallic duct tape, so that the tape acts as a hinge inside the cabinet. Make two magnetic door stoppers for your cabinet to help keep it closed – glue two small pieces of cardboard centered on the frame and poking out of the top and bottom box frame.
Step 6
Glue one long piece of magnet to the front side of each door stoppers. Cut out and glue four small rectangles of magnet onto top and bottom door corners. Try to align the doors and frame magnets together to keep the doors closed.
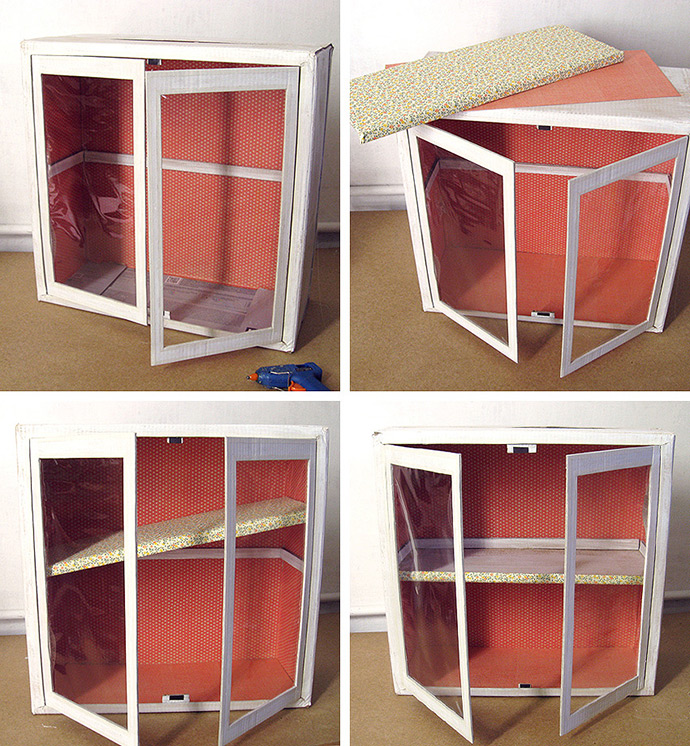
Step 7
Assemble and glue the box back together. Place the shelf onto the cardboard ledge and glue in place. Add the bottom and top cardboard covers and glue them inside the box.

Step 8
Hot glue a piece of cord centered at the top of the backside of the cabinet for hanging. Cut two ½” slices of wine bottle cork, then make a vertical cut on the curved side of each cork slice. Hot glue on cork slices for door knobs.
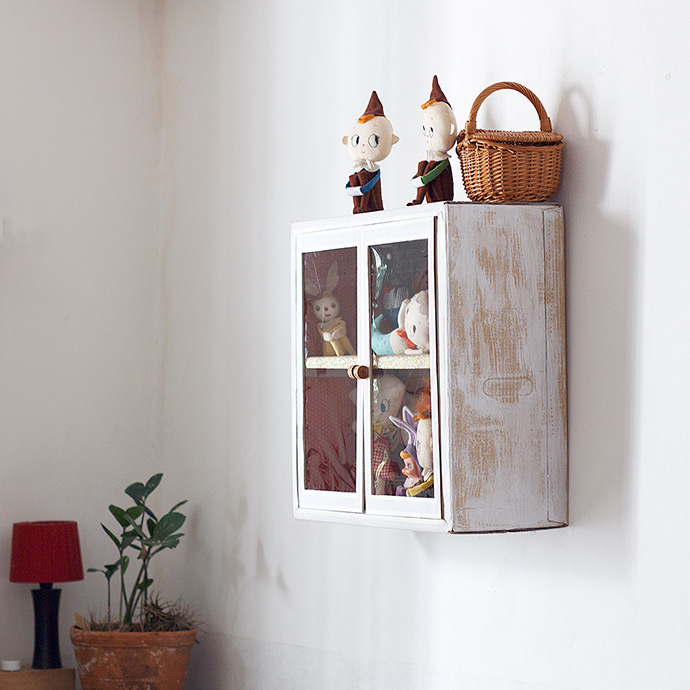
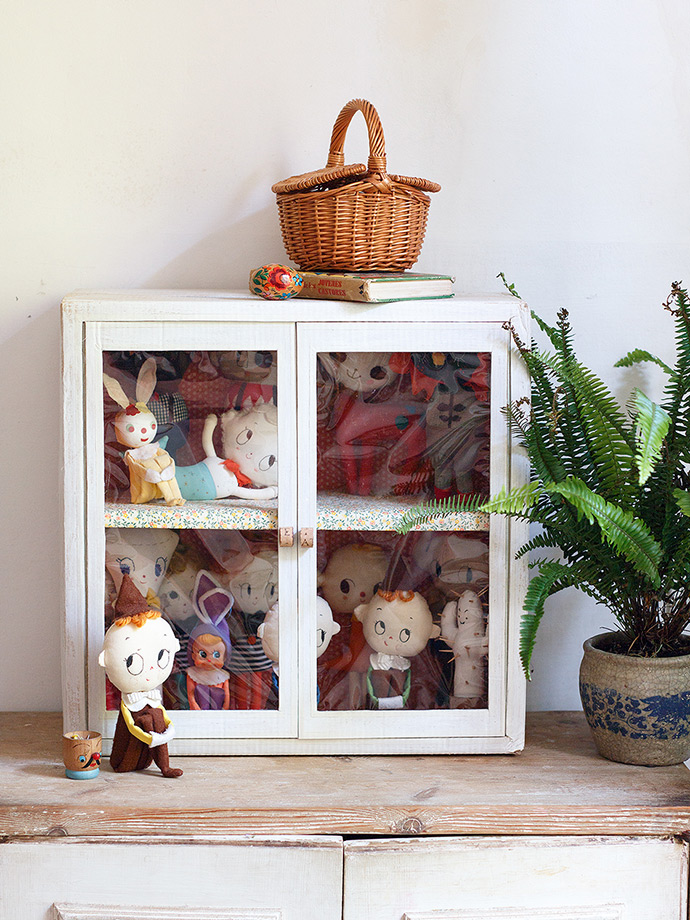
And that’s it! Your recycled wall cabinet is done and ready to display all your favorite toys and dolls.
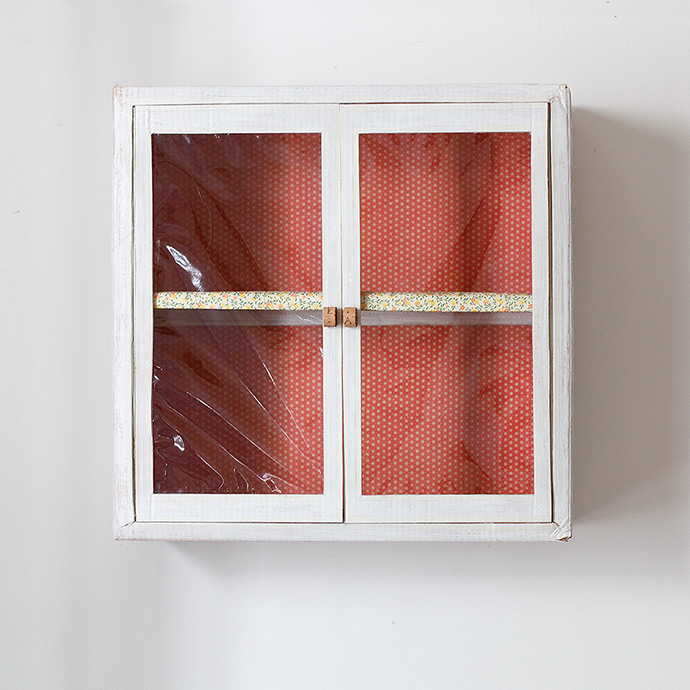
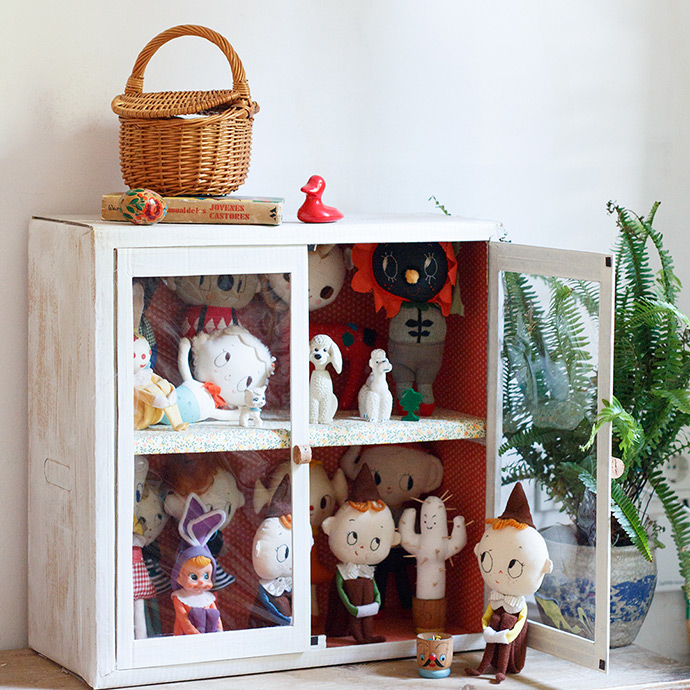
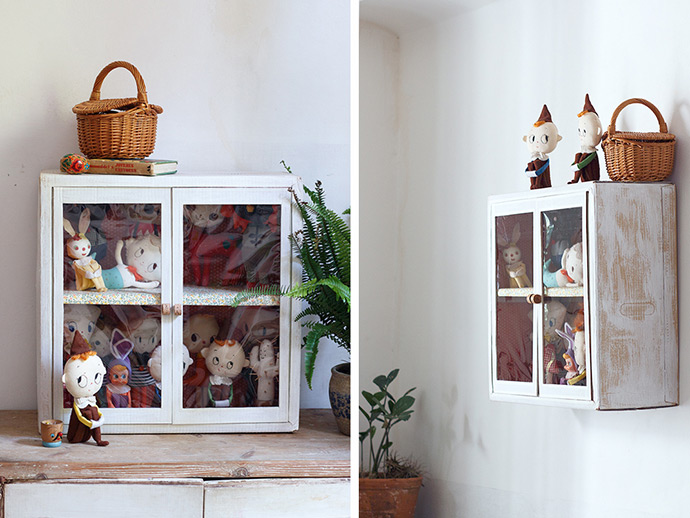
Enjoy!