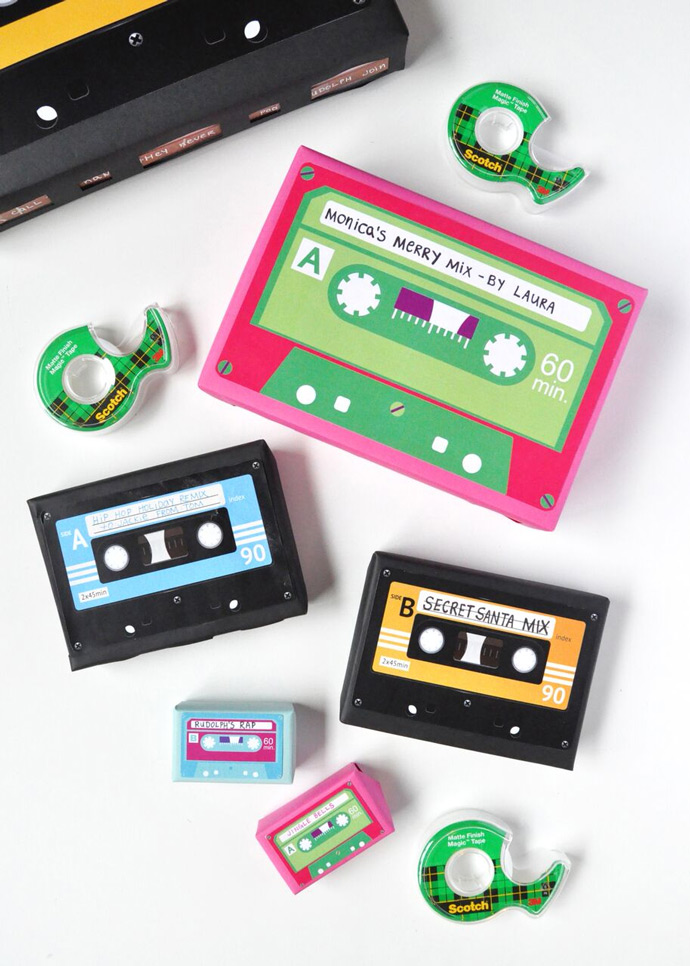
Did you make custom mix tapes for friends and family when you were growing up? We sure did! Now that cassette tapes are almost obsolete, we miss that hobby more than ever. We decided that instead of giving actual mix tapes as gifts, we would use them to inspire our gift wrap this holiday season.
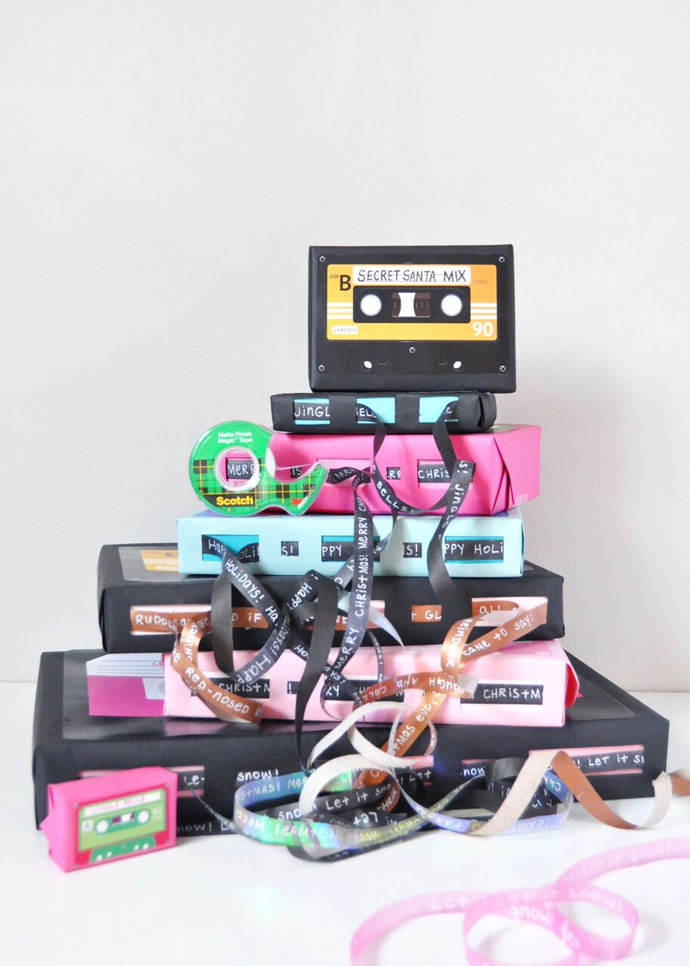
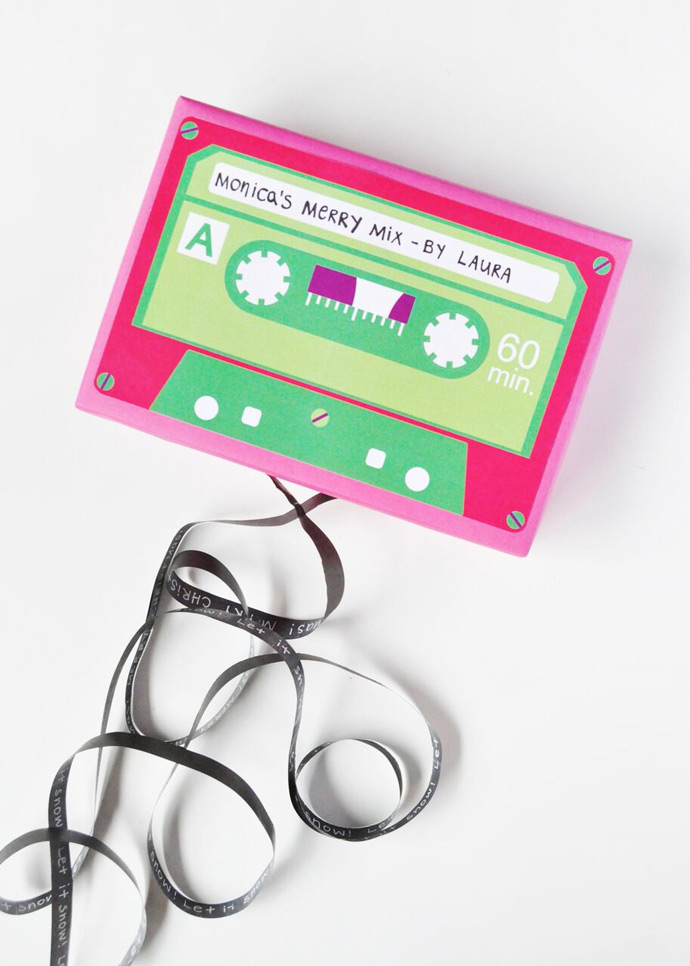
At first glance, these cassette-inspired gifts look fairly straight-forward. But if you look along the bottom edge you’ll find a secret message—we used Scotch® Magic™ Tape to write a personalized holiday message for each gift, When you give these gifts to your friends and family, have them give a little tug to the exposed cassette ribbon to reveal the rest of the message. It’s just like magic!
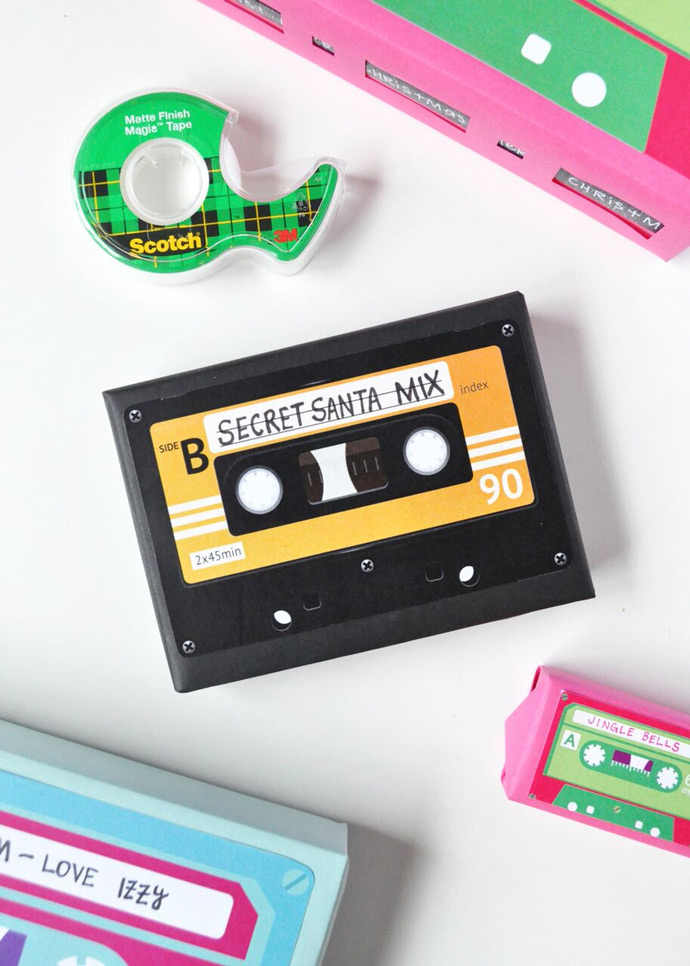
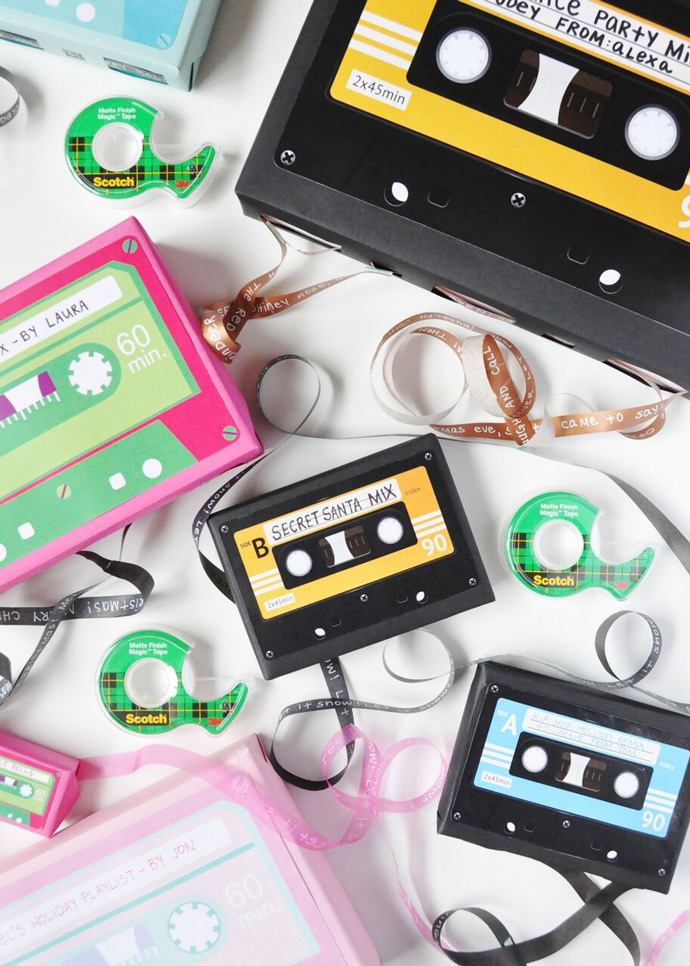
To take care of everyone on your list, we’ve provided a handful of free cassette tape printables in a variety of fun holiday colors. Along with some matching wrapping paper, Scotch® Magic™ Tape, and Scotch® Double Sided Tape, you’ll be on your way to a rockin’ wrapping job!
What You Need

- Cassette Tape Gift Wrap templates (download here)
- Wrapping paper to match your chosen printable(s)
- Scotch® Magic™ Tape
- Scotch® Double Sided Tape
- Cutting mat
- Craft knife
- Pencil
- Black pen/marker
- Fine-tip white paint pen
- Ruler
- Scissors
- Black (or any dark color) tissue paper
- Your gift, in a rectangular box
How-To
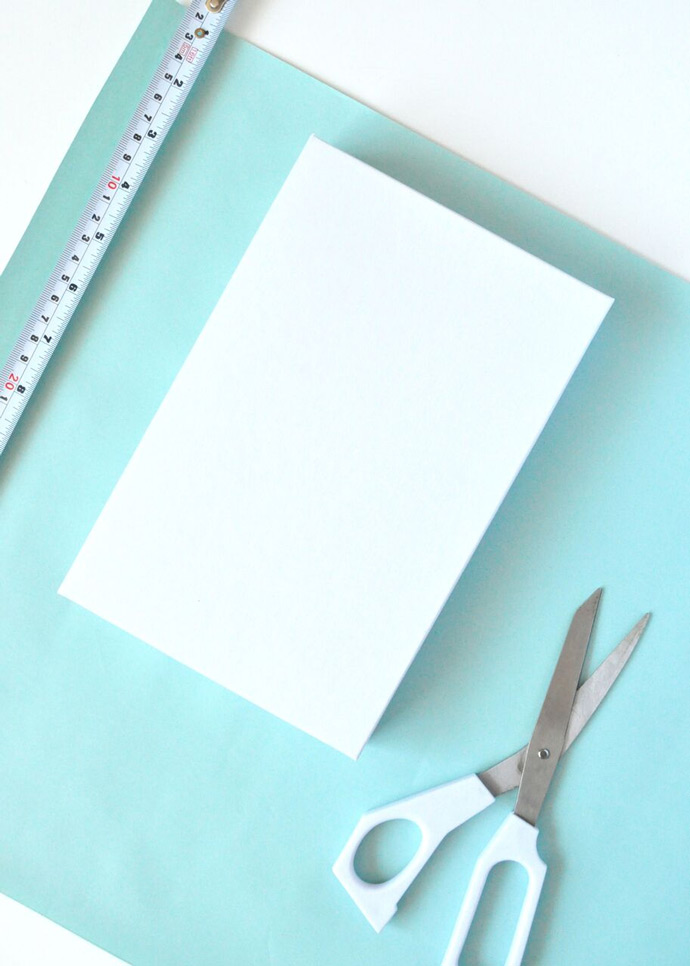
Step 1
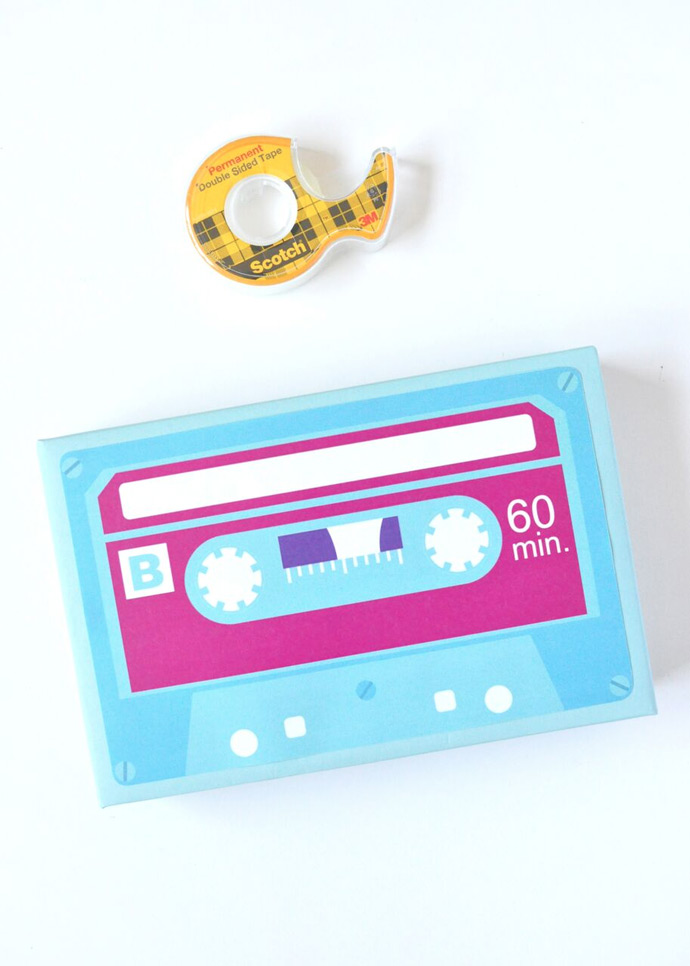
On a flat work surface, roll out your wrapping paper and place your rectangular gift box on top. The box we used was 8 3/4” by 5 3/4” so we cut a piece of blue wrapping paper to 15” by 20”. We used blue wrapping paper to match the blue cassette tape printable that we had already sized, printed, and cut out to fit our gift box.
Step 2
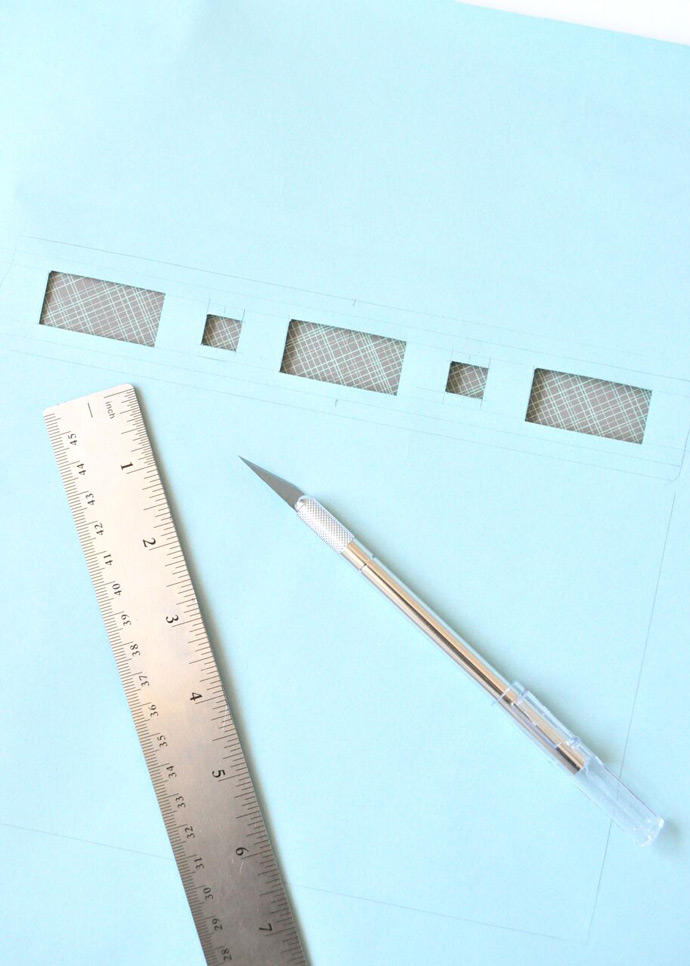
Place the gift box face down onto the cut wrapping paper so that the long side of the box is about 5” away from the 15” long edge of the wrapping paper. Use a pencil to trace around the box, and then trace the thin front side of the box too, so that it’s now about 4” away from the edge of the wrapping paper. This thin rectangle is where we cut smaller windows to imitate the bottom of a cassette tape.
The size of these windows will vary depending on the size of your gift box, but the general look should be the same: three longer rectangles with two smaller ones in between. Use a pencil and ruler to space them evenly within the rectangle – our larger rectangles were 1 1/2” long by 3/4” wide and the smaller ones were 3/8” long by 1/2” wide (we kept them at least 1/4” from the edges). Once you are happy with the shapes, use a craft knife, ruler, and cutting mat to cut them out.

Step 3
Cut a contrasting piece of wrapping paper (or matching, your preference) the same size as the thin rectangle on the front of the box. Apply Scotch® Double Sided Tape and attach the paper to the front of the box. This way, the plain box won’t be visible through the windows we just cut.
Step 4
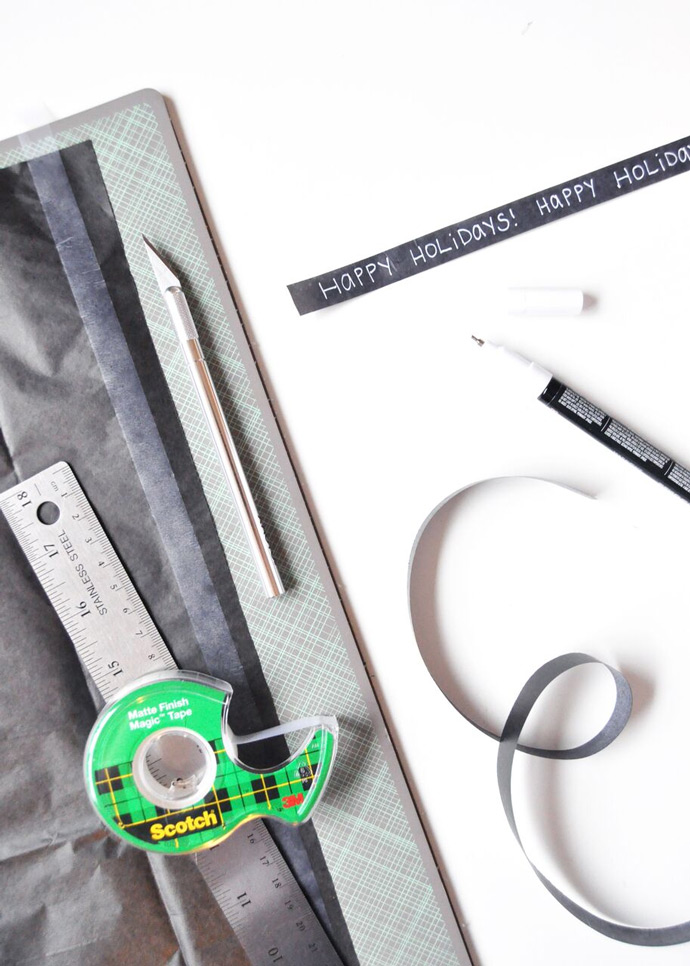
Time to make the cassette tape ribbon! Start by laying out a sheet of black (or any dark color) tissue paper. Next, apply a long piece of Scotch® Magic™ Tape along the length, smoothing as you go. Make a few long lines of tape in this way, and then use a ruler and craft knife to cut the strips out. On the taped side of the strip, use a paint pen to write a message. We wrote holiday wishes and Christmas carol lyrics, but get creative! Be sure to let the paint/pen/ink dry thoroughly to avoid smudging.
Step 5
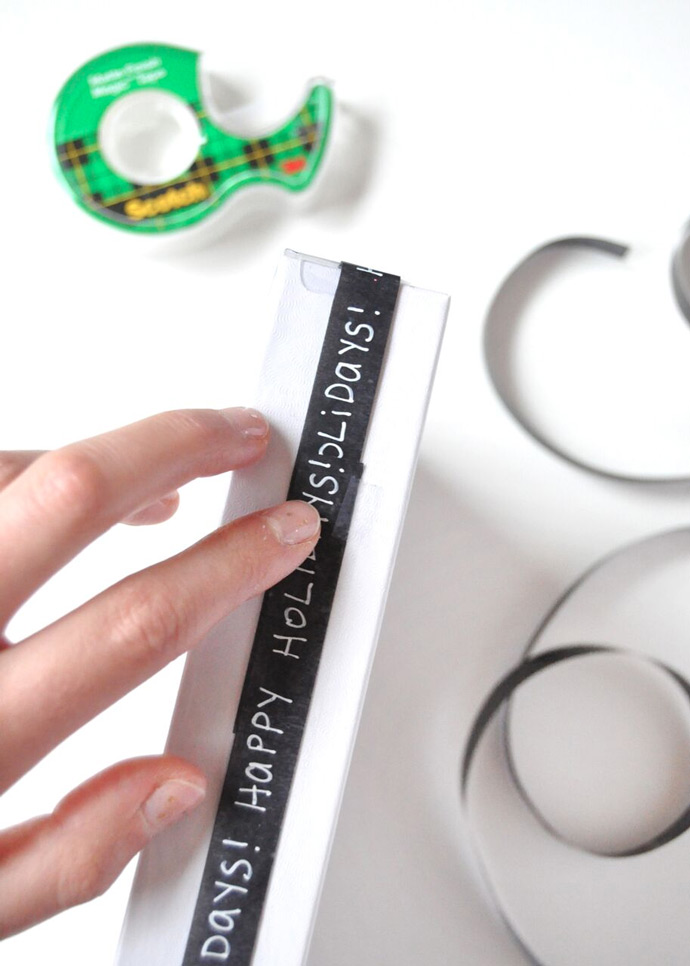
Once the ink is dry, wrap the cassette tape around the gift. If one strip isn’t long enough, attach two pieces together. Use a tiny piece of Scotch® Magic™ Tape to attach one end of the cassette ribbon onto the box and another tiny piece to attach the other end of the cassette ribbon to the box. It’s okay if they overlap a little (as shown in the image above). Be sure to use as small a piece as you can manage. If you attach it too well, you may have trouble later trying to pull the cassette ribbon out to reveal the message!
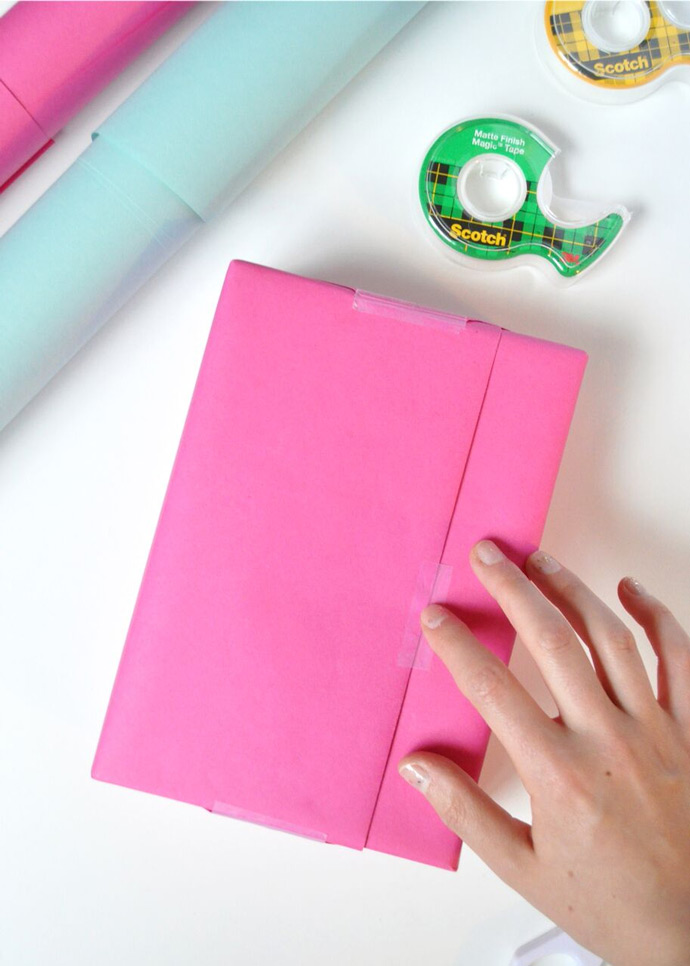
Step 6
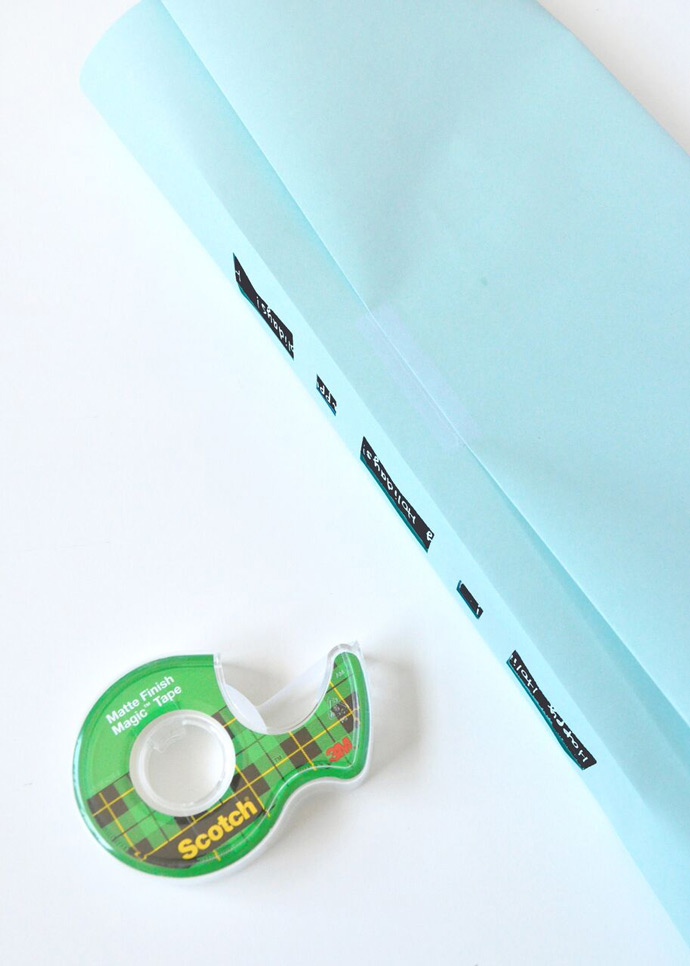
Place the gift box back, face down, on the wrapping paper where you traced it before. Make sure the text on the ribbon is upside down for now and that the overlapping taped cassette ribbon isn’t on the side with the windows. Wrap your present as you would normally, taking extra care around the windows. Use Scotch® Magic™ Tape to secure the wrapping paper on the bottom of the gift box, and once you’ve folded the ends in, secure those as well.
Step 7
Use Scotch® Double Sided Tape to attach the cassette printable onto the top of the wrapped gift box. Make sure that the bottom of the cassette faces the edge where the windows are. To finish up, write a fun message in the blank space on the cassette tape!
Happy wrapping!
This post is sponsored by Scotch™.