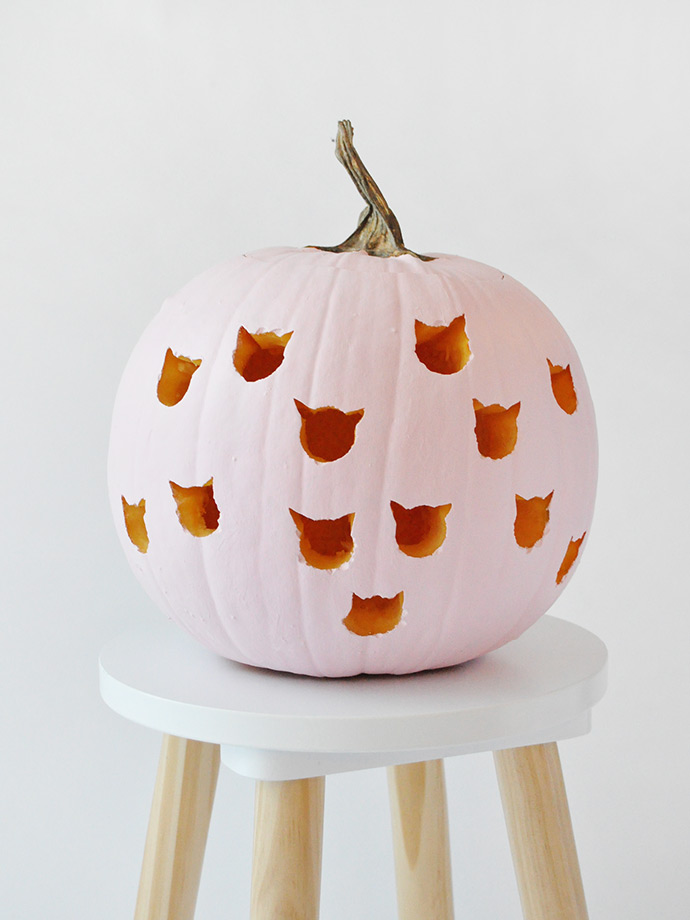
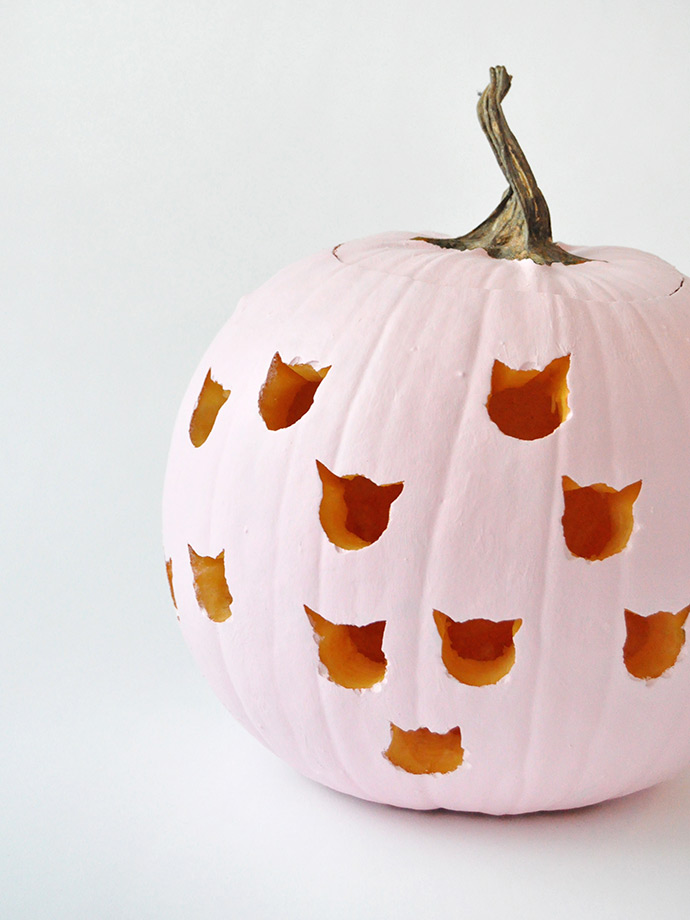
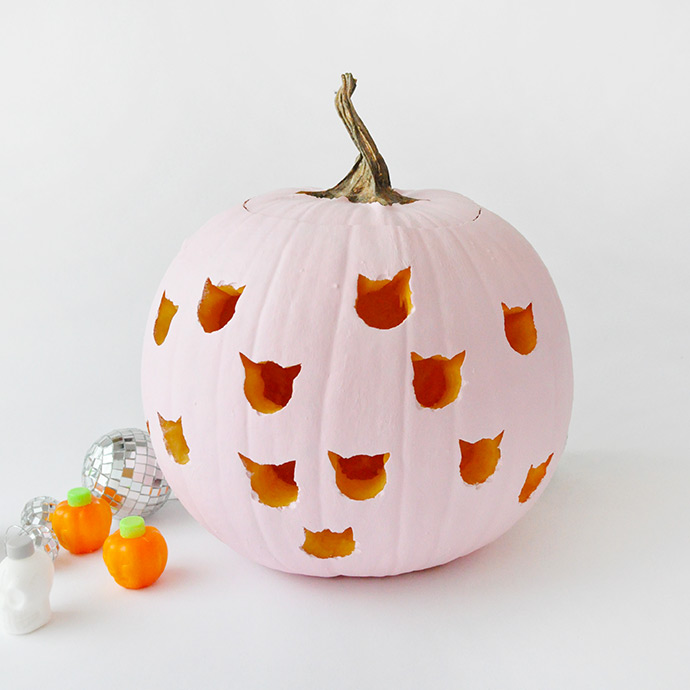
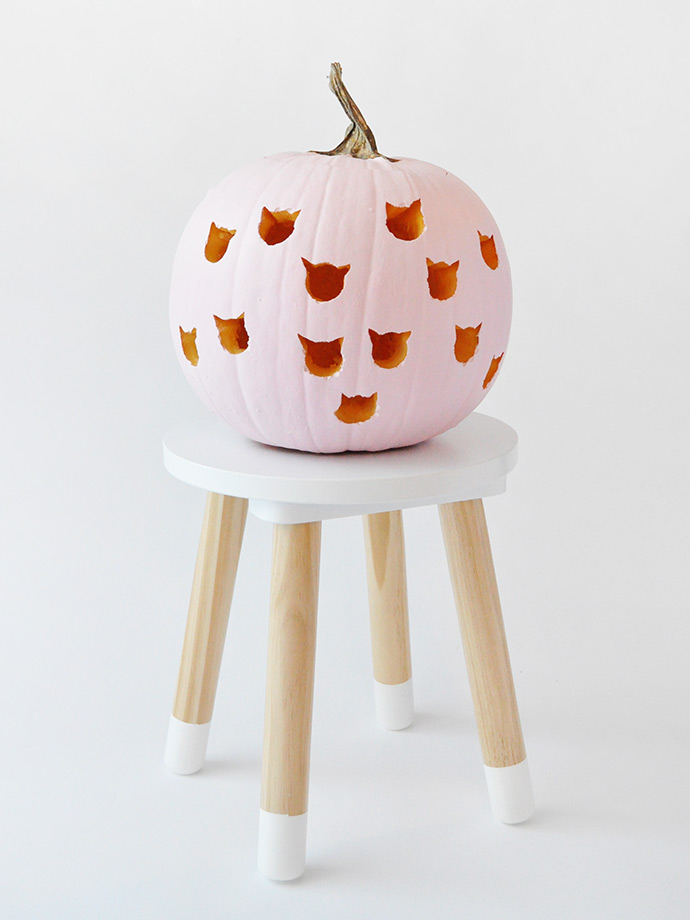
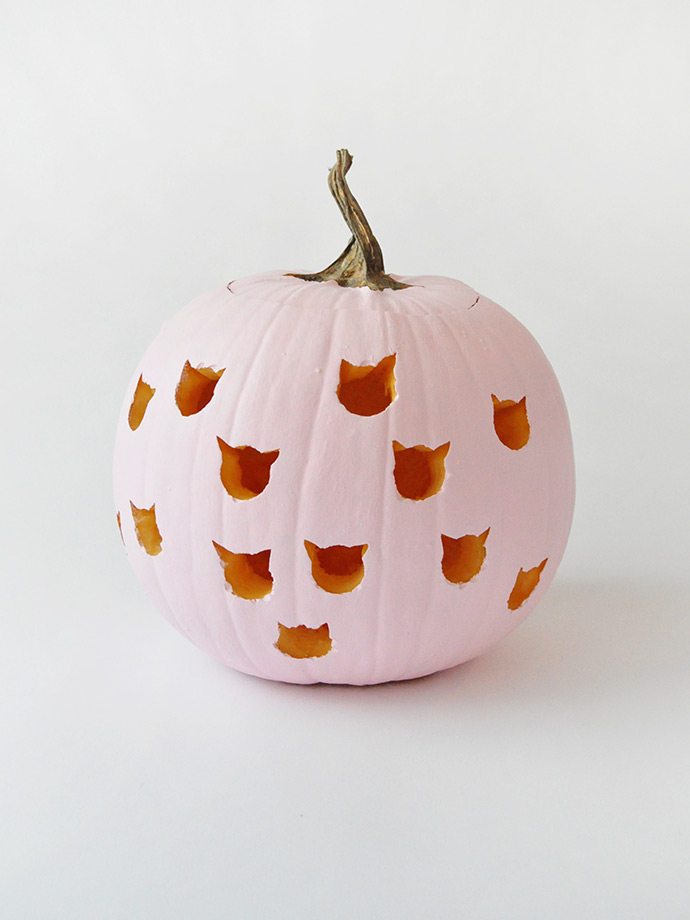
Cat lovers rejoice – we’ve got a crazy simple way to make your own cat jack-o-lanterns for Halloween this year! We kept the process nice and easy by using a drill to make holes all over the pumpkin so there’s no need to fret about tracing and carving out perfect circles with a knife.
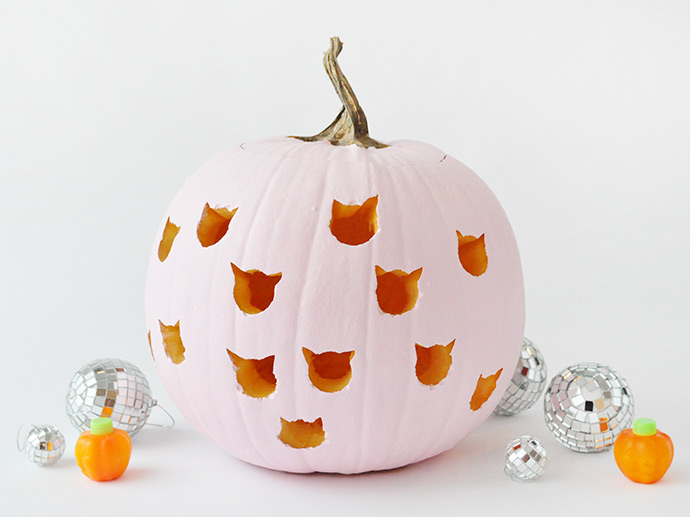
We gave this cat pumpkin a colorful coat of pink paint to make it playful and bright, but think it would look super sharp with a black paint job alongside this spooky pumpkin on your front steps. See the full instructions below so that you can make your own custom cat pumpkin (or two, or three …) !
what you need:
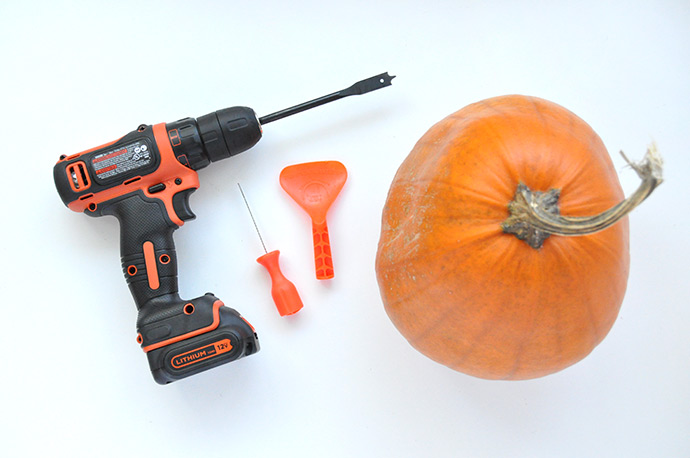
- Pumpkin
- Power drill
- Wood spade bit (1″ or larger)
- Pumpkin carving knife
- Scoop / spoon
- Folk Art Outdoor Acrylic Paint
- Paintbrush
how-to:
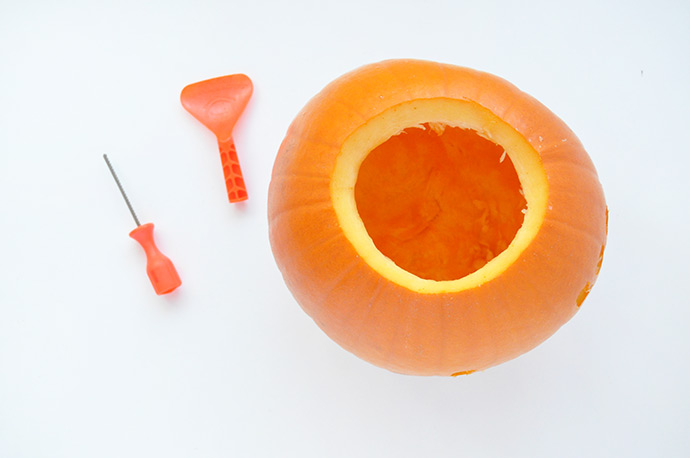
Step 1
Start by cutting the top off of your pumpkin and removing the insides and seeds.

Step 2
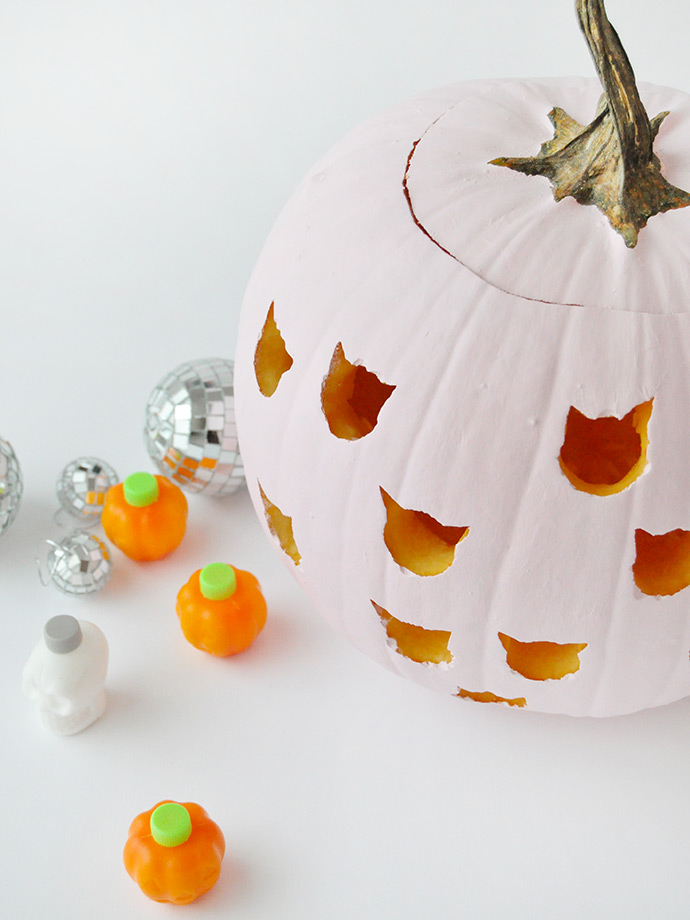
Using a 1″ wood spade drill bit, drill holes polka dot style all over the pumpkin. As you can see, for some reason the skin on this pumpkin chipped off in a few spots – we’re thinking this might vary from pumpkin to pumpkin since we had no issue with it in our previous drilled pumpkin. Let us know in the comments below what happens when you try this yourself! If your pumpkin skin does chip like this, not to worry as we’ll be painting over it soon enough.
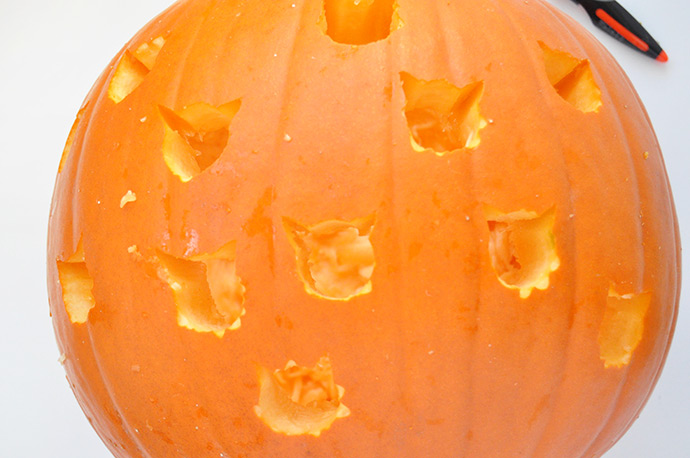
Step 3
Time to add the cat ears! Use your pumpkin carving knife to cut little triangles into the top of each circle. Wipe away any pumpkin mess on the outside with a damp cloth.
Step 4
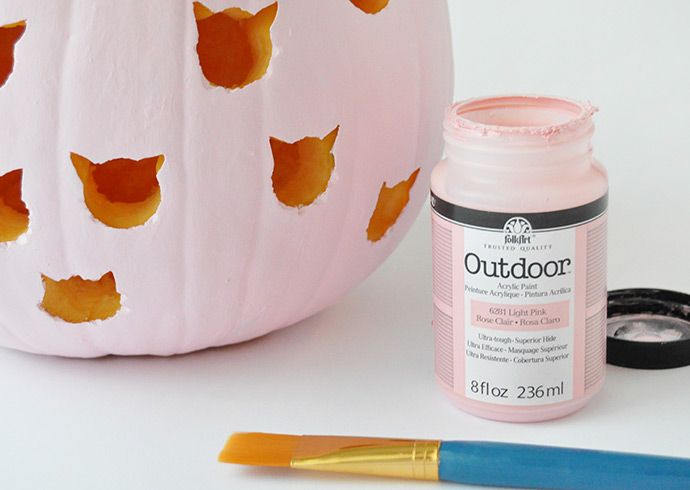
Give your clean pumpkin a coat of Folk Art Outdoor Acrylic Paint – we used light pink. This step will help to disguise any of the imperfect circles in the pumpkin as we talked about earlier. Don’t forget to paint the pumpkin lid too! Let dry.
Happy Halloween!!