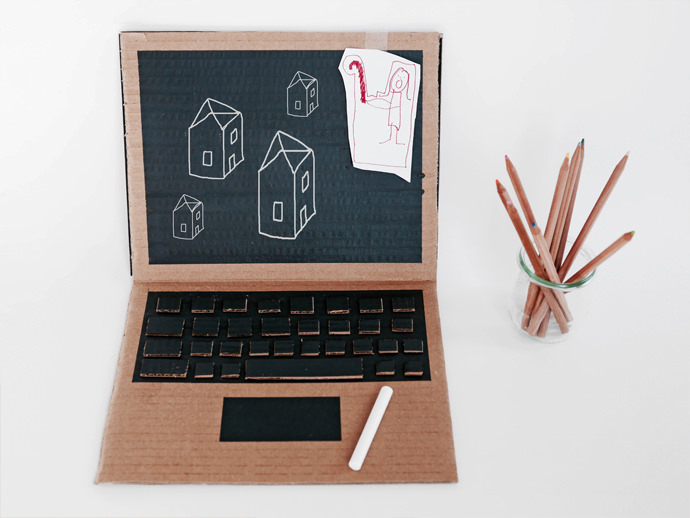
I’ll admit, I’m not much of a techy and I don’t really love my kiddos to be nose-to-screen with the computer. But I think I’d be more of a fan if they were all DIY cardboard computers! These are the easiest computers ever! The addition of chalk paint allows them do something different on their computer each and every day. It even opens and closes so that they can pack it up and carry it back and forth from friends’ houses, a weekend Grandma’s, or just around the house. They can even “work” outside on a pretty day! It’s the simplest, most crafty computer ever and will make your little busy bodies feel super important.
Alright, time to get down to business!

What You Need
- Large piece of cardboard
- Box cutter
- Ruler
- Black chalk paint
- Chalk
- Paint brush
- Electrical tape
- Glue
- Pen
- Black construction paper (optional, for decoration)
How-To

Step 1
First, use your ruler and craft knife to cut an 11″ x 17″ piece of cardboard. Following the straight edge of the ruler, draw a line down the center of this rectangle with your pen. Use your craft knife to slice along the line, but make sure not to cut all the way through (you just want to loosen the cardboard enough so that the two sides to be able to fold).
Fold your cardboard and reinforce the fold with tape so that the computer will remain intact as your kids open and close it.
Step 2
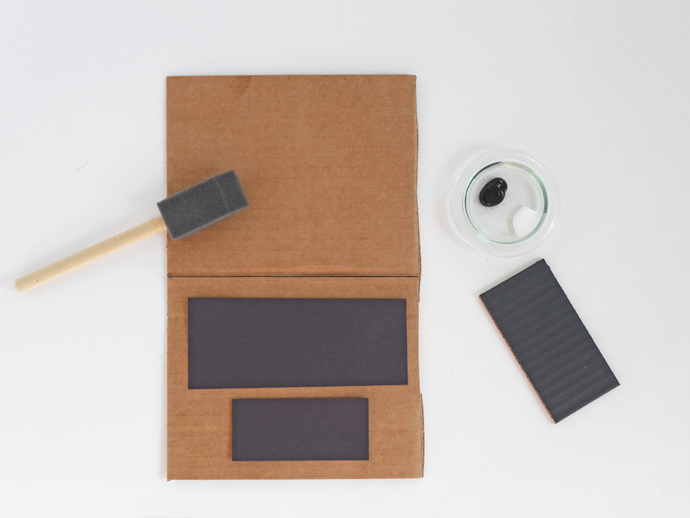
Cut three smaller rectangles out of another piece of cardboard (one for the screen, one for the keyboard, and one for the mouse), each similarly sized to the ones above. Paint each with chalk paint and let dry. Once completely dry, glue them into their respective positions.
Step 3
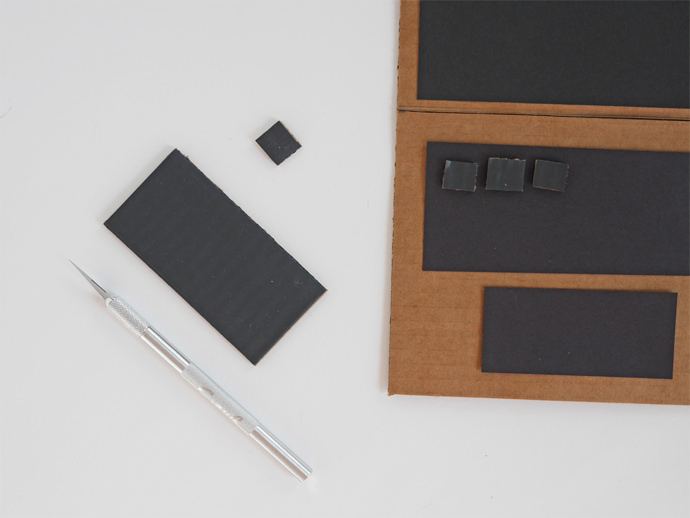
Take your remaining cardboard and cut out another rectangle (again, similarly sized to the one pictured). Paint it and let dry. Once dry, cut out small squares from it (these will be your keys). Glue the squares onto your cardboard keyboard.
Step 4
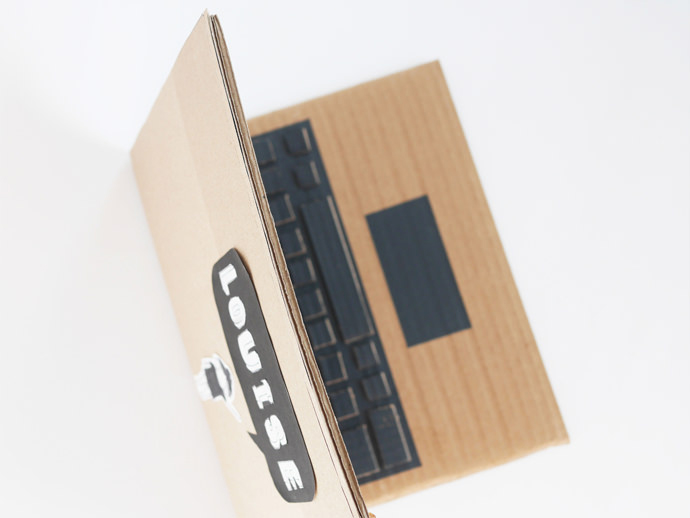
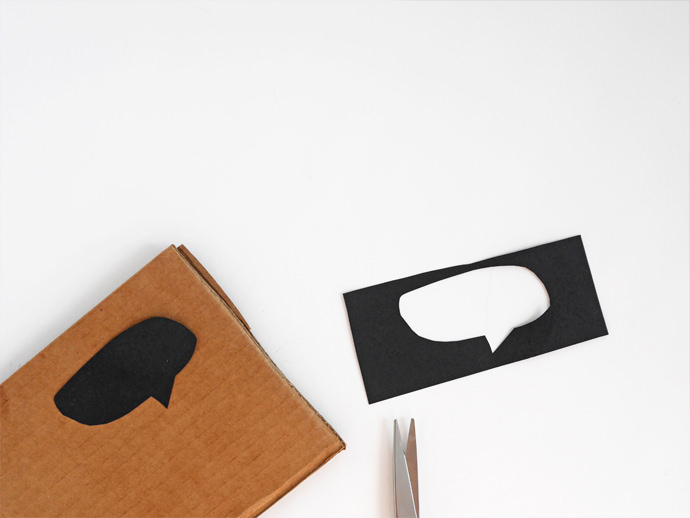
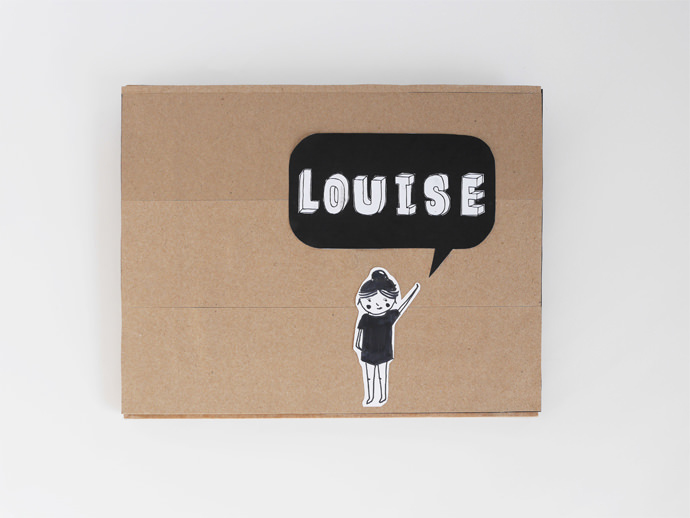
Make it your own! Use paint or construction paper to customize your computer with fun drawings or speech bubbles so that everybody knows it’s yours.
Your computer is finished! Whether kids use it to take notes, surf the net of their imagination, or do the most serious of business – one thing is for certain – it’s the most fun they’ll ever have in front of a screen!