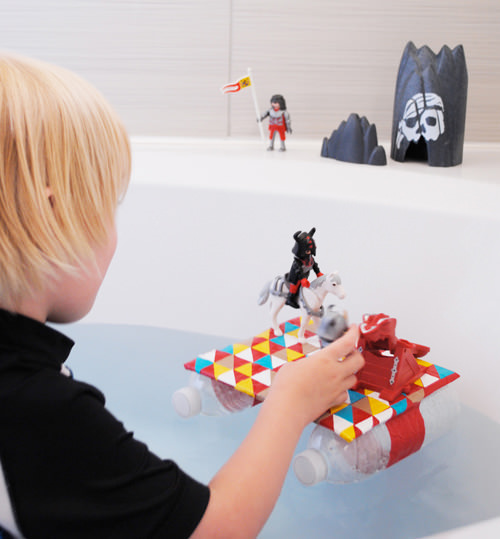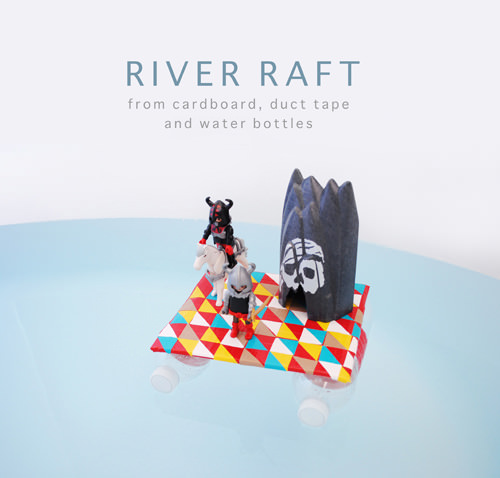
Have you joined the Duct Tape crafting craze yet?! If not, this River Raft craft is a great way to get your feet wet. Your kids will love you for it!
Materials
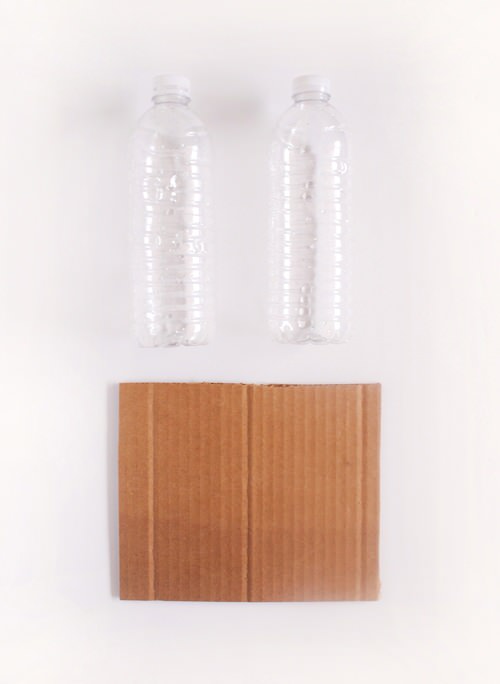
- Cardboard
- Water bottles (2, standard size)
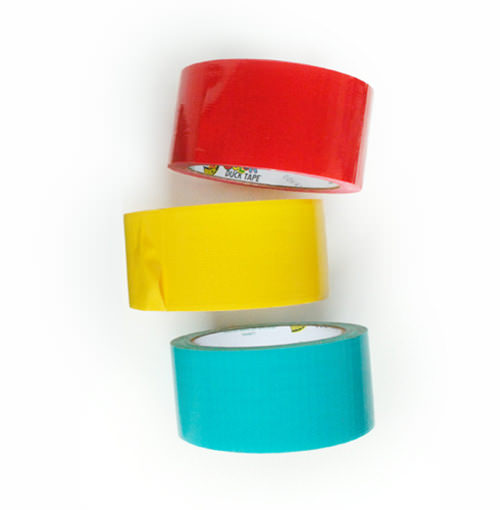
- Duct tape (in your choice of fun colors)
Putting It All Together
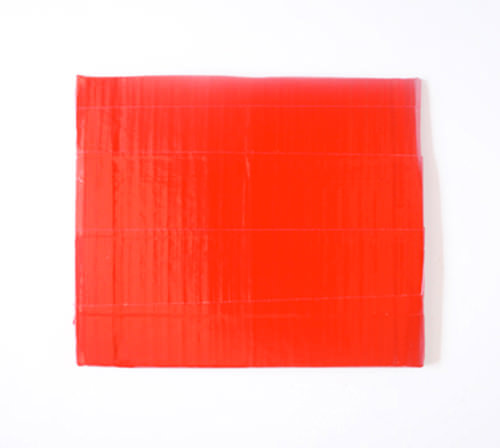
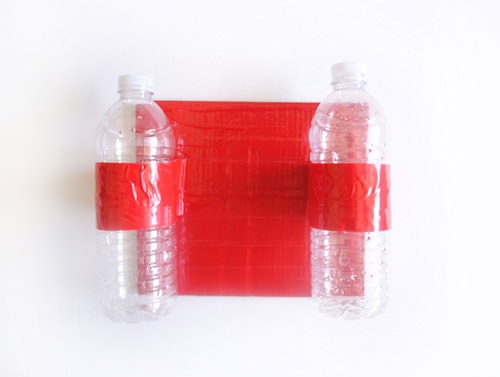
Now that you have all your materials, start by covering you piece of cardboard entirely with duct tape. This will help it to be more water resistant and last longer. Once that is done you can add the water bottles to the bottom of the raft. I did this by first taping them straight on with a loop of duct tape. I then reinforced it by taking the tape all the way around the raft and over each water bottle on the bottom.
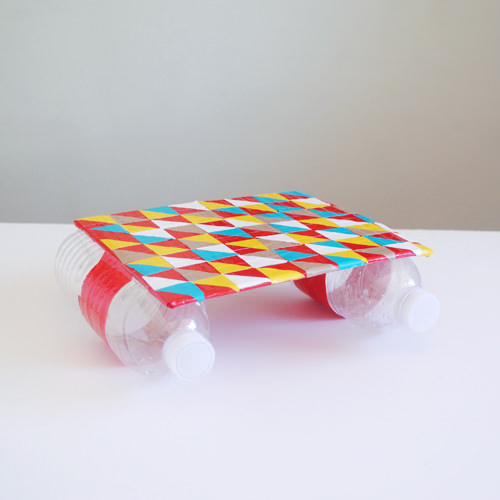
When you are happy with how secure your raft is taped together, flip it over and try it out. And now for the fun part! Decorate it with your little ones with fun duct tape colors and patterns. If you need help with cutting duct tape in the best way possible, take a look at my tutorial for this here.
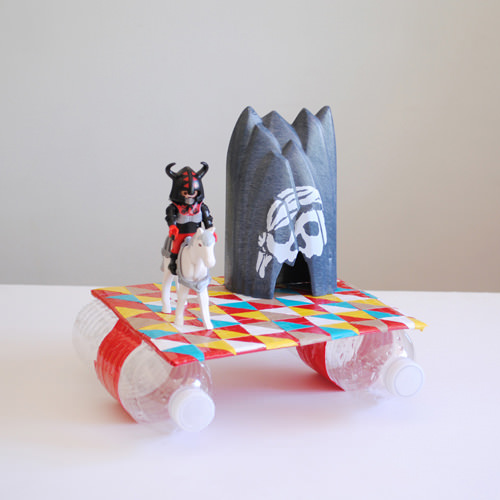
Now that your your raft is complete and decorated, your little one is ready to take it out for test “swim”! They’ll be happy to cool off outdoors by playing with it in the the pool or take it indoors for hours of bathtub fun!
