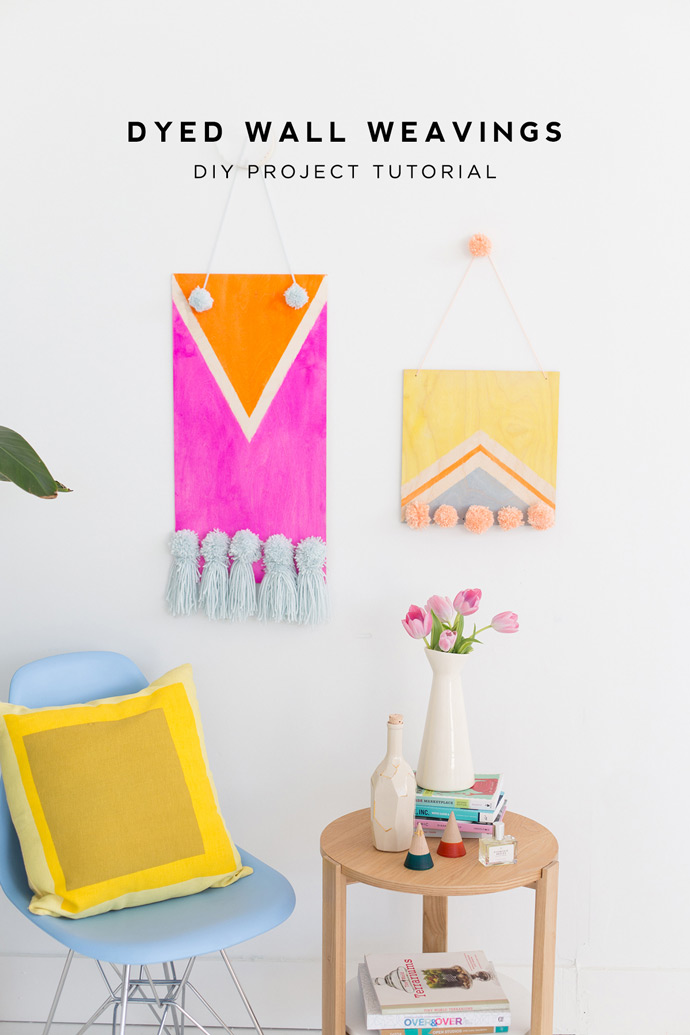
We teamed up with Paper & Stitch to design a fun and quick home decor project using Plaid’s new Ultra Dye. The Wall Weaving project is a perfect afternoon craft that will bring a pop of color to any room in your home.
What You Need
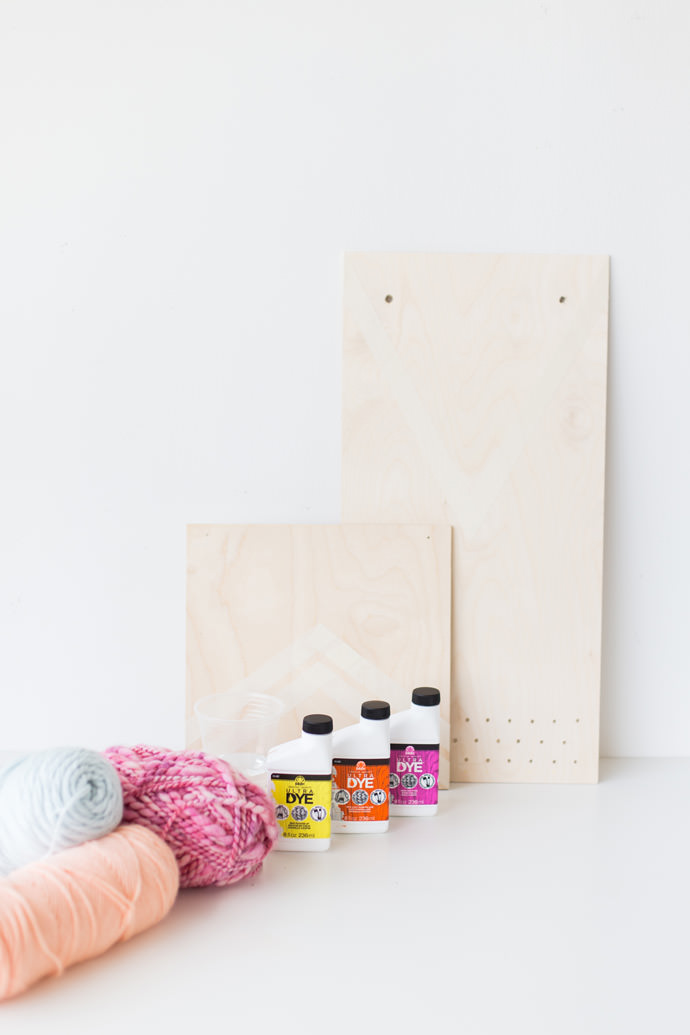
- 2 Contrasting Ultra Dye Colors
- Ultra Dye Brushes
- Masking Tape
- 12×24 Wooden Panel
- 12×12 Wooden Panel
- Electric Drill
- Yarn
How-To
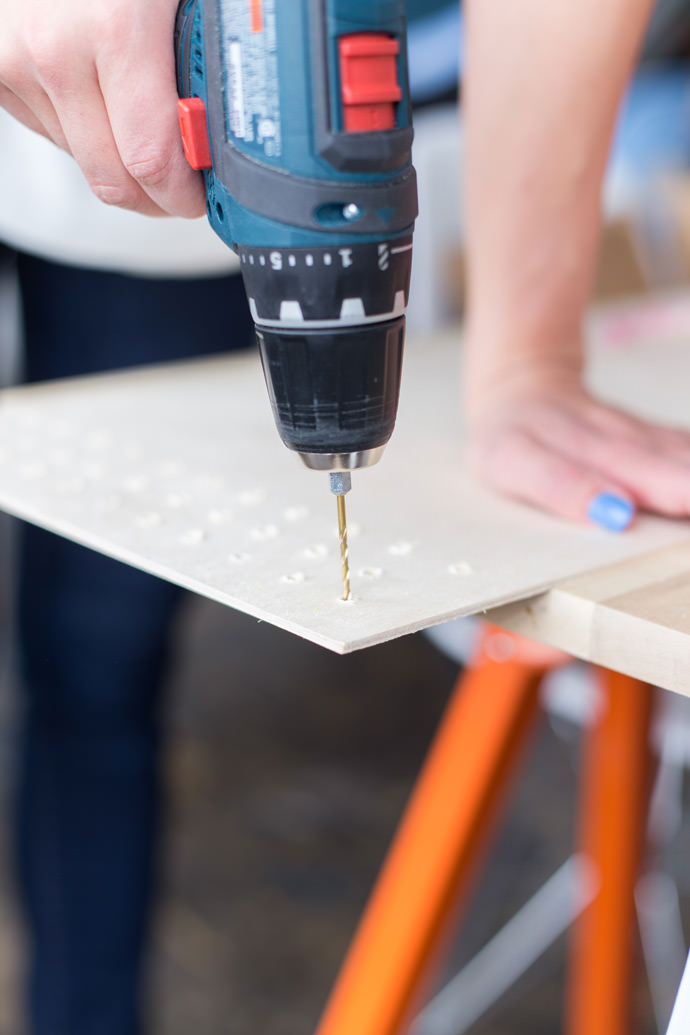
Step 1
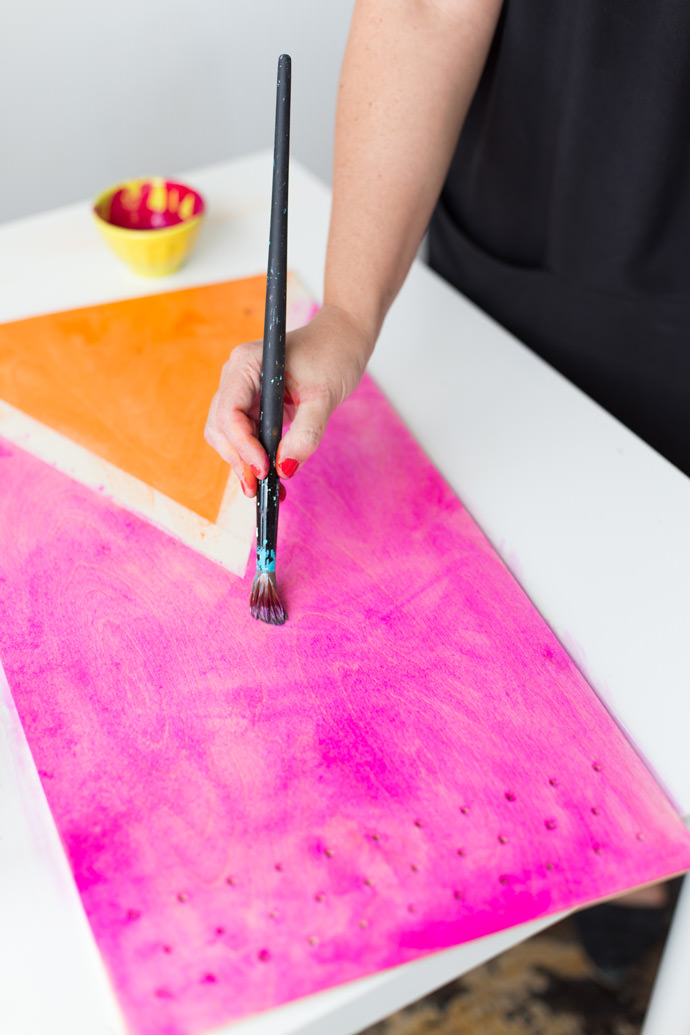
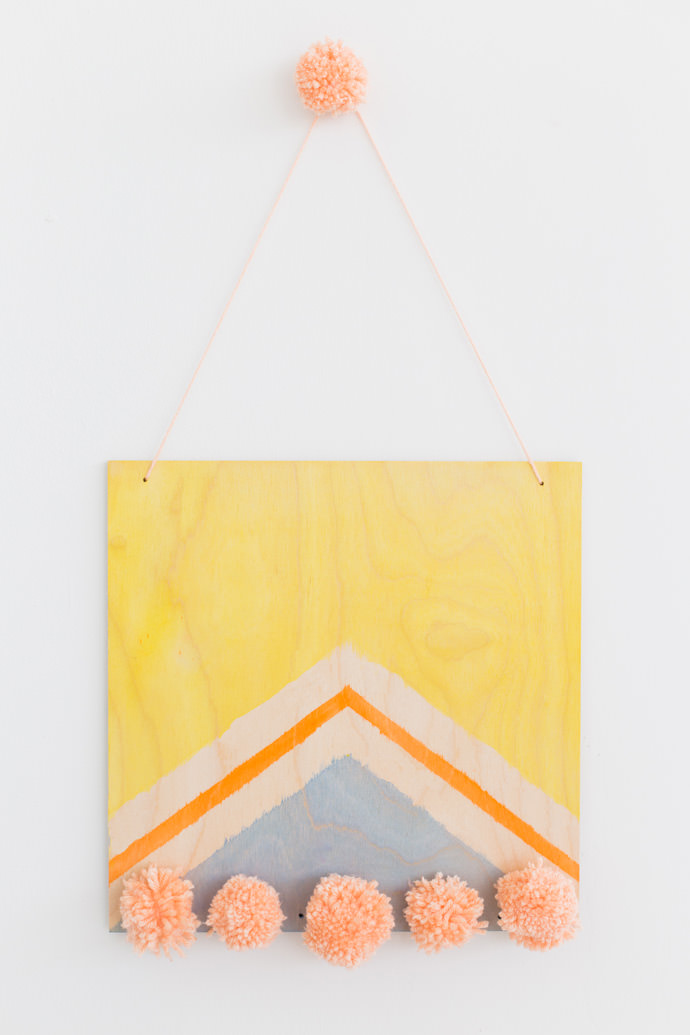
Using the 12×24 panel drill the holes 2 inches apart across entire bottom edge of panel. Drill 2 holes in top corners of wooden panel. Measure in 1 x 1 inch to drill hole to make sure both holes on top corners line up.
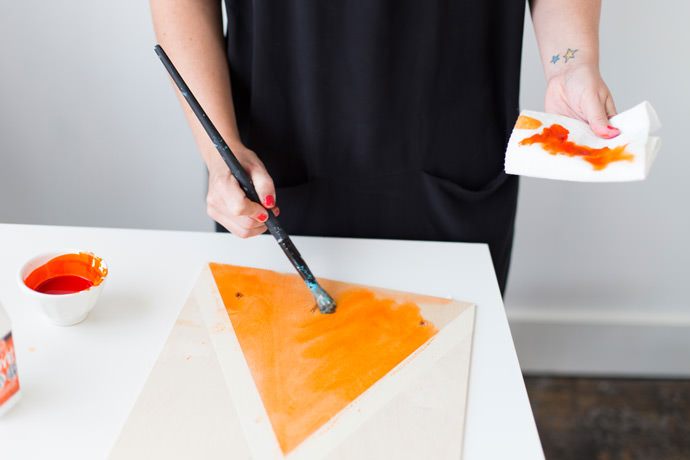
Step 2
Mask off a triangle and brush on the Ultra Dye color of your choice.
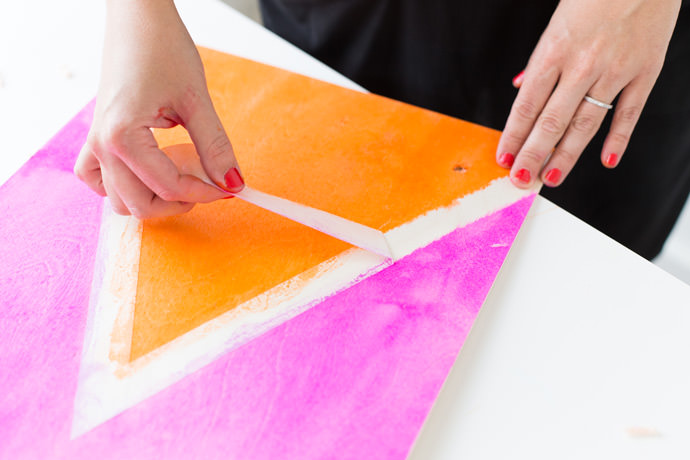
Step 3
Next keep masking tape in place and hop to next triangle and brush on with contrasting Ultra Dye color. Let dry for a good 30 minutes until completely dry and then remove the masking tape.
Step 4
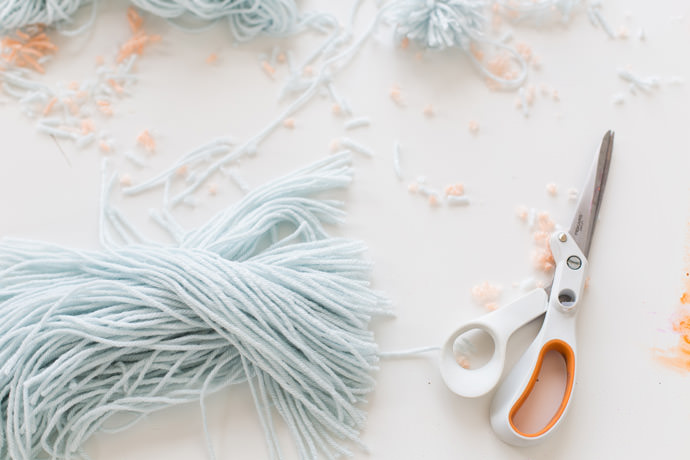
While your waiting for your panel to dry you can start assembling Pom Poms to finish your piece.
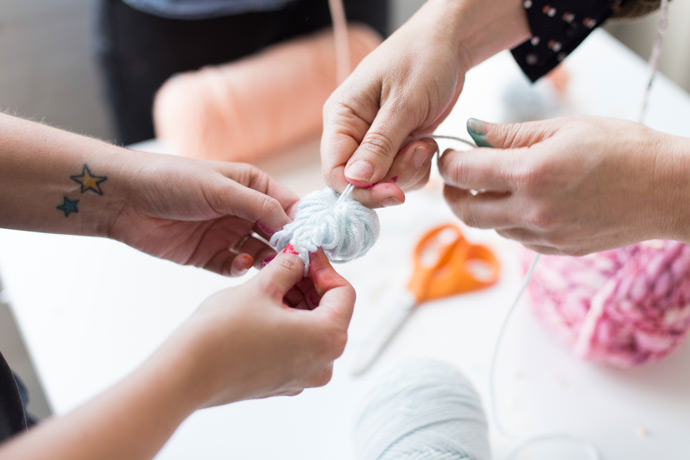
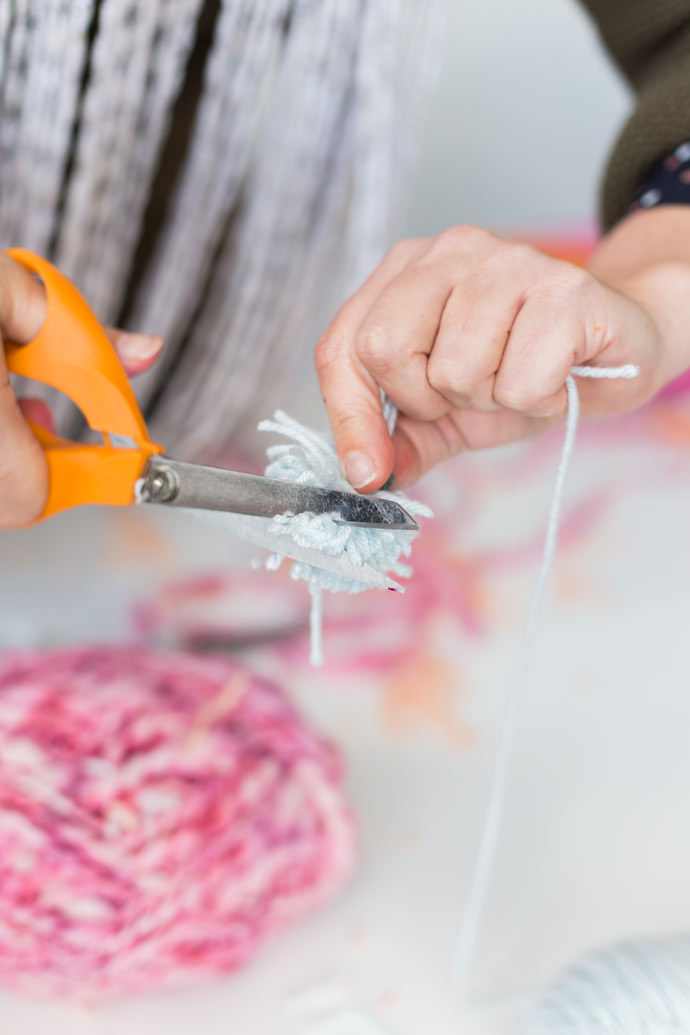
Quick & Easy Pom Pom Instructions:
- Wrap yarn around 3 of your fingers.
- Wind until you get to about a 1 inch thickness.
- Take a 6 inch length of yarn and tie a knot in the middle of yarn going in the opposite direction of your original winding pattern.
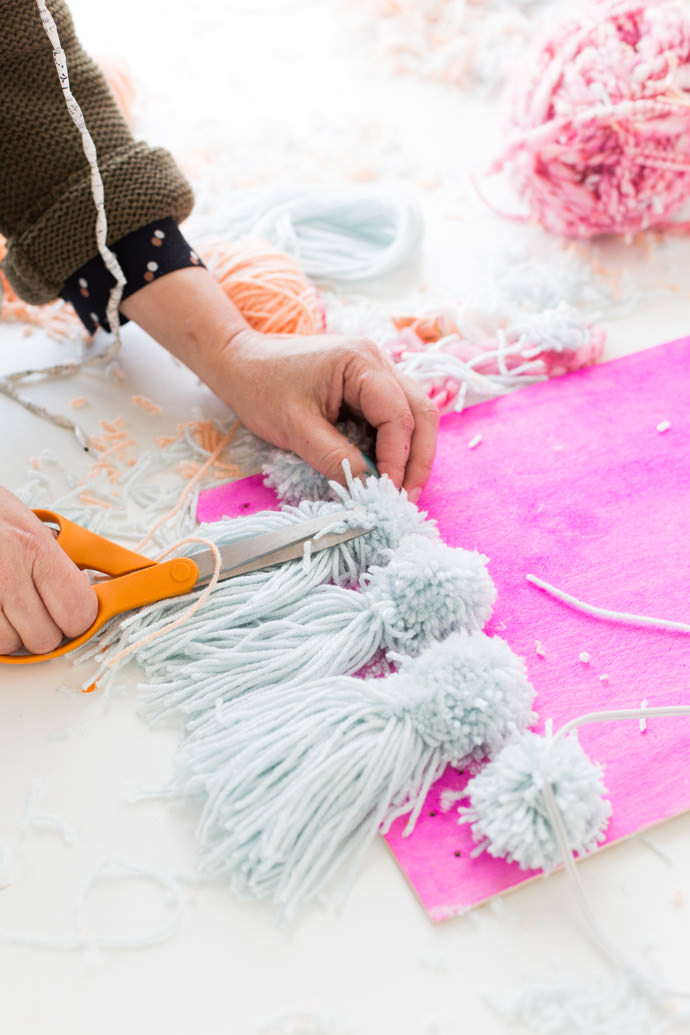
- Slide off fingers and give your Pom Pom a haircut.
- Fluff and attach Pom Pom to pre drilled holes.
Step 5
We had so much fun making the first piece that we decided to make two. If you decide to do the same, just repeat the steps!
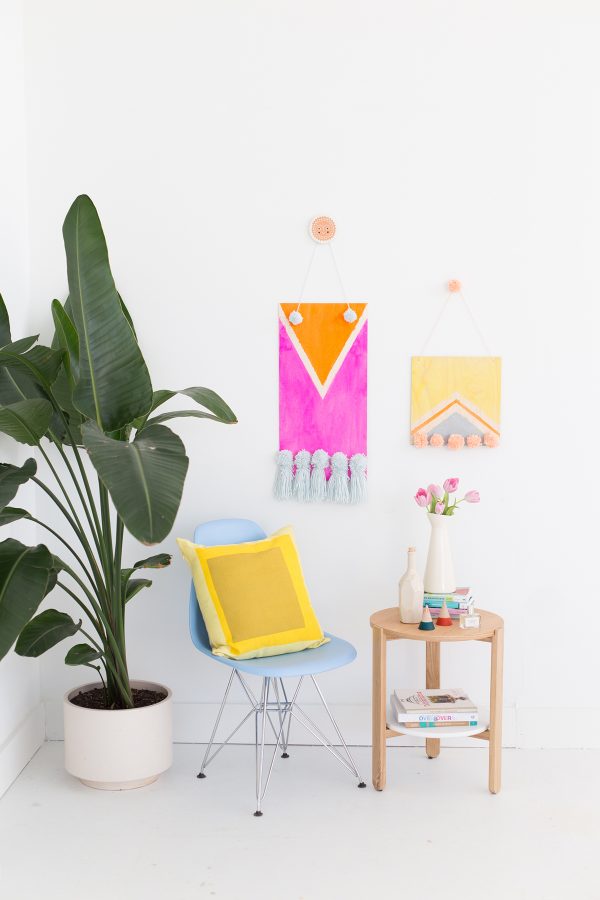
Hang your wall hanging(s) in the perfect spot and style as desired. Happy crafting!
This post is sponsored by Plaid.