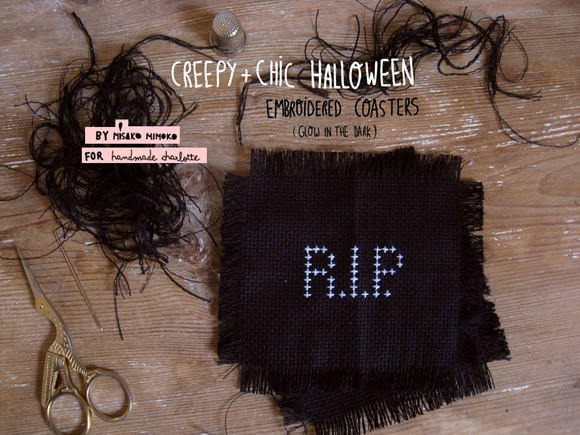
Get a little sinister this Halloween with these easy to embroider, glow-in-the-dark Halloween coasters!

Black is my favorite color for this time of the year, always elegant and full of symbolism. Make a simple and chic embroidered decoration for absolute beginners with these unique and very easy to make coasters—just three letters stitched in white on black fabric; use glow-in-the-dark embroidery thread to make it bright.
Let’s get started!
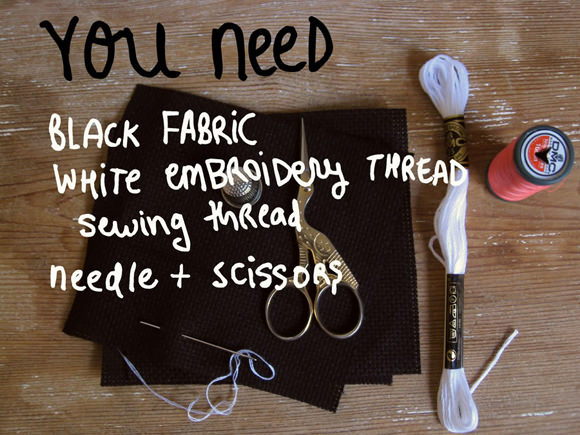
What You Need
- Printable cross-stitch template (download here)
- Black fabric (14-count black Aida or any evenwave fabric)
- White embroidery thread (I used glow-in-the-dark )
- Sewing thread
- Needles
- Scissors

Step 1
Download and print the cross-stitch chart. Cut fabric in 4.9 inch x 4.5 inch pieces. You need just one piece of fabric for each coaster. Fold each piece in half twice and press. Mark the center using chalk or long running stitches with sewing thread. (I think this method is faster and avoids having to wash the fabric.)
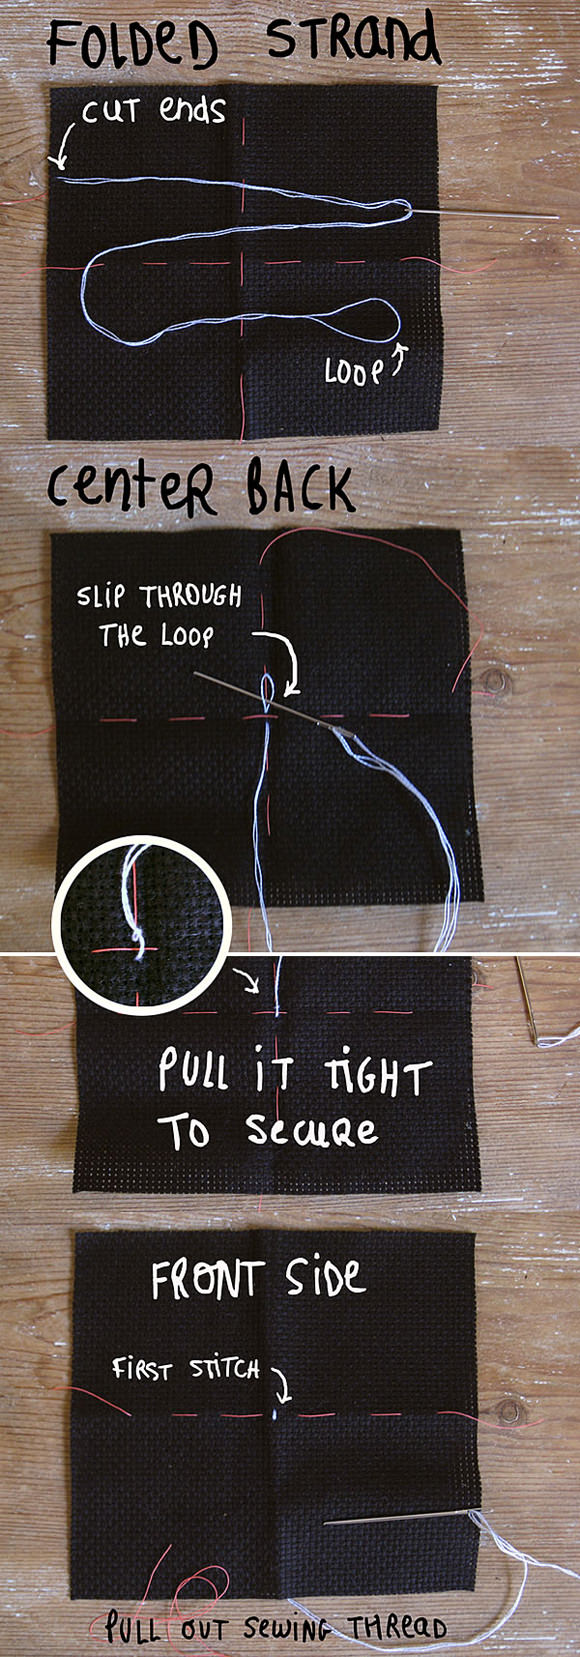
Step 2
Cut a-27 inch long strand of your glow-in-the-dark embroidery floss. Fold the floss in half so the cut ends are together and there’s loop at the other end of the tail. Thread the two cut ends through the eye of the needle. Sew your first back stitch in the center of the fabric. As you pull your thread through the back side, carefully loop your needle through the thread loop to secure.
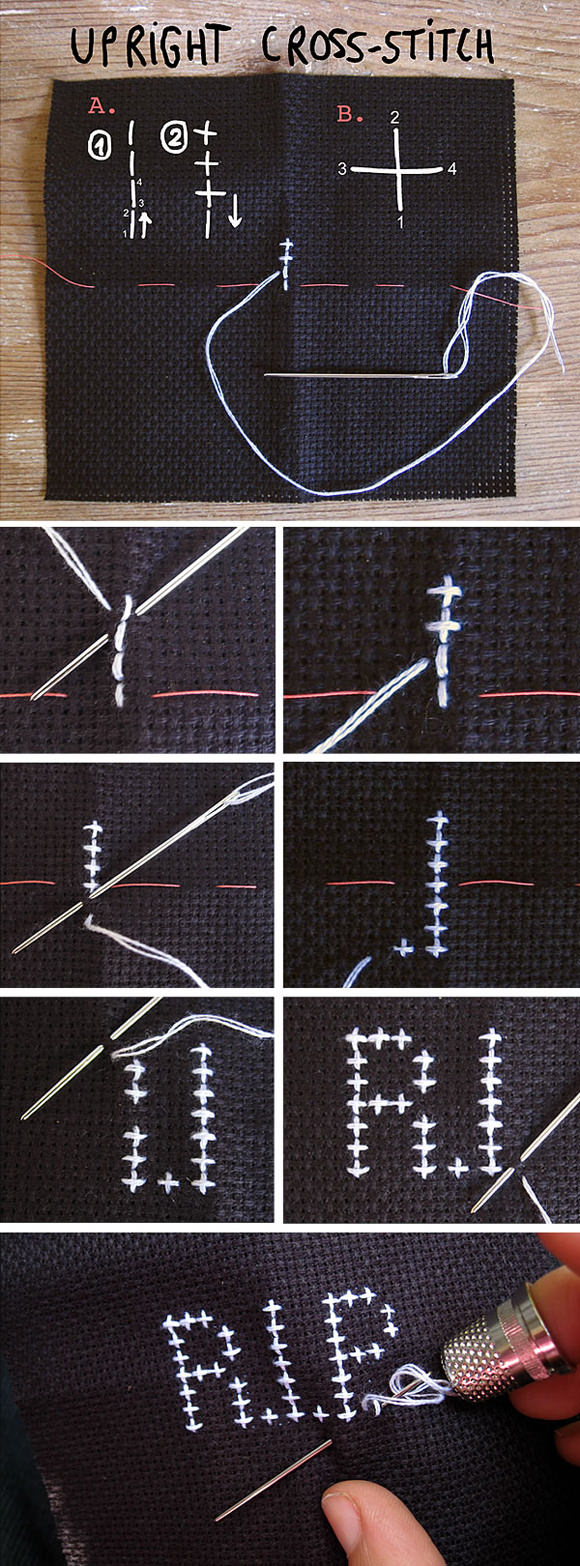
Step 3
Use upright cross stitches for embroidering the letters. These comprise two stitches of equal height and width. Always make the vertical stitch first to ensure the horizontal stitch always ends up on top. You have two easy options for making this stitch: (a) back stitch all the stitches first then straight stitch in the middle of each one or (b) make each cross stitch individually.
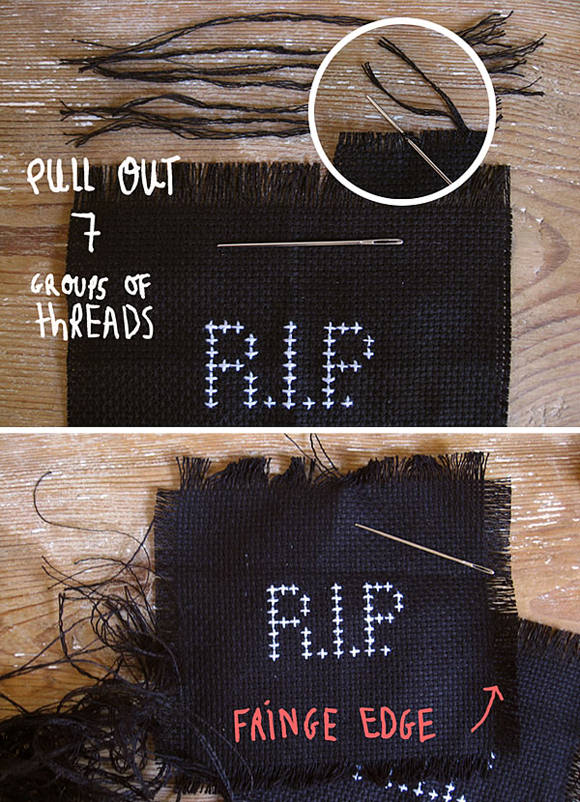
Pull out the sewing thread to make a clean surface and stitch the letter I, stitching up and then stitching down.
Follow the images above to see the whole embroidery process.

Step 4
Finish and secure the stitch when you get to the end of the floss by pulling your needle to the back of the fabric and weaving the thread through the stitches. Carefully pull the tail to secure the stitches and snip off the extra thread.
Step 5
Make a self-fringe edge along all four sides by pulling out 3 to 7 groups of horizontal threads from the edge of the fabric to get the desired fringe width.
I didn’t secure the fringe because this fabric doesn’t fray, and I loved that tattered finish, but you could hem stitch along the edge to fix it.
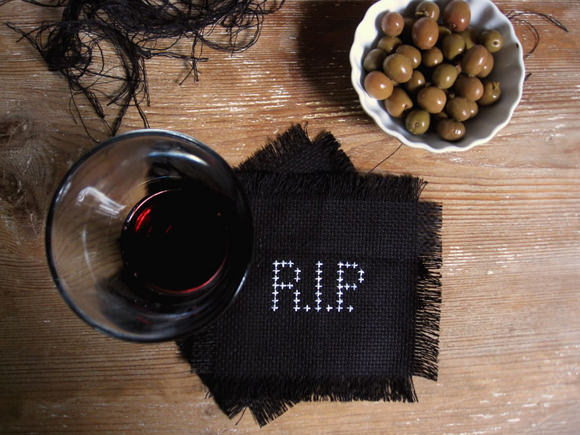
Now that you’ve finished it, enjoy it! Dress your table in black and add red stripes or gingham to get a stunningly creepy party.
Happy Halloween!