Halloween is just around the corner! We usually start the night off by walking around our neighborhood for trick-or-treating, and then we head back home to host our annual Halloween party!
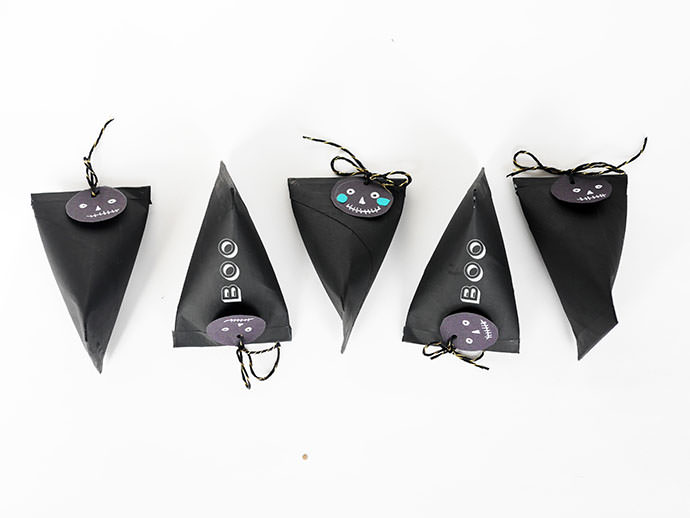
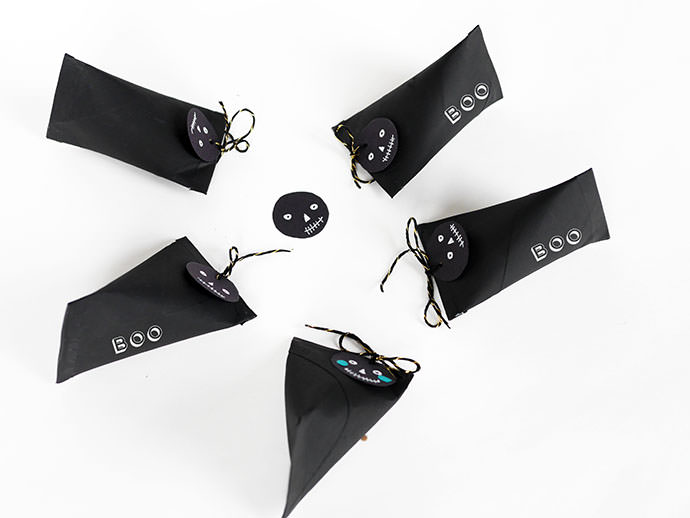
The kids (and adults!) love all the costumes, games, decorations, party food, and of course the loot bags. This year I decided to make my own mini treat bags – aren’t they adorable? Plus, they are super quick to make in case you, like me, are still finishing up your Halloween costume!
You don’t need much to make these DIY treat bags – just look around the house and gather up some empty paper towel or toilet paper rolls. With some paint and black paper, your favors will be done in no time! Oh and don’t forget to fill them with treats!
What You Need
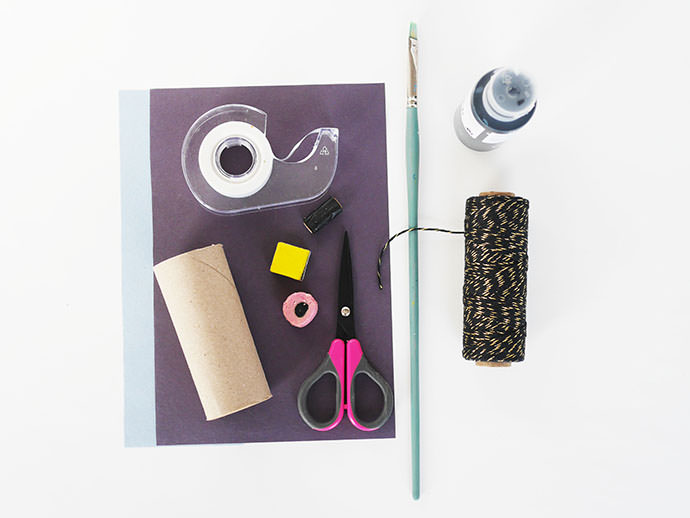
- Colored construction paper
- Empty toilet paper / paper towel rolls
- Scissors
- Black paint
- Paintbrush
- Hole punch
- Twine
- Tape
- Halloween treats!
How-To
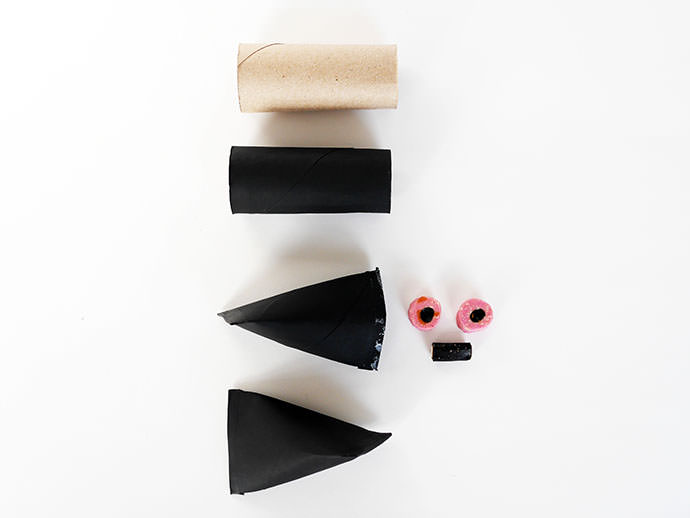
Step 1
Paint your paper roll with black paint and let dry. Press one side of your roll together and tape it closed. For a nice finish I put a quick coat of black paint over the tape. Let dry again. Fill your roll with candies, homemade treats or mini chocolate bars.
Now this is the tricky part: twist the open end of the paper roll in the opposite direction. See the pictures below for reference. To finish, close your roll and tape the sides together. Paint your tape in black again and let dry.
Step 2
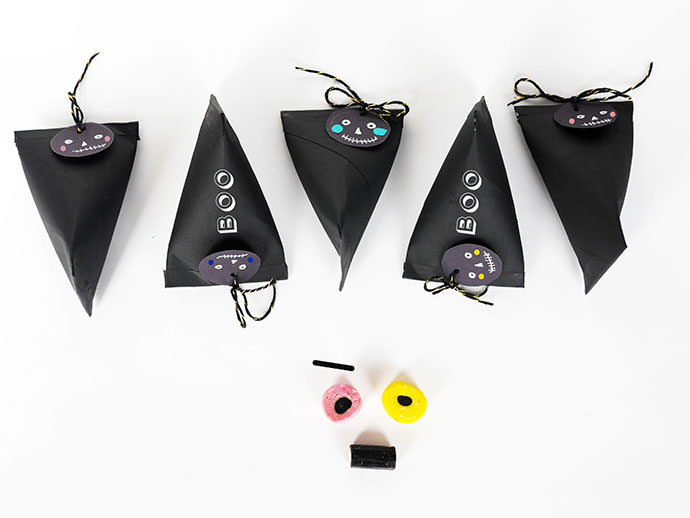
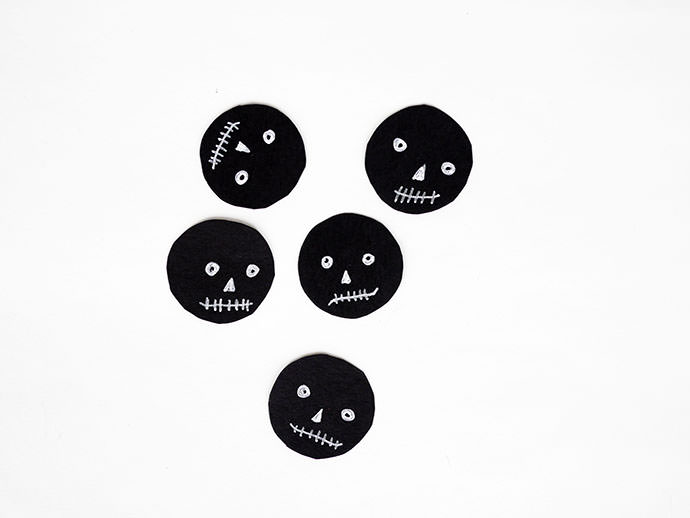
For the tag: draw a circle on your construction paper. Cut and decorate by drawing a funny Halloween face. On the other side, you can add names or messages if you like!

Step 3
Use the hole punch to make a hole in both the face label and end of the sealed favor. Thread the twine through your tag and favor, make a nice knot and voila! Repeat this craft for as many favors are needed.
Happy Halloween!