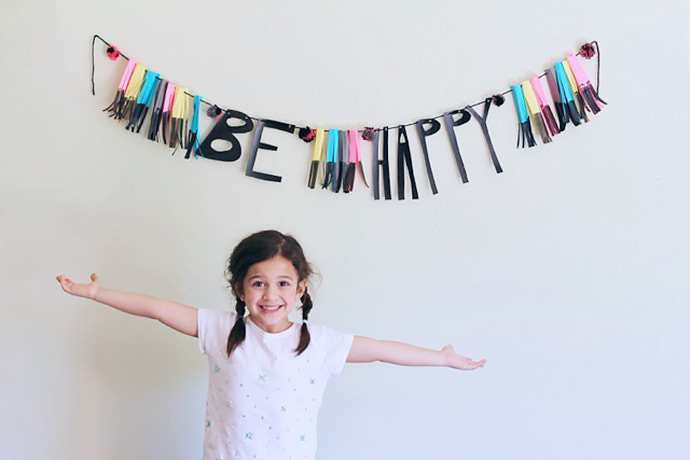
Sometimes we need a great big reminder to just chill and be happy! What better way to infuse this theme into our lives and our homes than a festive “Be Happy” banner that kids can make from cereal boxes and a few other supplies. Today, I’ll show you how so you can get everyone doing a happy dance at home!
What You Need
- Cereal box cardboard (we used about 2 boxes total)
- Black acrylic paint
- Colored paper (we used pink, blue and yellow)
- Pink and black yarn
- Hole punch
- Scissors
- Marker
Instructions

Step 1
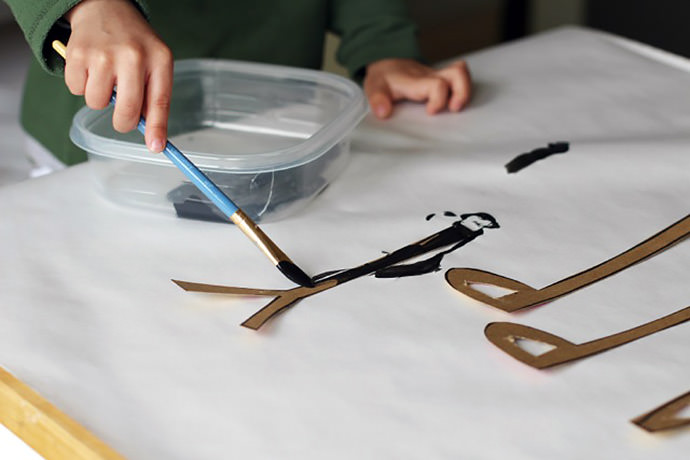
Start our by making your lettering. To do this, draw the outline of letters B-E-H-A-P-P-Y about 4 to 6 inches tall with a marker. Cut each letter out.
Step 2
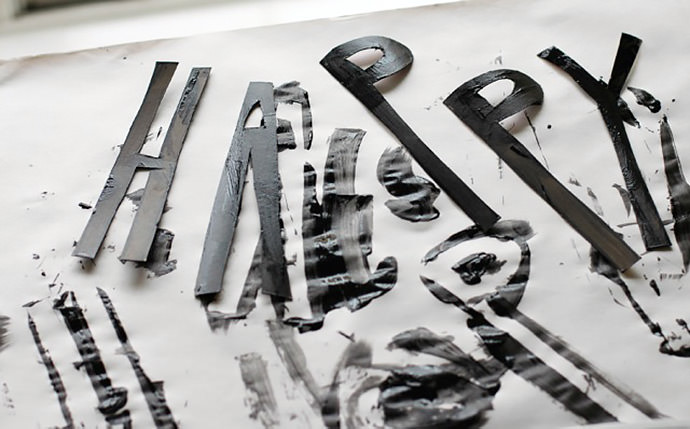
Next, paint your letters (front and back) with black acrylic paint. Little hands love this part.
Step 3
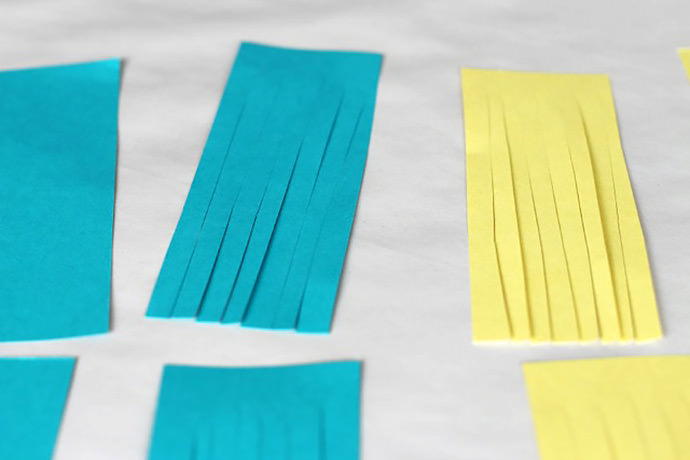
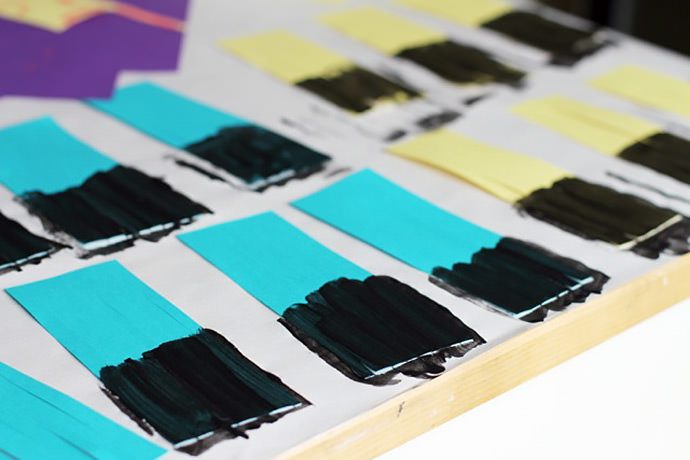
Once your letters are painted set them aside to dry and work on your paper tassels. Cut paper strips about 4 inches tall and 2 inches wide from colored paper. Fringe the paper strips cutting slits almost all the way to the top lengthwise. Once you are finished fringing each tassel, paint the bottoms of the tassels with the same black acrylic paint then set aside to dry.

Step 4
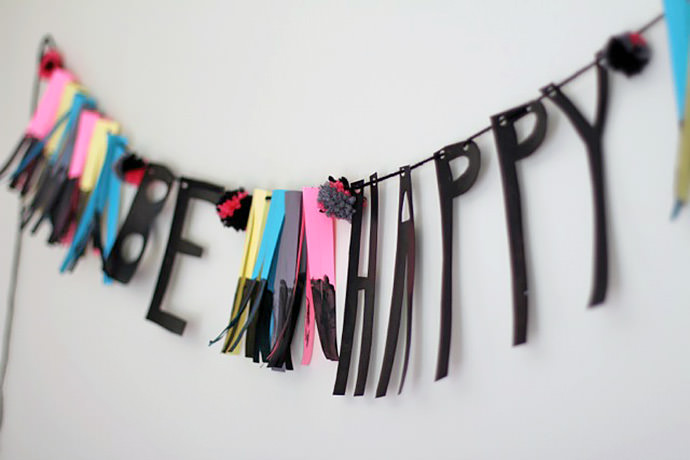
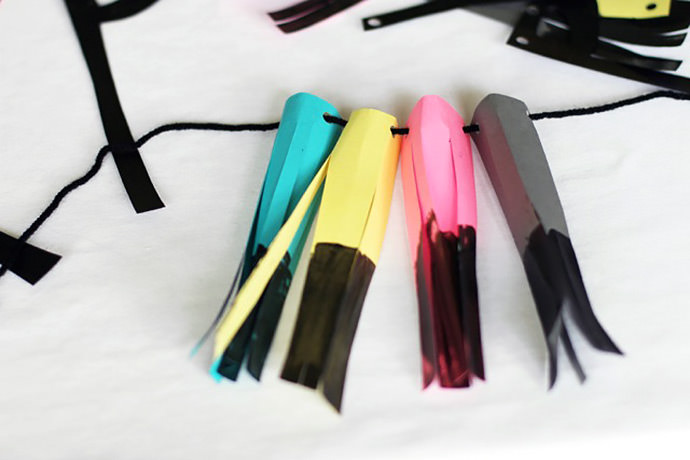
Cut off a long strand of yarn so you can begin stringing your banner. Punch holes in the tops of each letter and in the tops of each tassel then roll up the paper tassels and string them on. We strung on varying colors of the tassels then added the “Be Happy” lettering then followed with more colored tassels.
Optionally, you can add other fun things like yarn pom-poms or frayed golden string. Anything that gives the banner extra pizzaz is always welcome! Hang your banner when you are finished stringing everything and get your happy on!