
Oh, how I love beautiful play! Especially during this time of year. This ice cube garland takes the beauty of the season and turns any space, inside or out, into a winter wonderland. Not only are these strands of colorful ice mesmerizing to look at, but they’re super simple to make and not to mention, seemingly defy the rules of nature!
What You Need
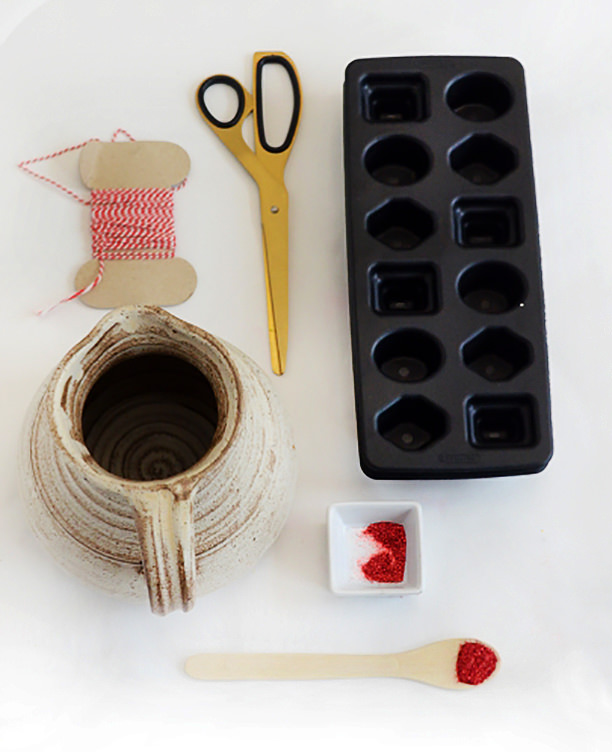
- Ice cube tray
- String
- Scissors
- Water, colored water (dyed with food coloring), and/or glitter
How-To

Estimate the desired length of string, add several extra inches, then cut the string.
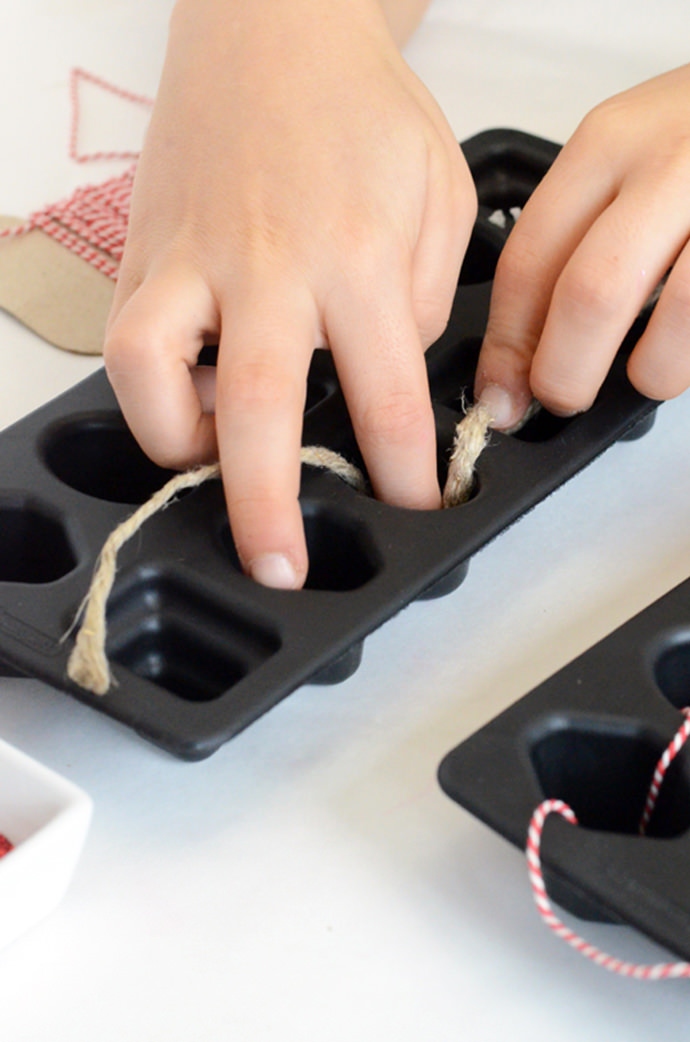
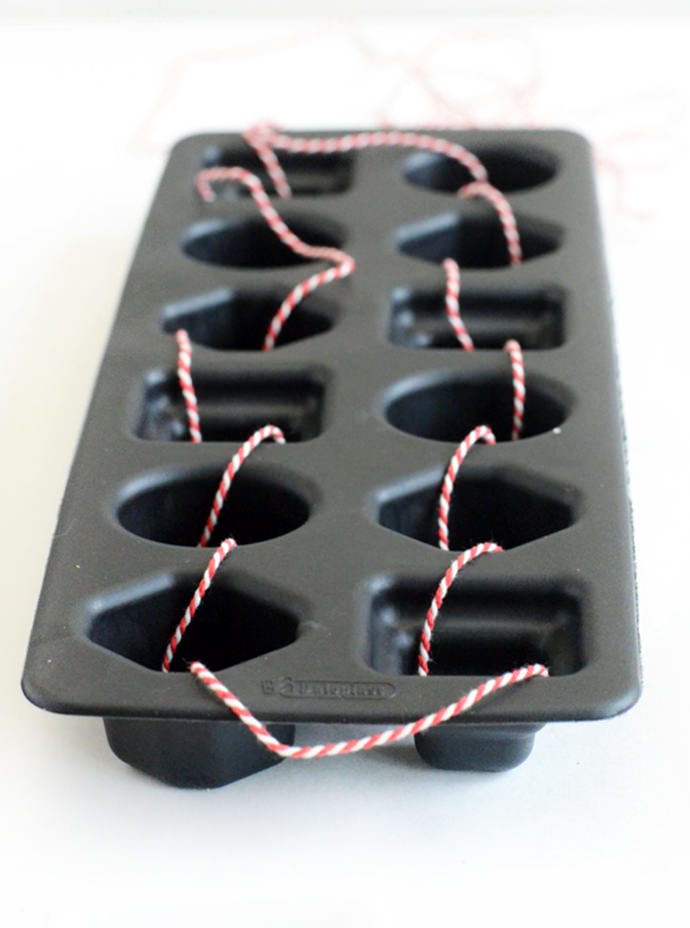
Leaving some length at the end, lay the string over the ice cube trays and press the string down into each cube area. Use one finger to press the string deep to the bottom of each slot while another finger holds the rest of the string in place.
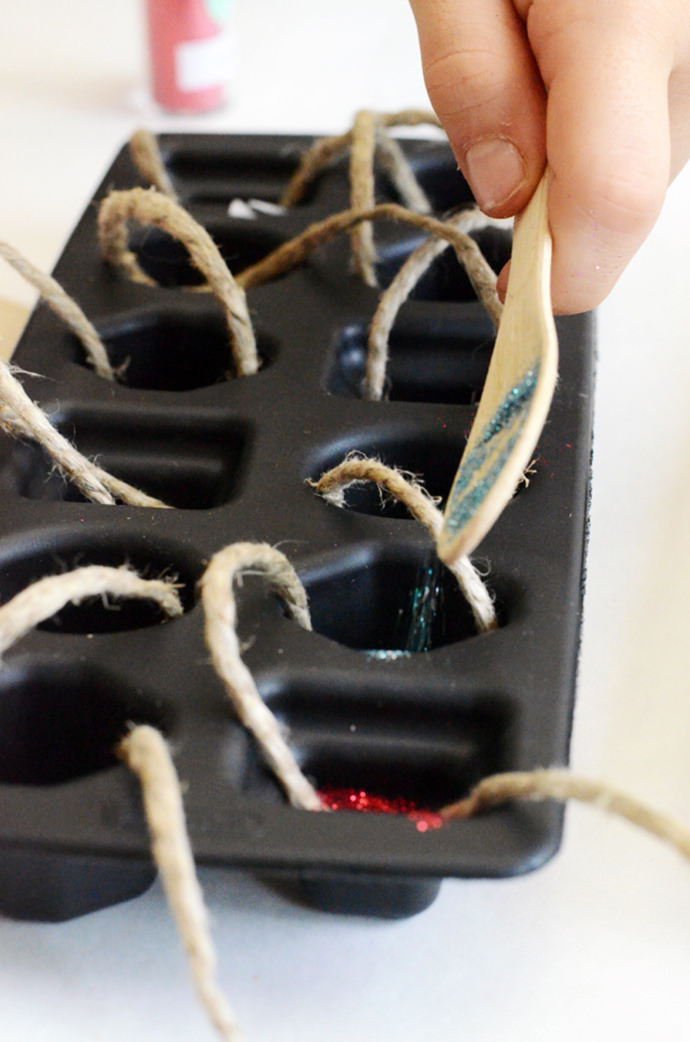
Once all the string is in place, fill the trays with water (colored or plain) and/or glitter. Carefully move the tray to the freezer and freeze until solid.
Remove the tray from the freezer, pop out the cubes, and quickly start decorating. Be careful not to pull too hard on the string!
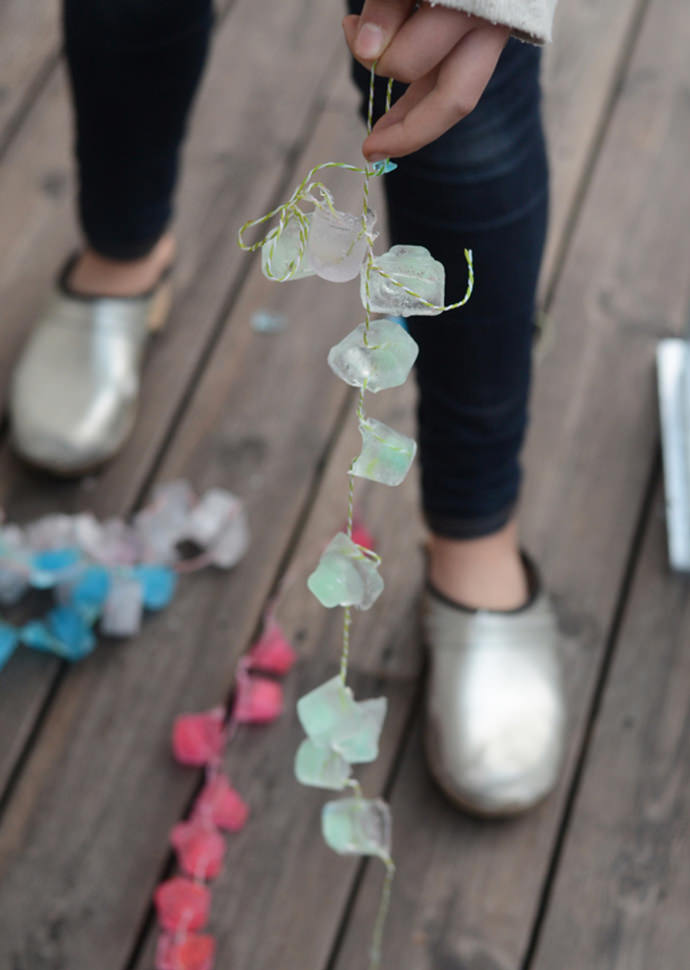
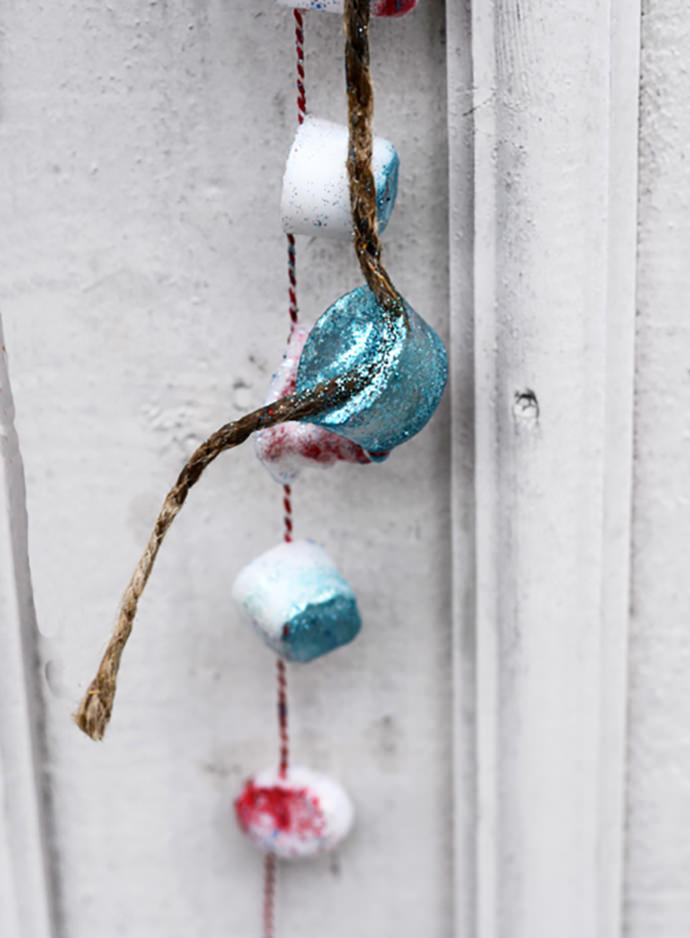
We like to hang our garland on the trees around our house and from the railings of our porch, but really these things can go anywhere!

If temperatures are cold enough where you are, I’d suggest making these one afternoon, leaving them outside to freeze overnight, then unfolding and decorating with them the next day. To keep everybody’s hands warm and dry, fill large water bottles with water inside the house, then take the craft outdoors.

Have fun with the kids and get some icy cool decorations while you’re at it!