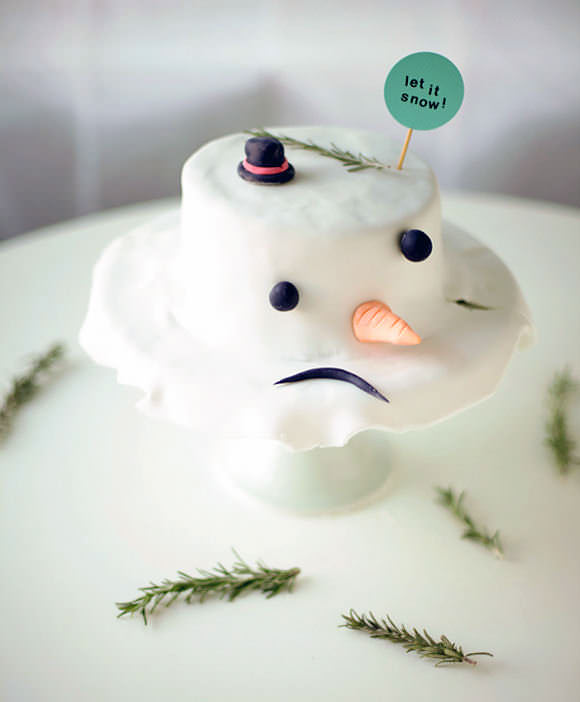
Make your guests smile at your holiday party with a hilarious melted snowman cake! It’s a silly and fun cake that is truly easy to make—your kids can help out too with rolling the fondant and making the snowman’s face parts. Throw on the holiday tunes, pour yourself a big old glass of eggnog, and get baking!
I’ve seen this chuckle-inducing design on melted snowman cookies and cupcakes before but hadn’t yet seen it on a cake so I decided to give it a try. It’s covered in white fondant, which you can purchase at baking or craft superstores, or you can make your own marshmallow fondant.
What You Need
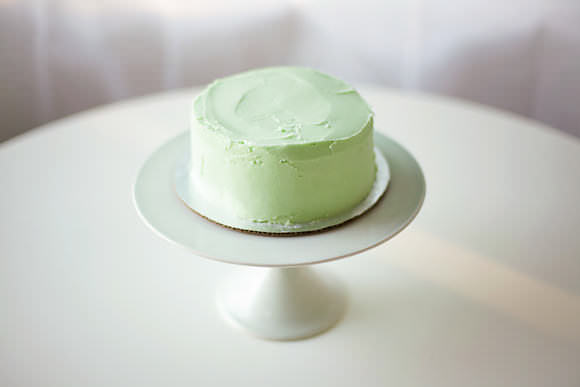
- A baked and cooled cake of your choice, covered in buttercream or frosting. I made a 7-inch two-layer cake.
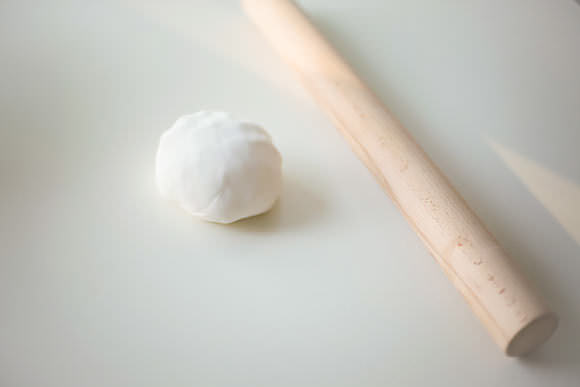
- A 6-inch ball of white fondant
- Cornstarch for working with fondant
- Rolling pin
- Food safe scissors or a paring knife
- More fondant for the snowman’s face colored with black gel color, orange gel color
- Wooden BBQ sticks
- Rosemary sprigs for decor (optional)
- A cake stand or large platter for display
Step 1
Bake your cake according to recipe’s instructions. Let your cake cool completely, then frost your cake in buttercream or icing. Place your cake in the fridge or freezer to chill slightly—ten minutes.
Step 2
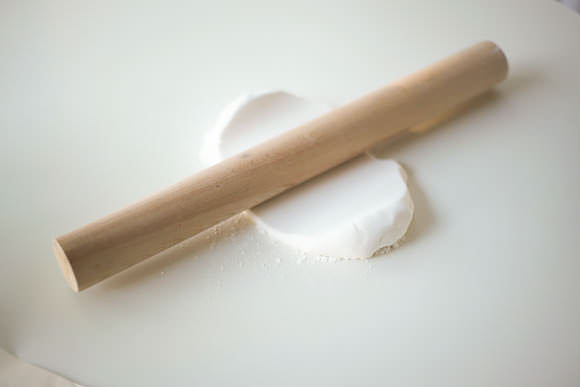
Sprinkle a little bit of cornstarch on a nonstick surface to avoid stickiness and roll out your fondant ball to a ¼-inch thickness.
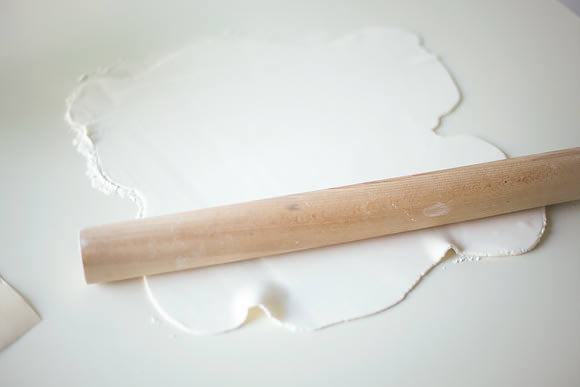
Step 3
You want to roll a large enough piece of fondant to not only cover your cake but also for the “melted” look!

Step 4
Take your cake out of the fridge or freezer. Carefully place your fondant on top of your chilled cake. Pat the fondant down lightly on the top and around the sides so it sticks to the frosting underneath. Extra fondant will be hanging over your cake board. Working quickly, you want to trim some of the excess fondant so it doesn’t tear. Using food safe scissors or a paring knife, trim the fondant where it starts to hang over the cake pedestal so the weight of the excess doesn’t tear the fondant. Note: If it does tear a little, not to worry! Simply press it back together—it’s like Play-Doh.
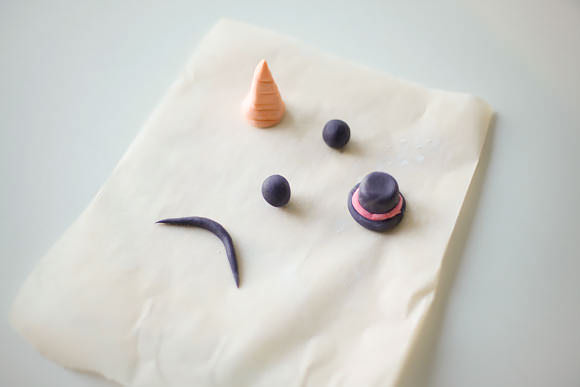
Step 5
Make your fondant face and little hat! Color some fondant black to create two balls for the eyes, mouth, and hat. Color some fondant orange for the carrot nose and the band around the hat. I used a paring knife to mark the “carrot” with lines for texture.
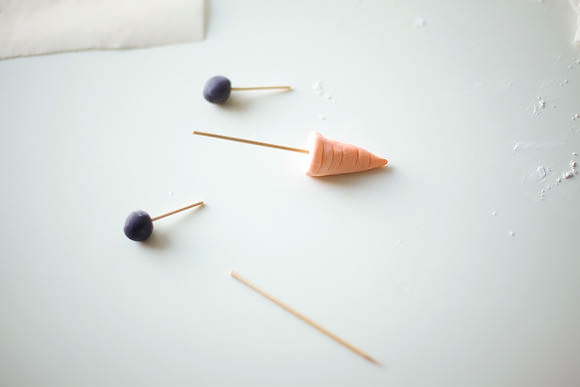
Step 6
Anchor your fondant eyes, nose, and hat with wooden BBQ sticks. I use them because they’re sturdier than toothpicks. Use heavy duty scissors to trim them to smaller sizes.
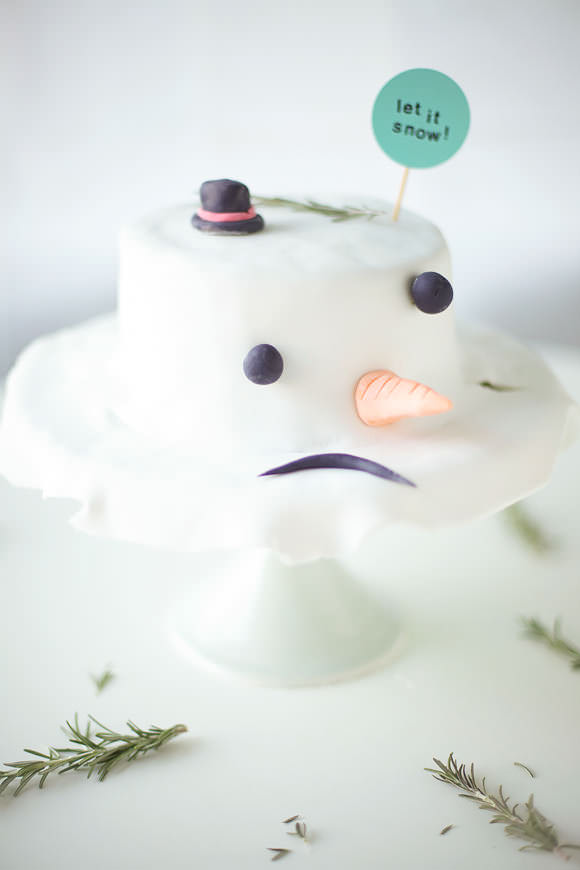
Step 7
Place your eyes, nose, and hat into your fondant covered cake. I chose to offset the eyes and nose to create the illusion of a melted face. For the black mouth, adhere with a tiny bit of water and place on top. I used rosemary sprigs to scatter around the cake and placed one sprig on top to give it an extra wintry evergreen feel!

Step 8
I also made a “Let It Snow” cake flag out of craft paper—your flag can say whatever you like! “Help me, I’m melting!” or “Frosty’s Demise” comes to mind … hee hee!
Have a blast making this Melted Snowman cake, guys! Let me know how it turns out for you. See you real soon with another post of cute cakey fun.