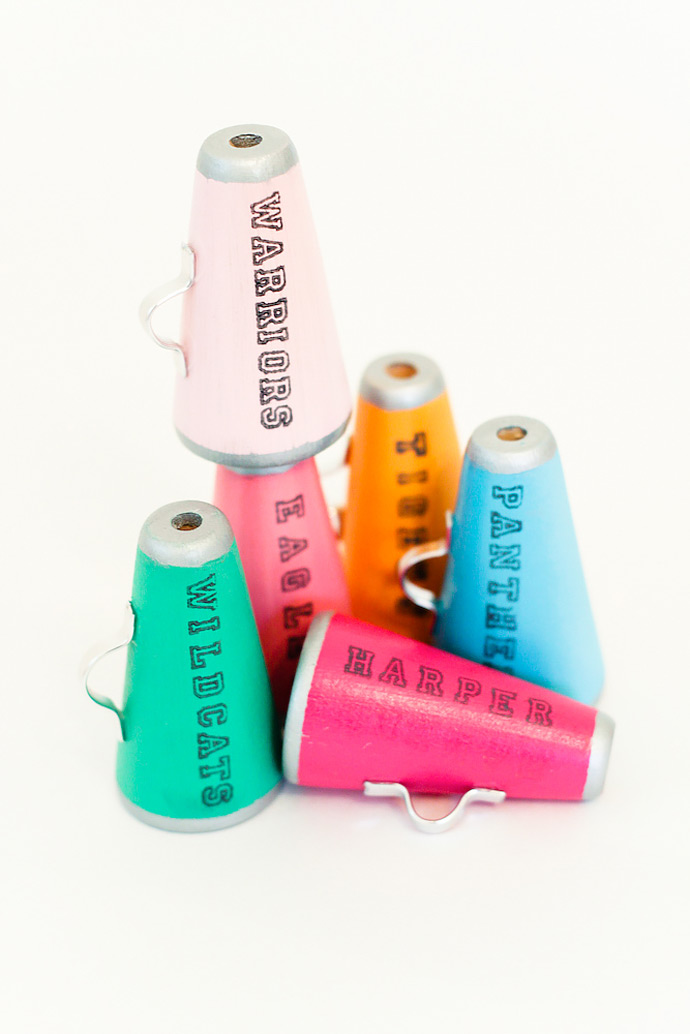
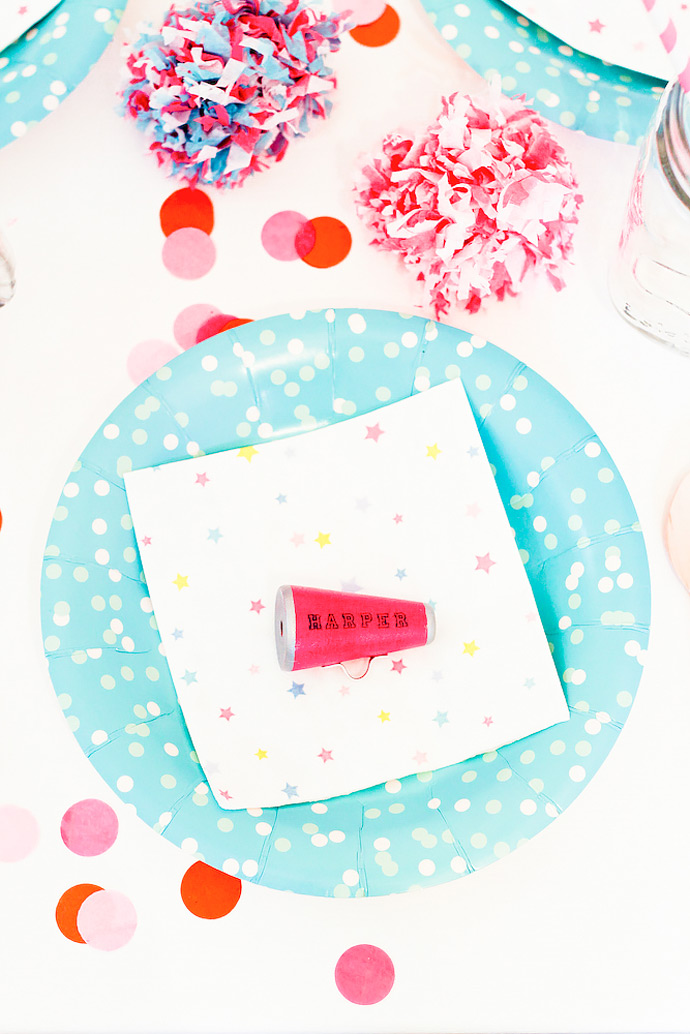
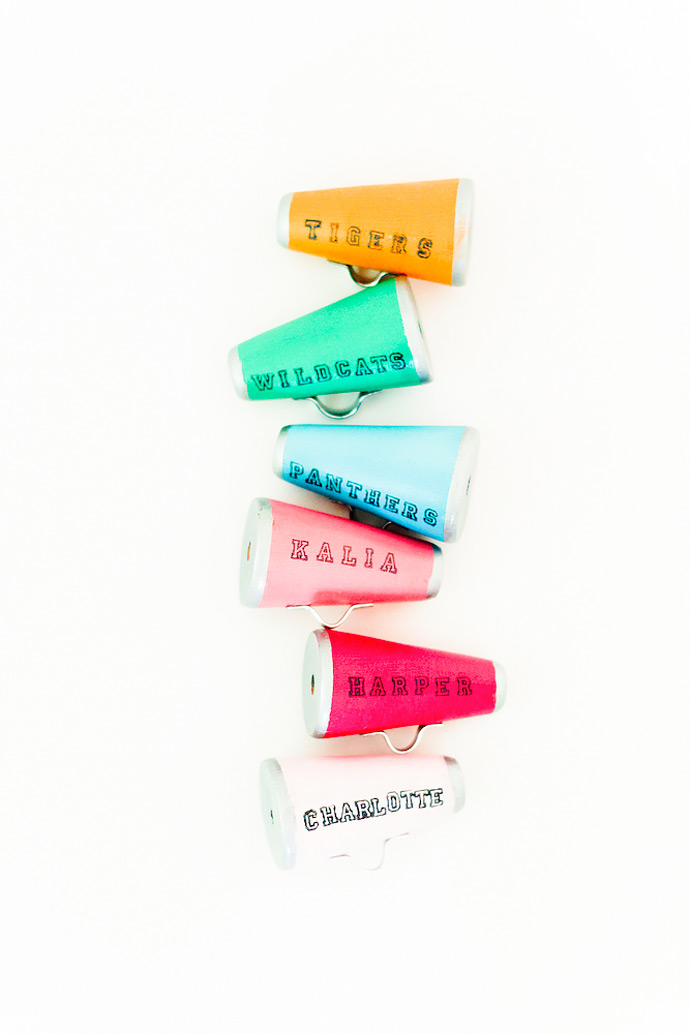
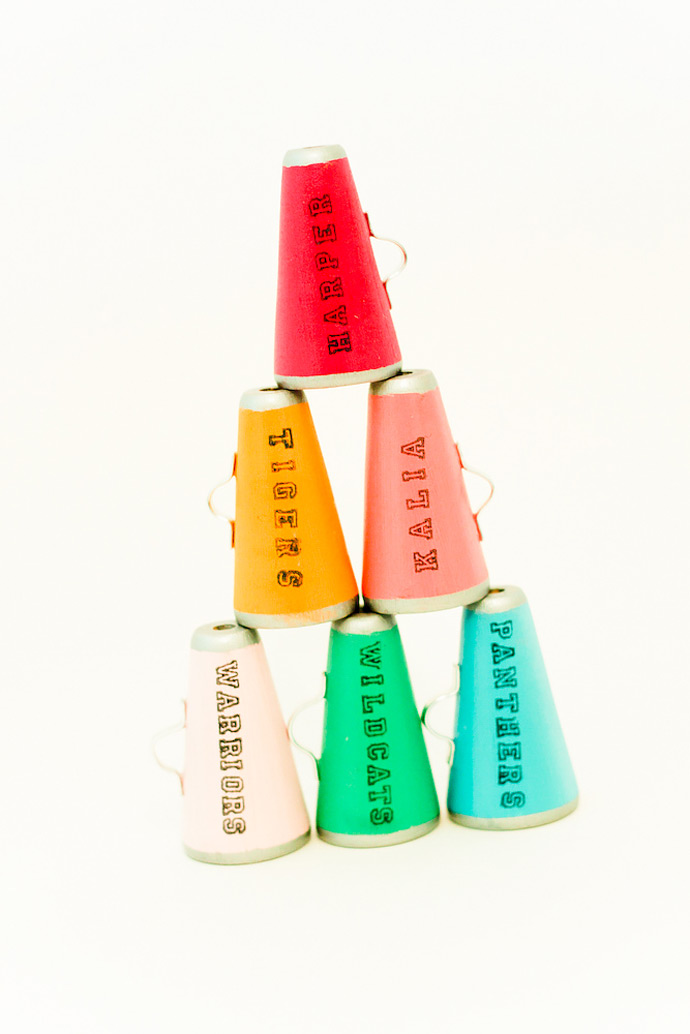
It’s officially fall, y’all! Now we can look forward to the leaves changing color, pumpkin everything, bonfires, and cheering on our favorite teams. My daughter entered Jr. High this year, and I was thinking it would be fun to have some of her friends over for dinner before a Friday night football game. Since I’m always looking for an excuse to “make it a party”, we will obviously need mini megaphone place cards!
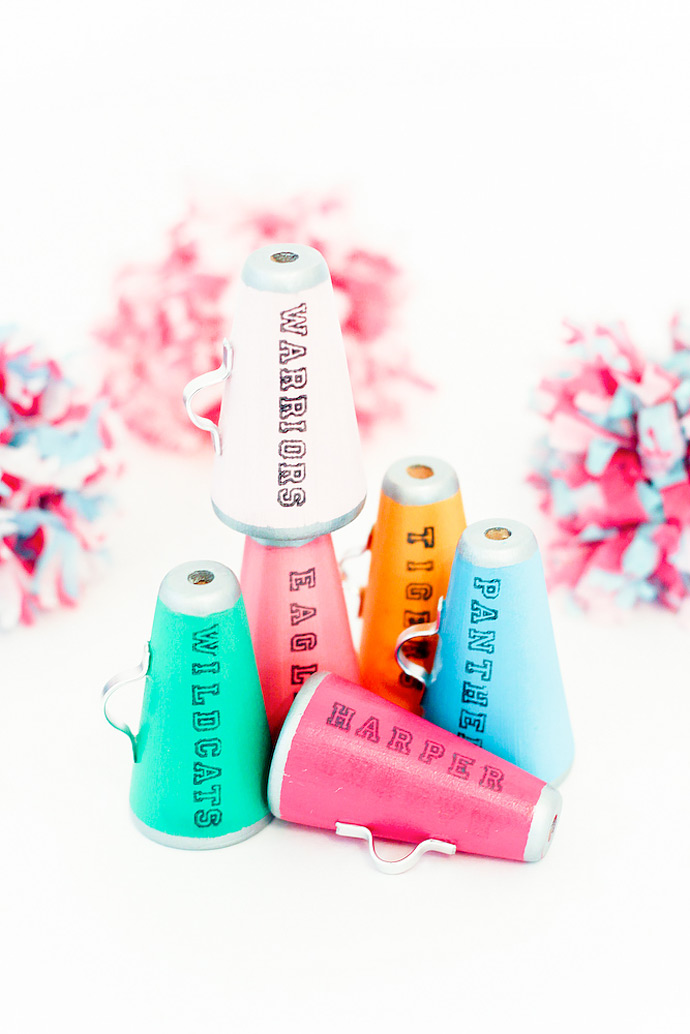
These would also be adorable for a cheerleading function, a backpack charm, or even a keychain. Make them in your favorite colors, or show some school spirit! Unfortunately, they won’t actually amplify your voice, but I dare you to hold one without pretending to use it!
What You Need
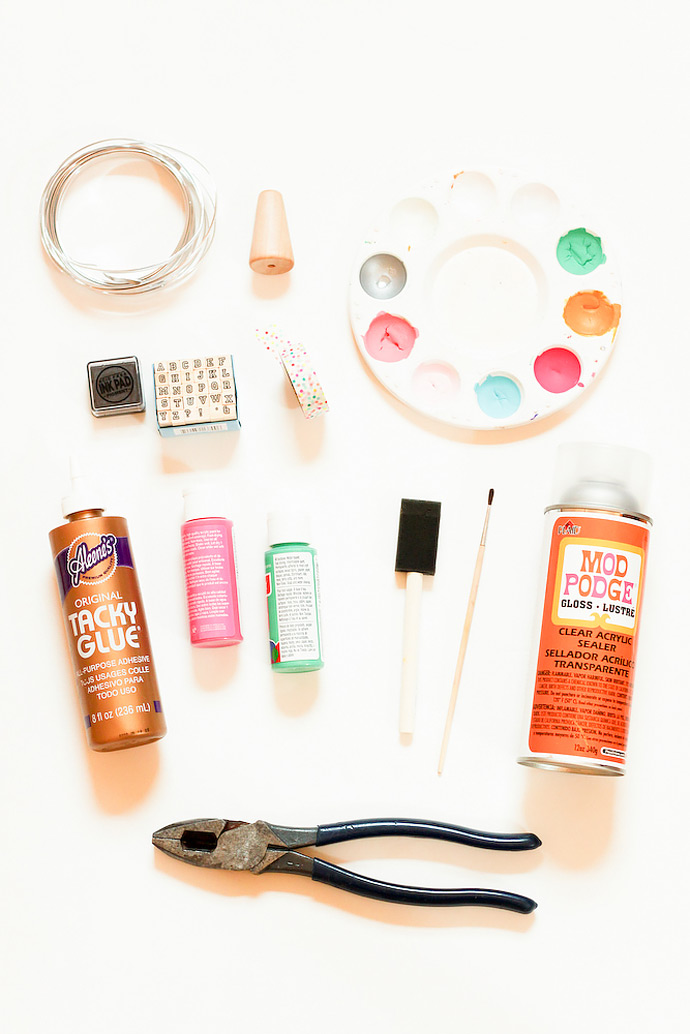
- Wooden doll body
- Acrylic paint in color of your choice
- Acrylic paint in silver
- Sponge paint brush (for the overall color)
- Small paint brush (for the silver ends)
- Paint palette
- Baby wipe (or damp Q-tip or paper towel)
- Washi tape
- Alphabet stamps
- Ink pad (I used charcoal gray)
- Tacky glue
- Clear acrylic sealer
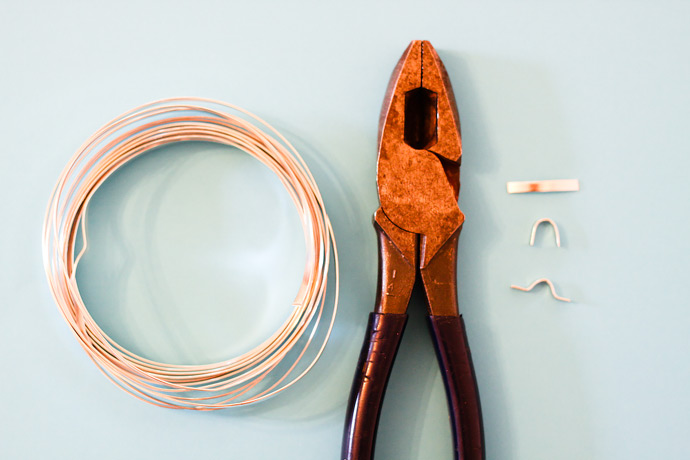
- 16 gauge aluminum wire
- Wire cutters
- Aluminum foil
How-To
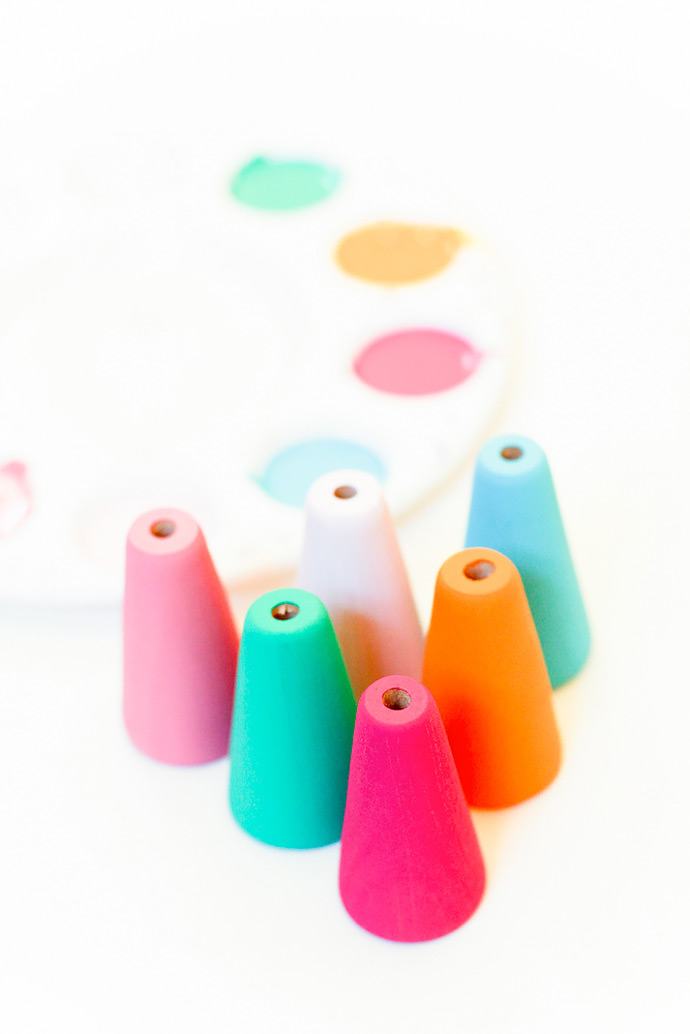
Step 1
Paint the cones in the color(s) of your choice, starting with the body. Allow that to dry before painting the top and bottom, then allow the entire cone to dry completely. I set my cones on aluminum foil throughout the painting process!
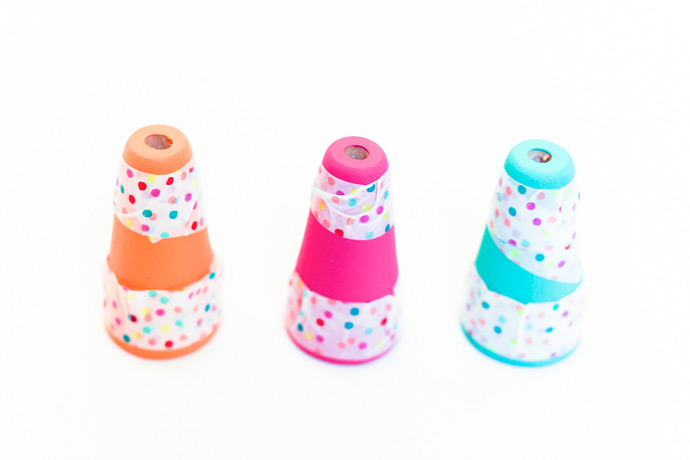
Step 2
Place a strip of washi tape about 1/8” from the top of the cone, and wrap it around until it overlaps itself by at least 1/4 inch. Repeat this step 1/8” from the bottom of the cone. It is difficult to get it perfectly even, so you may have to gather the tape a bit…especially near the top. Be sure to press it down as much as possible, so that your paint doesn’t seep through in the next step!

Step 3
Paint the top of the cone silver, and rip the tape off IMMEDIATELY after you apply the paint. Do not allow it to dry! Carefully run a damp Q-tip or baby wipe along any uneven edges. You should be able to remove any runs without wiping off the bottom layer of paint. Once the top is dry, repeat this step on the bottom of the cone.

Step 4
Starting near the wider end of the cone, use your alphabet stamps to stamp the name of your choice on one side. It is easiest to start with the top of the stamp and roll down. If you are unhappy with the placement or spacing of your letters, a baby wipe generally does the trick! If not, you can easily touch it up with a little coat of paint. Be sure you don’t touch the ink, as it will smudge until sealed (step 5). On the opposite side of your cone (180 degrees from the name you stamped), you may stamp a team name, starting at the narrow end of the cone.
Step 5
Take your megaphone, and clear acrylic sealer outdoors (away from your house, cars, pets, etc.), and from at least a foot away, spray both sides of your cone with sealer. This will keep your letters from smudging and will give your megaphone a glossy finish. Allow the cone to dry.
Step 6
Cut a 1” strip of wire. Using your fingers, mold the strip into an arc, then bend about 1/8” out on each end to create a handle.
Step 7
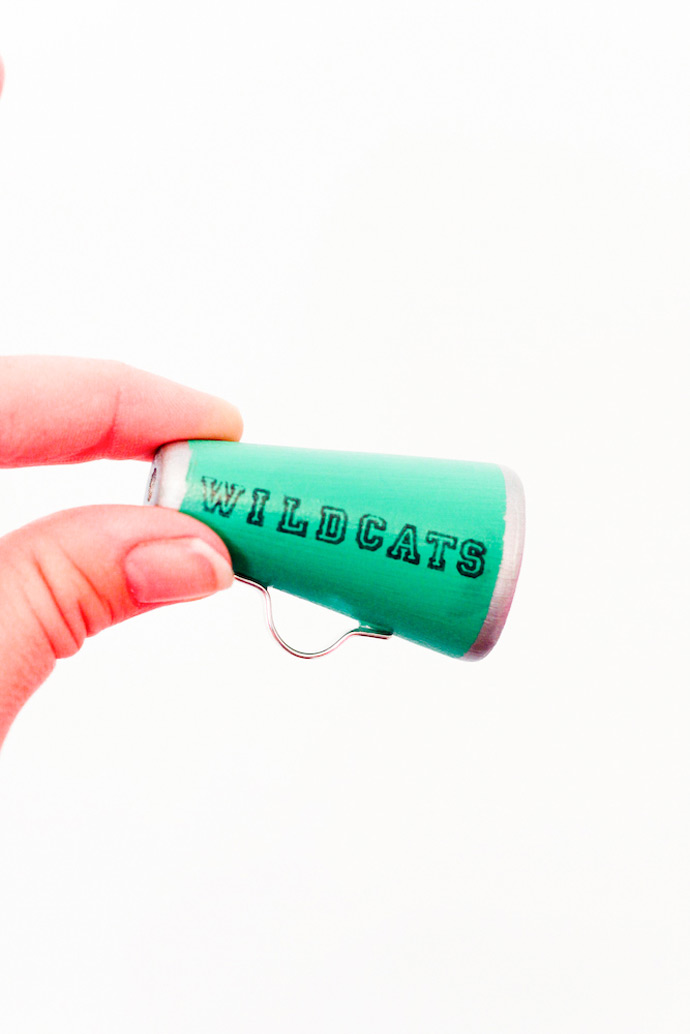
Put a dot of glue on each end of the handle, and place it on your megaphone directly between the bottom of the name and the team name.
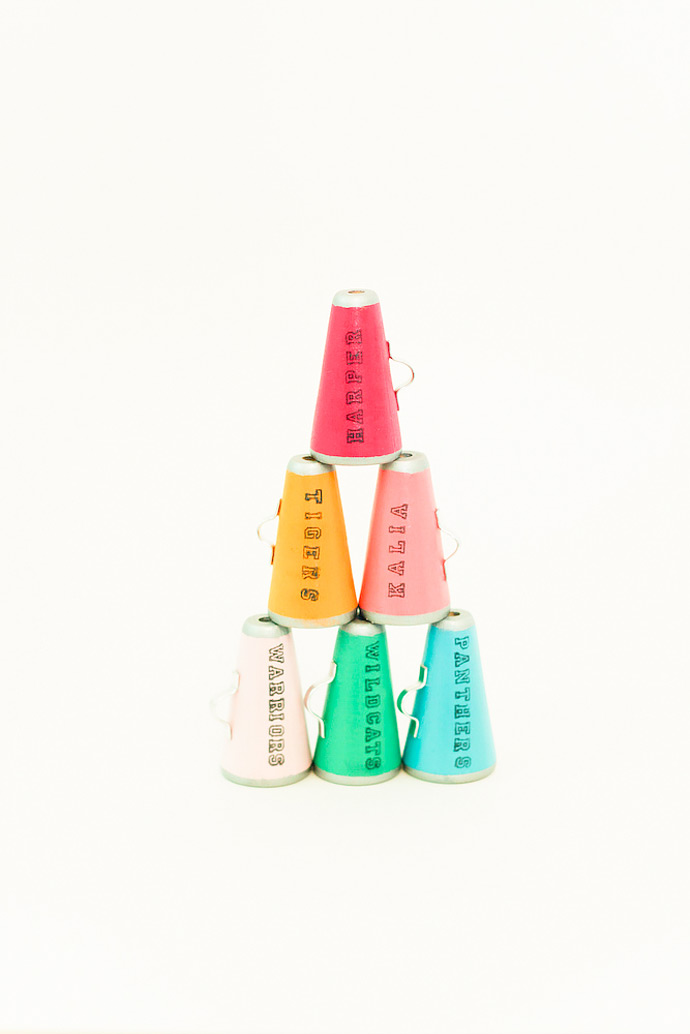
Voila! You have a cute little megaphone!