
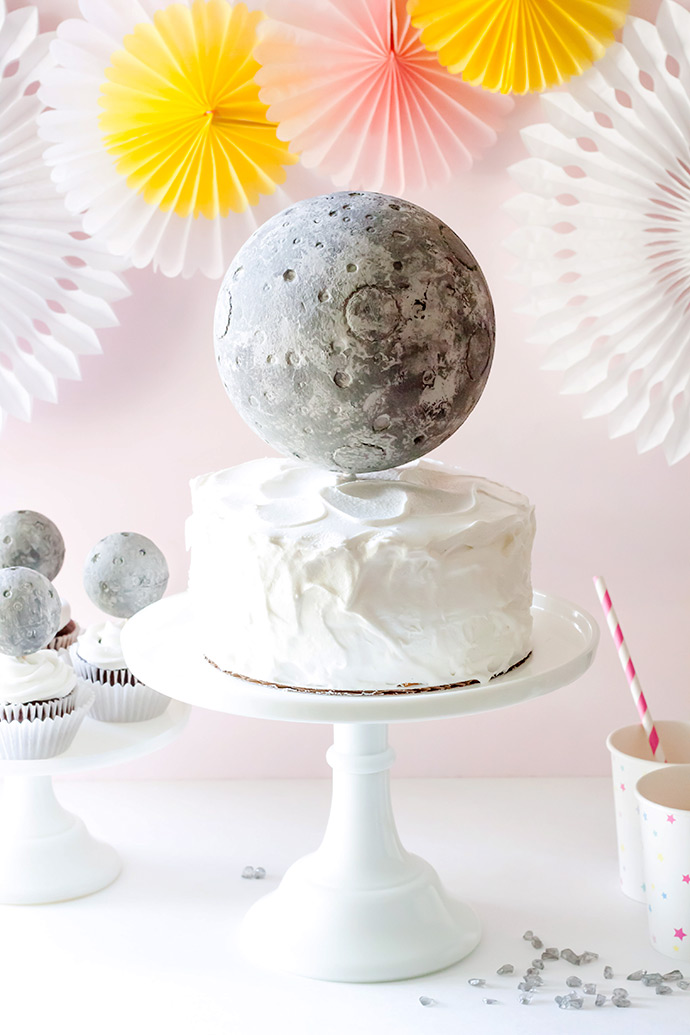
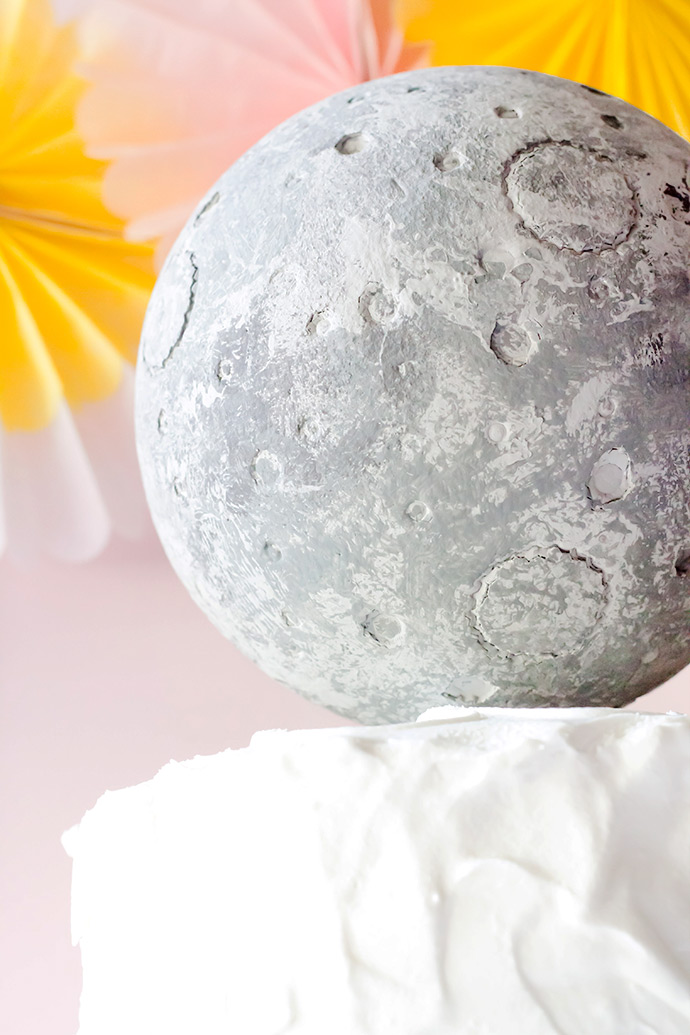
Unicorns and mermaids may come and go, but the moon is here to stay! I’m pretty sure the moon is just as fascinating now as it was when we were six years old. The recent solar eclipse brought on a new appreciation for it, and inspired this fun cake topper! Now we will be ready to celebrate the eclipse of 2024, and in the meantime this moon topper is perfect for an outer space birthday celebration we’re having this fall!
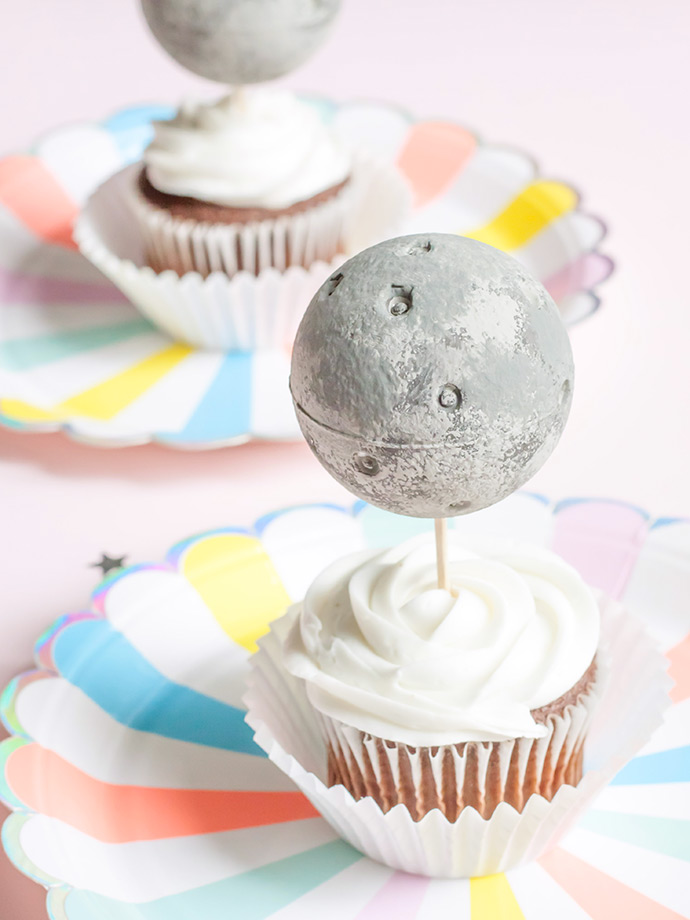
I love simple DIY projects that aren’t very time consuming and don’t break the bank … but we also want to give our children the moon, right? With this cake topper, you can have it both ways! This has to be the easiest last-minute project, and all you really need is a Styrofoam ball and a few shades of gray paint. Another thing I love is that this topper pairs well with feminine and masculine color schemes. It would even be cute for an “over the moon” baby shower!

what you need:
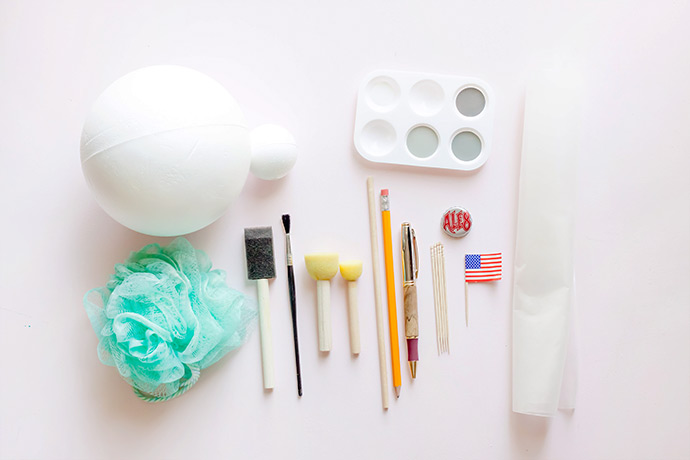
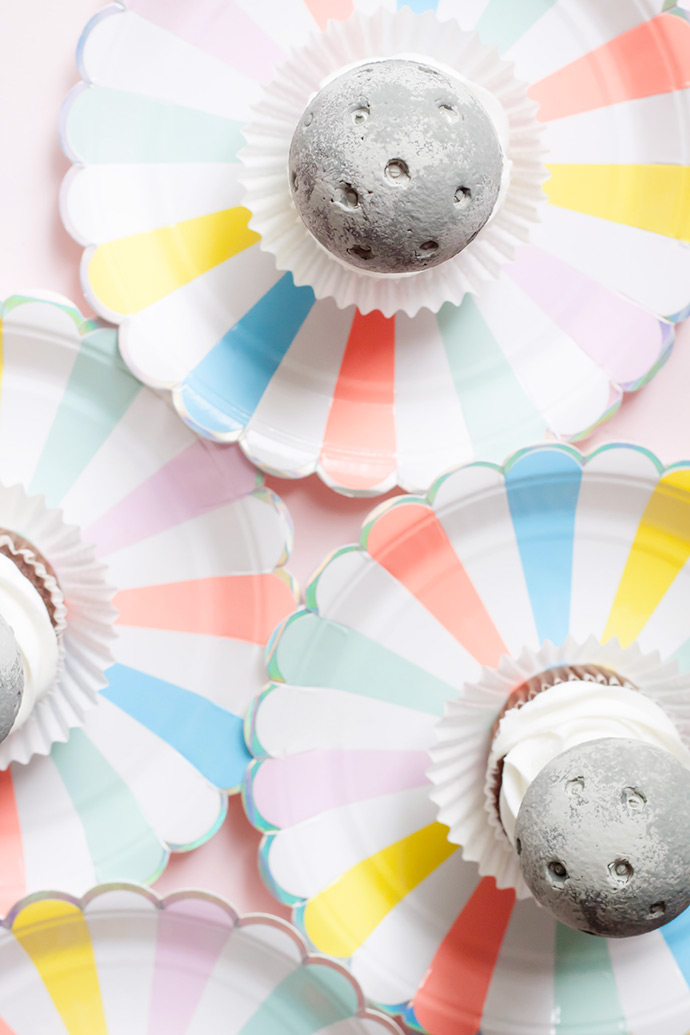
• 6” smooth foam ball (cake topper) / 1.9” smooth foam ball (cupcake topper)
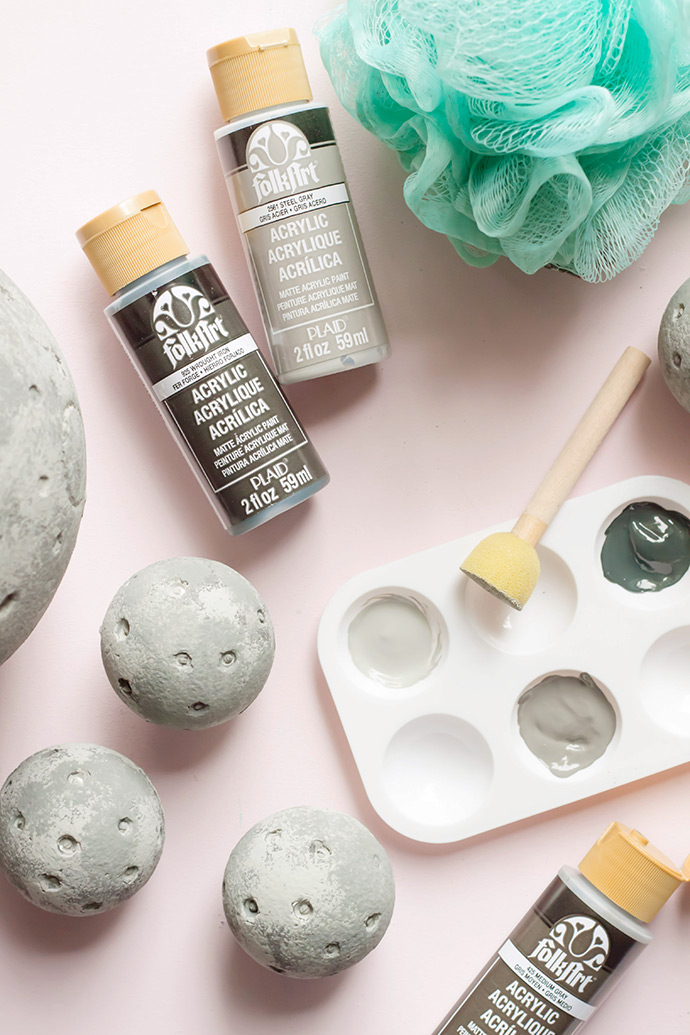
• Apple Barrel Acrylic Paint (in white, and light, medium and dark gray)
• Paint Palette
• Sponge brush
• Small foam stencil brushes
• Paintbrush
• Toothpicks (extra-long)
• 3 inch-long 3/16” wooden round dowels
• Mesh pouf bath sponge
• Wax paper
• Small astronaut figurines (optional)
• American flag pick (optional)
• Bottle cap
• Pen (without ink tip exposed)
• Pencil eraser
how-to:
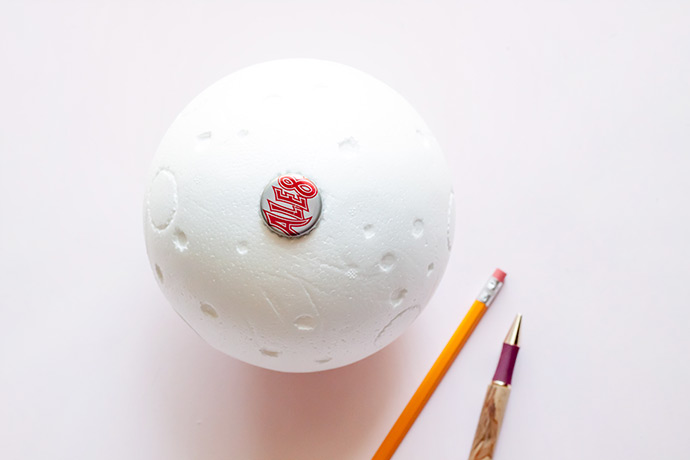
Step 1
Use a bottle cap, pen tip, and pencil eraser to poke holes in your smooth Styrofoam ball. Placement should be random, and you may want to make some holes deeper than others to create depth. If you are making cupcake toppers, only use the pen tip and pencil eraser – the bottle cap is too large.
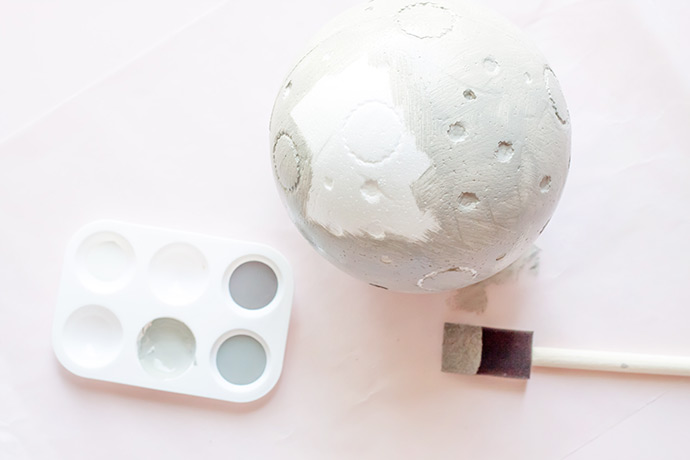
Step 2
Paint the entire ball using a sponge brush, and light gray acrylic paint. Set it on a piece of wax paper to dry. You may have to touch up the bottom of the ball later.
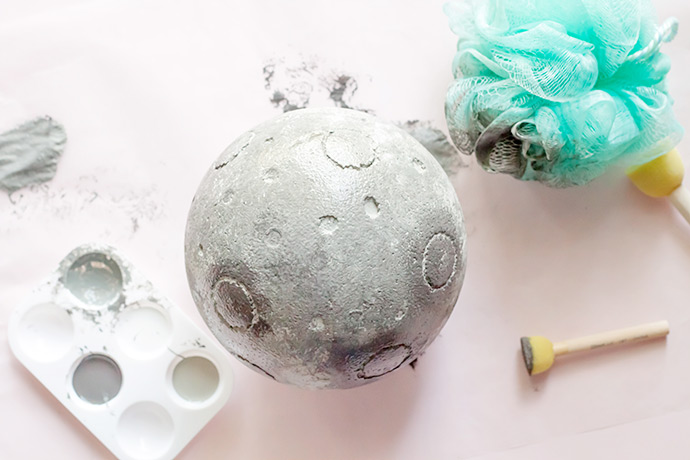
Step 3
Use a mesh pouf sponge, and small foam stencil brushes to apply some splotches of medium gray paint over the light gray base. Allow the paint to dry, and add a few splotches of dark gray paint as well. Once the paint is dry, you will want to make any necessary color adjustments by going over any areas that appear too light or dark, with the appropriate color. You may use an image of the moon to guide your placement of the different shades of gray, or just apply the colors randomly, until it has a moon-like appearance. You might have to experiment, and make adjustments once the paint is dry.
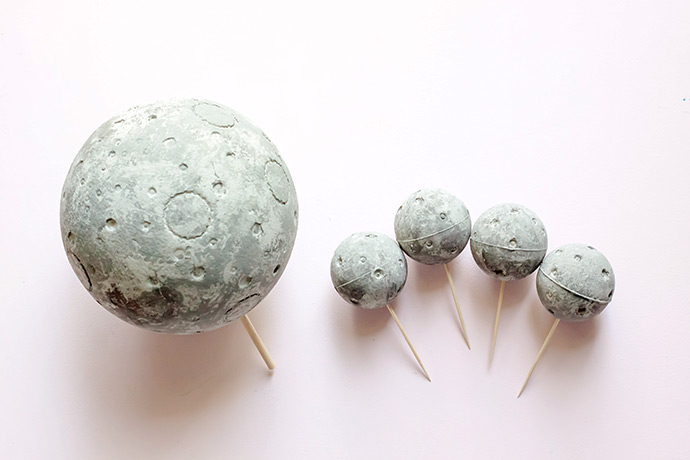
Step 4
Use your dowel rod to poke a hole in the bottom of the moon, and insert the rod about 1.5” into the Styrofoam ball. Now place the other end of the rod into the cake, and your moon topper is complete! Feel free to glue some astronaut figurines on top of the moon, or place some freshly washed figurines directly on the cake. You may also want to add an American flag pick!


Happy crafting!