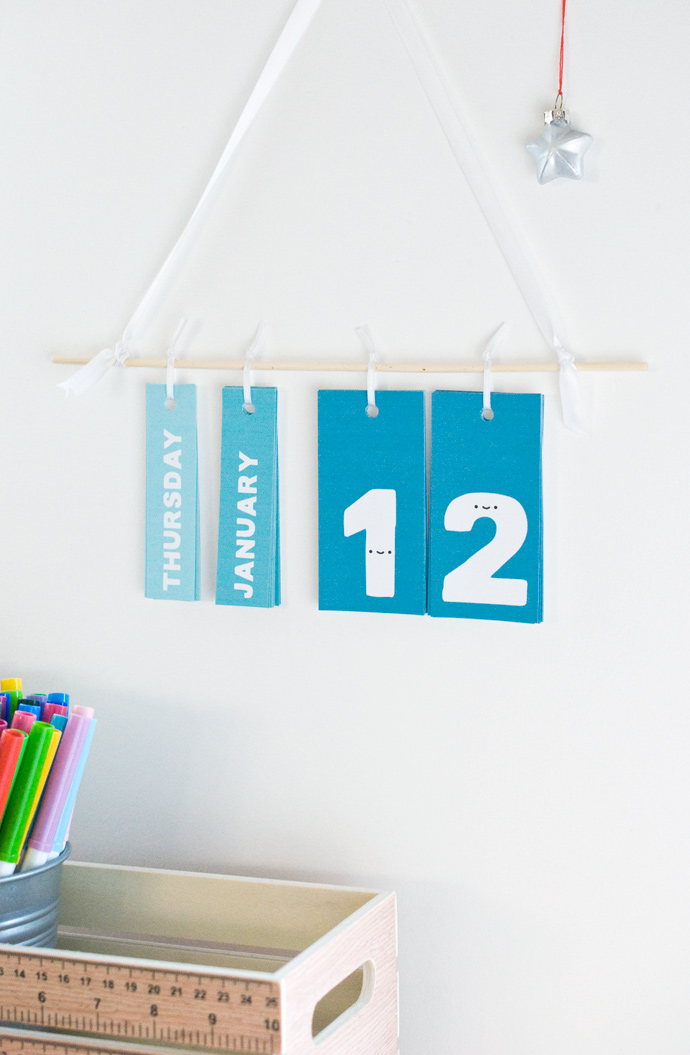
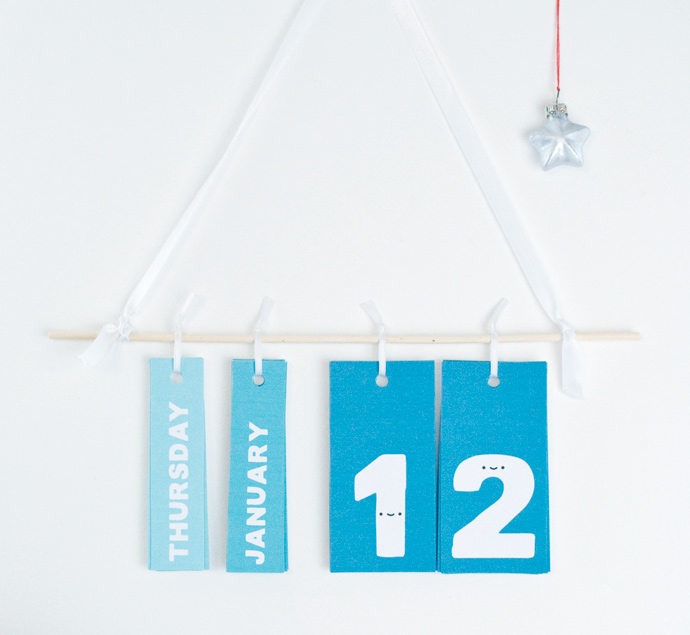
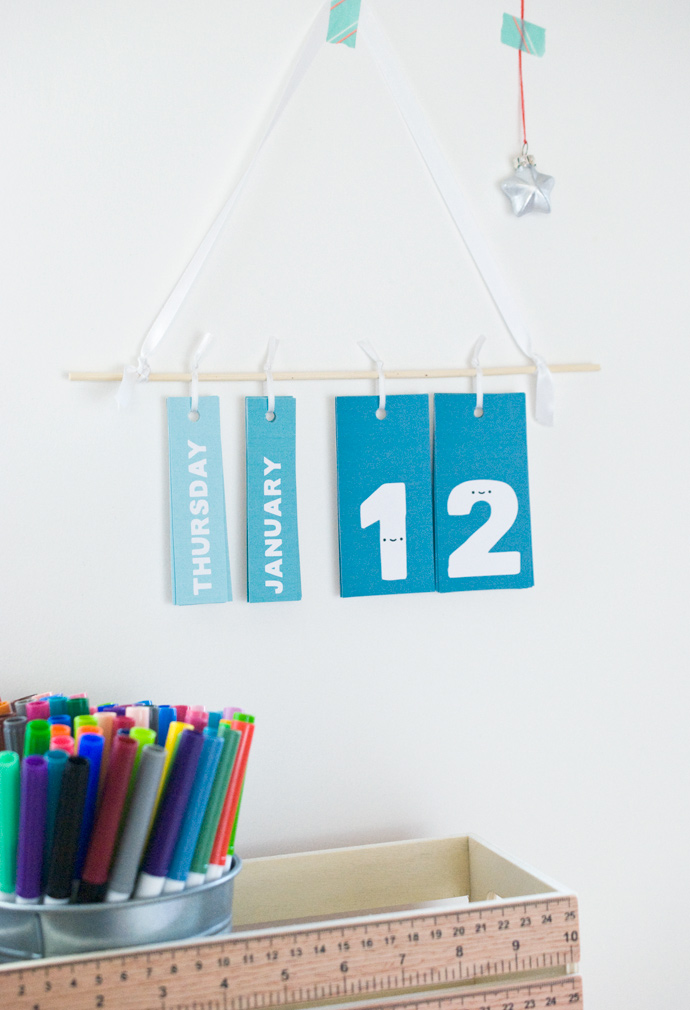
Help your kids keep track of the days with this easy perpetual calendar. It works for any year, which means you can make it and start using it any time! And who doesn’t want some smiling dates greeting them each day?
Little ones will look forward to changing the calendar each day. Plus it gives them the opportunity to learn the days of the week, months of the year, and to see time passing. Older kids can make this all by themselves, and then proudly hang it on their wall.
You can even choose what color you want for your calendar, or print more than one of the PDFs and make a wall hanging with multiple colors!
What You Need
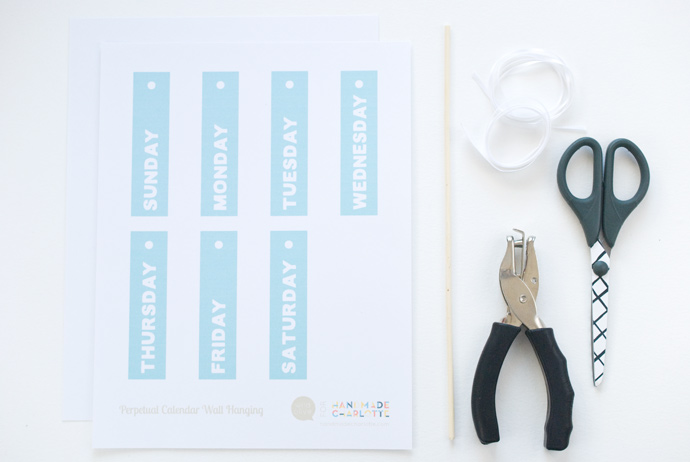
- Card stock
- Scissors
- Hole punch
- 1/8-inch wide ribbon
- Thin dowel rod or thick skewer – about 10” long
- 1/2-inch wide ribbon
Choose a calendar template:
- Black Perpetual Calendar template (download here)
- Teal Perpetual Calendar template (download here)
- Coral Perpetual Calendar template (download here)
- Lime Perpetual Calendar template (download here)
How-To
Step 1
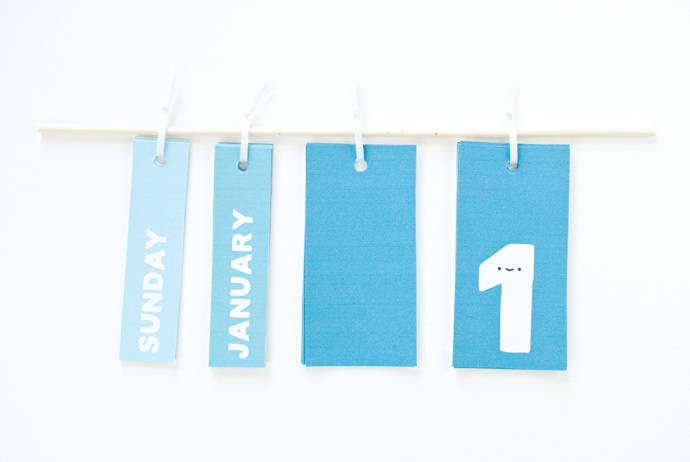
Print the calendar PDF on card stock and cut out each of the pieces. Punch the top with a standard hole punch.
Step 2
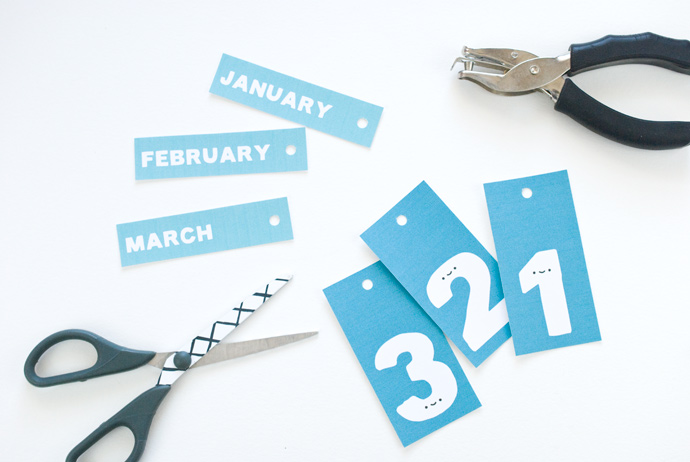
Divide the number pieces into two stacks. One stack should have numerals 0-9 and the other should have 0-3. Put the numbers in order.
If you’d rather, replace the 0 in the smaller stack with the blank rectangle. This way on dates with a single digit you can choose if you want a blank space or a 0 before the number.
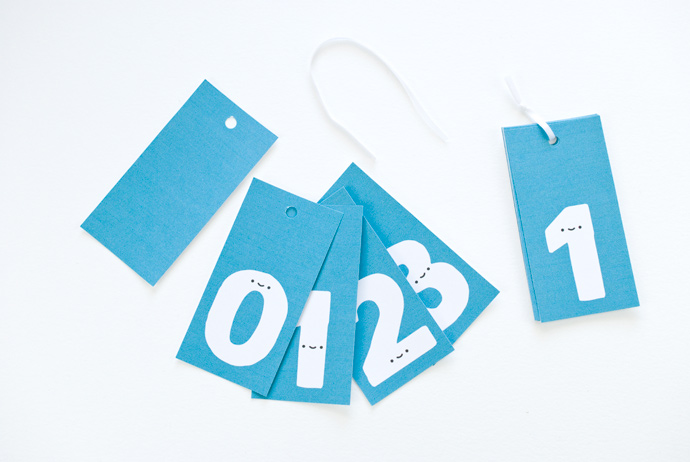
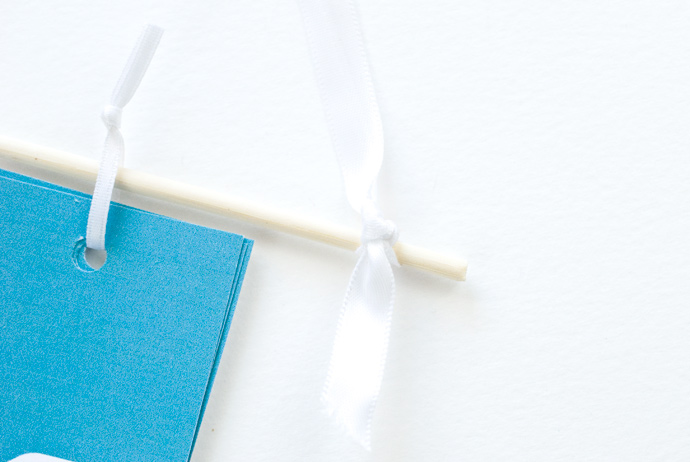
Cut a 5-inch piece of thin ribbon for each stack. Thread ribbon through the holes and tie the ends together.

Repeat the stacking and tying process for the days and months. As you tie each stack, try to keep the knots all the same distance from the holes. This will make the calendar hang evenly.
Step 3
Slide the ribbon hangers over the dowel rod in the order that you want the date to read. For example, in the United States, we would say “Sunday, January 1”. In other parts of the world, you can alter the order to say “Sunday, 1 January.”
Step 4
Cut a 24-inch piece of wider ribbon and tie each end to the ends of the dowel rod. Adjust the ties and trim the ends so it hangs at the height you want.
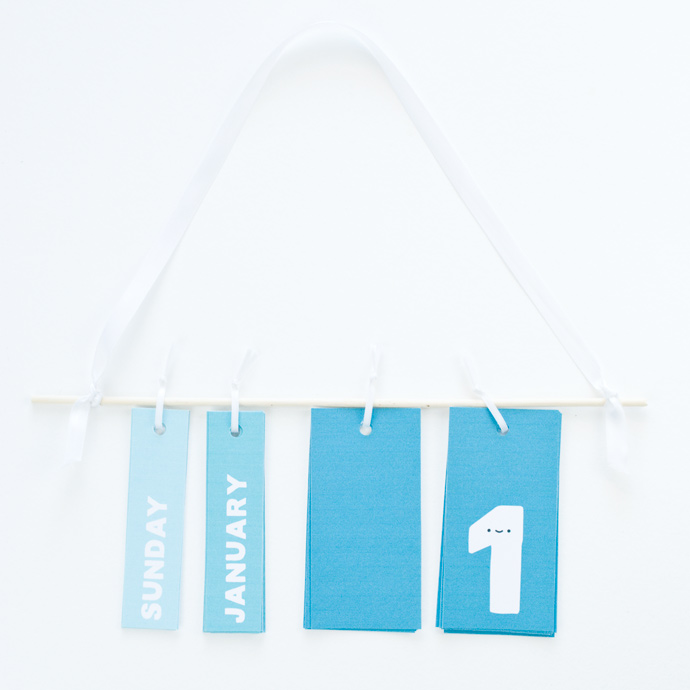
Now your calendar is ready to hang! You’ll need to space the hanging pieces so that the calendar balances.
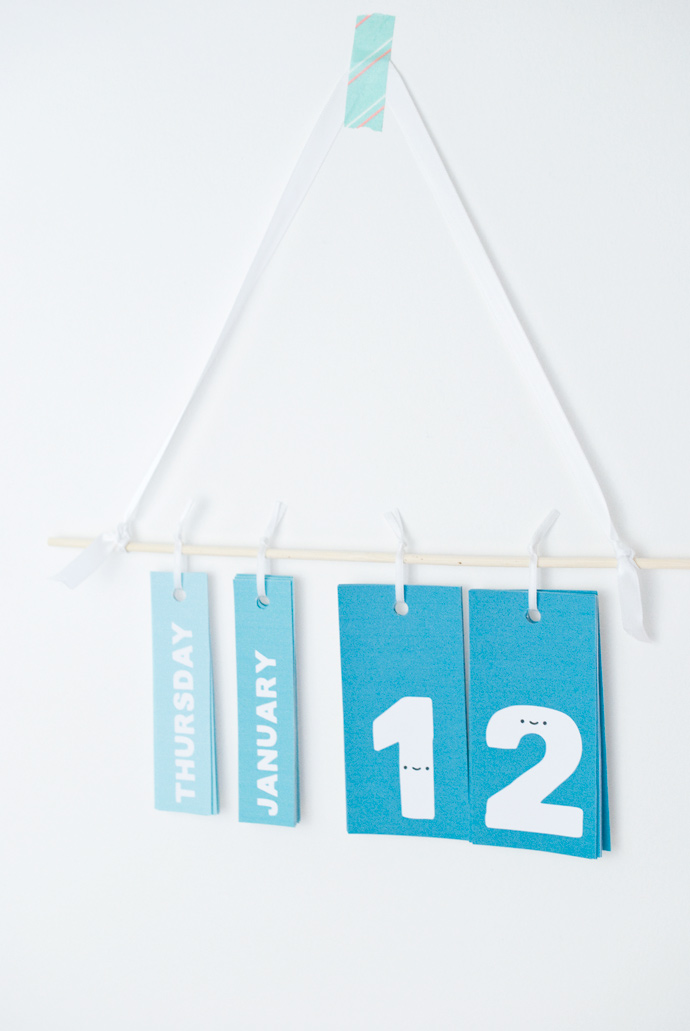
Each day, flip over the hanging tag for the day and the date. You’ll find that the ribbon knot may get stuck between the layers of the tags. That’s okay! It will still hang just fine. But of course, you can adjust the ribbons so they look pretty.
Keep flipping each day as you make your way through the year. And when you finish out the year, your calendar can keep going through the next near and the next!
Happy crafting!