
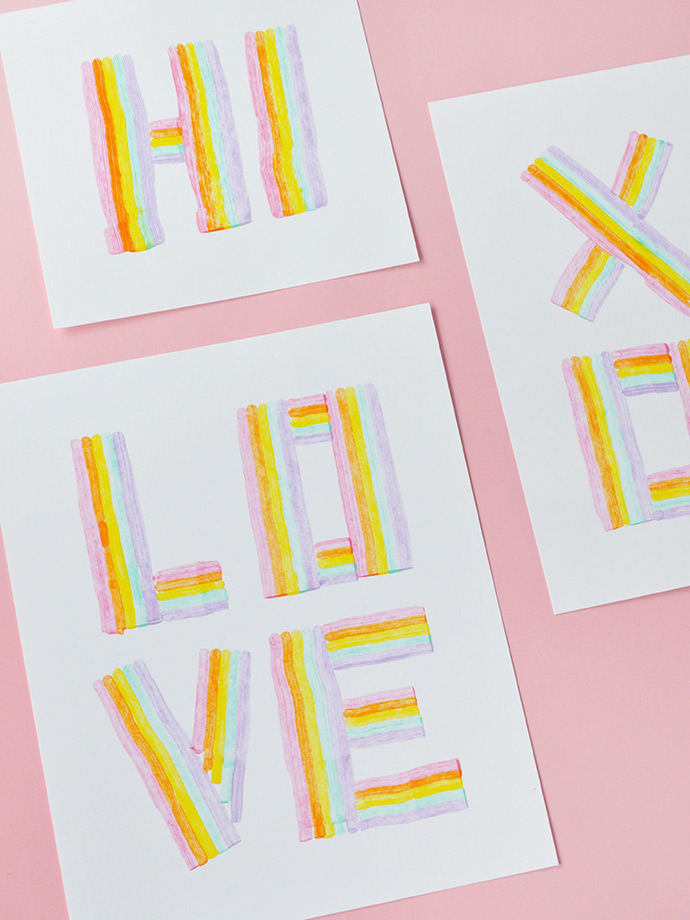
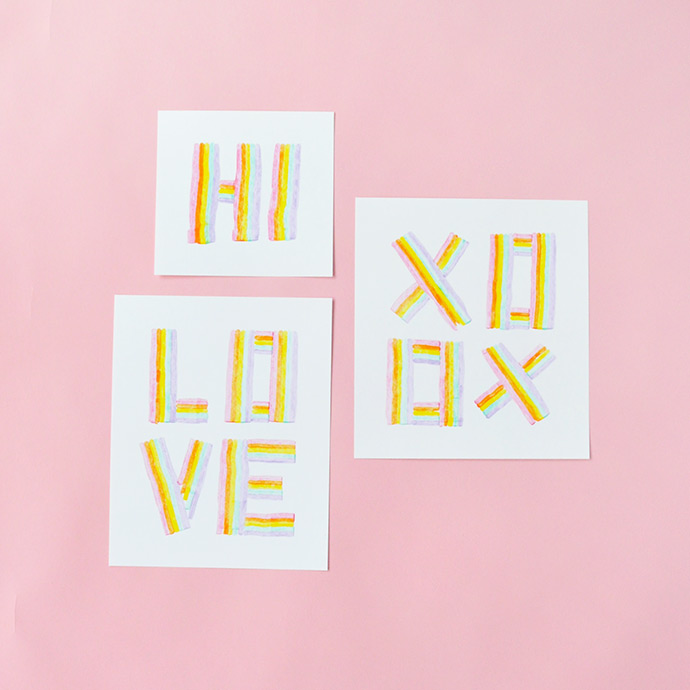
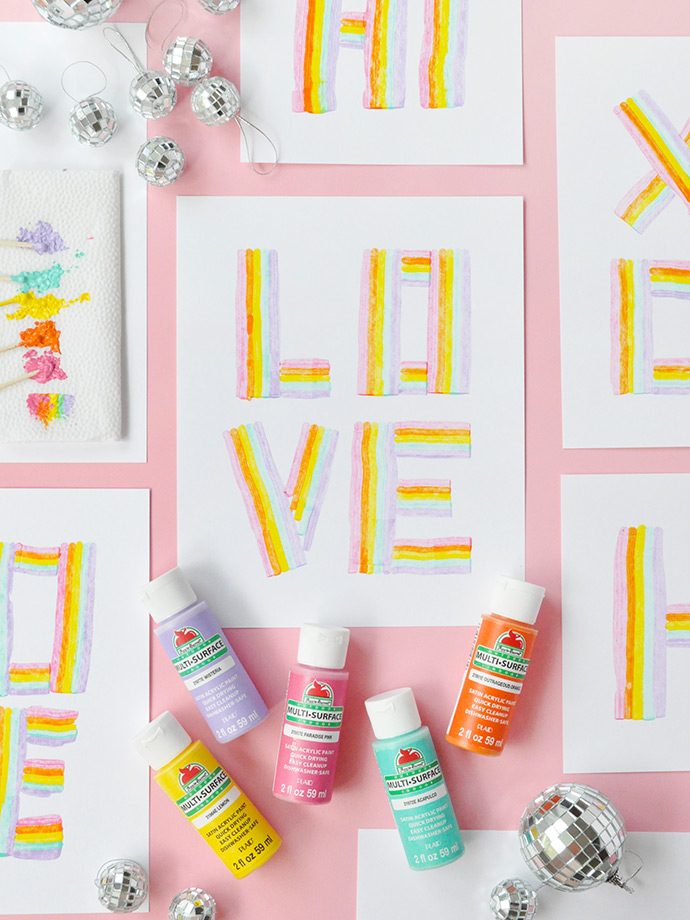
Three cheers for rainbows! We love playing with color and getting our hands messy, so of course we had a blast with today’s DIY rainbow scrape art! You’ve maybe seen paint scrape projects on Pinterest before – we’ve been admiring the technique for a while now and knew we had to combine it with our love of rainbows.
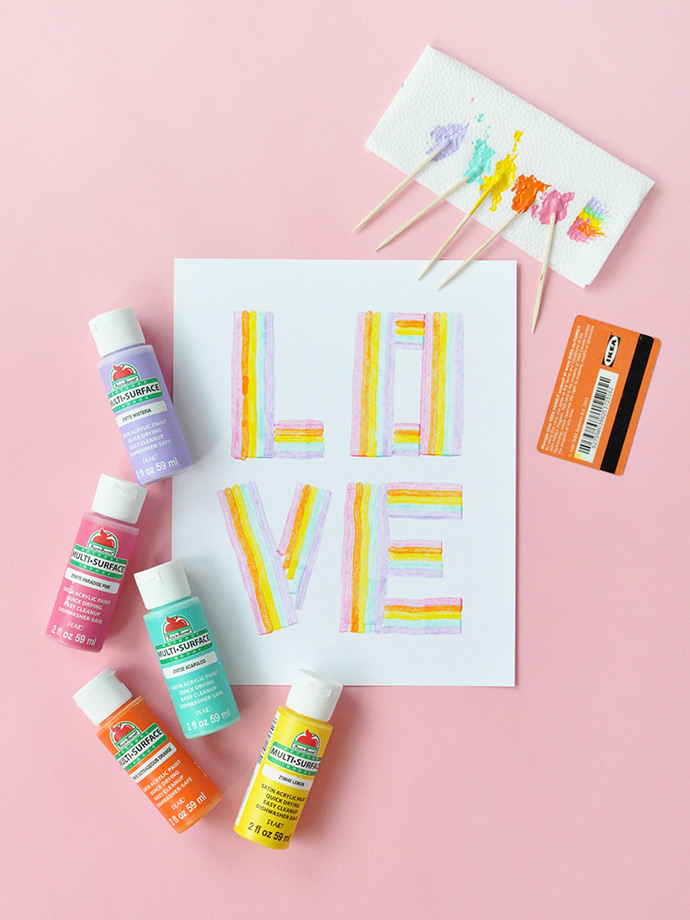
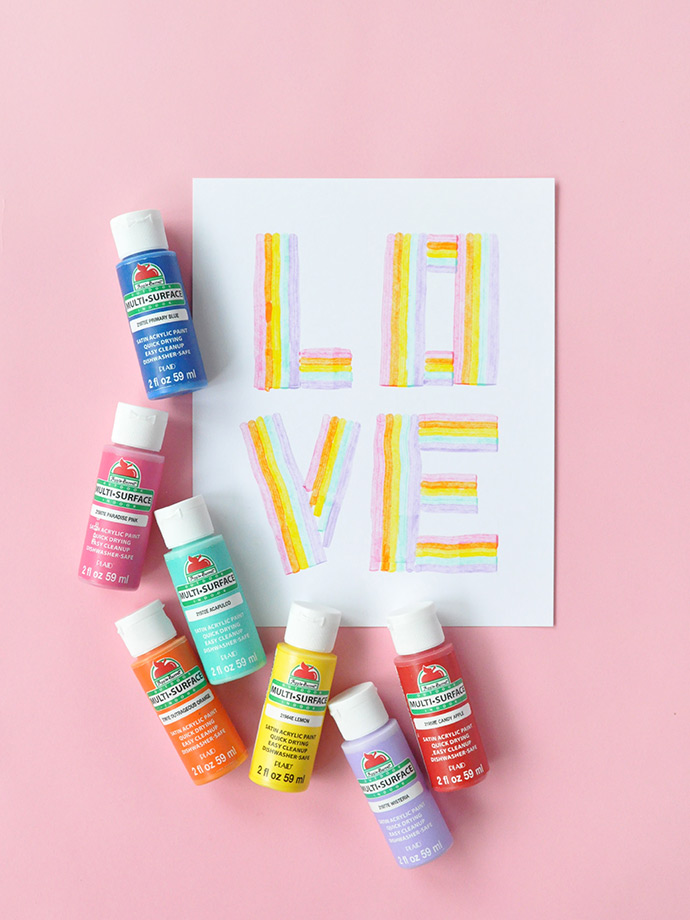
We love these rainbow messages as DIY art, or even as wrapping paper or greeting cards. So fun! Every color we used in this tutorial is a part of the new Apple Barrel ® Multi-Surface Satin Acrylic Paint 16 Color Set. Keep reading to see the full instructions for this DIY rainbow art, and a video too!
what you need:
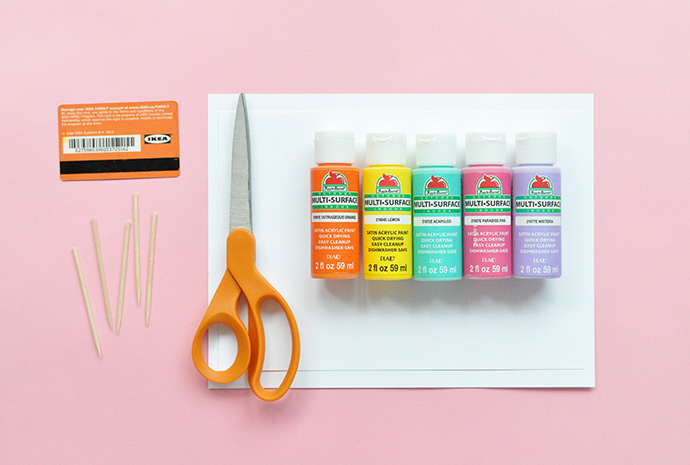
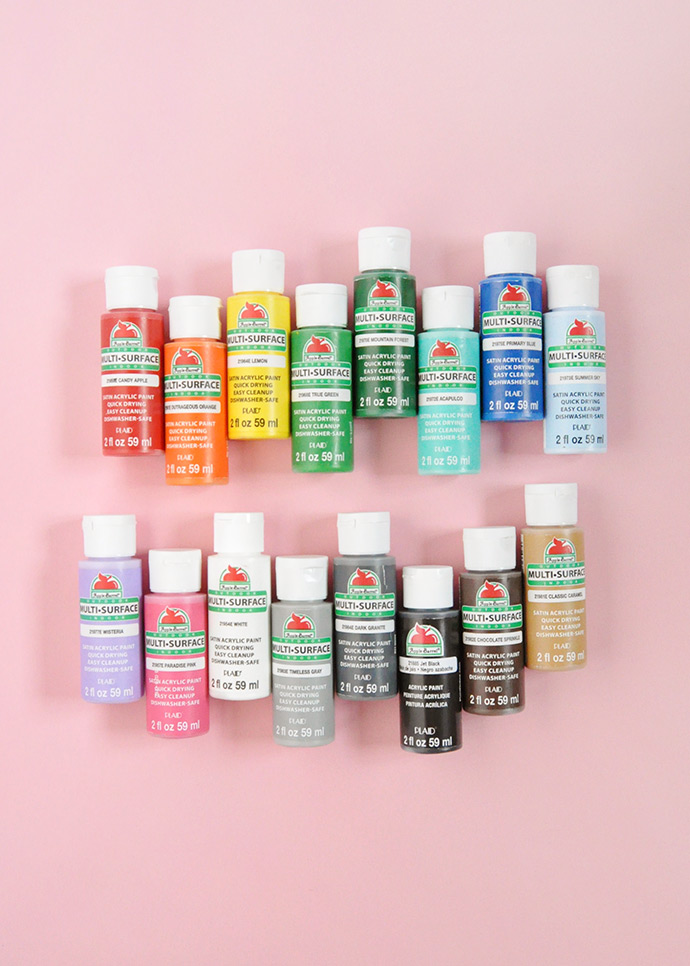
- Apple Barrel ® Multi-Surface Satin Acrylic Paint 16 Color Set
- White cardstock or poster board
- Old gift card
- Scissors
- Toothpicks
- Paper towel
how-to:
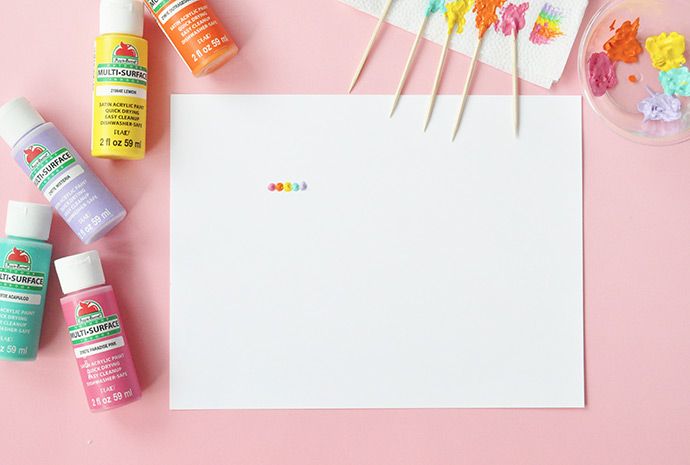
Step 1
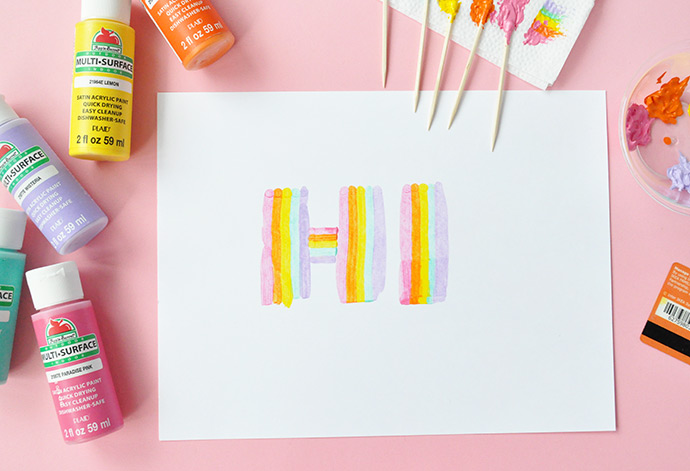
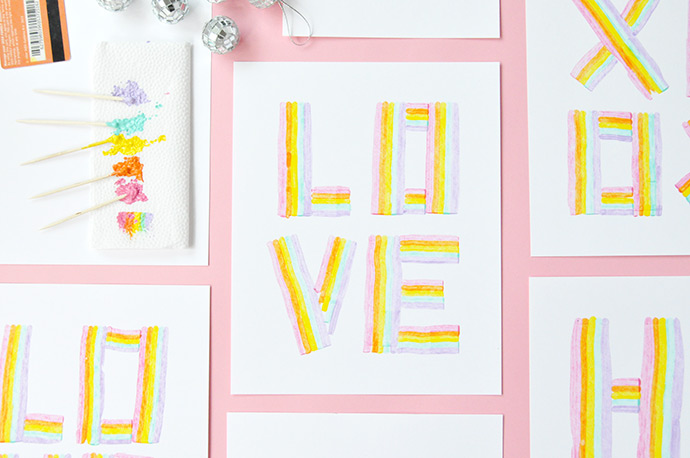
Select your colors – we used these five bright shades (Paradise Pink, Outrageous Orange, Lemon, Acapulco, and Wisteria) that all are a part of the Apple Barrel ® Multi-Surface Satin Acrylic Paint 16 Color Set. Squeeze a blob of each paint onto a plate or palette and use a toothpick to apply a dot of each color in a row on your white cardstock. Try to keep the dots of paint similar in size/quantity – do some playing around with this step to get a feel for how far each paint dot can go.
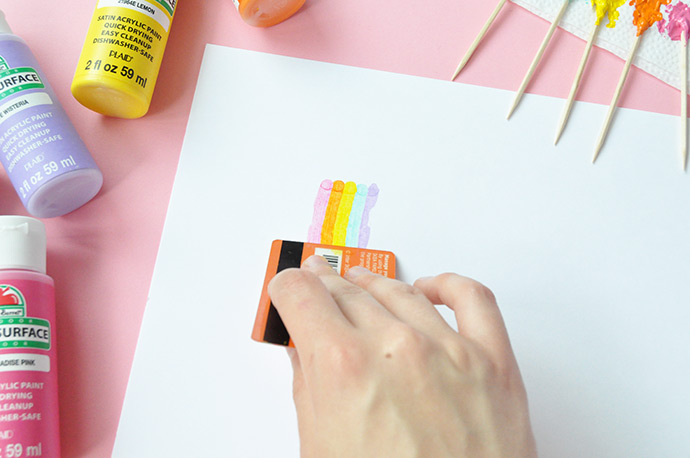
Step 2
Use the side of your old gift card to scrape the paint toward yourself to form a rainbow colored stripe however tall you’d like your letters to be.
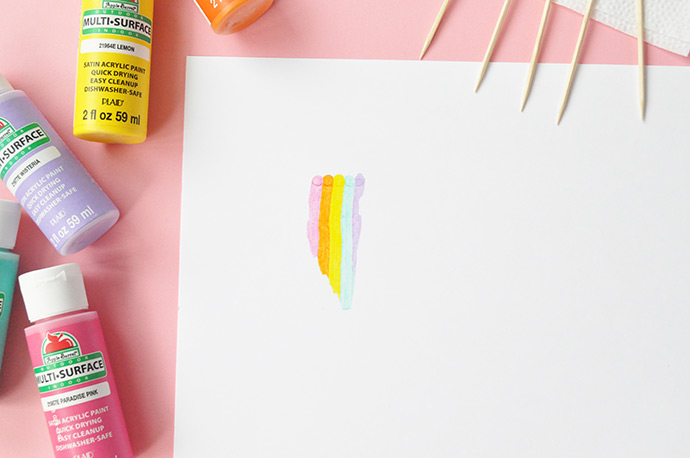
Step 3
When you remove your gift card, you might have a nice neat edge on the bottom, or you might have something more uneven like this. Try adding a bit more paint next time, or pulling the gift card at an angle a bit closer to the table. But not to worry about this for now, we can do some easy touch ups.
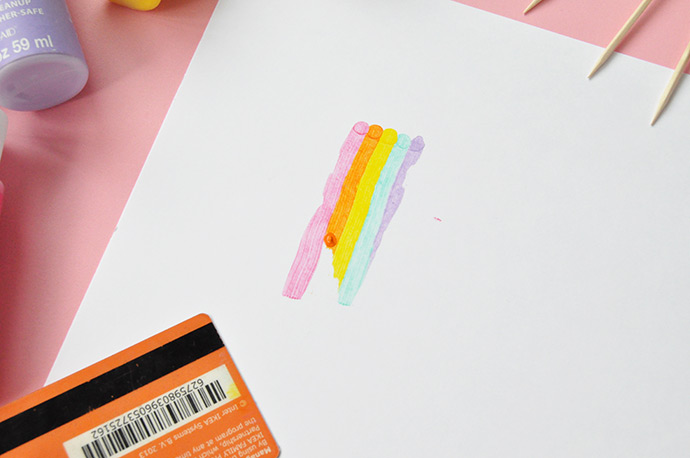
Step 4
Add a little dot of paint, one color at a time, to the spots that need a bit more length. In the image above, we already touched up the pink stripe, and have just added some orange paint to fix that one. Make sure to wipe the excess paint off the card between each color.
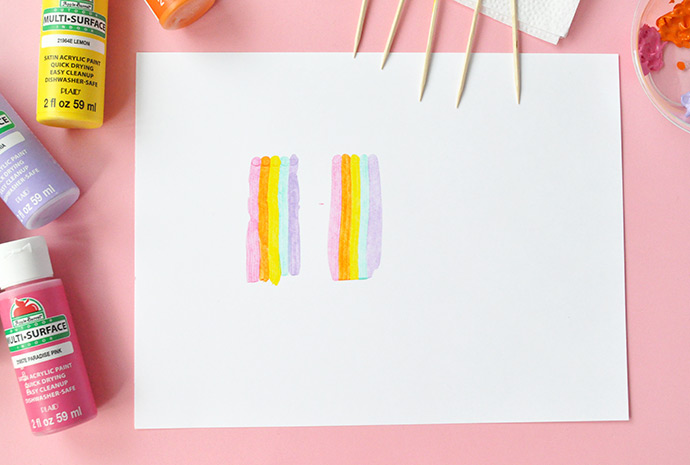
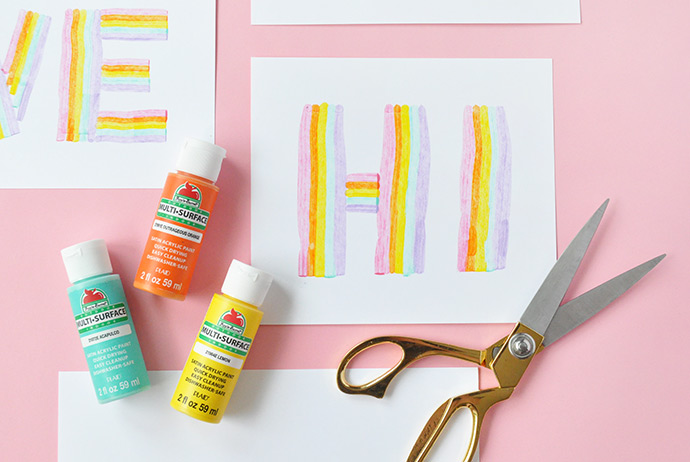
Step 5
Do the same to make the second line for the H and you should have something like this.
Step 6
Repeat for the horizontal line in the H, and then another simple vertical stripe for the I. And there you have it!
Take a look at the video below to see these steps in action!
This post is sponsored by Plaid Enterprises.