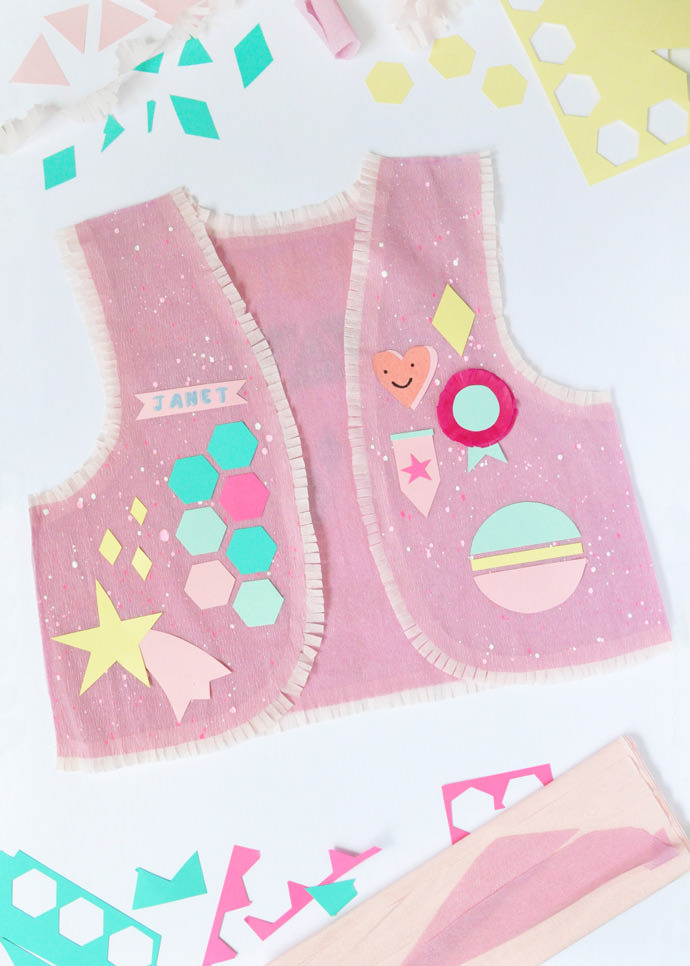
Have you ever heard of the Campfire Girls? I love looking at vintage Girl and Boy Scout items online, and stumbled upon the Campfire Girls while browsing. If you do a quick image search for “campfire girls vests”, you’ll see that their vests are decorated with different badges, shapes, and beads and the layout varies a lot from vest to vest. As the girls received badges and beads, they would attach them onto their vests into whatever designs they chose. This is what sparked the idea for these playful paper vests!
This summer, make crepe paper vests with your kids and reward good behavior with simple paper badges! The perfect activity to start on a rainy day, make the vest and a few decorative badges to start. Make extra paper badges to keep on hand for little treats or to commemorate different summer activities and trips. At the end of the summer, they’ll have colorful vests covered with memories!
What You Need
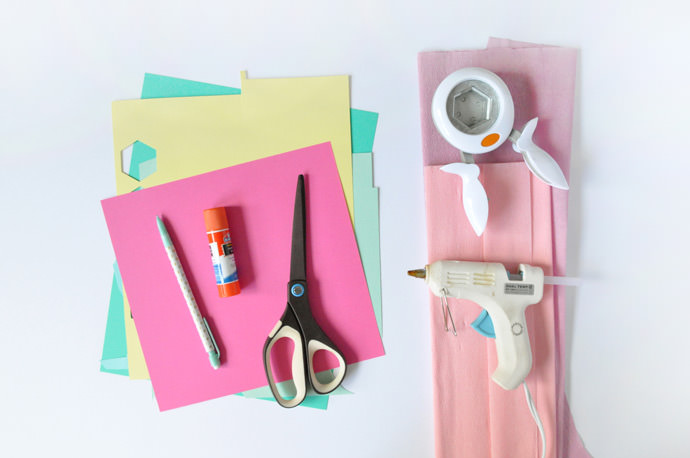
- Assorted cardstock
- Pencil
- Glue stick
- Scissors
- Paper punches
- Crepe paper
- Hot glue gun
How-To
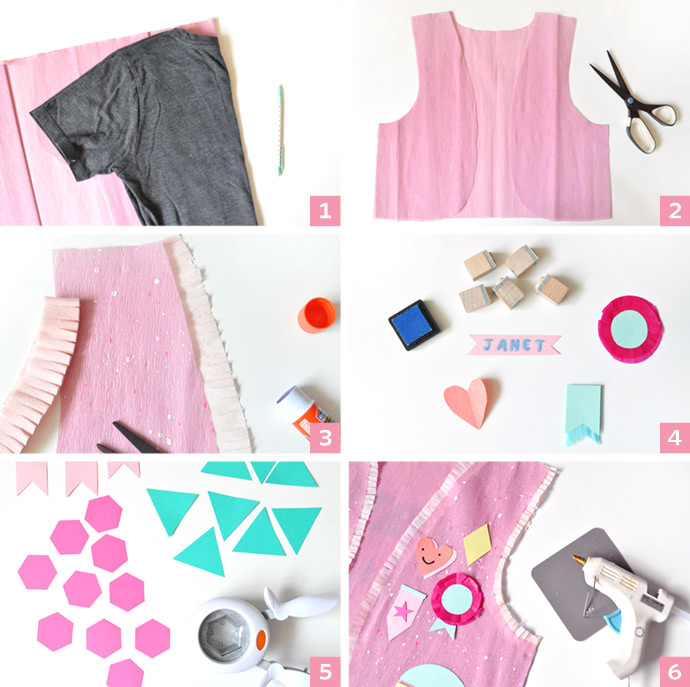
- To make the back of your crepe vest, fold the crepe paper over and lay a shirt (also folded in half) along the fold. Gently trace with paper, ignoring the sleeves. Do the same for the two front panels of the vest, but curve the edges to make a nice shape.
- Cut out the vest pieces and make any shape adjustments until you’re happy with the overall look. If you want to paint your vest, now is the time! For the vest shown, I laid out newspapers, put the vest pieces on top, and used a paintbrush to spatter watered-down paint. Let dry completely
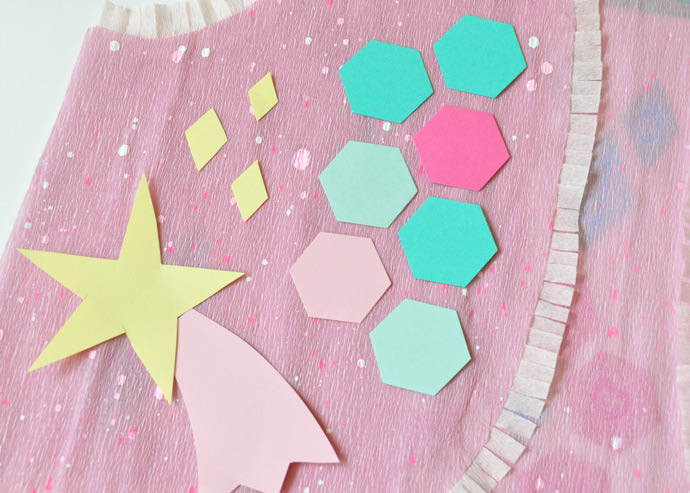
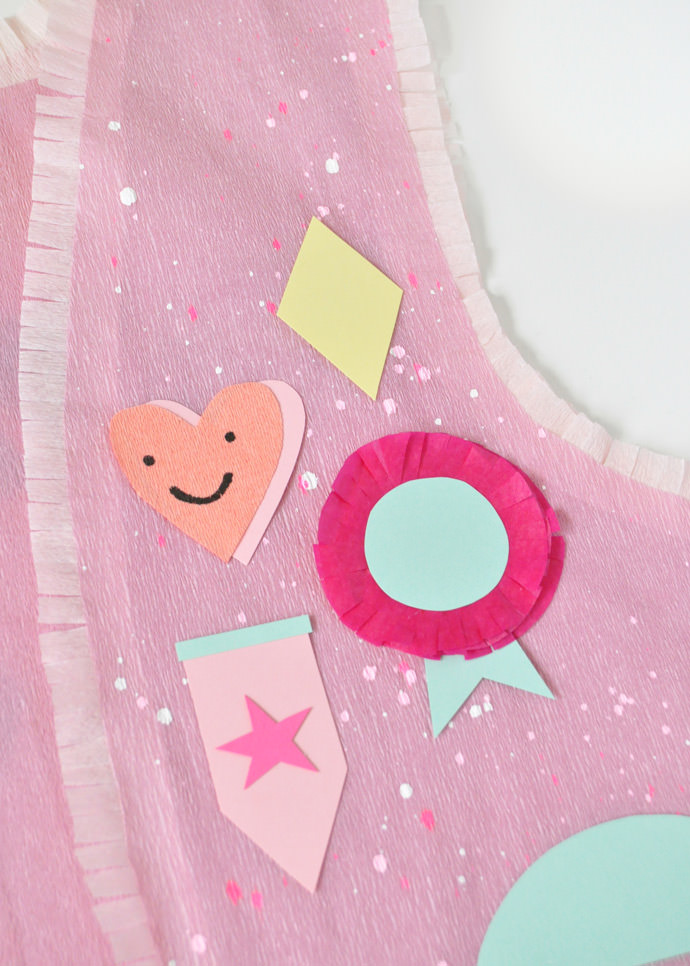
- Time to make some badges! For the front of the vest, I made several different fun shapes out of crepe and cardstock. Use stamps to make a nametag and markers to add details onto the badges if you like.
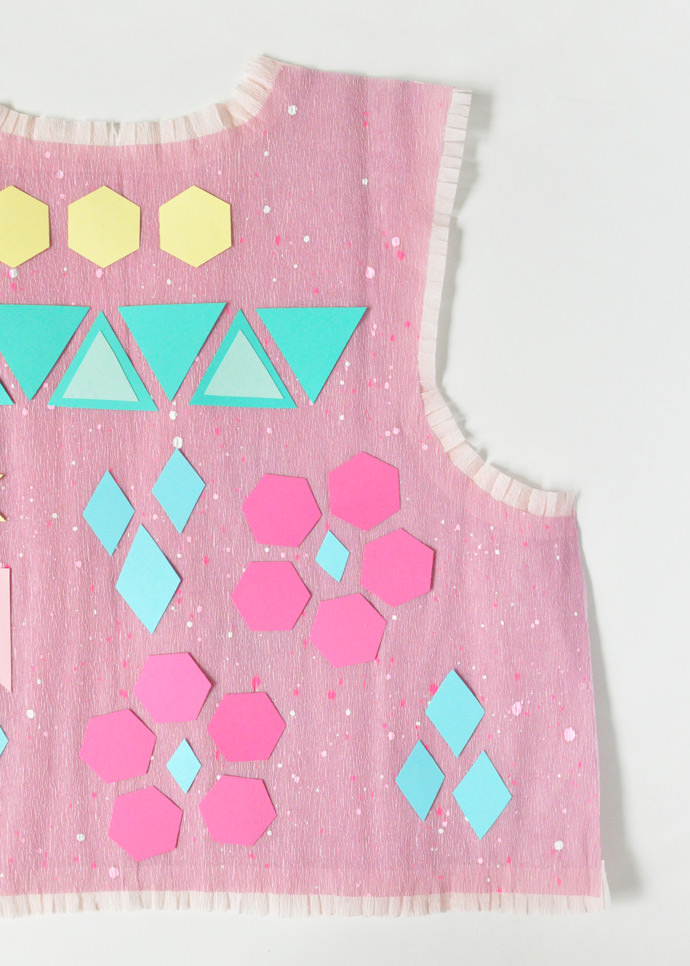
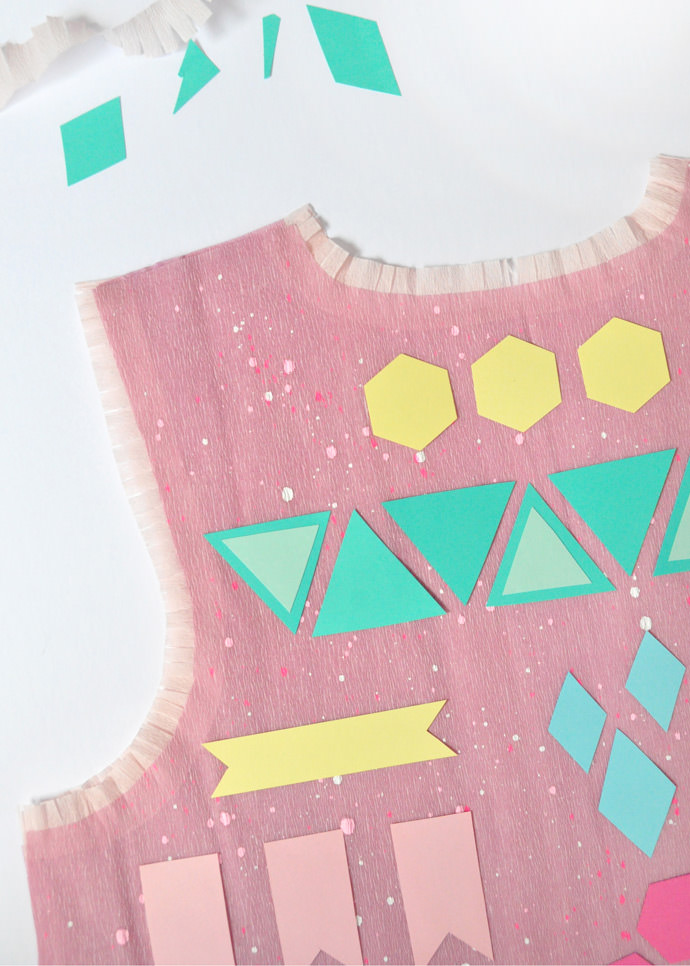
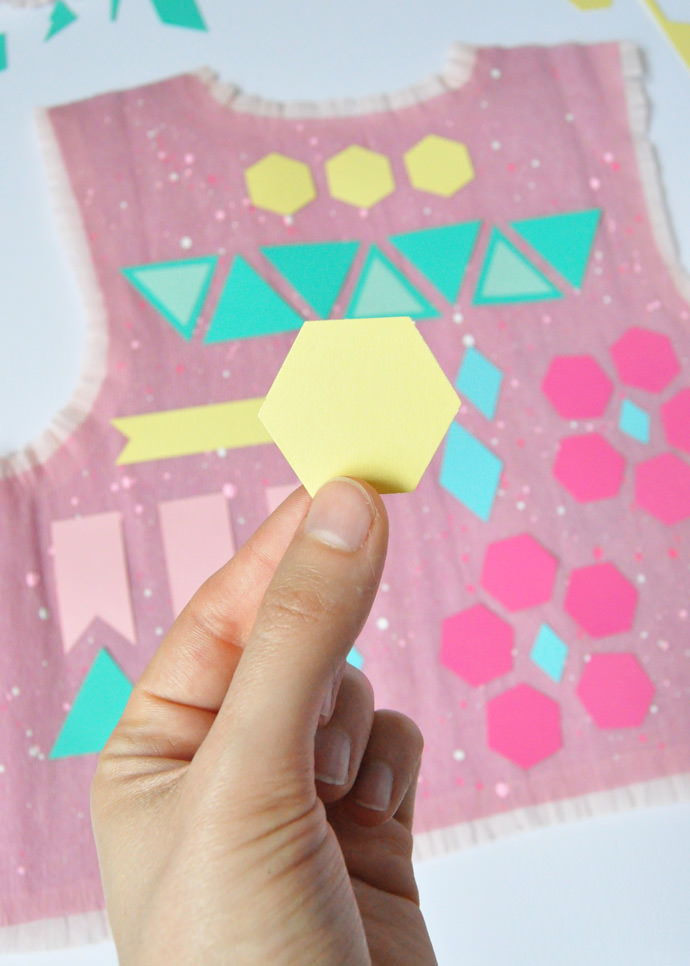
- For the reward badges meant mostly for the back, I cut simple geometric shapes out of card stock with scissors or a paper punch. Since these are the ones that you can give as rewards and treats to your kids, keeping the shapes simple lets them use their imagination when arranging them onto their vest over the summer.
- Use the hot glue gun to attach the shoulders and sides of the front and back of the vest. Then arrange the decorative front badges and glue down.
Happy crafting!