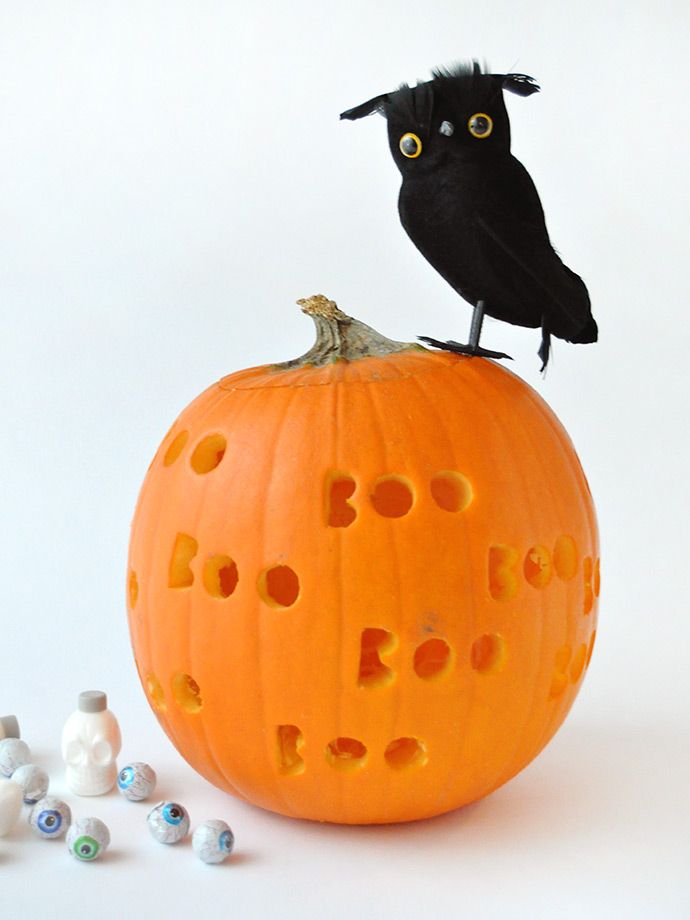
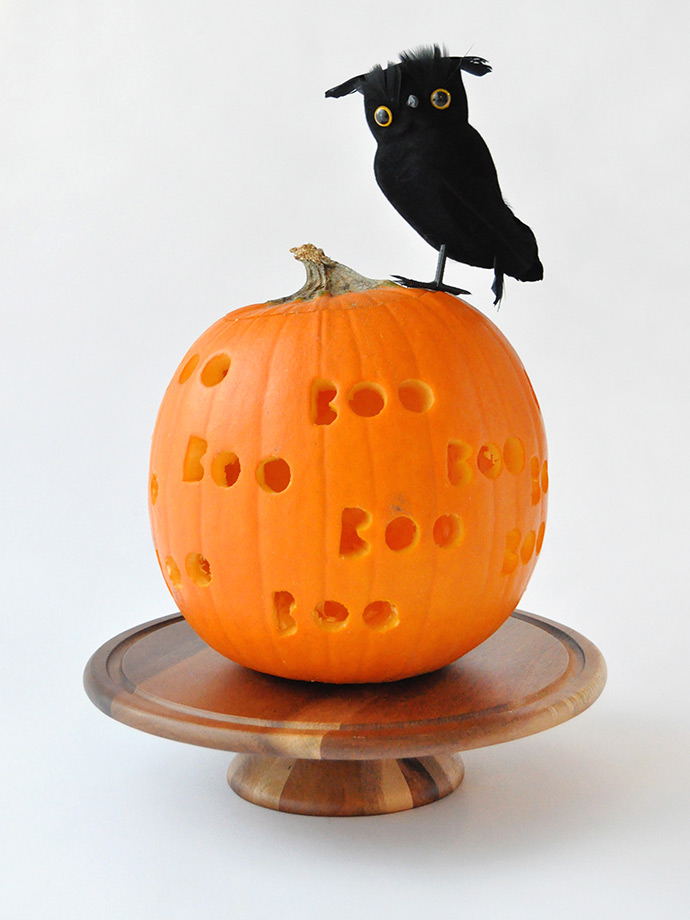
Have you started decorating your house for Halloween yet? Earlier in the month we shared DIY painted pumpkins but now that the big night it getting closer, we’ve started carving a few pumpkins too! We’re big fans of keeping things nice and easy, so for today’s pumpkin we used a power drill and a few different sized bits to create this “BOO” design!
No fancy templates needed!! Using a drill makes this design super quick to do, and you likely already have some bits that will work perfectly! Keep reading to see the full instructions below, and stay tuned for more DIY drilled pumpkins later this week!!
what you need:
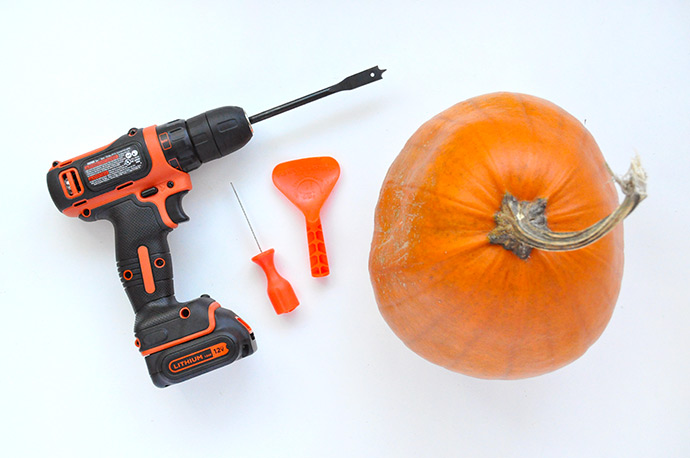
- Power drill
- Wood spade bits in various sizes
- Pumpkin
- Pumpkin carving knife
- Scoop / spoon
how-to:
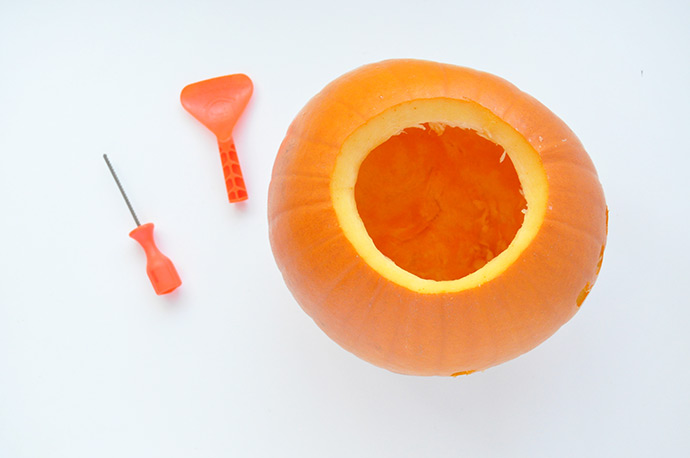
Step 1
Start as you normally would when carving a pumpkin – cut a hole in the top and empty the innards out of the pumpkin.
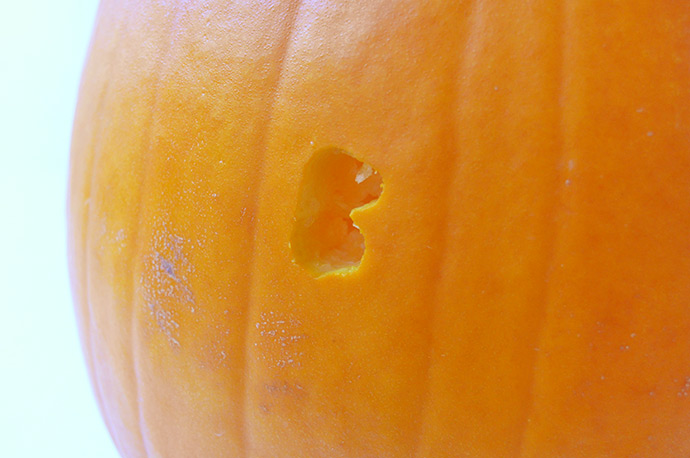
Step 2
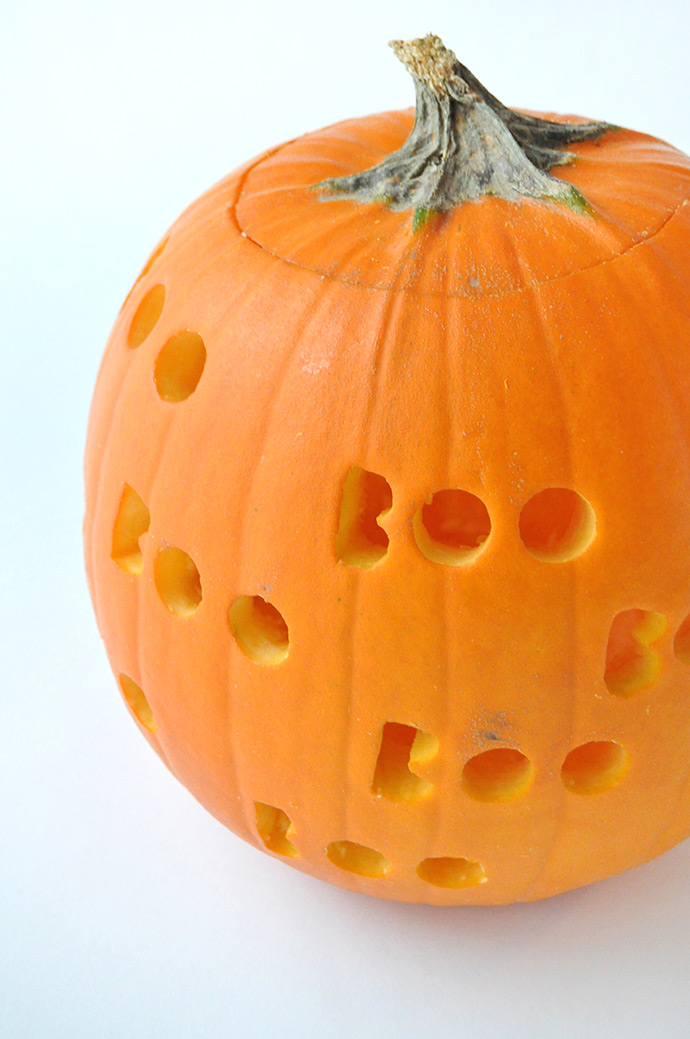
To make the B, use a 1/2″ spade bit to drill two holes directly on top of each other so that you have what looks like an 8 shape. Then use your pumpkin carving knife to square off the left side of the 8 so that it looks more like a B. You can also use the knife to add bigger bumps out on the B if needed.

Step 3
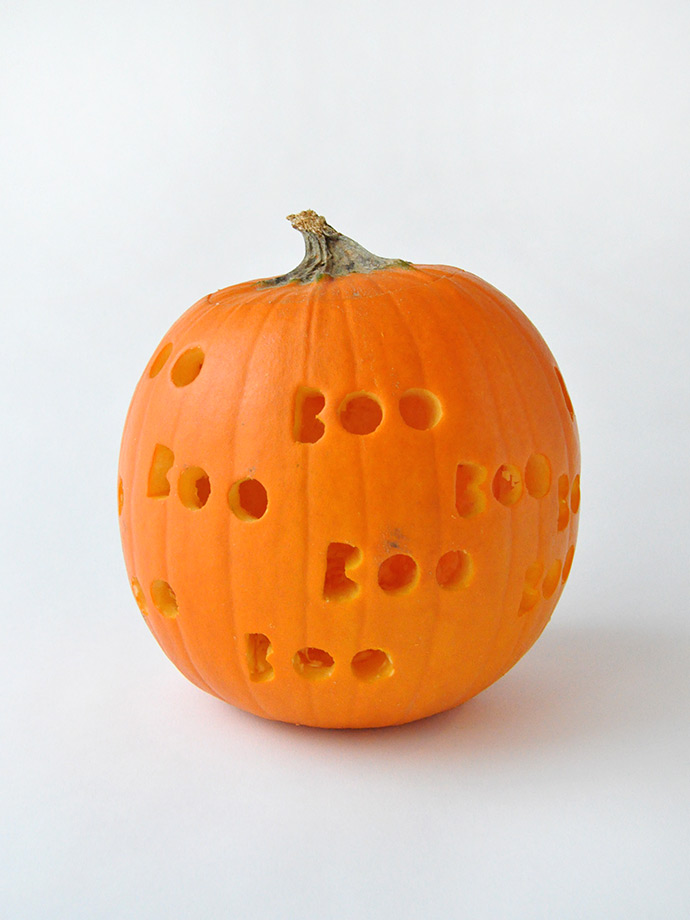
To add the two O’s, use a 1″ spade bit and simply drill the two holes after the B. Repeat this until your whole pumpkin is covered!
Happy pumpkin carving!!