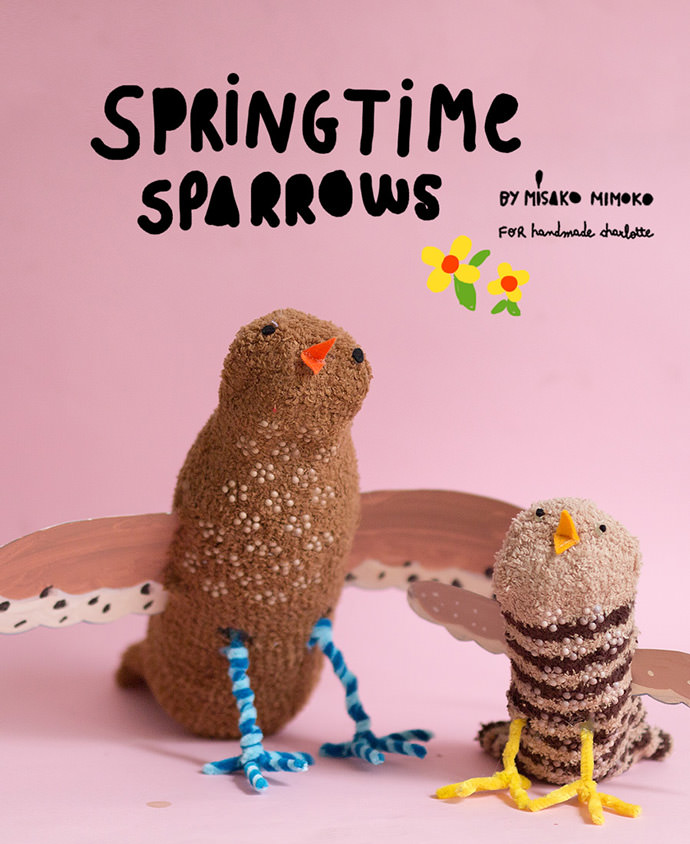
Spring has finally arrived… yay! Birds are building their nests and getting ready to say hello to their little ones. Let’s celebrate the occasion by making a super fun pair of mommy and baby sparrows.
This is an easy spring craft that your entire family can enjoy. Little ones will love adding fun accessories likes, hats, scarves, and ties to create different birdie characters. And when you’re done playing with the birds, you can hang them from the ceiling for a lovely woodland decoration.
Are you ready? Let’s get started!
What You Need
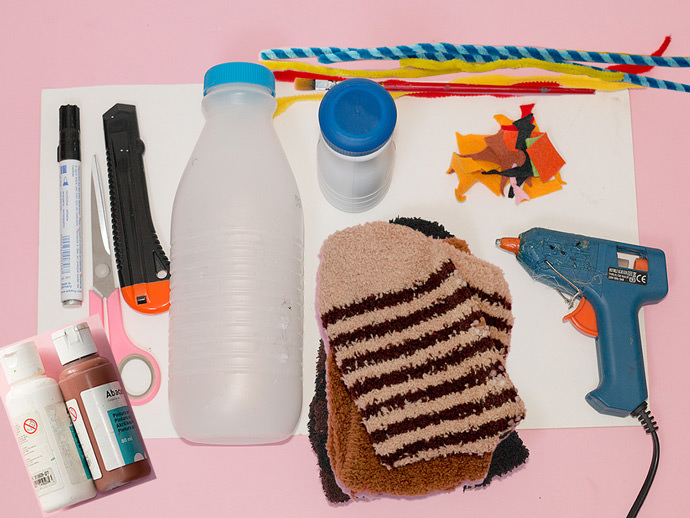
- Printable template (download here)
- Plastic bottles
- Fluffy socks
- Cereal box / cardboard
- Pipe cleaners
- Felt scraps
- Marker
- Paint & brush
- Craft knife
- Scissors
- Glue gun
How-To
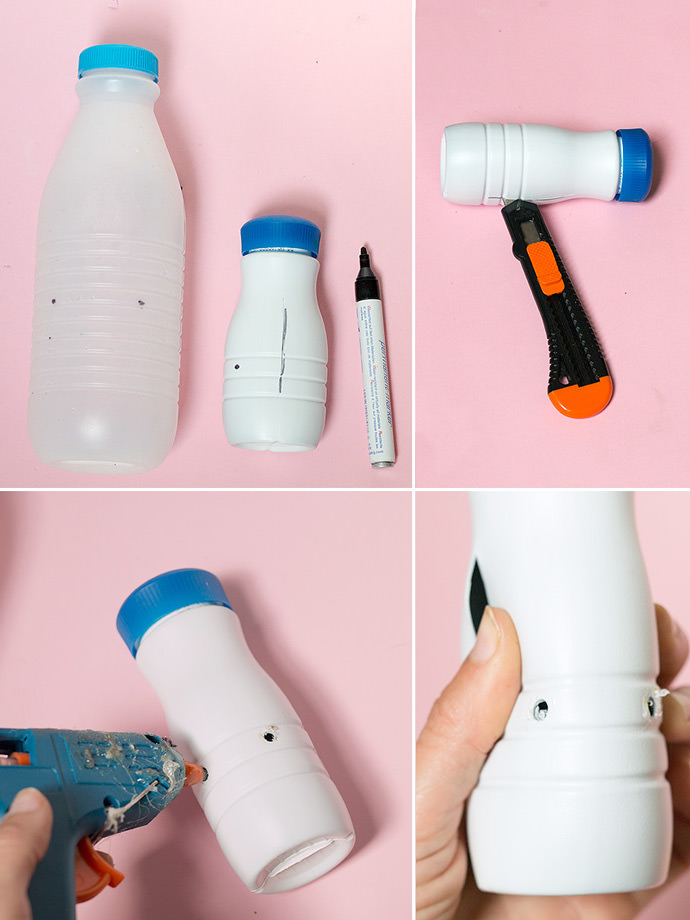
Step 1
Wash bottles inside out with hot water and remove all the labels. Let the bottle dry. Following plastic joints of the bottle, mark a centered line along the bottle on each side and cut using a craft knife or scissors. Mark two points centered at the middle-bottom of the bottle for inserting the legs. Press the hot glue gun nozzle to make the holes.
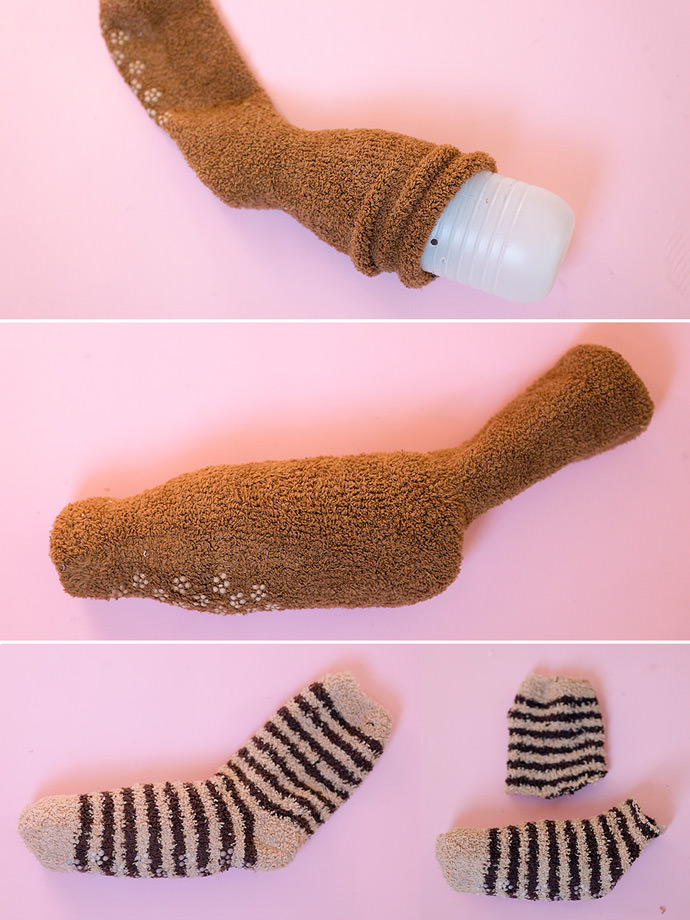
Step 2
Cover each bottle with a sock. I positioned the sock heels at the bottom of the bottle so the tail of the bird comes out easily and plastic bumps of the sock sole at my sparrows’ chests. Cut the excess sock, leaving a tail of 2 or 3 inches (depending of the size of your bird).
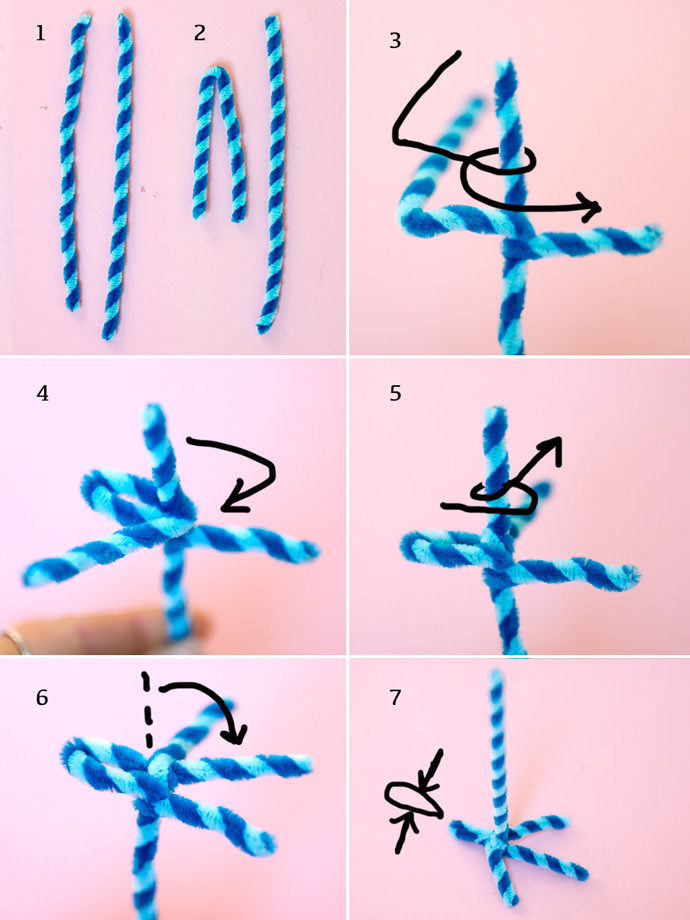
Step 3
Cut a pipe cleaner in half and then fold one of the pieces in two. Wrap each end of the folded piece around the other piece of pipe cleaner and bend the end of the unfolded pipe cleaner piece straight up to create the front middle toe as shown in the picture above, for making each foot. Twist spur and toes to finish legs.

Step 4
Find bottle holes and punch (or cut) small holes in the sock. Insert and glue legs to the inner body using the hot glue gun. Wrap another pipe cleaner around each leg if you need more strength.
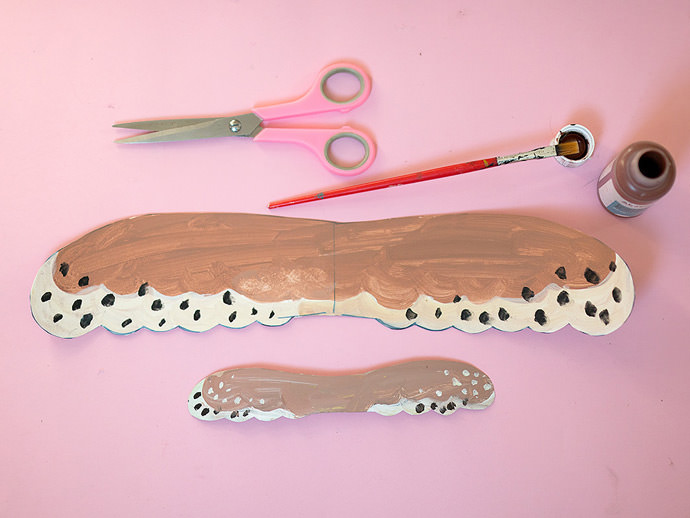
Step 5
Download, print, and cut templates. Mark and cut out wing shapes from cereal boxes. Paint and draw details on both sides. Let dry.
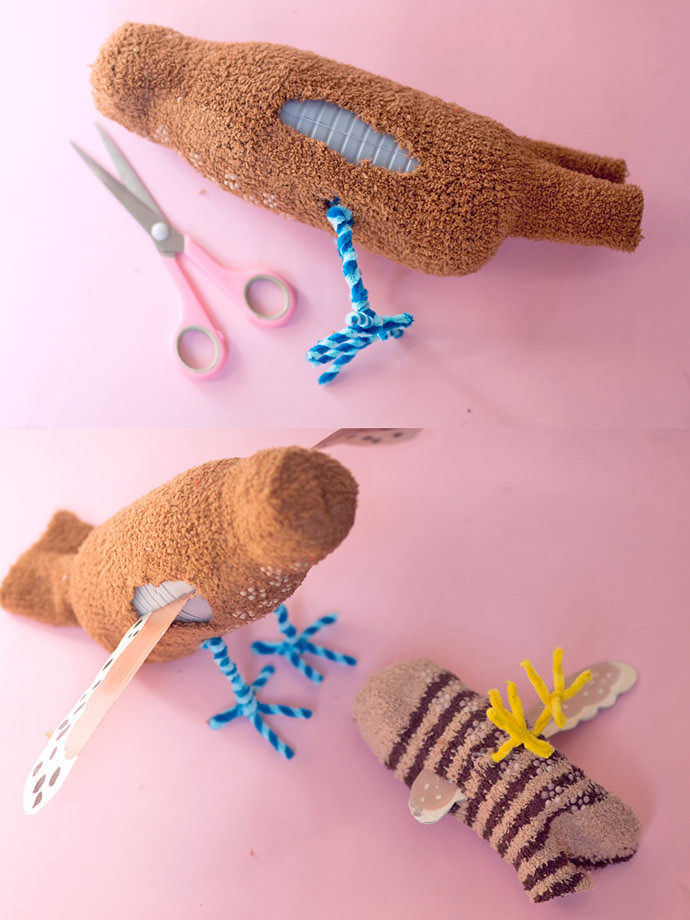
Step 6
Use scissors to make two horizontal cuts on the socks on both sides of the body, following previous bottle cuts. Pass wing through the slots, piercing the body, and slide wing until centered.

Step 7
Now add some glue to the bottom of the bottle to fix the heel or the sole of the sock and close the opening of the tail with more glue. Stretch to cover the bottle and glue the sock slots made for the wings.
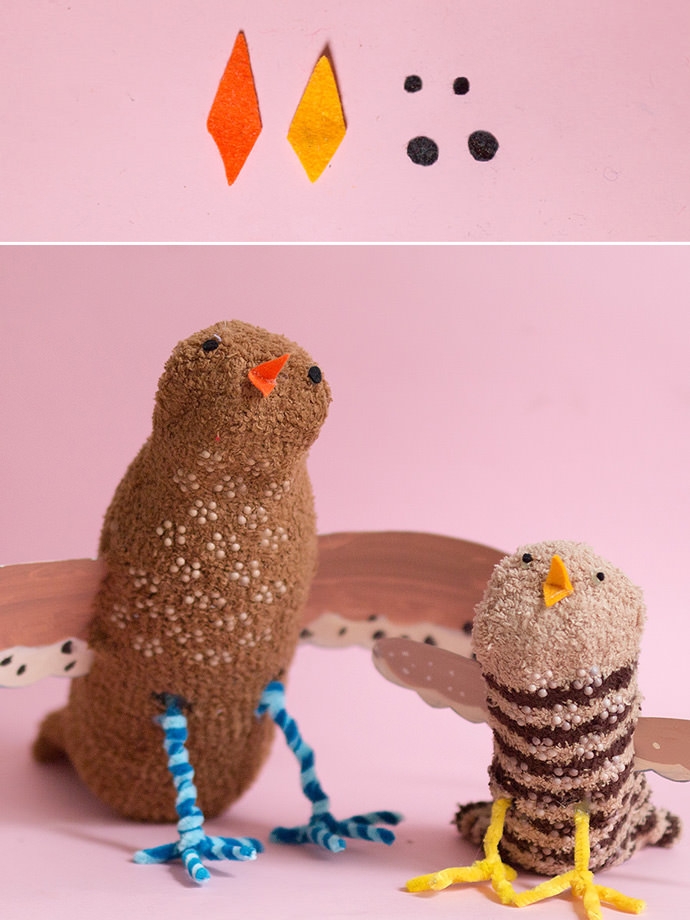
Step 8
Cut out beaks and eyes on felt using templates. Fold and glue beaks to the center of your bird and then glue felt eyes. I love those empty fluffy heads, but you can stretch socks out from bottle tops and glue if you prefer.
Your springtime sparrows are ready for play or to hang and fly in your room. Happy crafting!