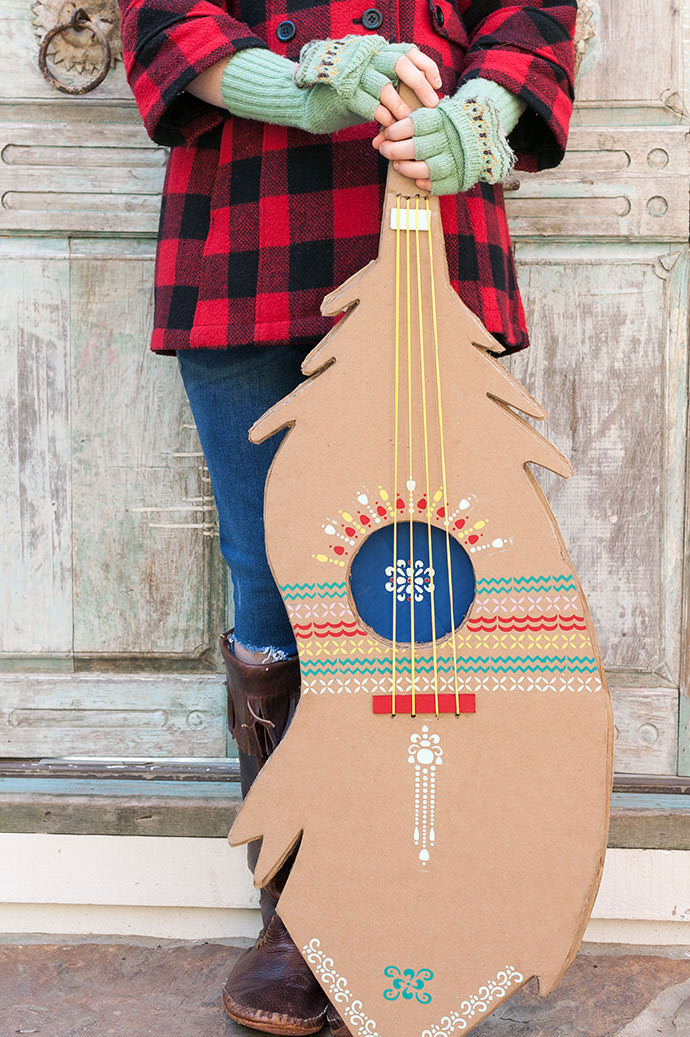
Without a doubt, autumn is a season of sounds. Logs crackling on the fire, leaves crunching underneath your feet, the whistle of the kettle heralding a round of hot chocolate. And my very favorite? The music. Some of my best childhood holiday memories revolve around music-making with my family. This got me thinking about how I could create new musical memories for my craft-loving kids. And so was born the Turkey Feather Guitar.
Combining the Thanksgiving spirit with the magic of music, this four-string melody-maker lets kids create their own custom gitfiddle. Plucking turkey feathers never sounded so good! For quick and easy crafting, we recruited the perfect road crew: Handmade Charlotte Peel & Stick Stencils and FolkArt Home Décor Chalk Paint. The stencils make clean, precise patterns, and the chalk paint adheres smoothly — giving even ordinary cardboard a beautiful wood-like texture underneath the bright lights of your living room stage. With over 20 stencil designs and an endless supply of colors, your kids can mix and match for hours with endless creative possibilities.
Ok, let’s talk turkey!
What You Need
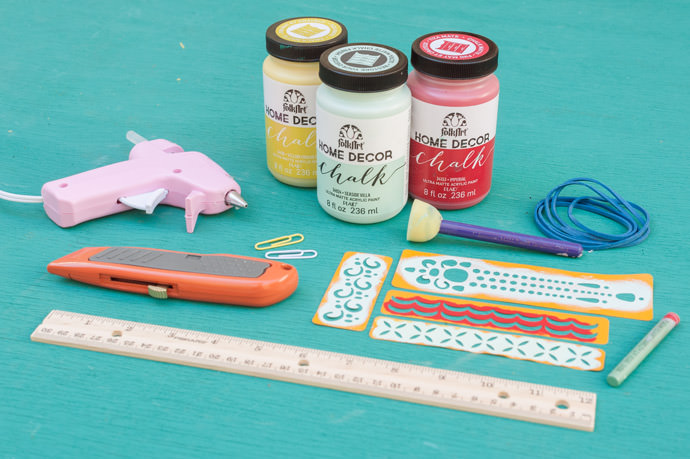
- Handmade Charlotte Peel & Stick Stencils
- FolkArt Home Décor Chalk Paint
- Paint Spouncers
- 5 Pieces of Cardboard (approx. 20” x 40”)
- 4 – 7” x 1/8” Big Rubber Bands
- Box Cutter
- Hot Glue Gun
- 3 Paper Clips
- Power Drill
- Ruler
How-To
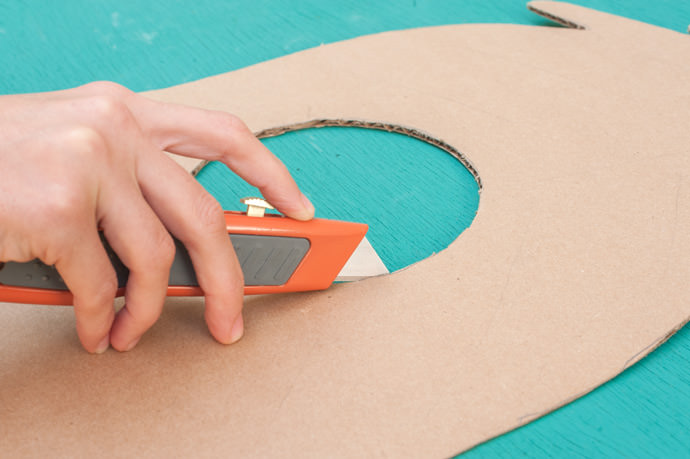
Step 1
Draw a giant feather shape on the cardboard and cut it out with your box cutter. Re-trace the shape and cut out 4 more pieces for a total of 5 layers. Make sure to include a sound hole in the middle of 4 pieces. The fifth piece should be solid for the back of the guitar.
Step 2
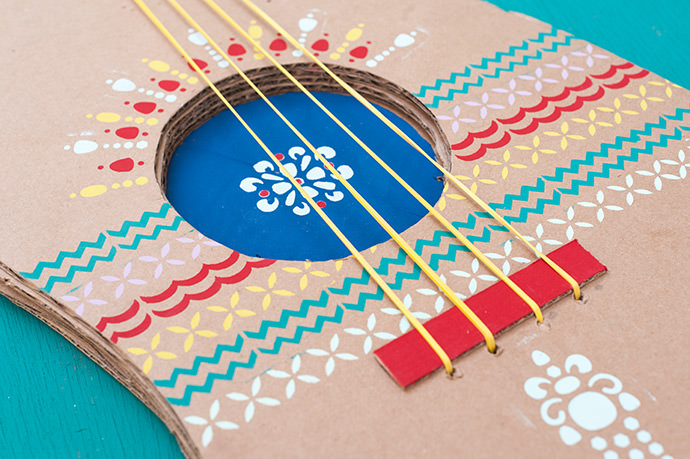
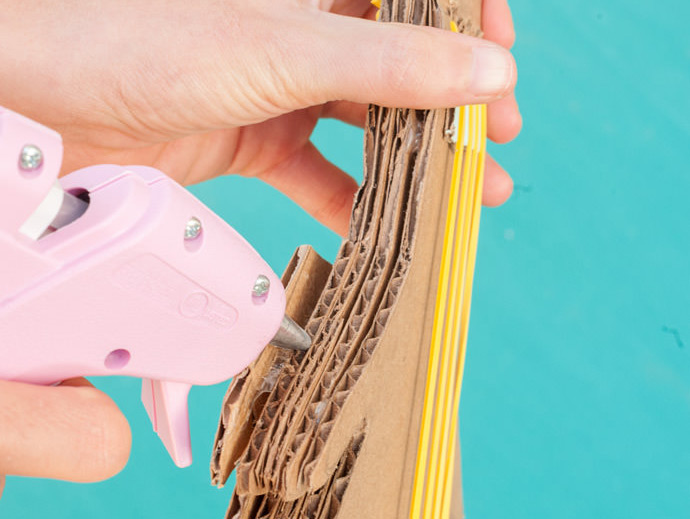
Cut out a 4” x .75” piece of cardboard for the bridge. And then cut out a 1.5” x .75” piece for the top nut. Glue all the pieces together with hot glue, placing the bridge 2” below the sound hole and the top nut 2” below the top.

Step 3
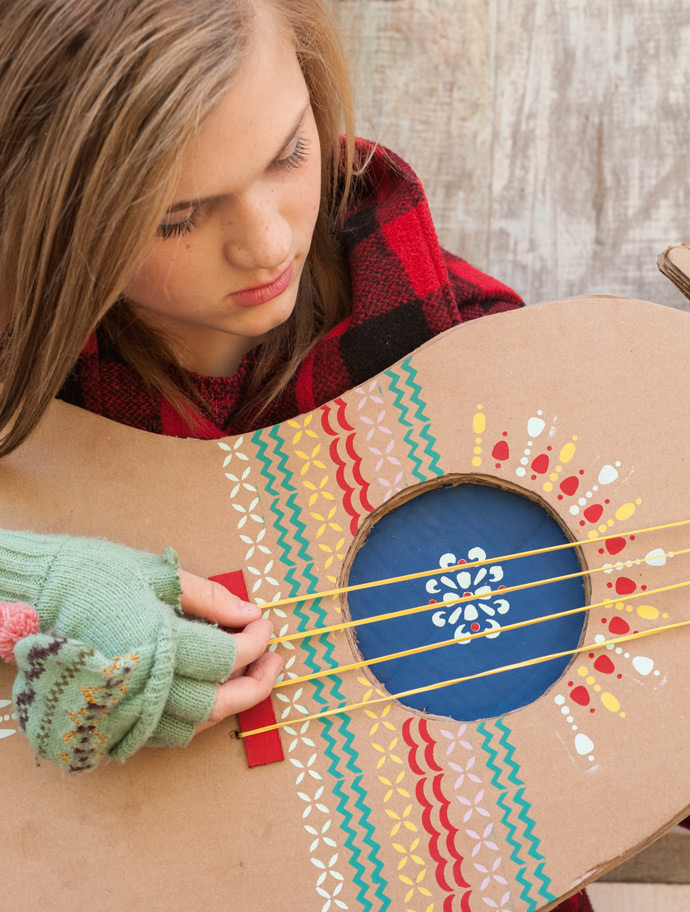
Once the guitar is assembled, let your kids use the Handmade Charlotte peel & stick stencils and FolkArt Home Décor Chalk Paint to create fun and funky patterns on the guitar.
Step 4
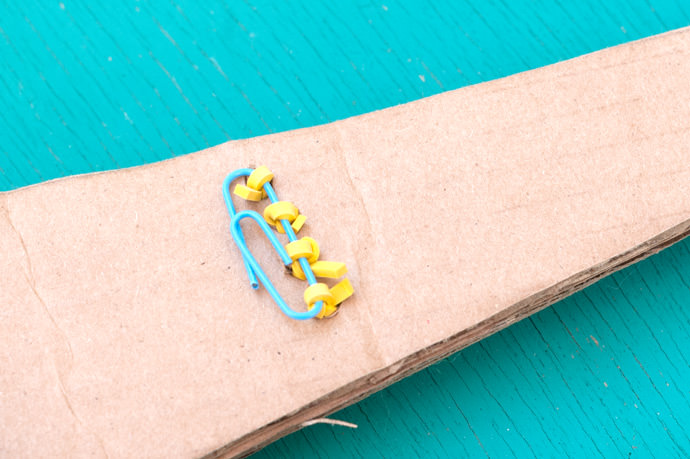
Drill 4 holes just below the bridge of the guitar, and another 4 holes just above the top nut. Cut the rubber bands so they are open. Tie them to a paper clip and thread the bands through the first 4 holes so the paper clip rests on the back of the guitar. Then thread each band through the corresponding holes at the top. Secure the bands on the back side by tying them to another paper clip.
Alright, turkeys! Who’s ready to ROCK?!