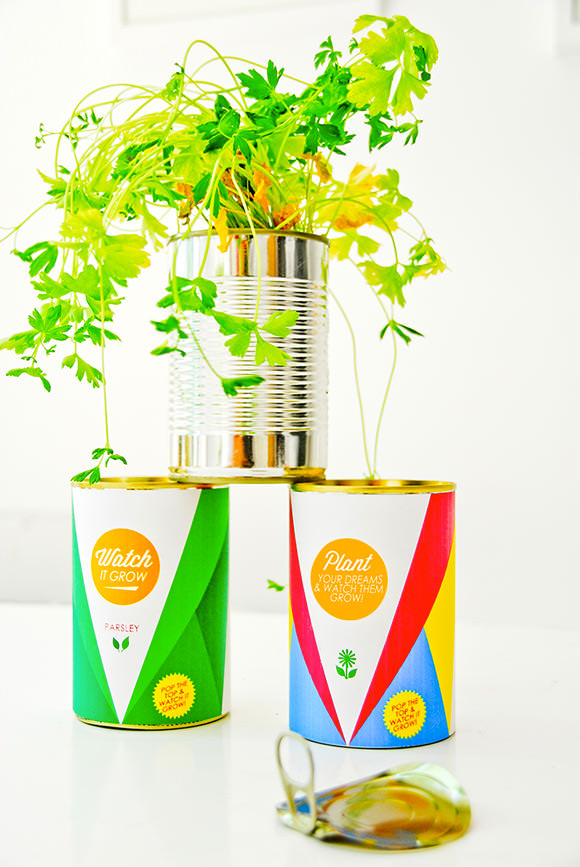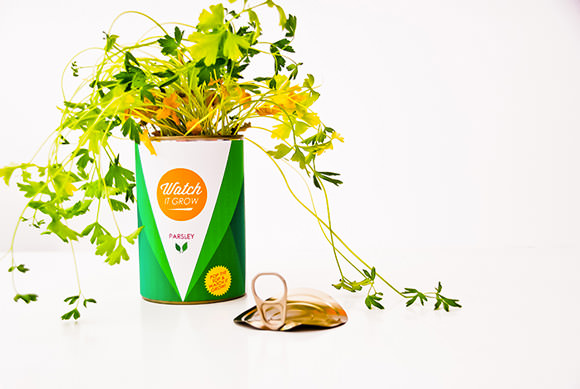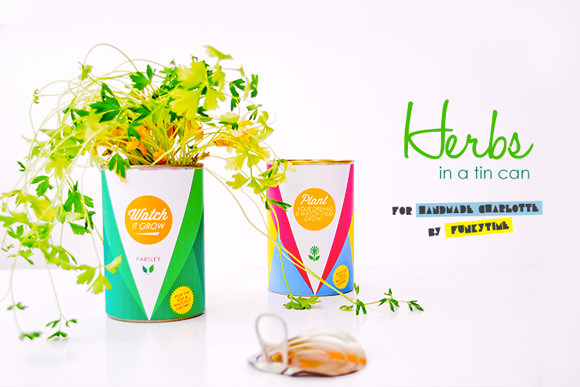
Upcycle a tin can into the ultimate gift for greenies—a pop-top herb garden! No gardening skills are required on the recipient’s part. Simply pop the top, add water, and let it grow.
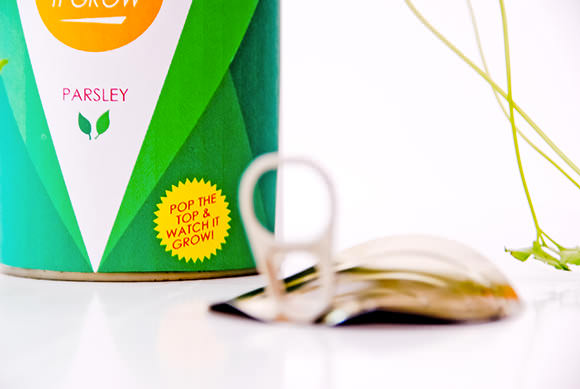
The coolest part of this DIY project is the little trick that you use to keep the pop-top lid intact (spoiler alert: open the can from the bottom and then reseal with a hot glue gun). The printable labels are pretty cool, too:)
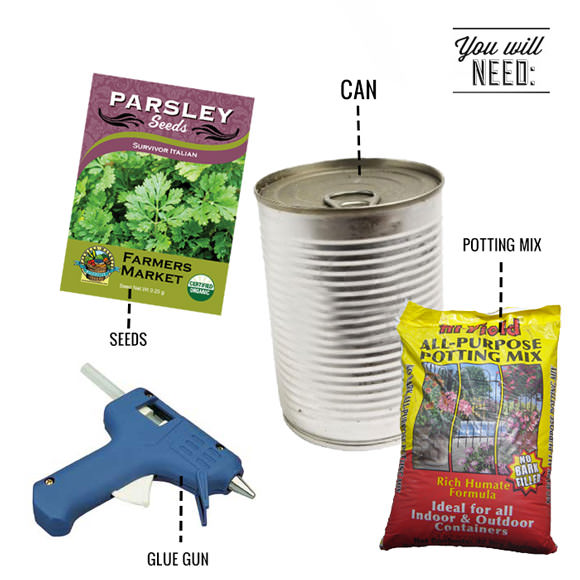
Materials
- Printable tin can label template (download here
- Tin can
- Can opener
- Hot-glue gun
- Seed
- Potting soil
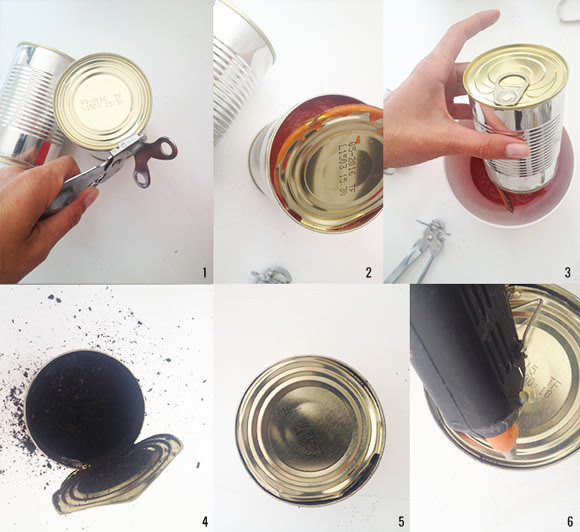
Steps
- Remove the wrapper from the can.
- Cut the bottom of the can with a can opener.
- Empty contents into a bowl for later use.
- Clean the inside of the can, add the seeds of your choice, then add potting soil.
- Take the bottom part of the can that you just cut and put it back into place.
- Reattach bottom of tin can with hot-glue gun. Let cool down. Download the template, print, and glue to can.
- Drop it in the mail to the delight of your friends & family!