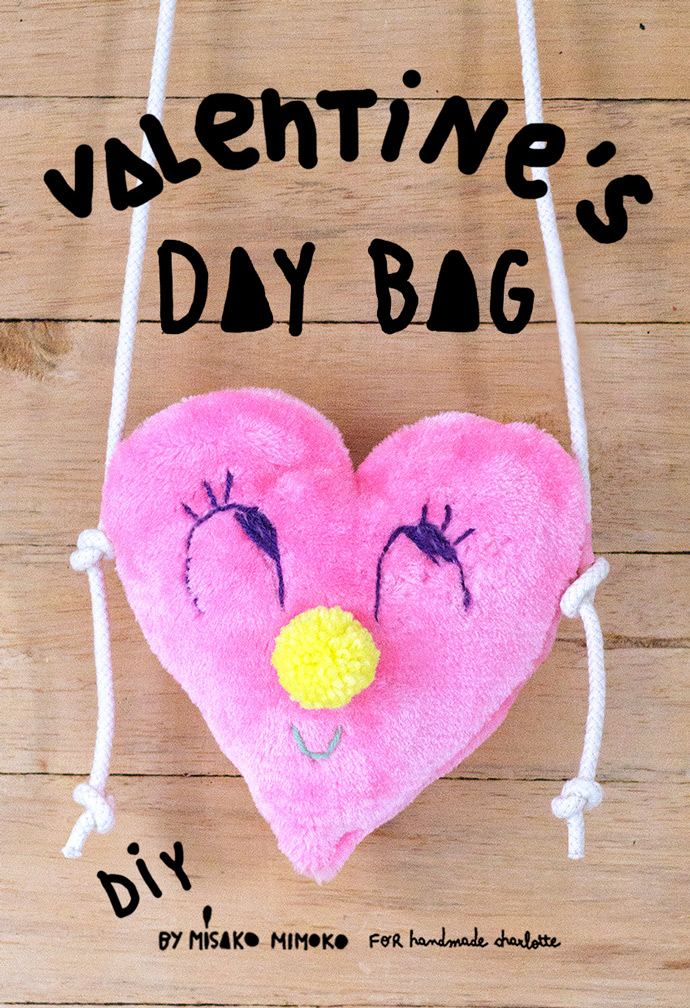
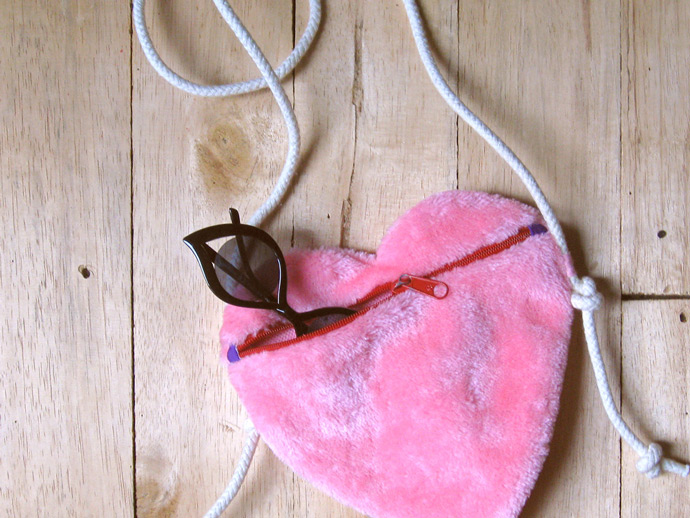
This adorable pink plush bag is absolutely perfect for Valentine’s Day! This is a super simple and fun sewing project for kids (and adults!) and when you’re done, you have a cute accessory to wear. You can customize your heart-shaped bag too: use felt instead of faux fur, or any fabric you have on hand. Try using buttons or plastic googly eyes if you don’t have time for embroidery.
Fancy a heart-shaped coin purse to match your new bag? Simply scale down the pattern to your desired size! And one more tip: you’ll want to make a bunch of these cuties because everyone you know will want one! Spread the love with your friends and family with this cute DIY gift. Let’s get crafting!
What You Need
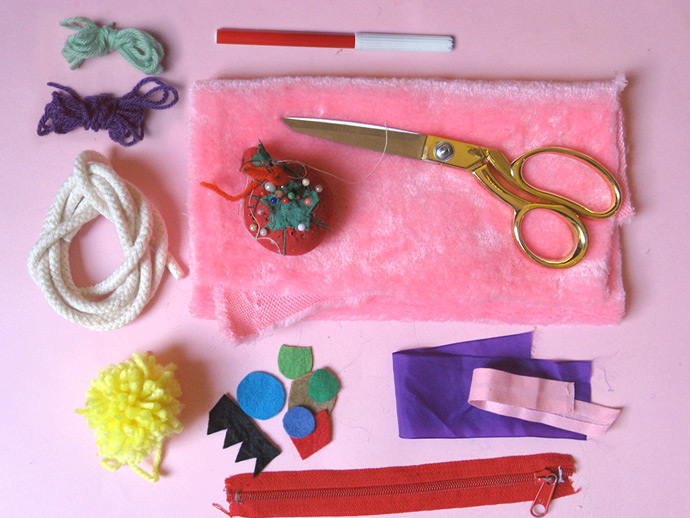
- Printable heart template (download here)
- Pink or red faux fur fabric
- Zipper
- Cotton cord
- 2” wide ribbon (or scrap fabric)
- 3/4” -1” wide cotton tape
- Felt
- Big pompom
- Yarn
- Water soluble marker
- Pins
- Sewing needle and thread
- Scissors
How-To
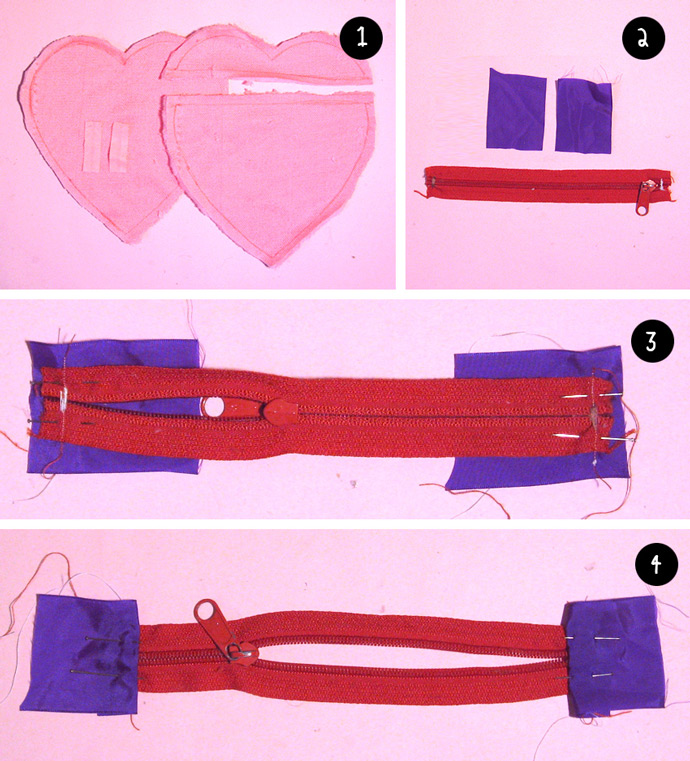
- Download, print, and cut out the heart-shaped paper pattern. Use a pen to transfer the heart shape onto the wrong side of your fabric, leaving 3/8” seam allowance on all sides, and then cut it out – this will be the front of the bag. For the back, cut the heart-shaped paper pattern along the horizontal line (this is where the zipper will go) so that you now have a top and a bottom. Transfer both shapes onto the wrong side of another piece of fabric, again leaving a 3/8” seam allowance on all sides, and cut out. Cut two pieces of cotton tape 2” long.
- Measure your zipper and cut it so that it’s shorter than the horizontal line on the pattern. Cut two pieces of 2” ribbon to 2 ½” long – these will be the tabs and hide the zipper ends.
- Place one piece of ribbon onto the top end of the zipper, right sides together. Pin in place and stitch together. Repeat for the other end of the zipper.
- Fold open the sewn ribbon pieces as shown above.
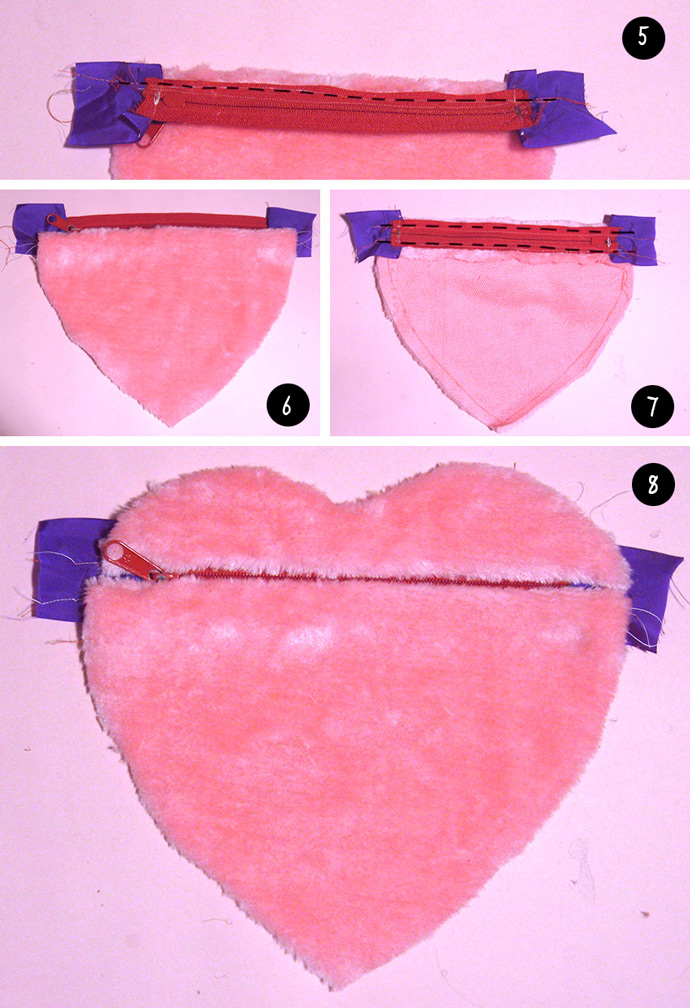
- Pin the zipper to the top edge of the bottom-heart fabric, right sides together and edges lining up. Stitch.
- Unfold and press flat along stitched seam.
- Repeat this process with the other side of the zipper and the top-heart fabric edge.
- You’ve now finished the back piece, the hardest part of the project – hooray! Press the piece flat along the seams.
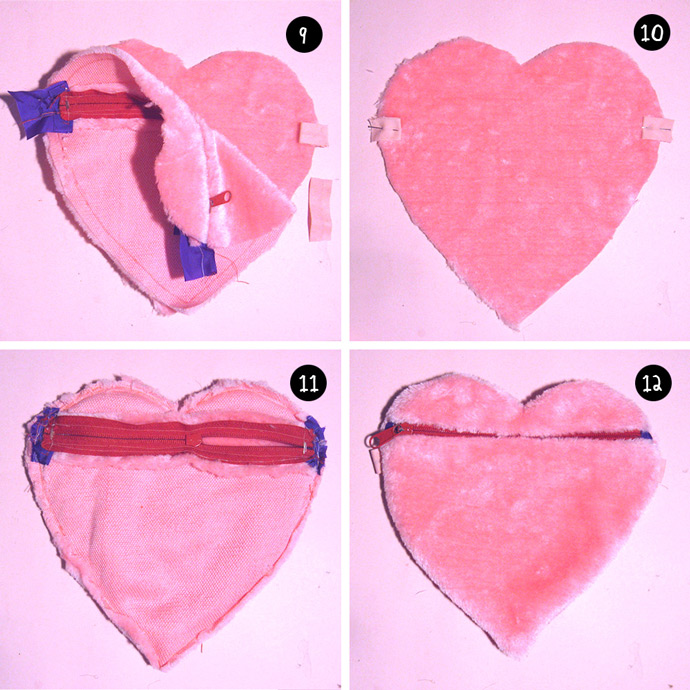
- Fold the two cotton tape pieces in half. Lay them centered onto the right side of the front-heart fabric as shown above.
- Pin them in place so that the folded sides are pointing in and and the raw edges are in line with the fabric’s raw edge.
- With the zipper half open, sandwich the front and back pieces, right sides together. Pin them together and stitch all along the edge.
- Open the zipper and turn bag right-side out.
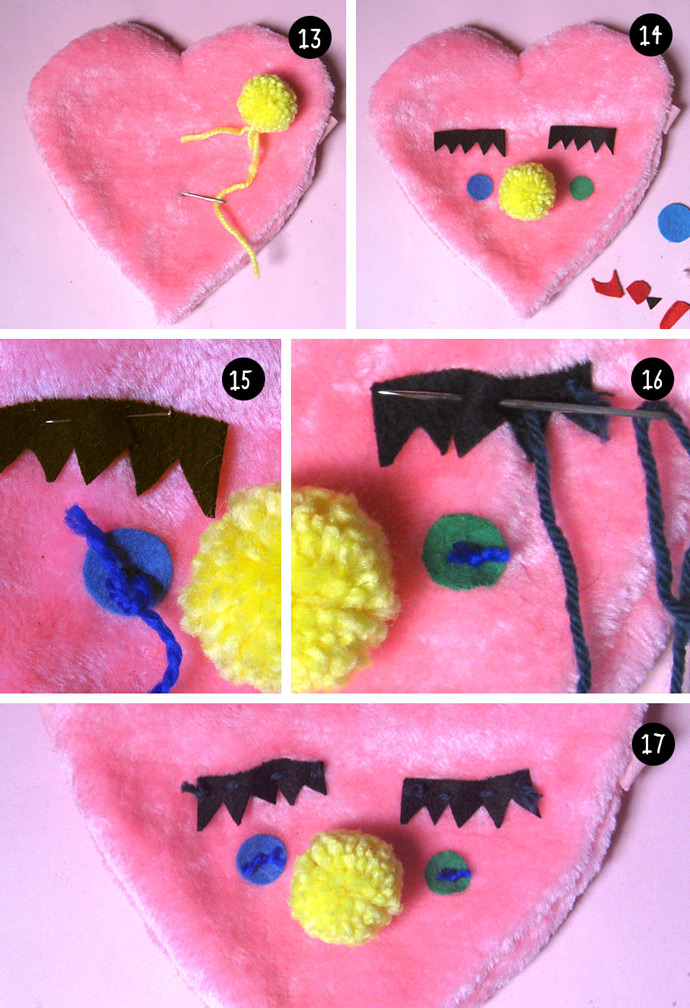
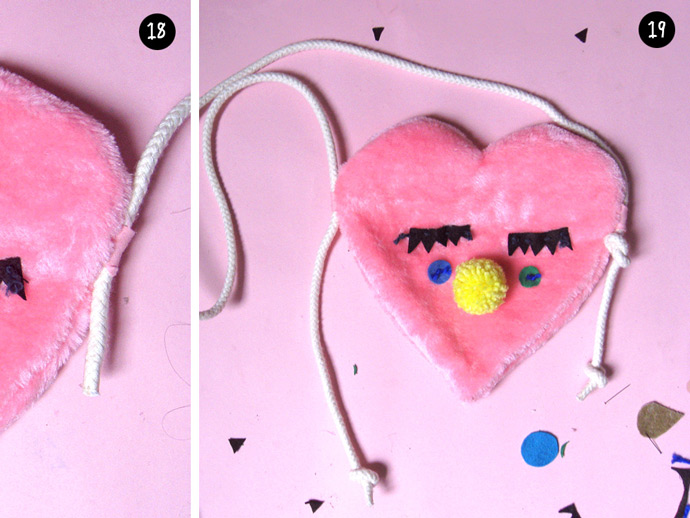
- Open the zipper for easy access, and pass your needle (threaded with yarn) through the front and center of the bag to stitch on the pompom nose. Sew on securely and tie off.
- Felt face: Cut out and transfer the face shapes from template onto felt.
- Pin and stitch the pieces in place using contrasting yarn.
- Sew the cheeks on with knots and the eyelashes with running stitches, leaving knots at the right side of the fabric.
- This is the first (and easiest) option for a simple face made from felt!
- Pass the cotton cord through one of the cotton loops on the side of the bag
- Tie a knot at the end of the cord that is through the loop. Tie another knot about 4” above the first – this one will sit right below the cotton loop, and the other will be a little tail. Measure how long you want your bag’s strap to be and then repeat these knots on the other end of the cord to match.
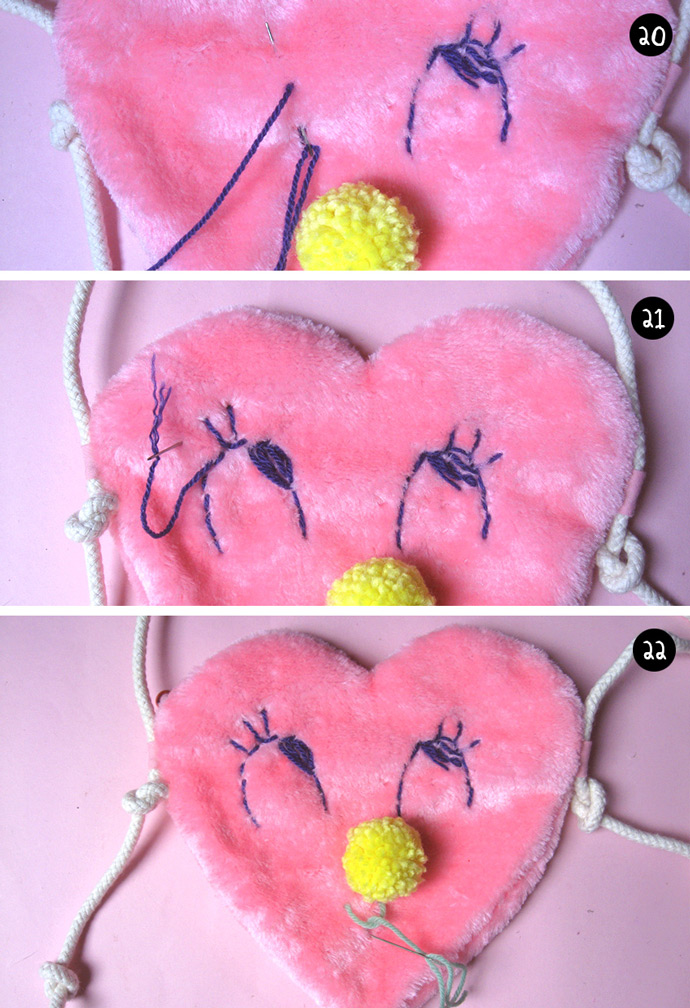
- Embroidered Face: Use a water soluble marker to draw the eyes and mouth onto the back of the fabric. Start embroidering the eyes using a simple backstitch.
- Sew straight stitches for eyelashes and pupils.
- Use a big fly stitch to embroider a smiling mouth.
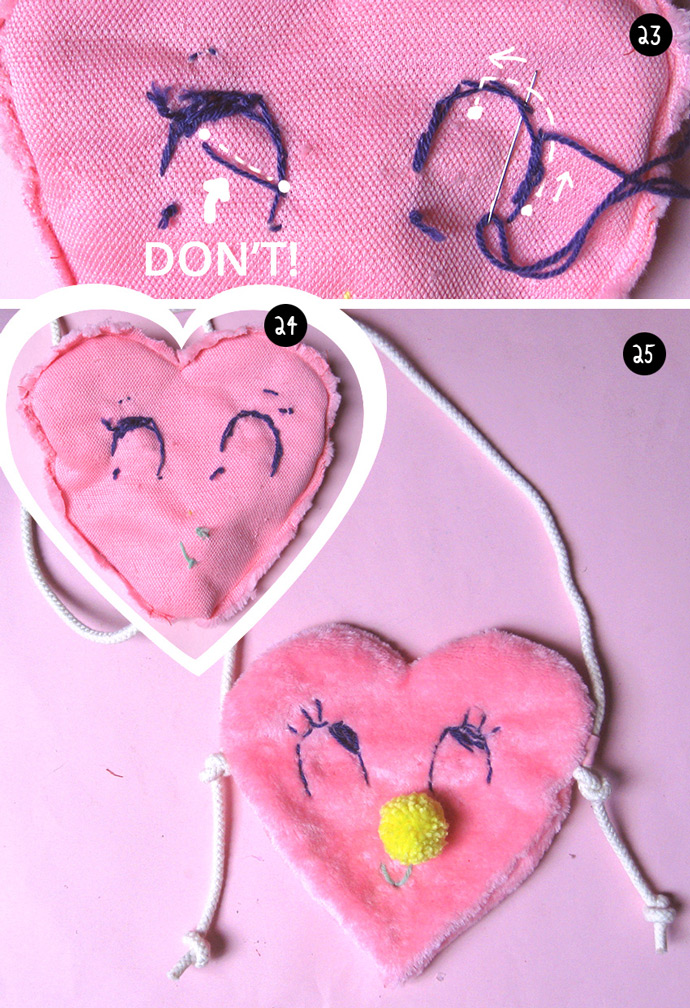
- Try to pass the needle through the existing stitches to get your needle from one point to another.
- Whether you decorate your heart bag with felt or embroidery, you must remember to avoid leaving long stitches on the inside of the bag. Keep a neat embroidery backside, or try adding a lining to get a perfectly finished inside for your new bag!
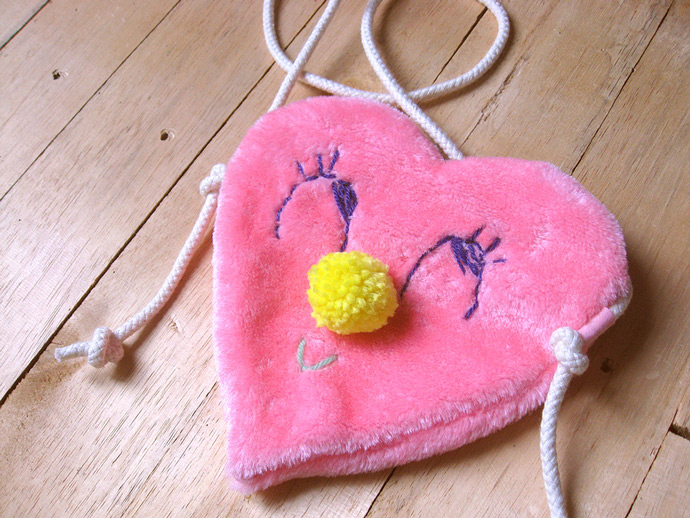
- Voila! You now have a cute heart bag for Valentines Day!! Reduce or enlarge this pattern to make different sized bags or purses.
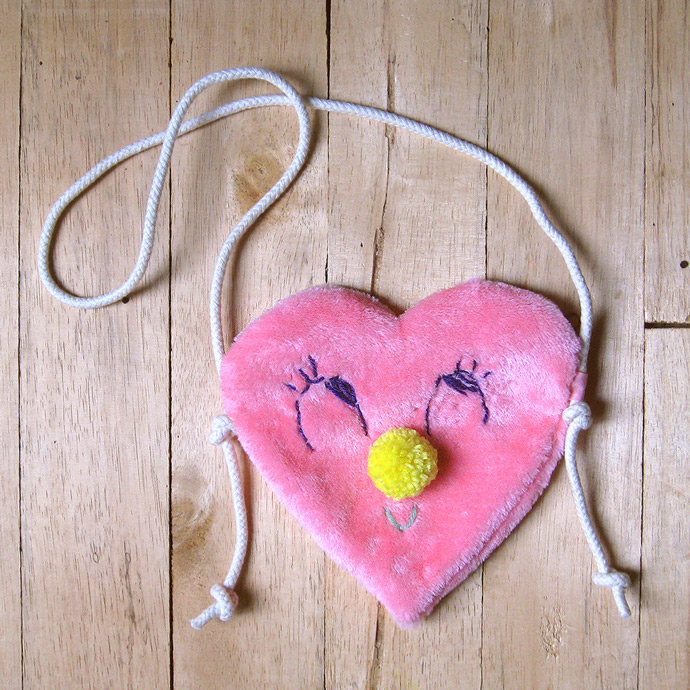

Happy crafting!