We’re super excited to introduce our newest craft contributor, Victoria Hudgins. Victoria is the editorial manager for Alt Design Summit and the author of A Subtle Revelry, where she shares her passion for the art of merry making. Enjoy!
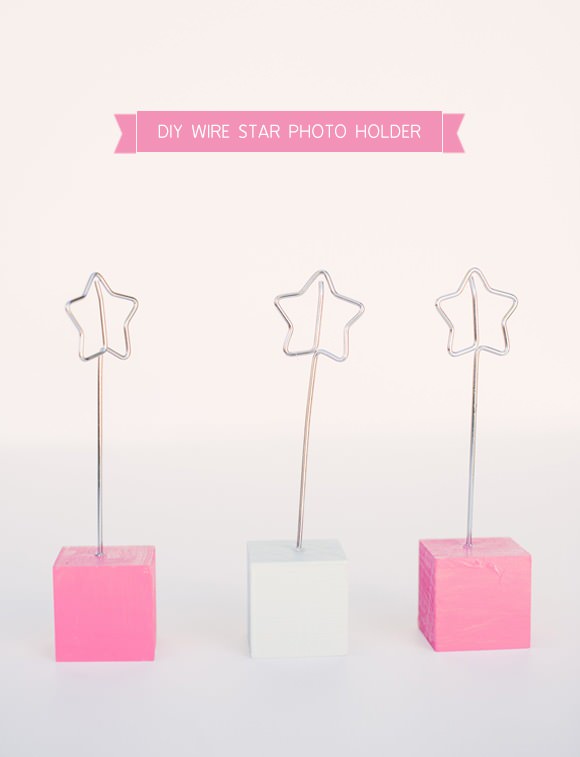
Add a little cheer that will last even after the holidays are through by making a sweet collection of DIY photo holders. Every year growing up, we would always receive a photo holder for Christmas to display our favorite photo from the season.
It makes such a difference come January to have a few happy snaps sitting around the room or on your desk, and it’s a great way to help your kids make the transition back to normalcy after all the hoopla of the holiday season.
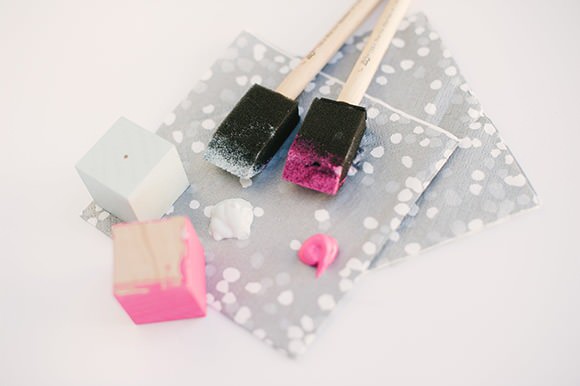
Materials
- Simple wooden blocks (found at craft stores)
- Paint
- Heavy gauge floral wire
Step 1
Paint the blocks using bright colors to cheer winter blues away.
Step 2
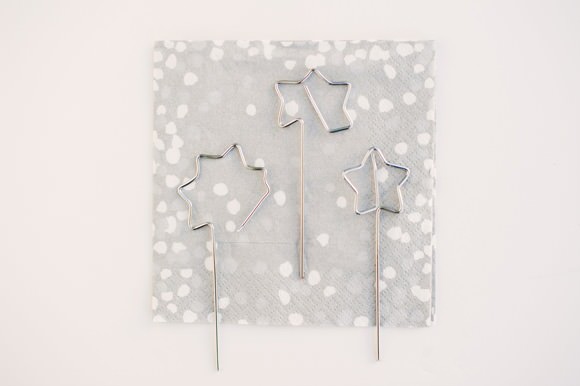
Cut the wire to size (the stars pictured above are 8-in. long).
Step 3
Use a template of a star that you love (here is a great one). Print it out and begin to bend the star around the template. Use needle nose pliers to make crisp angles and be sure to leave a 1/2-in. section in the middle to hold your photos.
Step 4
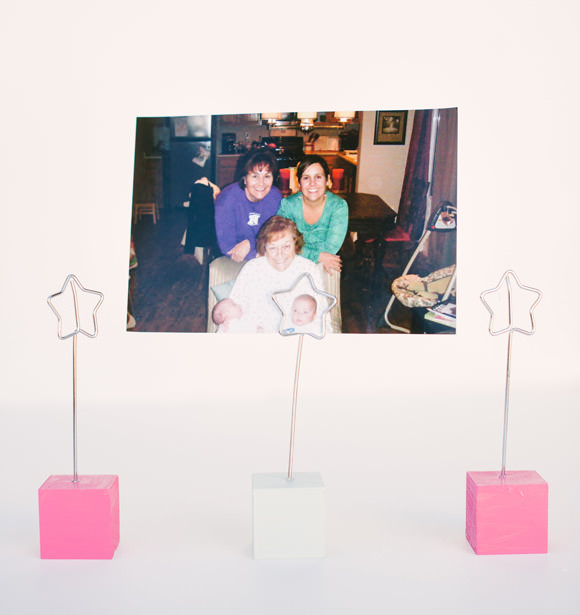
Gently twist the wire into the top center of the wooden block. You shouldn’t need a drill for this, the wood is soft enough that the wire will twist right in and stay. Use a small fitted drill bit if needed.
Step 5
Fill with happy photos of the holidays and adorn your mantels, desks, and rooms with joy all year long.
Happy crafting!