Fall is one of my favorite seasons, but boy does it fly by. After Halloween it’s my daughter’s birthday and then Thanksgiving – it’s non-stop! But it’s a good busy, so I can’t complain. As you might know, I am French so Thanksgiving wasn’t a part of my family’s tradition. But since moving to America seventeen years ago, I’ve been celebrating Thanksgiving. I really enjoy taking the time to be thankful, and I make sure to encourage my kids to be thankful too.
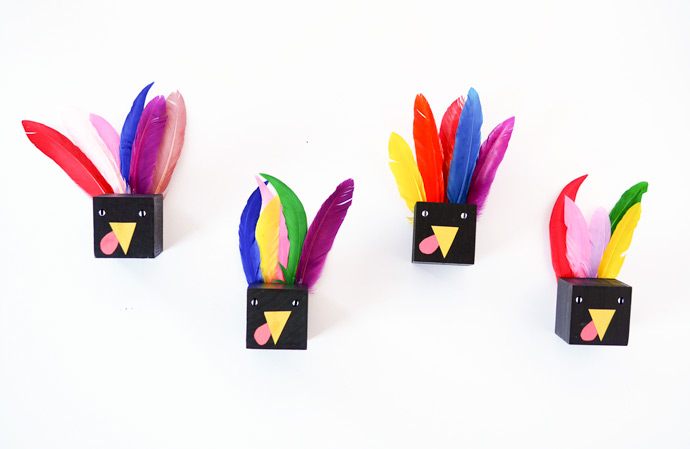
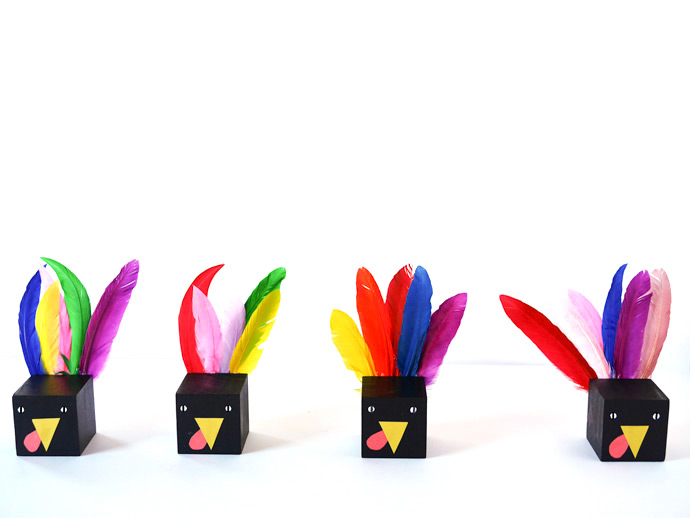
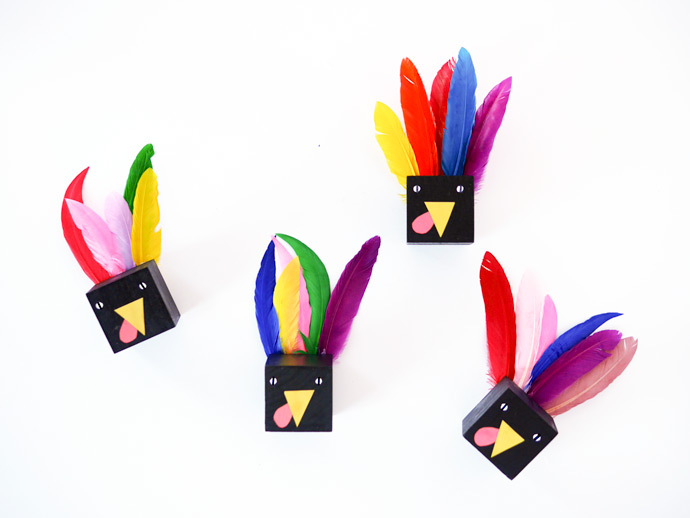
This past weekend, we spent time preparing for Thanksgiving and now the house now is ready! I came up with these colorful turkeys – aren’t they fun? You can use them to decorate all over the house, set them up as a centerpiece, or use them as place cards – just write your guests’ names on them. Or if you need an activity to keep the kids busy, have them make these turkeys! Let’s get crafting!
What You Need
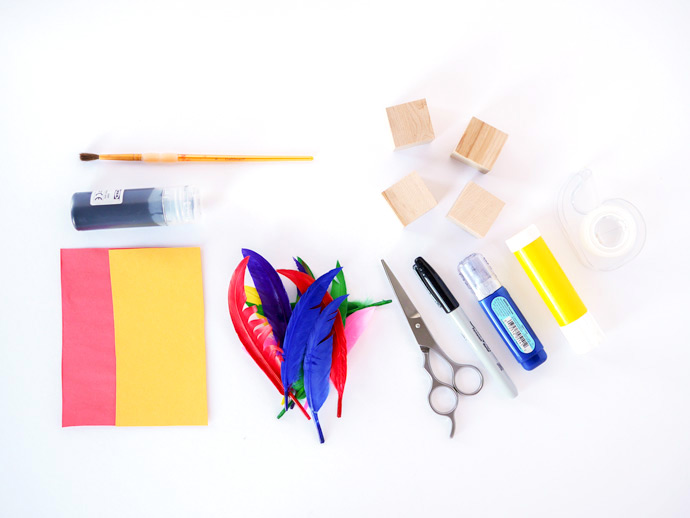
- Wooden cubes (or small boxes)
- Black paint
- Paintbrush
- Construction paper
- Craft feathers
- Scissors
- Tape
- Glue
- Pencil
- White out
How-To
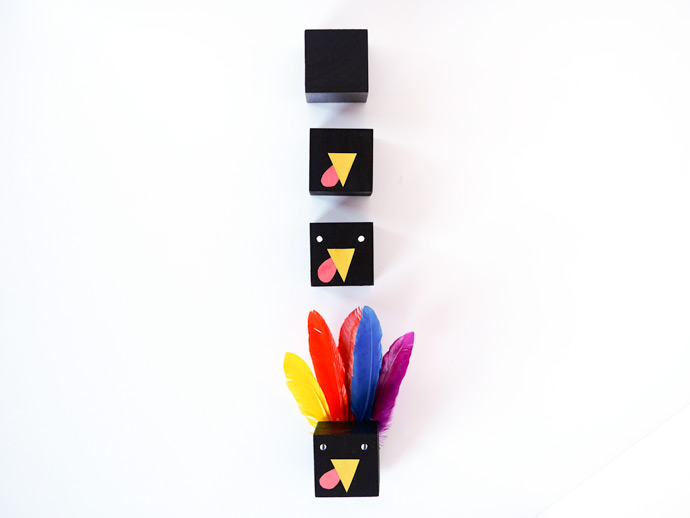
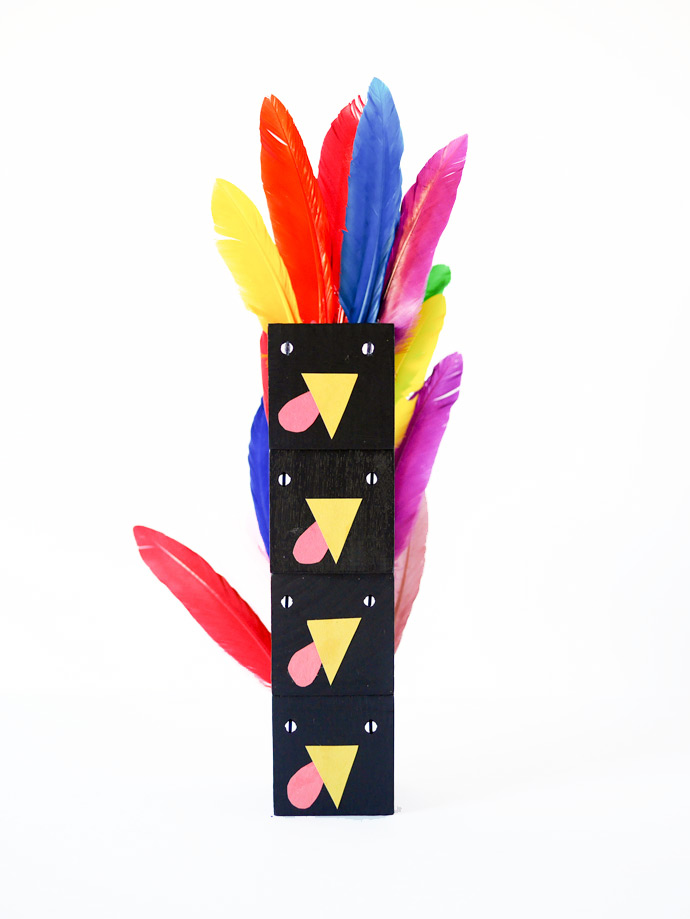
- Paint the cubes black and let dry.
- In the mean time, cut triangles out of yellow construction paper and raindrops out of red paper. Set aside.
- When the cubes are dry, glue down the red raindrop shape and then glue the triangle beak on top to make the turkey faces.
- Use white out to make the eyes and draw the pupils with pencil.
- Pick out some colored feathers and glue them onto the back of your cube. Let dry.
Voila! Happy Thanksgiving!!