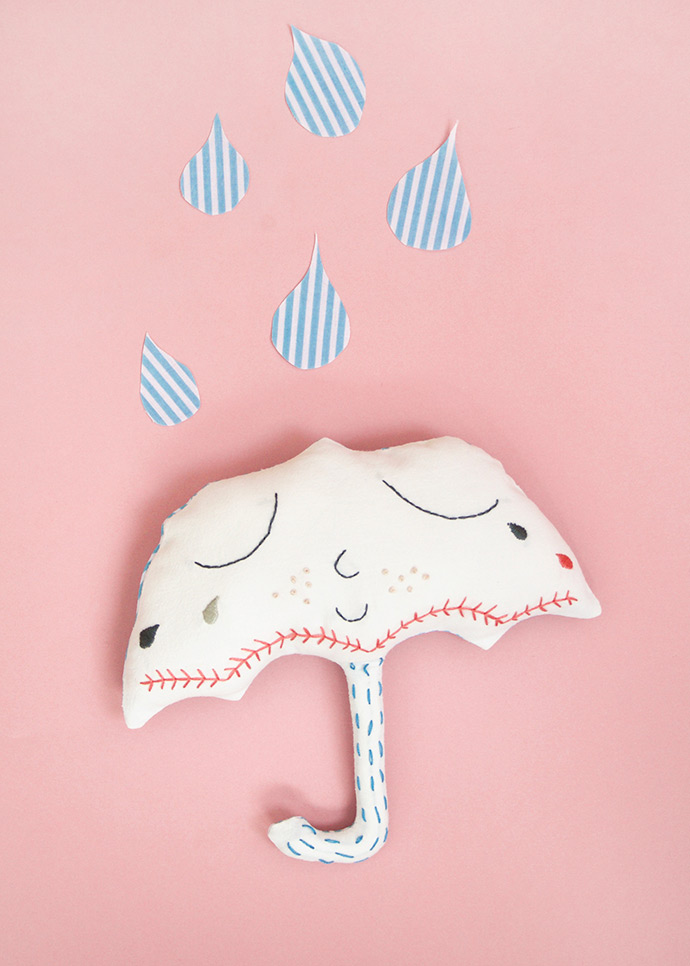
This cuddly umbrella pillow is the perfect project for beginners to embroidery. It features four simple embroidery stitches and adds a beautiful, handmade touch to any nursery or child’s room. Kids are sure to enjoy cuddling up on a rainy spring day!
Practise any new stitches on a scrap of fabric first and once you’re feeling comfortable with them, try them out on the real piece. Make a mistake? No worries – these stitches are easy to undo and try again. Keep reading to see the full how-to!

What You Need
- 10” embroidery hoop
- Square of white cotton fabric (measuring about 15” x 15”)
- Square of patterned fabric (measuring about 15” x 15”)
- Embroidery floss in dark grey, light grey, dark pink, light pink, and blue
- Needle
- Scissors
- Erasable air ink pen or pencil
- Polyester stuffing
- Sewing machine (or needle and white cotton thread)
- Printable umbrella pattern (download here)
- Printable stitch guide (download here)
How-To
Step 1
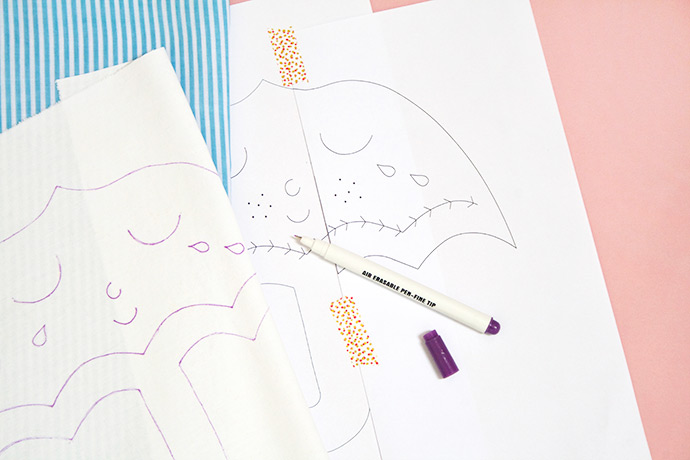
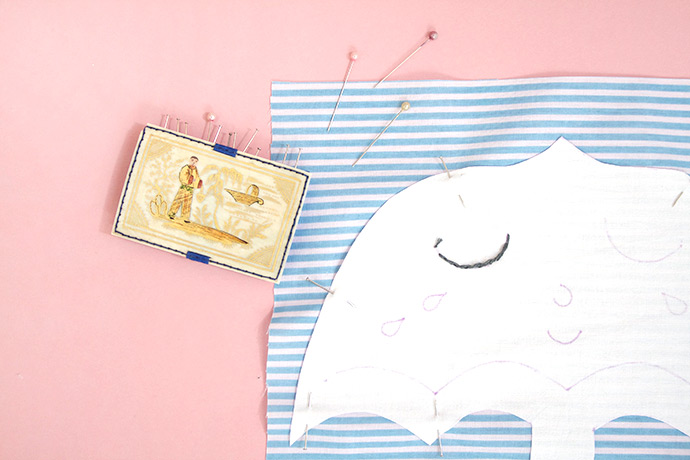
Before you begin, make sure that your fabric is ironed and crease free. Download and print the umbrella pattern, place it under the centre of your white fabric square and then trace the design onto the fabric. You can use an erasable air ink pen or sharp pencil. Don’t cut your design out yet though! TIP: tape the paper pattern to a window and tape the design on top – the light coming through the window will help you to see your design easily.
Step 2
Take a look at the printable stitch guide to see which stitches go where. Feel free to test out any stitches that are new to you on a test piece of cloth (you could end up with a really nice embroidery sampler!)
Step 3
Once you’re ready and familiar with each of the stitches, secure your fabric into the embroidery hoop. Make sure it is pulled tight across the frame and the design is roughly in the middle.
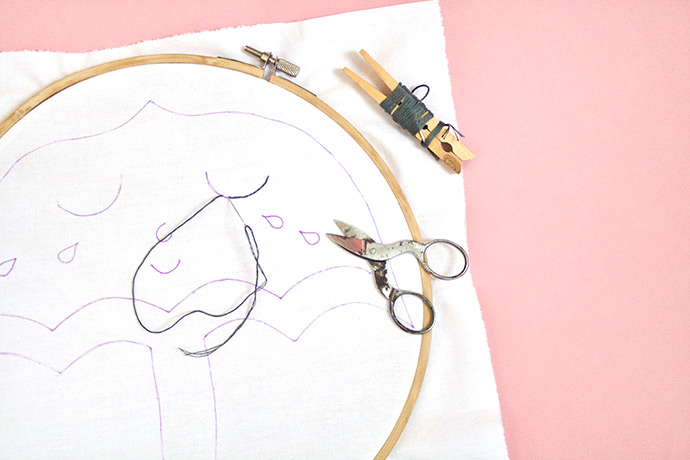
Step 4
Start by doing the eye in a back stitch. Cut a length of dark grey embroidery floss, about 20” long and split your embroidery floss from six strands down to three. This will give you a much neater effect, be easier to work with, and make your floss go further.
Step 5
Once the first eye is finished, knot off your thread and choose the next facial feature to back stitch. Knot off at the back every time you finish a shape – this will help avoid any criss crossing threads on the back being visible from the front.
Step 6
Continue, using the stitch guide to show which colours and stitches go where.
Step 7
Once your embroidery design is finished, take your work out of the hoop, iron flat again, and cut out. Then lay the umbrella on top of your square of patterned fabric, right sides together, and pin around the edge. Leave a gap of about 1” along one of the top edges of the umbrella.
Step 8
Stitch using a sewing machine (or by hand) about 1/4” from the edge of the fabric. Trim away the excess then turn through the gap.
Step 9
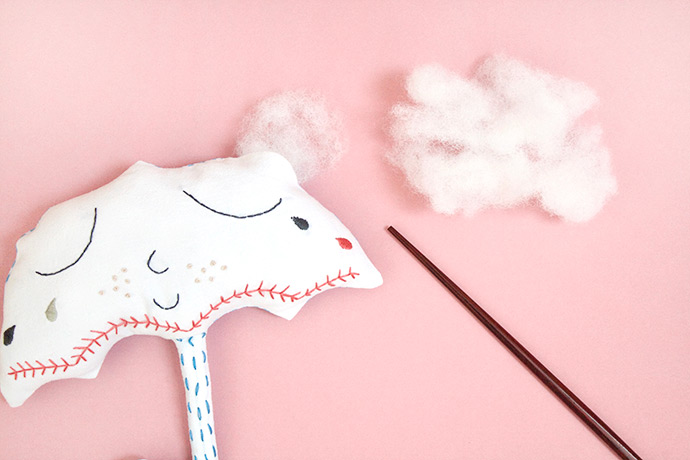
Stuff with polyester filler, pushing it with a chopstick to the very edges, and then sew the gap closed by hand with a needle and white thread.
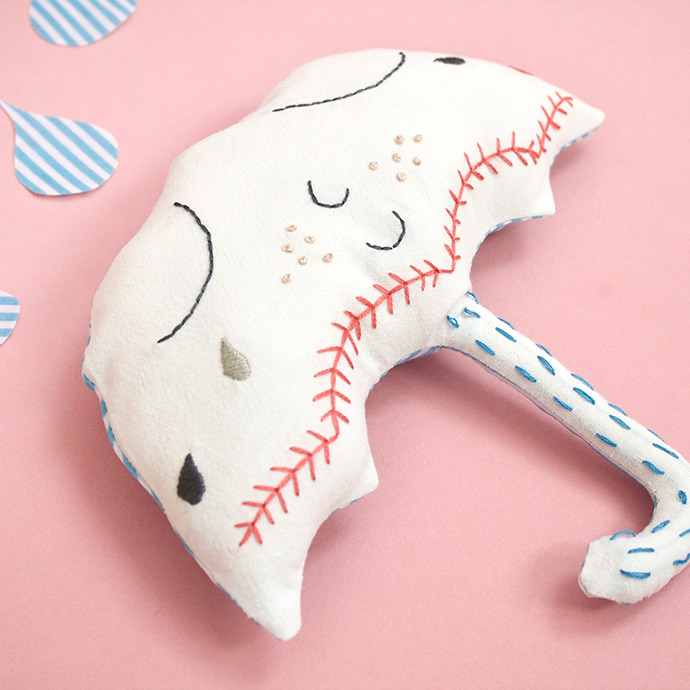
This adorable umbrella pillow project comes from guest contributor Martha Moger. Martha writes about creativity and motherhood at Gidsy and Jo and helps big kids to sew with and for their little ones. Her shop is full of creative and playful projects too!!