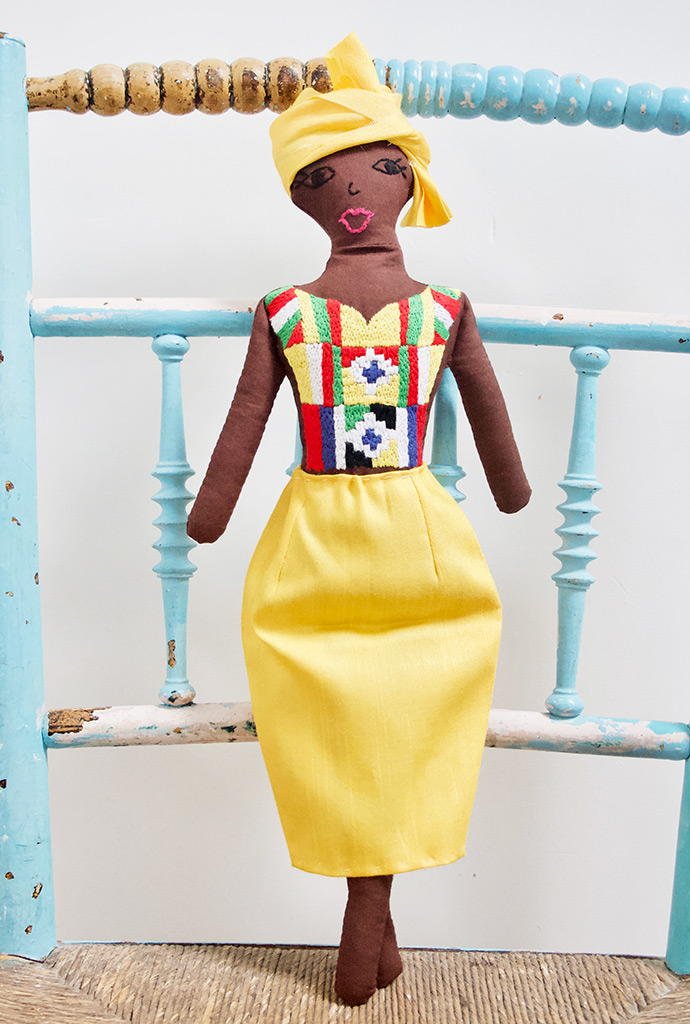
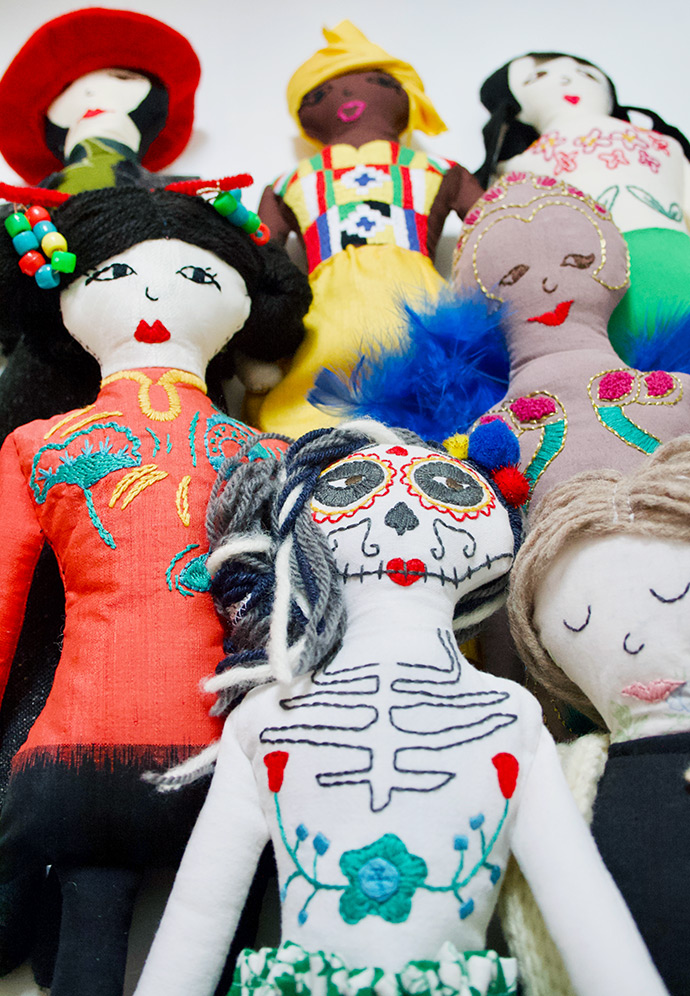
Today’s doll from Ghana completes the set of our “Dolls Around The World“. This lovely lady represents the beauty, strength and colour of Africa in a stunning outfit of Ghana kente cloth and bright yellow silk. Keep reading to see the full instructions!
what you need:
- Paper pattern download
- Light pencil and air erasable fabric pen
- Piece of cotton fabric for face, arms, legs
- Piece of colourful silk or satin fabric
- 4” embroidery hoop
- Embroidery needle and threads in black, red, yellow, green, pink white and blue
- Large, sharp scissors
- Sewing machine and matching cotton thread to arms and legs fabric
- Polyester stuffing
- Dressmaking pins
how-to:
Step 1
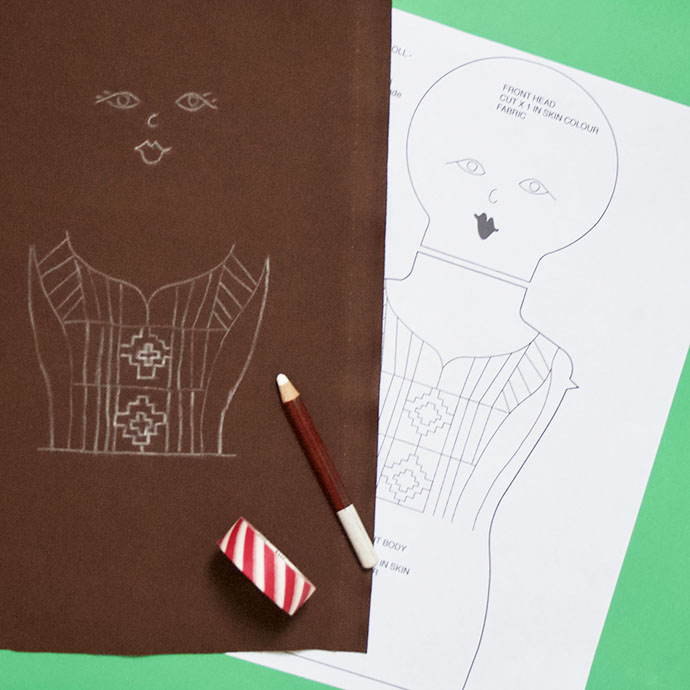
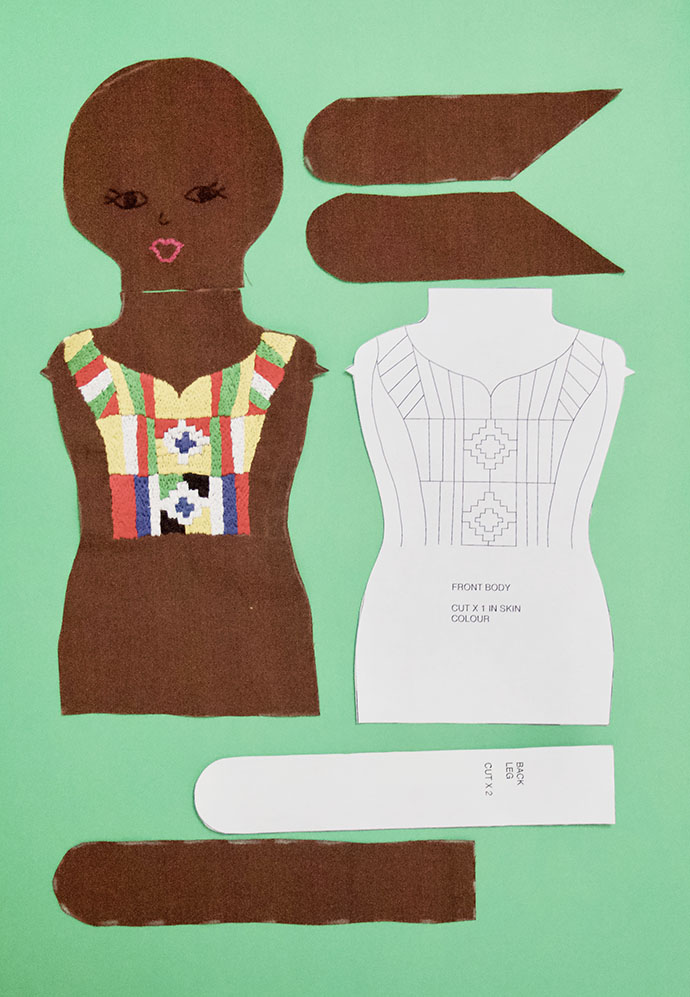
Download the paper pattern and cut out the pattern pieces. Using a chalk pencil or tailor’s chalk, draw around the pieces, following the instructions.
Trace the eyes, nose and lips onto the front of the head and carefully trace the embroidery pattern onto the front body piece. Just tape the paper pattern to a window with the fabric taped over the top. Use a light pencil or air erasable pen to transfer the design.
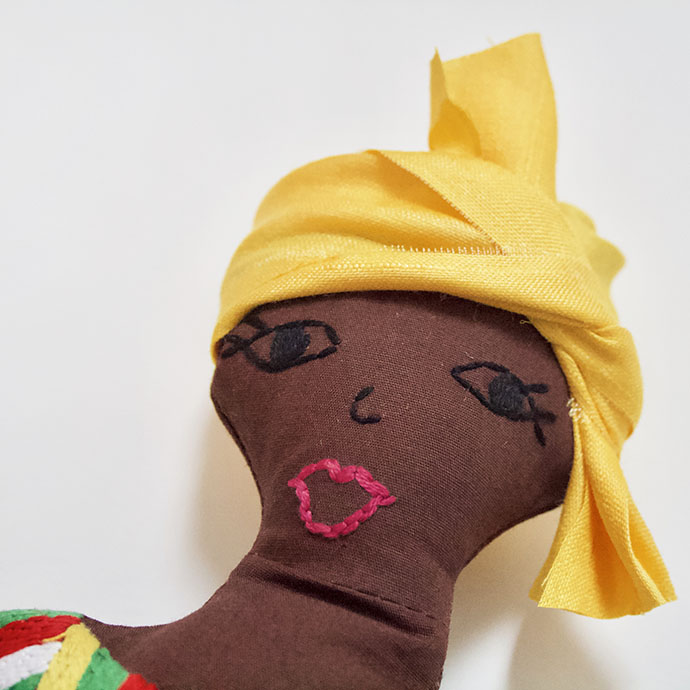
Step 2
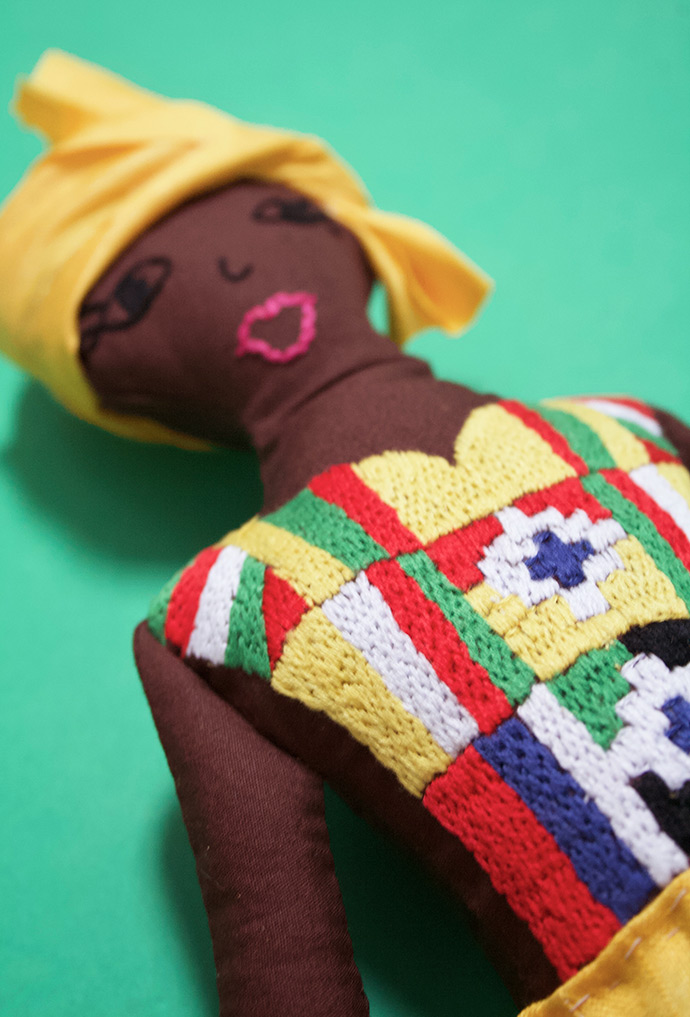
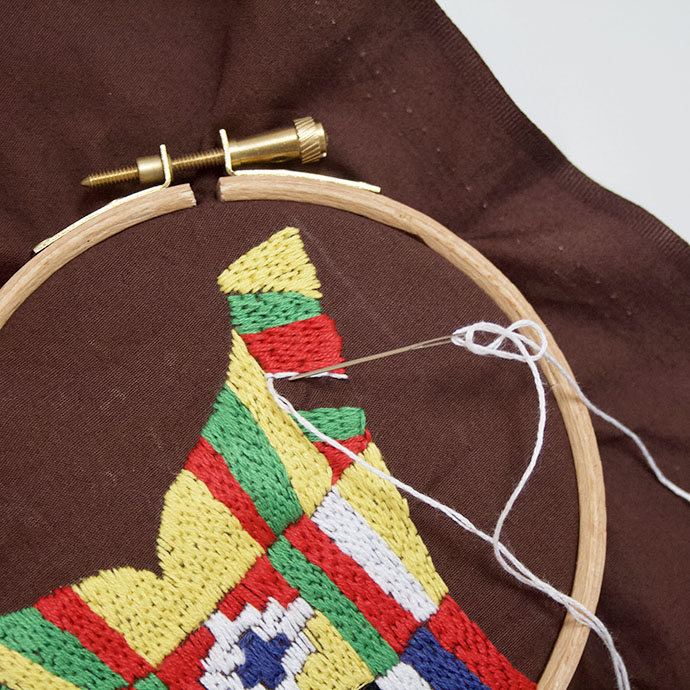
Embroider the face, using a simple back stitch and splitting your thread down to three strands to get a finer finish. Then move on to the pattern embroidery, mixing up colours from your selection to make it really colourful. Work simple lines of back stitch close to one another to create blocks of colour.
Step 3
Once your embroidery is complete, cut out all the body pieces. Follow the steps 3-4 from this tutorial to make arms and legs.
Step 4
Now make your doll up. Take head and body pieces and match right sides together. Edge A of the front head should line up with edge A of the front body. Now sew together with 0.75” seam allowance by hand or machine.
Repeat for back head and back body pieces.
Step 5
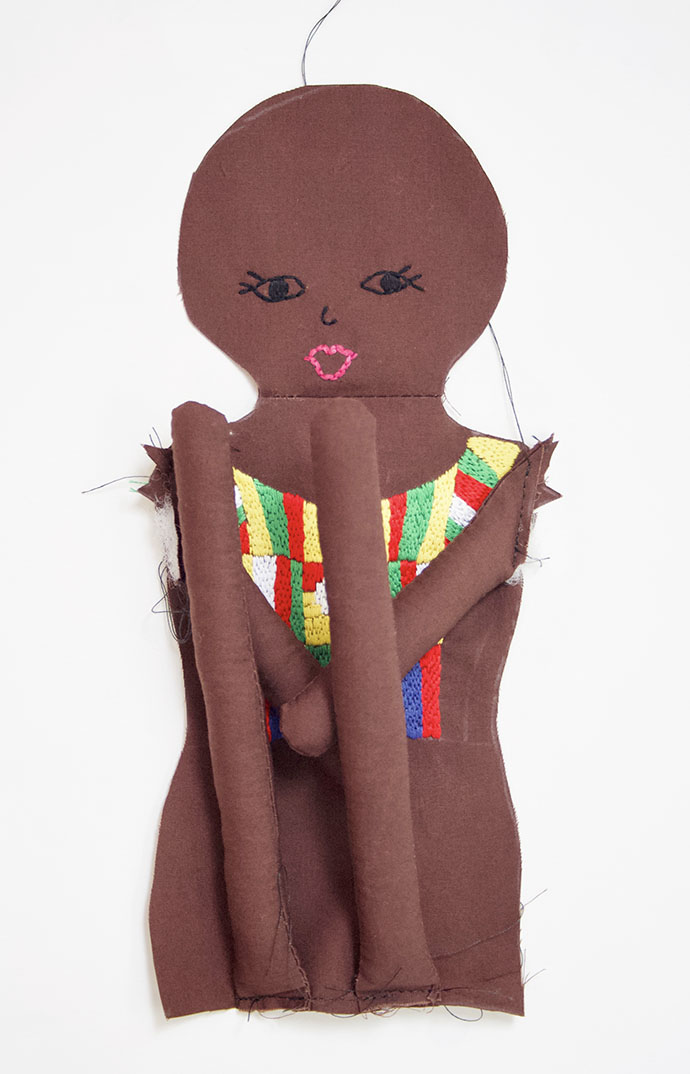
Next, take the arms and legs and tack onto the body piece, placing arms across body and legs as shown.
Step 6
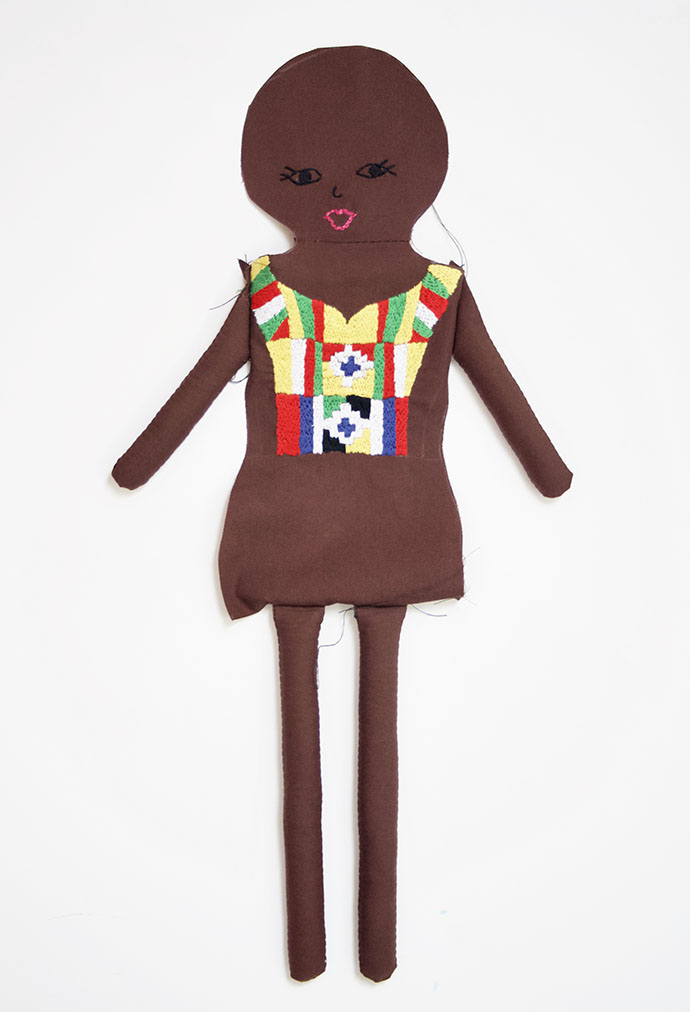
Now with arms and legs still in this position, take the back body piece and pin in place, matching edges. Sew around with arms and legs sandwiched inside, being careful not to catch them in any seams. Leave a gap of around 1” along one side and turn doll right side out. Fill with polyester stuffing and close the gap with small stitches.
Step 7
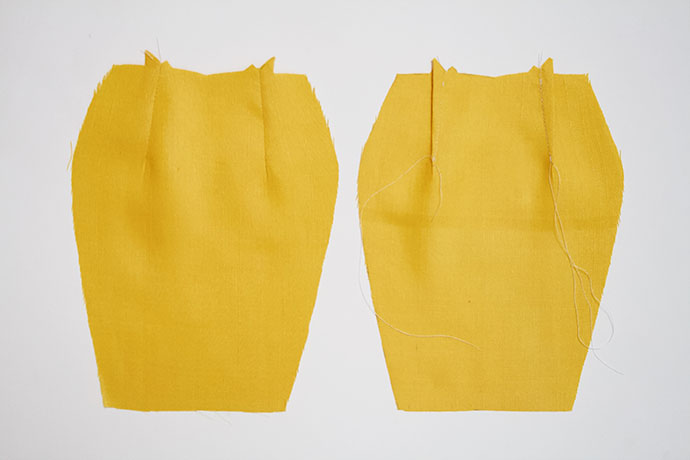
To make the skirt and headscarf – using the skirt pattern, cut out the pieces in your brightly coloured fabric. Make sure you mark the darts onto the top line of the skirt. Match notches and crease to the dot then sew the dart in place. Next place right sides together and sew along the side edges of the skirt. Turn right side out and iron.
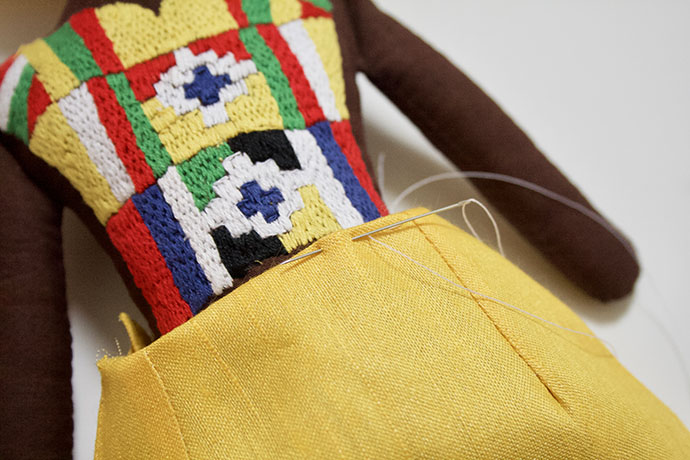
Step 8
Put your doll into the skirt, then carefully fold over the top edge of the skirt to hem by hand. You can pull to fit the waist as you go. This will make the waistline slightly gathered. Repeat hand stitching to hem bottom edge of the skirt too.
Step 9
Cut a strip of skirt fabric, approx 2” wide and 10” long. Simply wrap around the head, tucking in and holding in place with tiny stitches, then tie ends in a bow across the forehead.
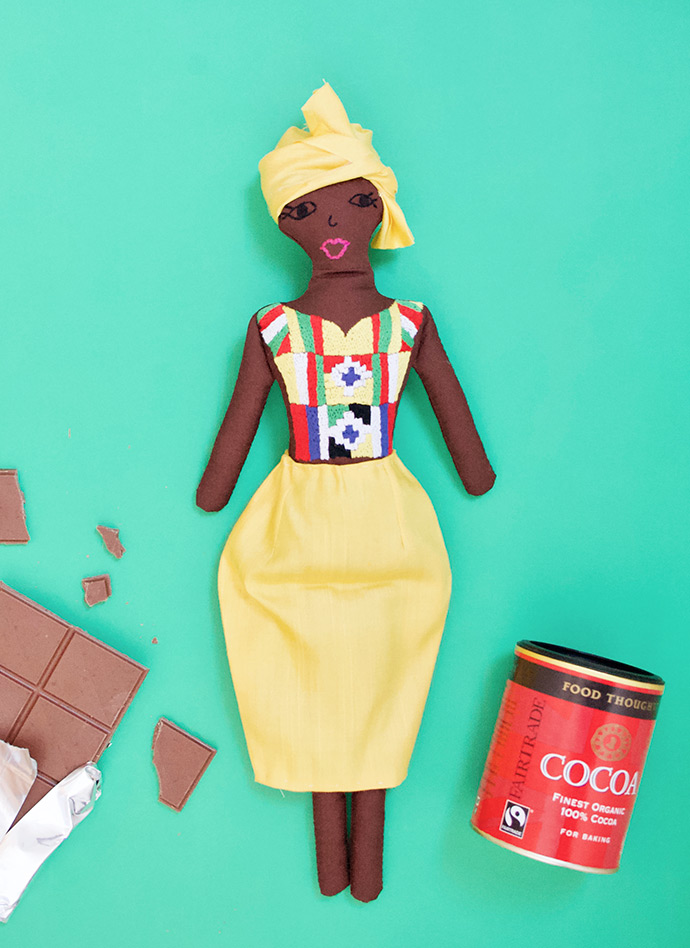
Ta da! Your doll is finished and ready to sing, dance and play!
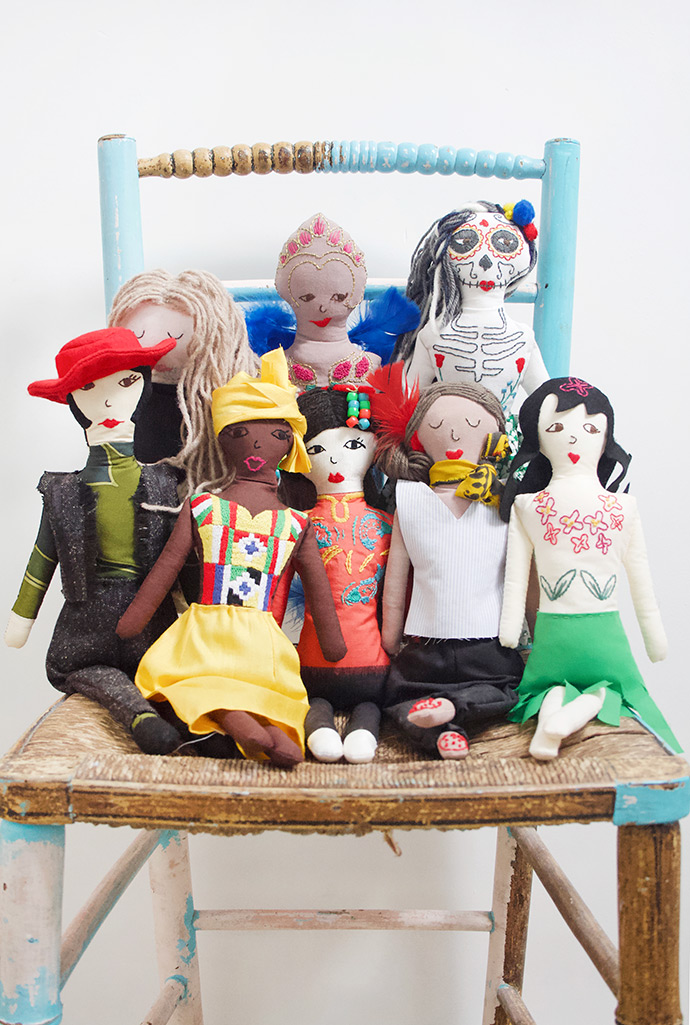
In case you’ve missed any of the other dolls in the series, take a look through the archives right here.