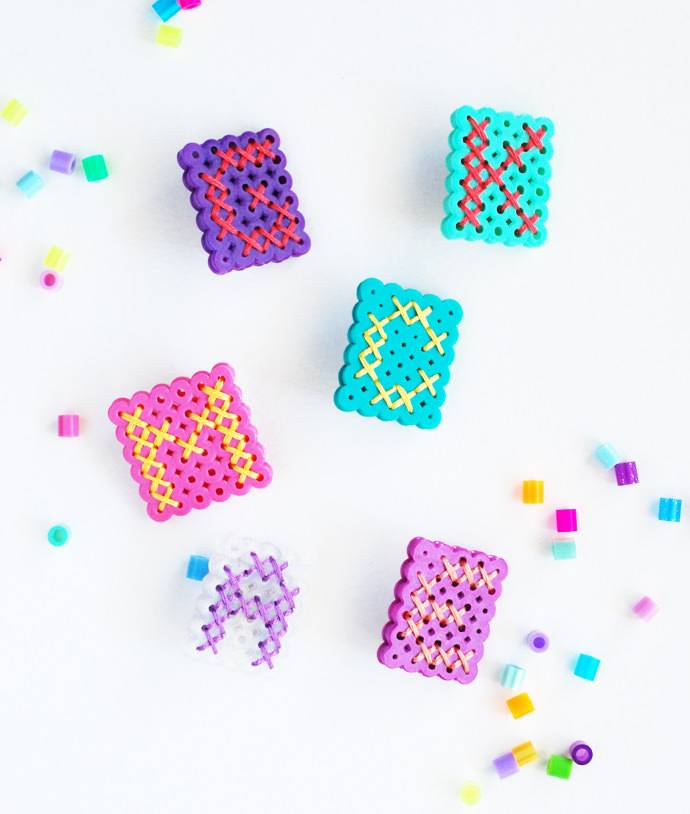
Ever since I was a kid, I have loved making things out of perler beads. I also love stitching, and with this quick project you can combine the two! Start with a base of perler beads, then stitch through the holes to create a monogram.
Once you’ve made one, you’ll want to make a whole alphabet, so let’s get started!
What You Need
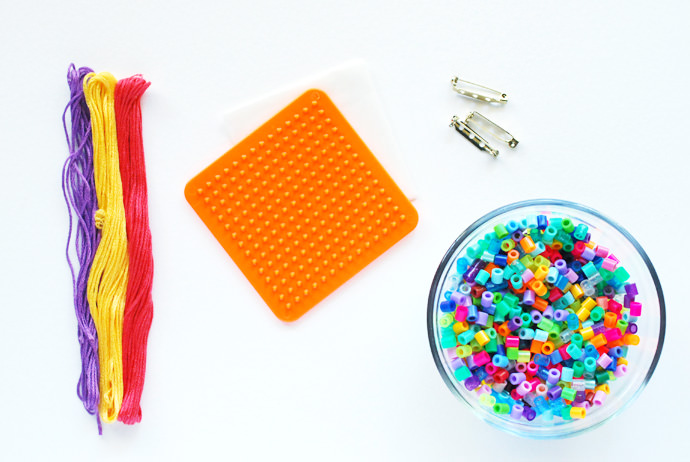
- Perler beads
- Square perler bead board & ironing paper
- Iron
- Embroidery floss
- Scissors
- Large needle
- Pinback
- Strong craft glue (suitable for attaching metal to plastic)
- Cross stitch letter chart template (download here)
How-To
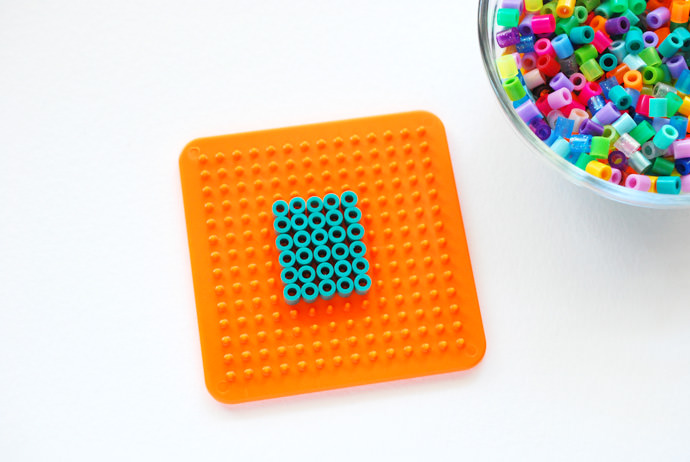
Step 1
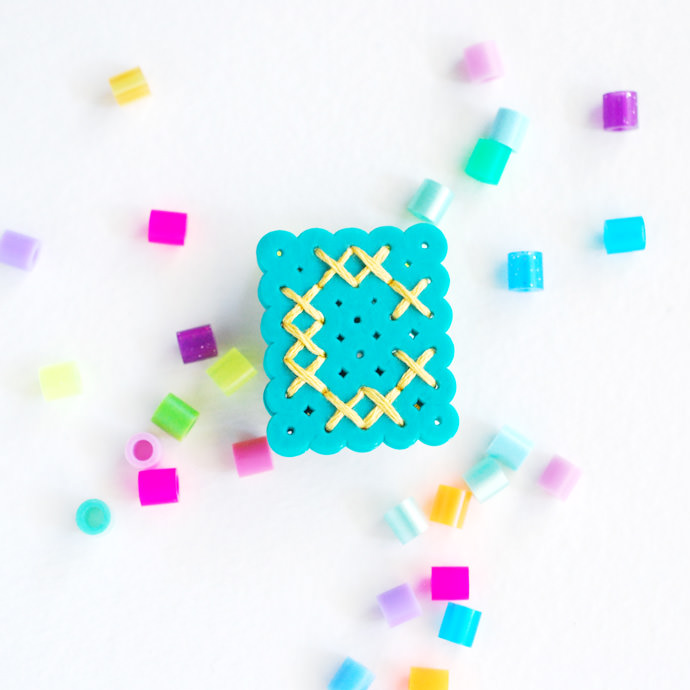
Layout a small grid of perler beads on the board. Use all the same color so it’s easier to see the stitched letter when it’s finished. For most letters you will need a grid that is 5 x 6 beads.
For the letter I the grid should be 4 x 6 beads, and for the letters M, Q, V, W, X, and Y the grid should be 6 x 6. The cross stitch letter chart indicates the sizes for these exceptions.
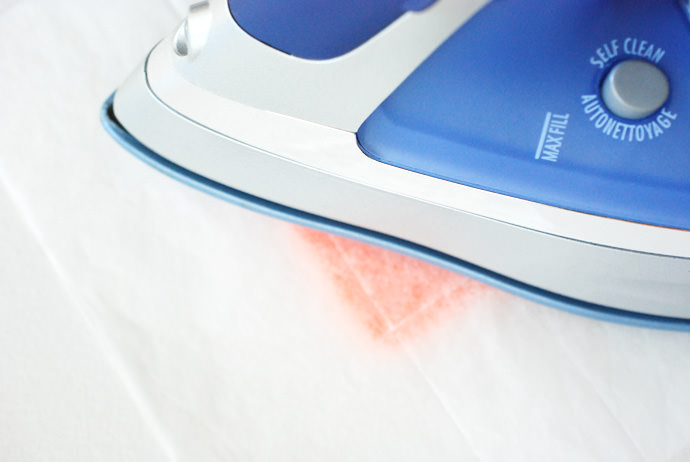
Step 2
Heat up your iron and place the ironing paper over the beads. Iron the beads with a gentle circular motion for 4-5 seconds. It’s important that you don’t iron it too long or the holes will close up.
Flip the perler bead piece over, cover it with the paper and iron again for 4-5 seconds.
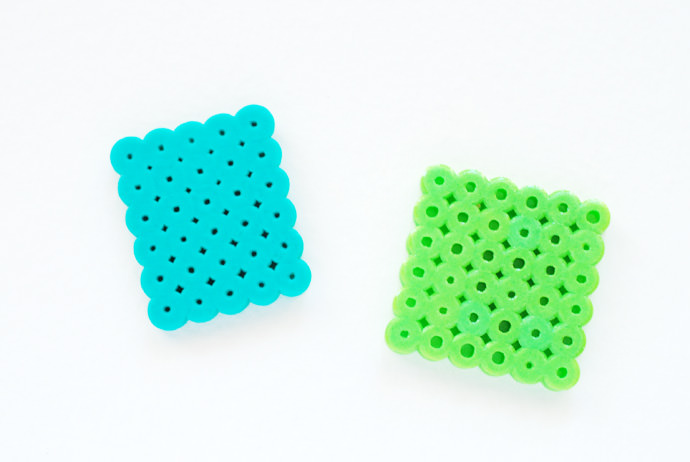
The piece on the left has holes that are more closed up. This creates a more solid look, but it’s harder to stitch through. The piece on the right wasn’t ironed as long, and is easier to stitch, but the holes show after it’s stitched. Either way will work; it’s just a different look.
Step 3
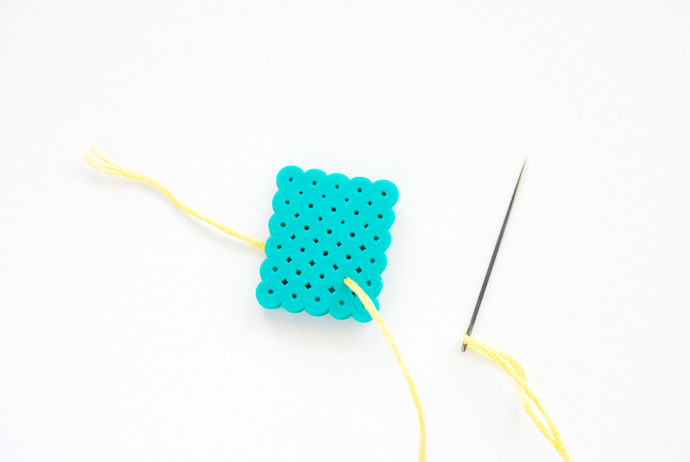
Cut a 24-inch piece of embroidery floss and thread the needle. Bring the floss from the back to the front for the first part of a cross stitch. Next, take the needle to the back, leaving a small tail.
Step 4
Tie a knot to secure the thread before you continue stitching. Trim the tail.
Step 5
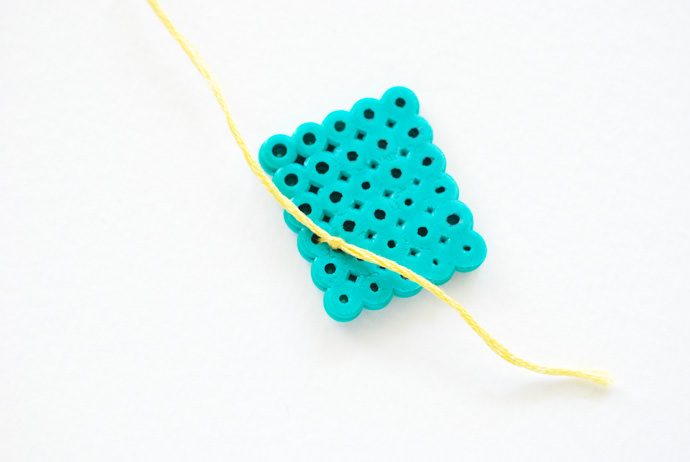
Stitch one half of all the cross stitches for your monogram. Try not to jump from one area to another, but sometimes you may need to. That’s okay!
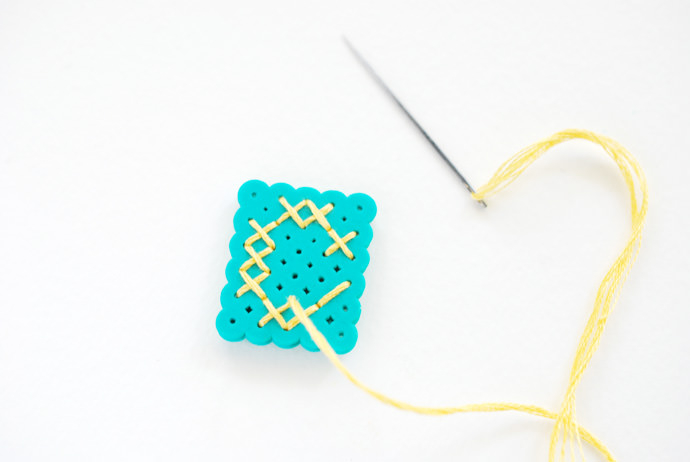
Step 6
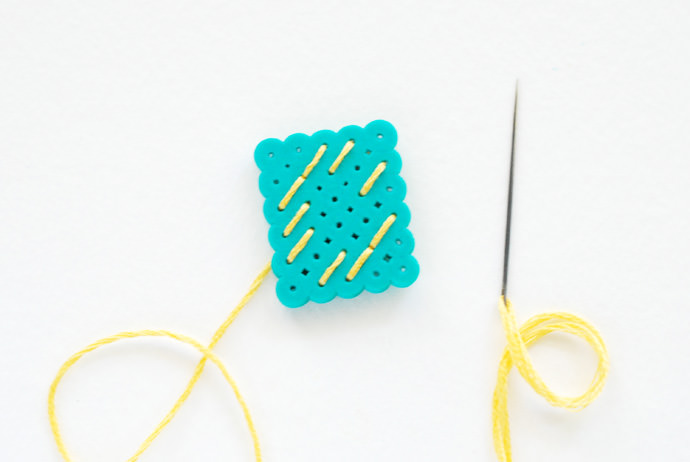
Now finish all the cross stitches. When you’re done, tie a knot on the back, knotting it around a previous stitch.
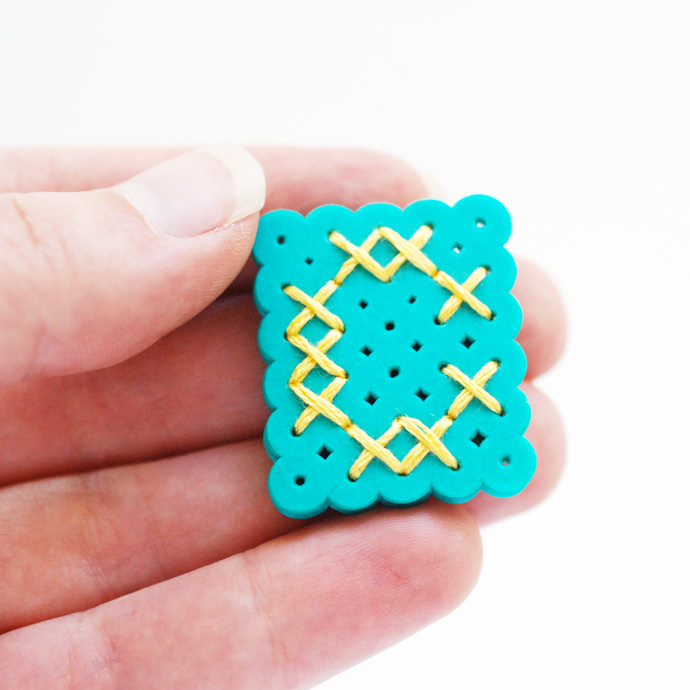
If it’s easier for you, try stitching a complete cross stitch for each stitch.
Step 7
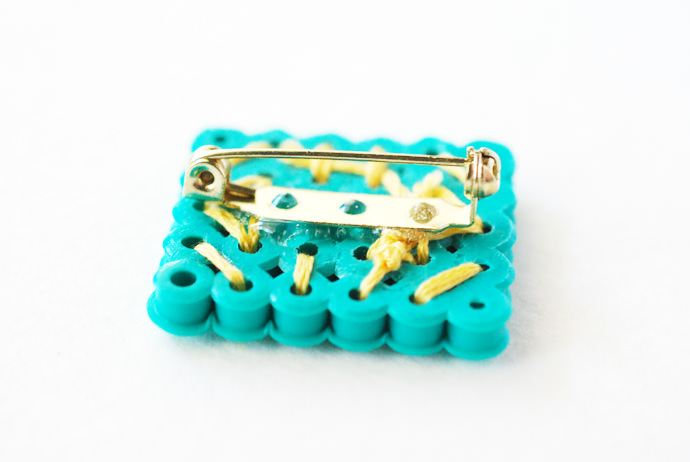
Use glue to attach the pin back to the back of the perler beads. Allow the glue to completely dry before you pin this to anything.
Step 8
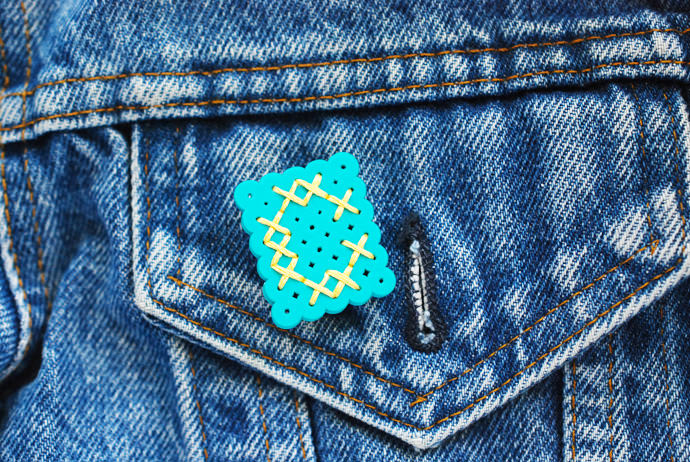
Start wearing your new initial pin! They look great on jackets, backpacks, hats, tote bags, and more. They’d also be a nice addition to a gift tag!

Once you’ve made one of these, they get even easier. You might want to make a few of the perler bead bases at a time so you have them ready stitch for all your friends!
Of course, you don’t have to only make them into pins. They’d be fun magnets, you could attach them to a necklace, or even string them into a mini banner!
Happy crafting!