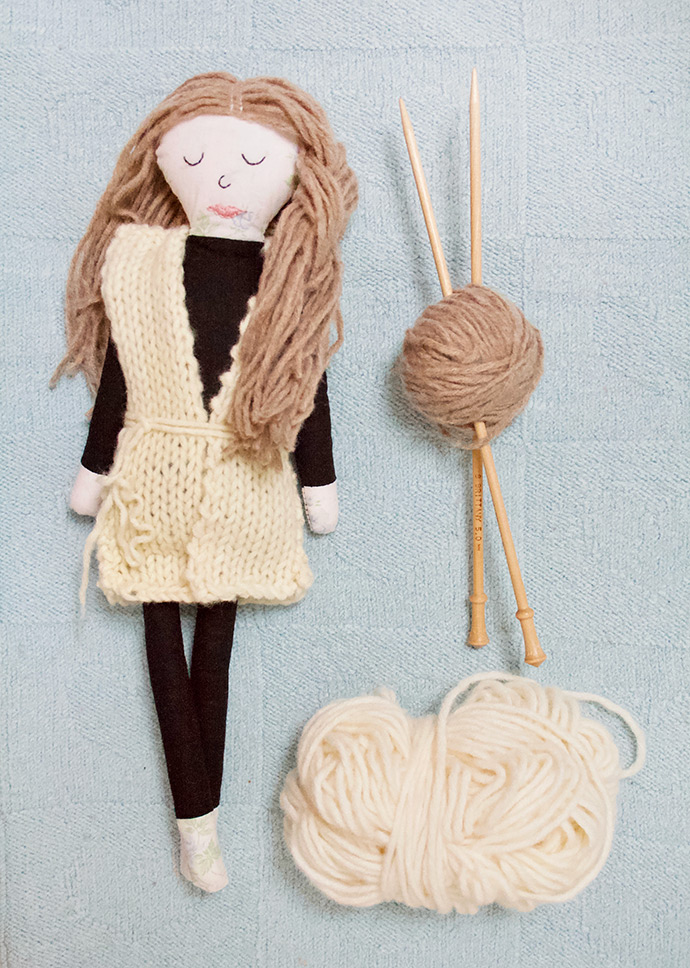
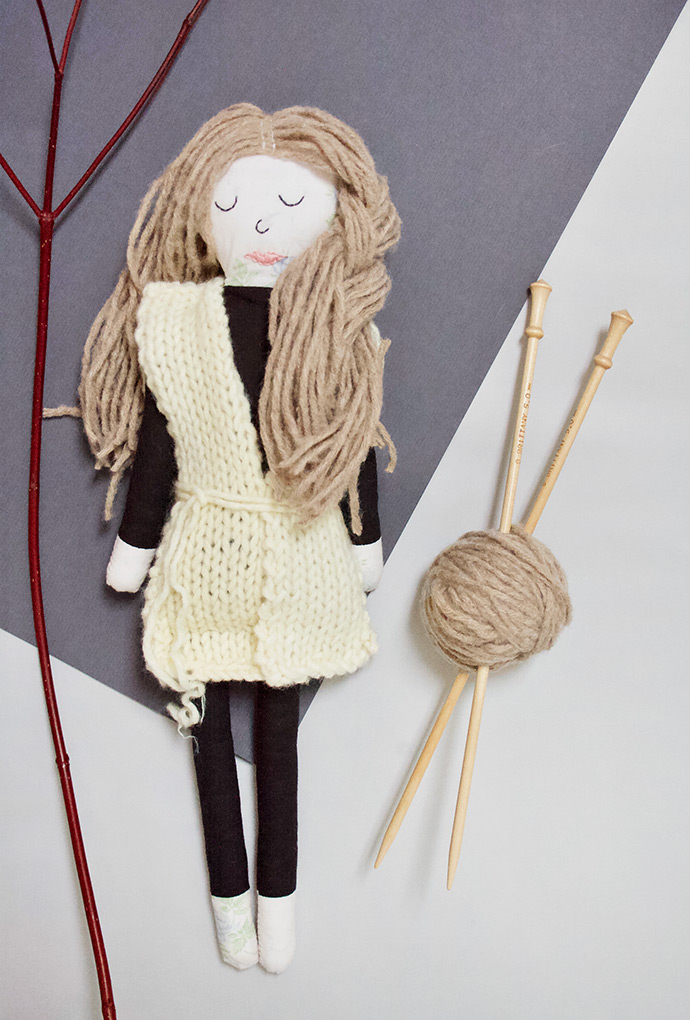
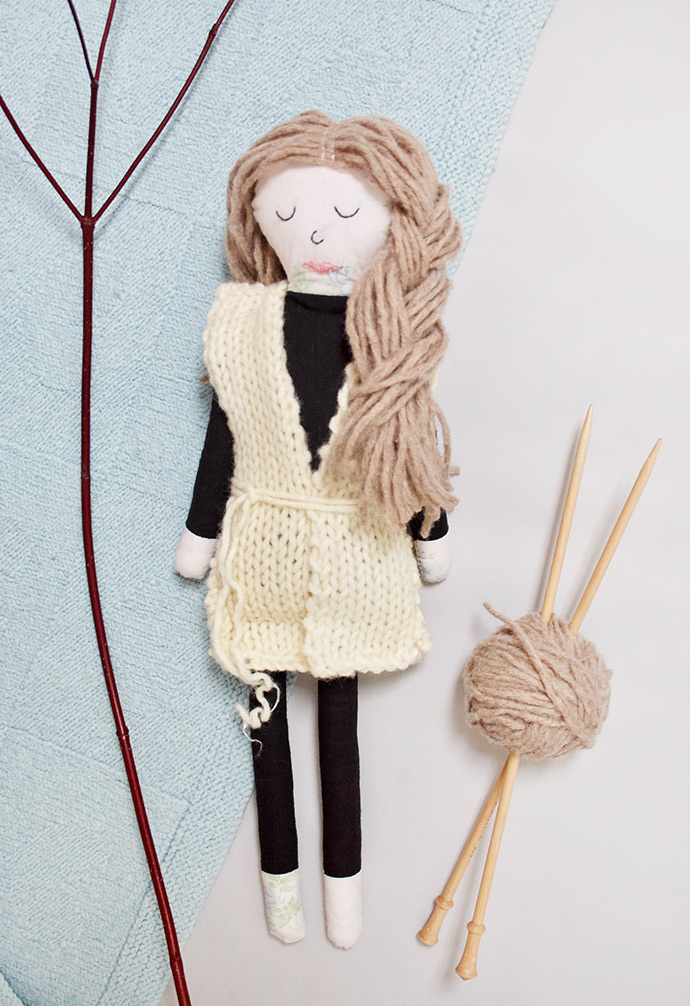
If you’ve ever cosied up with a warm cup of soup or snuggled under a blanket on a cold day, you’ve had the experience of what the Danish call ‘hygge’. That’s the inspiration for today’s doll – a feeling of simplicity, comfort and cosiness wrapped up in neutral colour and warm texture.
what you need:
- Paper pattern download
- Light pencil and air erasable fabric pen
- Piece of black cotton fabric
- Piece of cotton fabric for skin (this can be any colour, depending on what skin tone you would like your doll to have)
- 4” embroidery hoop
- Embroidery needle and threads in brown and pale pink
- Balls of wool in pale brown and cream
- 5mm knitting needles
- Large, sharp scissors
- Sewing machine with white cotton thread
- Polyester stuffing
- Dressmaking pins
how-to:

Step 1
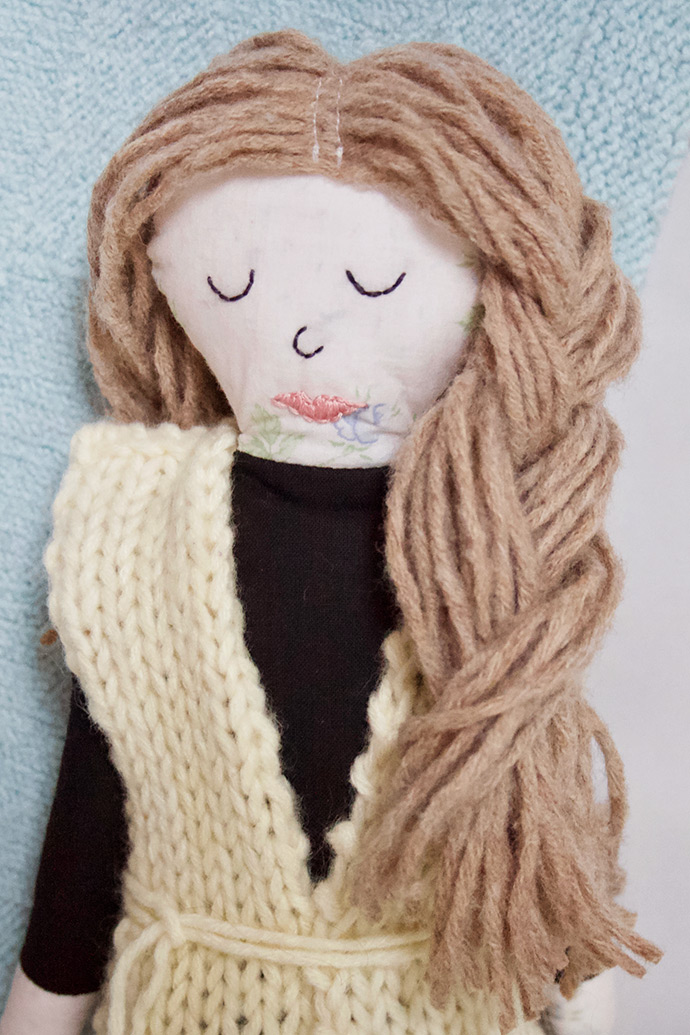
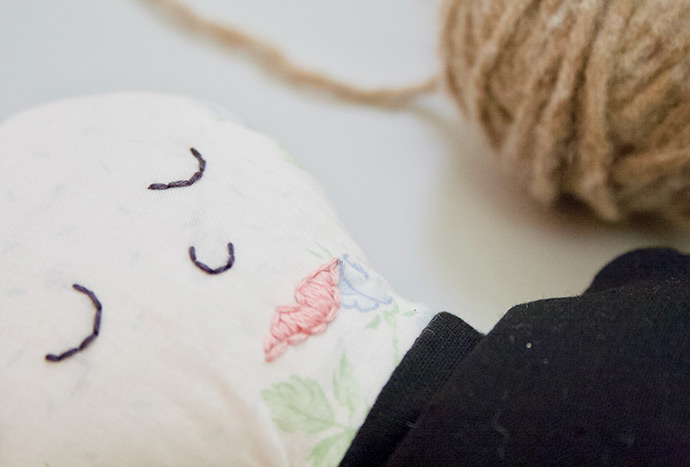
First, download and print the paper pattern and transfer onto your fabrics. Starting with the face, trace the facial features using a light pencil or air erasable marker pen. Don’t cut anything out yet, just place the face in the hoop and make sure the fabric is pulled taut. Use back stitch for the eyes in brown embroidery thread and satin stitch for the mouth in pale pink thread.
Step 2
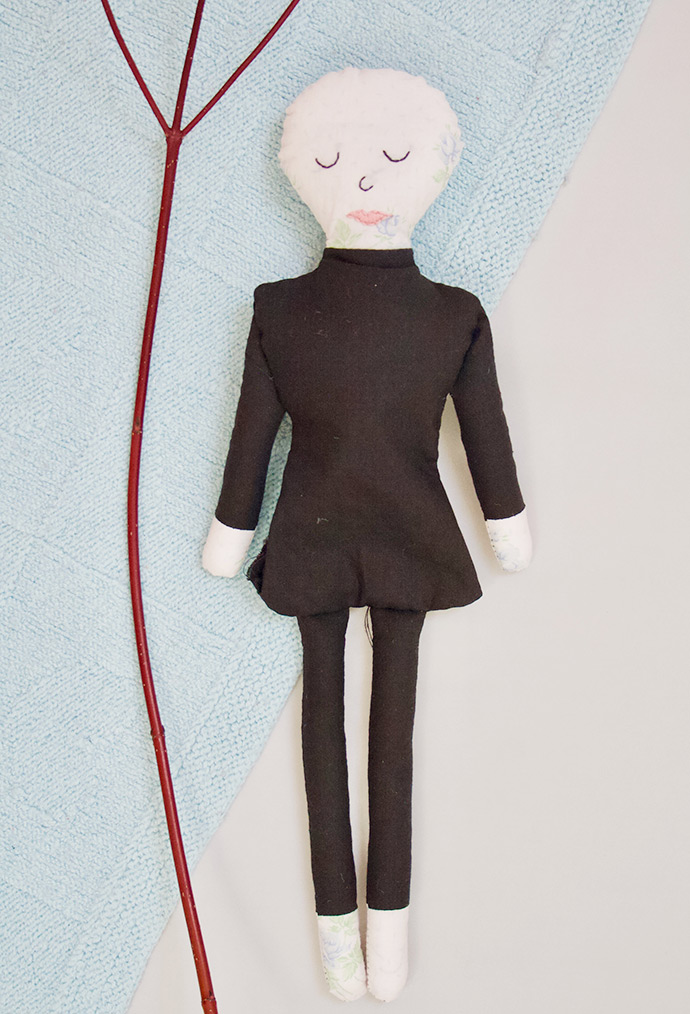
Next you can cut out the other pattern pieces. Take the head and body pieces and put right sides together. Match edge A of the head piece to edge A of the front body piece and sew with 1cm seam allowance. Trim the excess from the seam then turn right side out. Repeat for back head and back body pieces.
Step 3
Next, cut out arms, legs and body pieces. With right sides together, match edges ‘A’ of foot and leg and sew together. Now repeat for arms matching edges ‘B’. Complete legs, arms and body following steps 3-5 of the Paris doll tutorial here.
Step 4
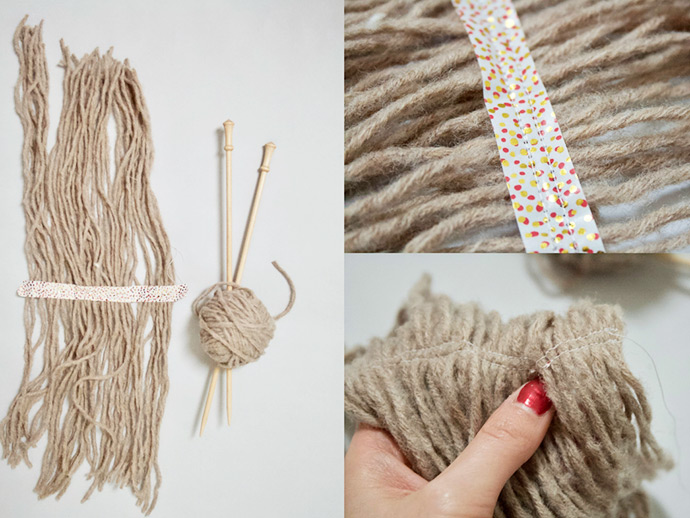
The next step is to make the hair. Cut lengths of brown wool approx. 12” long and lay them down next to one another in a block. Secure with a piece of washi tape, then carefully stitch along it to hold all the wool together. Carefully peel away the tape to leave a sort of wig that you can lay across the doll’s head.
Step 5
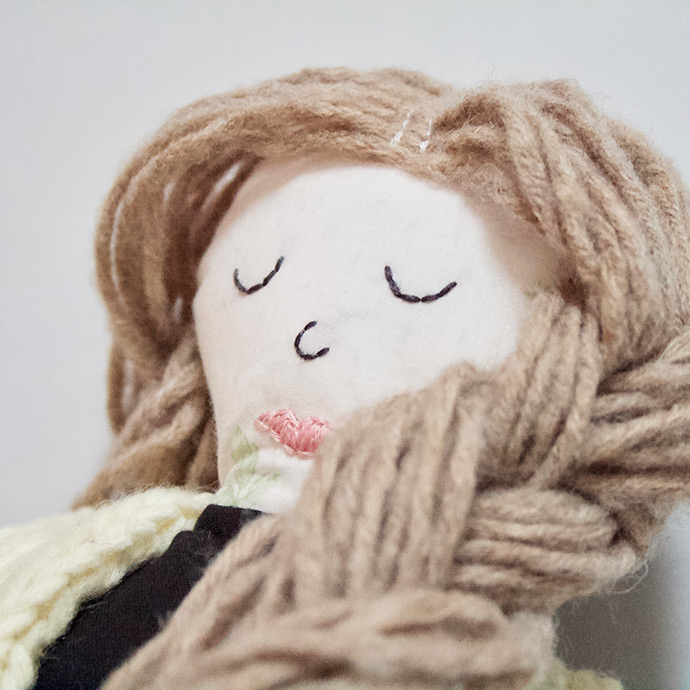
Use a needle and thread to tack down the hair to the head with tiny stitches, sewing by hand. You can manipulate the hair any way you like. Loose plaits suit the doll well with her comfortable, easy-living style.
Step 6
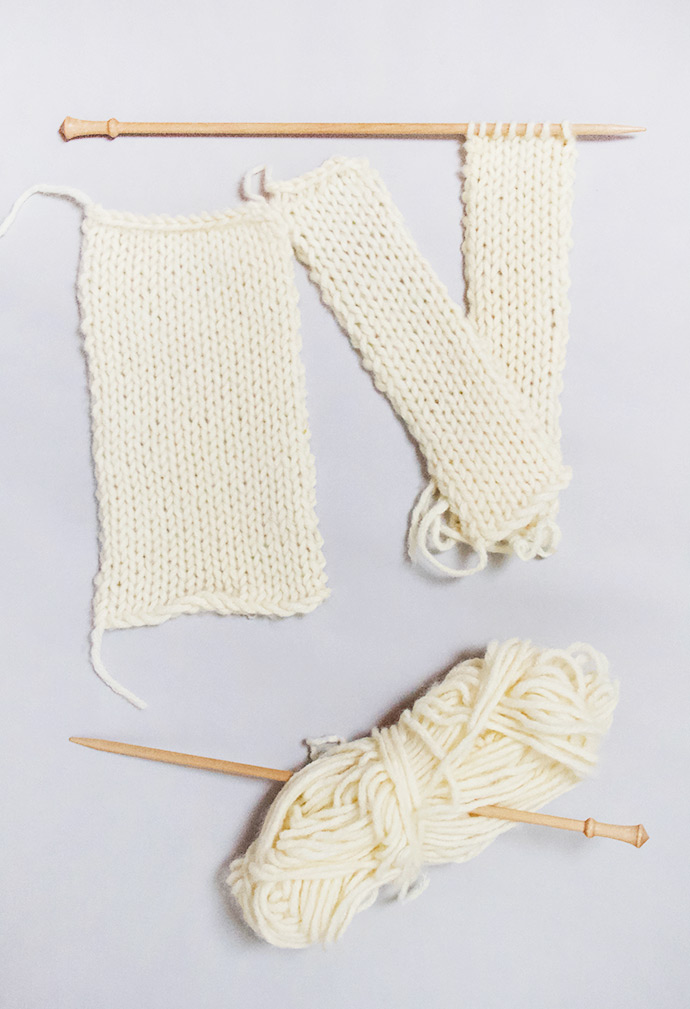
Finally, make the doll’s jacket. Simply knit three rectangles, long enough to cover the doll’s body. Cast on 7 stitches for the smaller rectangles and 15 stitches for the larger one. Use pale cream or neutral wools with 5mm knitting needles for a simple Scandinavian feel.
Step 7
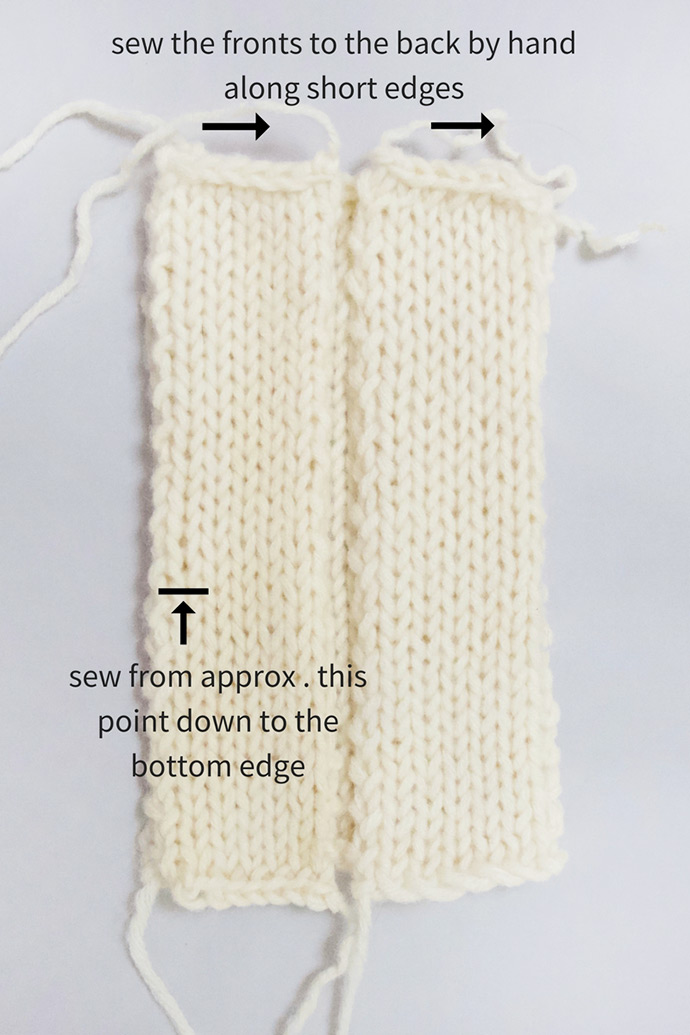
Lay the two smaller rectangles on top of the larger one with wrong sides together. Sew with a simple stitch by hand as shown in the photo, along the top edge and then along the sides, leaving a large gap for the arms to go through.
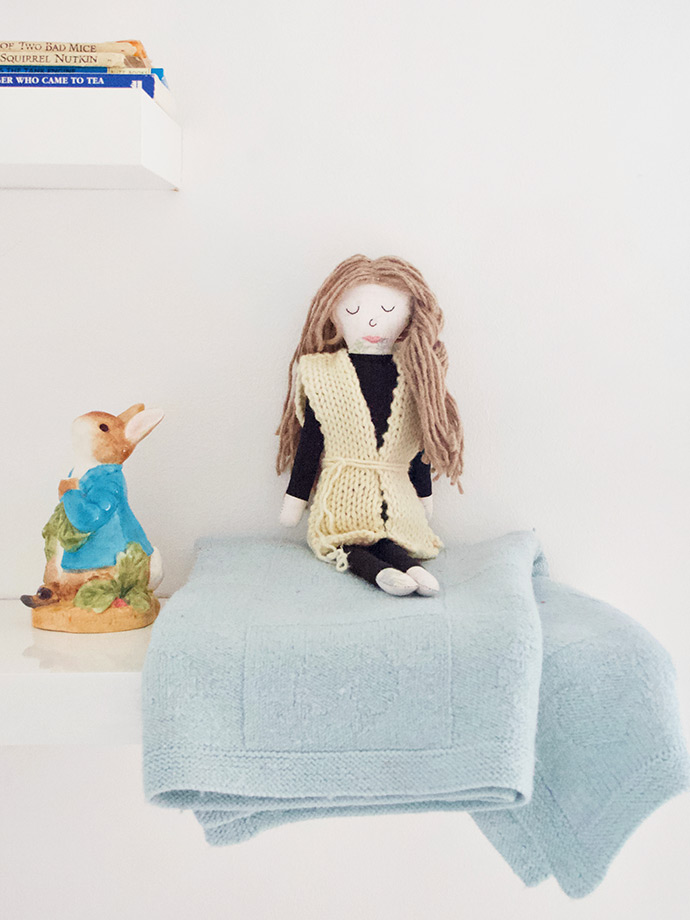
And now, as winter settles in, cuddle up with your beautiful hygge doll to keep warm and cosy on a chilly day!
Happy crafting!