Even in today’s world of smartphones and shrinking attention spans (now shorter than goldfish), there is something captivating about the simple pleasure of guiding a kite as it travels across the sky. Our family loves flying objects. This summer we made some kites ourselves. We had just as much fun as the kids, because watching something you made soar through the air never gets old (no matter how old you are)! So let’s get started!
Note: This project is best made as a family. Young children can help decorate and those 7+ can participate with parental supervision.
What You Need
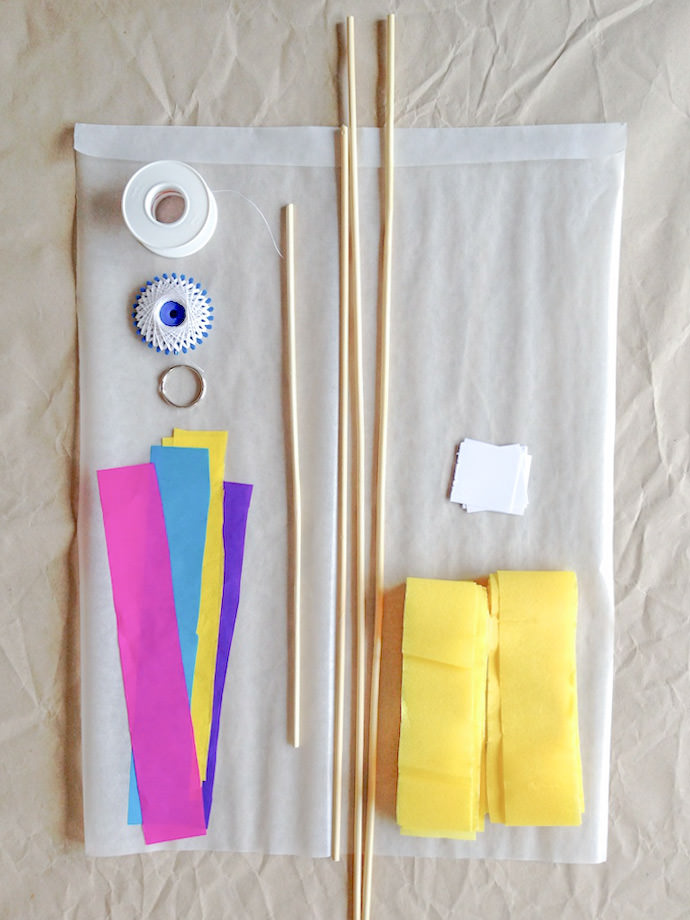
Decoration
- 1 wax paper 14 x 20 inch (36x51cm), white (sail)
- 4 thin bamboo sticks: cross 2x 23 3/4 inch (60cm); spine 1x 19 1/2inch (48cm); strut 1x 14inch (36cm)
- Tissue paper 1 x 5 inch (2.5×12.5cm), yellow, blue, magenta, violett
- 7 sheets of copy paper 1 1/2 x 1 1/2 inch (4x4cm), (patches)
- 2 sheets of crepe paper 2 inch x 2,7yards (5x250cm), yellow (tail)
- 20m twine (extra strong)
- Keyring (small)
- Tape roll (handle)

Tools
- Scissors
- Measuring tape
- Pencil
- PVA Glue
- Glue stick
- Q-Tip and bottle cup
- Toothpick
Note: My bamboo sticks are from a garden center. Maybe you’ve got an old kite you can “borrow” the twine and handle from. The lighter the better, so try to use the least amount of glue and decoration possible.
How-To
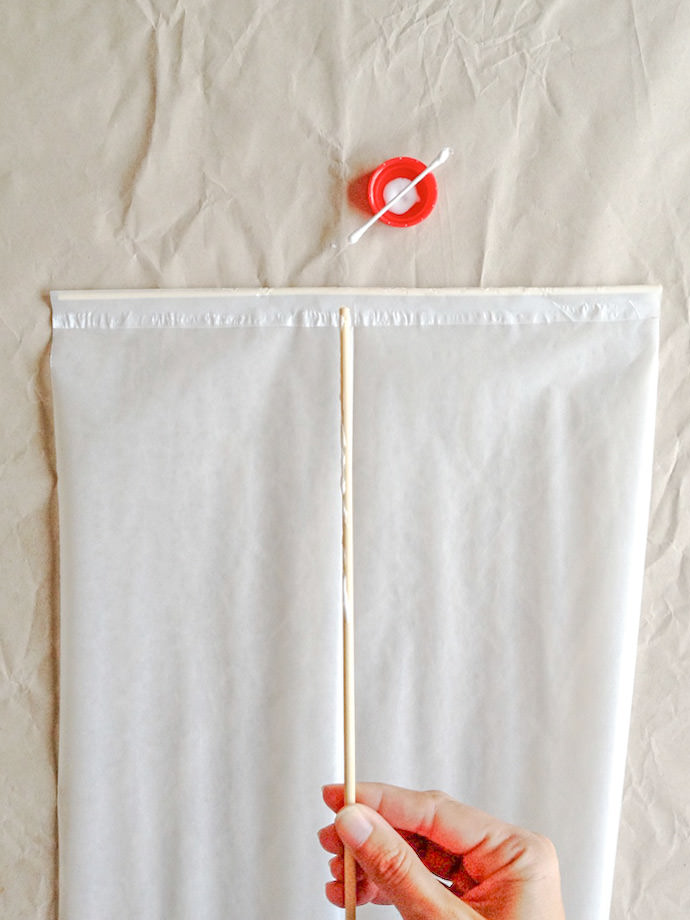
Step 1
Fold the sail in half and open up again. Fold 1″ to the top and open up again. Top: Glue the 14″-stick to the upper and fold in the paper (14″-side). Glue the paper over it. Spine: Cover the 19″-stick with glue and glue it to the middle.
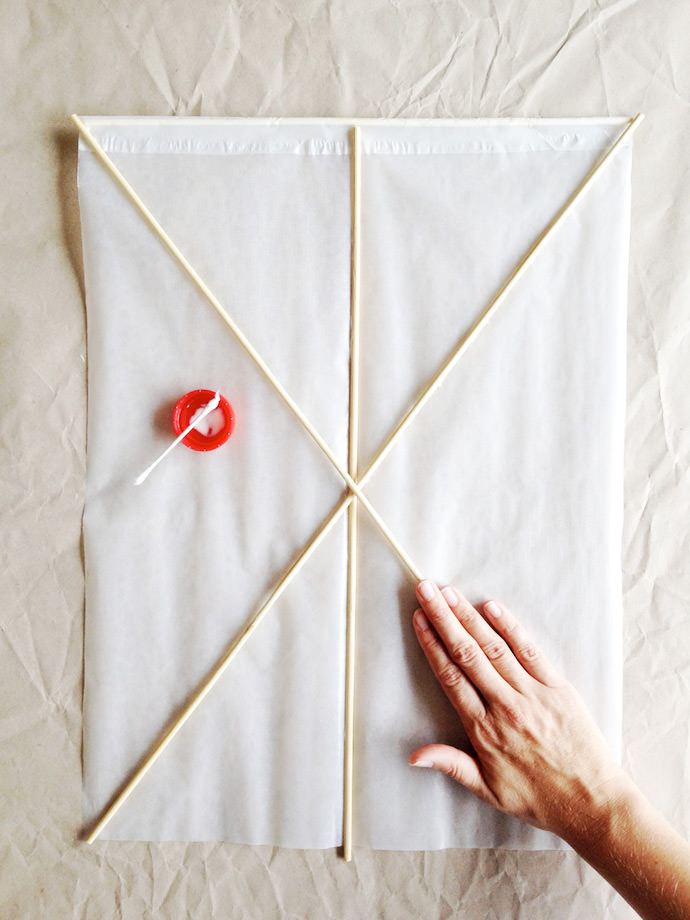
Step 2
Glue the 2 cross-sticks (23 3/4″) across the paper.
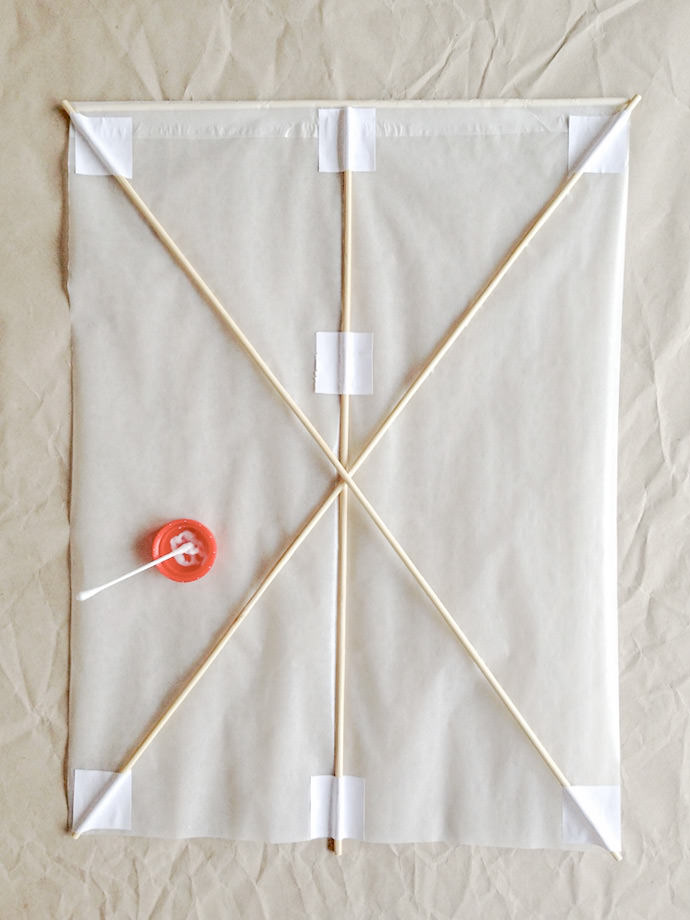
Step 3
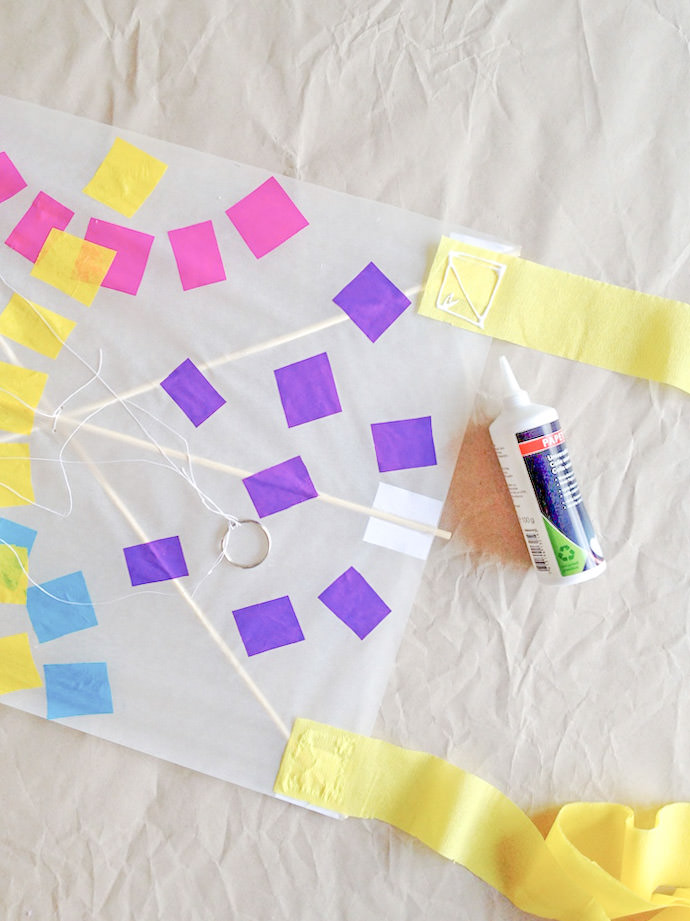
Glue the 7 white paper patches to the paper as shown in the picture.
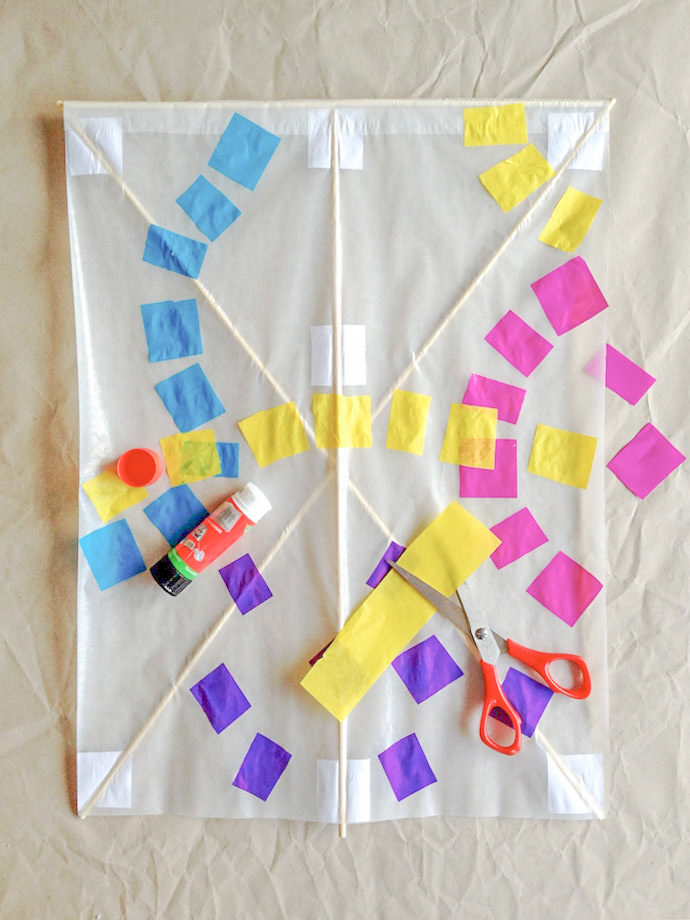
Step 4
Cut squares from the colored tissue paper and decorate the kite.
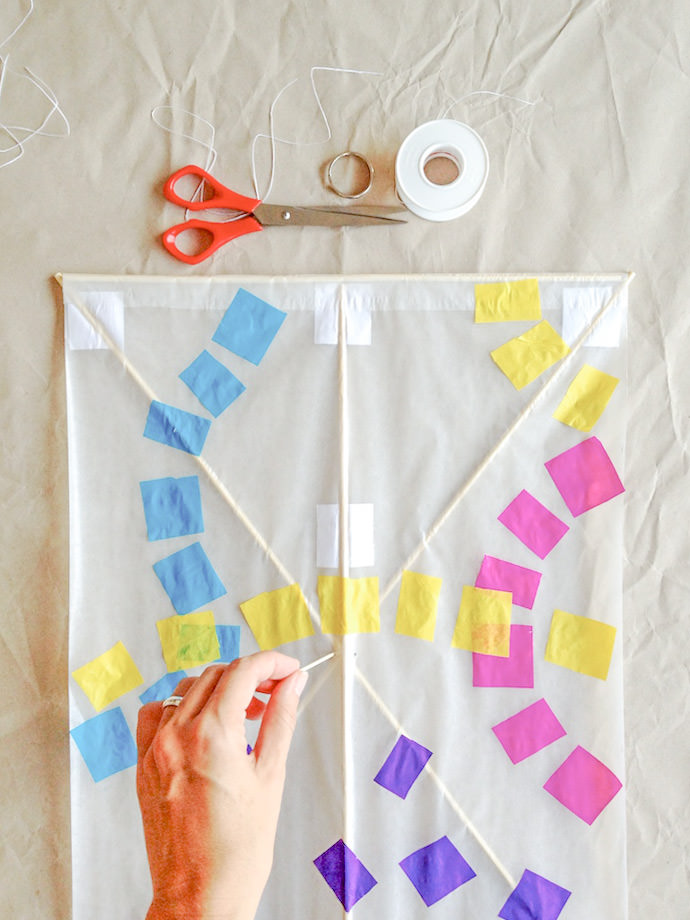
Step 5
Make two holes with the toothpick in the middle, left, and right of the spine.
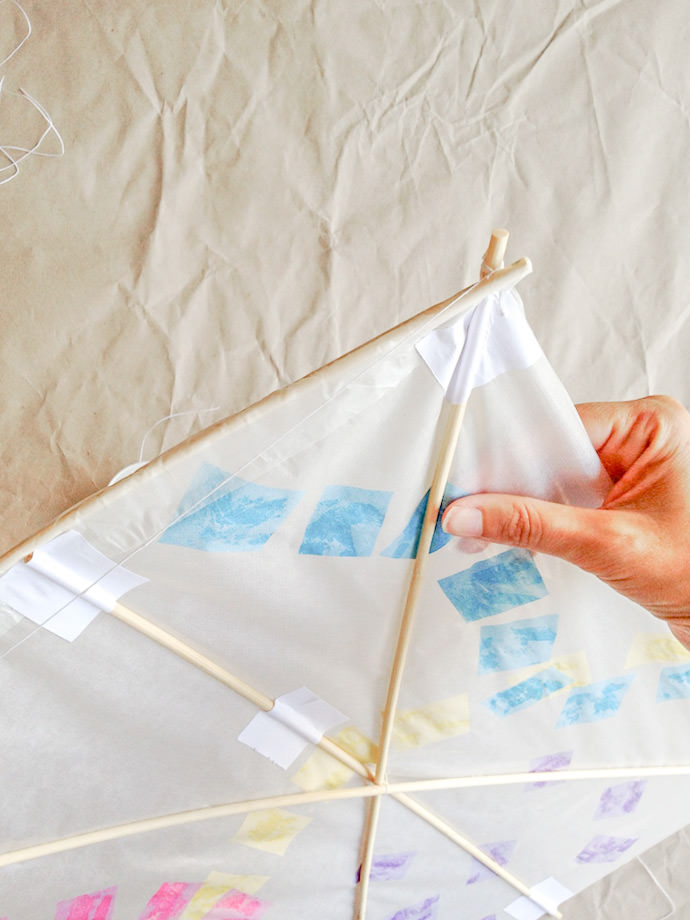
Step 6
Cut a piece of twine and knot it to the upper sticks on the left. Make a second knot to the right and wind up the twine until you get a bow (stick-side shows upwards).

Step 7
The width, or top left to top right of the kite measures 2×18 1/2″(48cm) and the length, or middle of the kite measures 15″ (38.5cm). Cut the twine a bit longer for both. Knot it first twice to the top left, measure and knot it to the right corner. Make a larks head in the middle and add it to the keyring. For the middle make a pigtail with stopper knot. Measure and put it through the two holes in the middle and knot it twice. Add it to the keyring.

Step 8
Take the twine and knot it to the inner tape roll. Wind it all up. That’s really important, otherwise the kite will fly away with a strong wind (which happened to us)! Make a pigtail at the end. Best to add it to the keyring just before you let the kite fly.
Step 9
Glue the two tails to the bottom left and right. They are essential, helping the kite keep a steady flight.
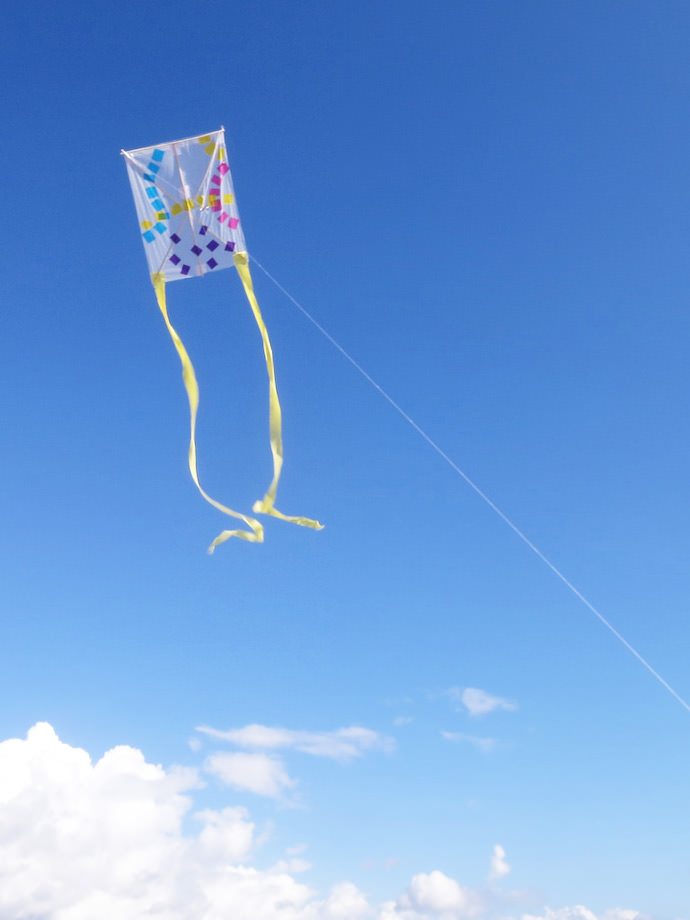
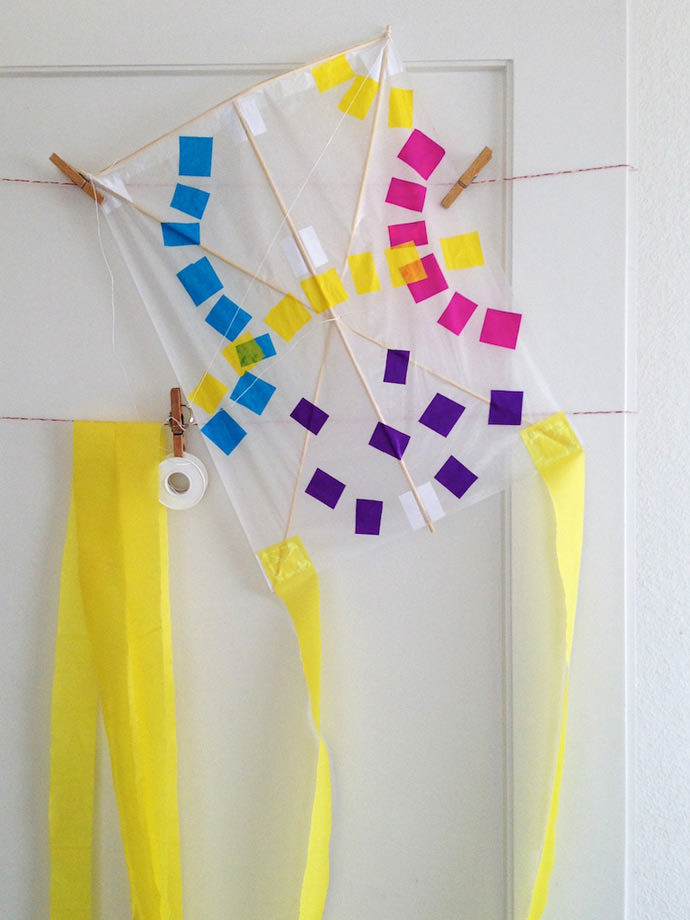
Your kite is ready! Fly your kite in an open space without too many people or power lines nearby. Choose a day with medium and steady wind. Stand with your kite, the wind at your back, and give twine loosely to let it free. Be careful not to let the twine cut into your hands.
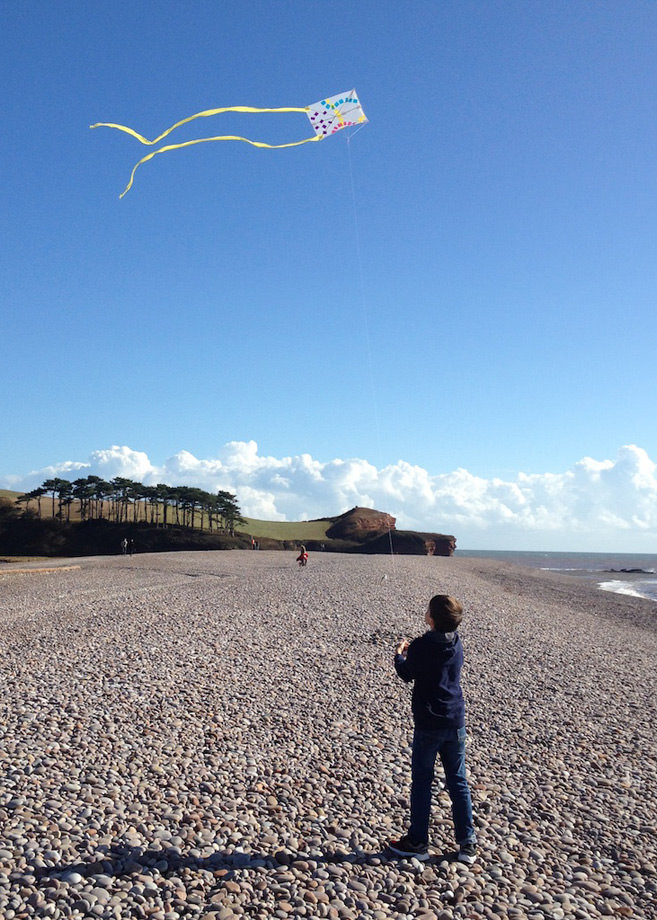
We took the kite to the coast on our holiday in England. One of the days made for the perfect kite-flying weather so we jumped at the opportunity and had a blast! To be extra prepared, to take your scissors, twine, tape, and gloves with you, just in case you need to adjust the balance or mend the paper after a crash.
Happy crafting!