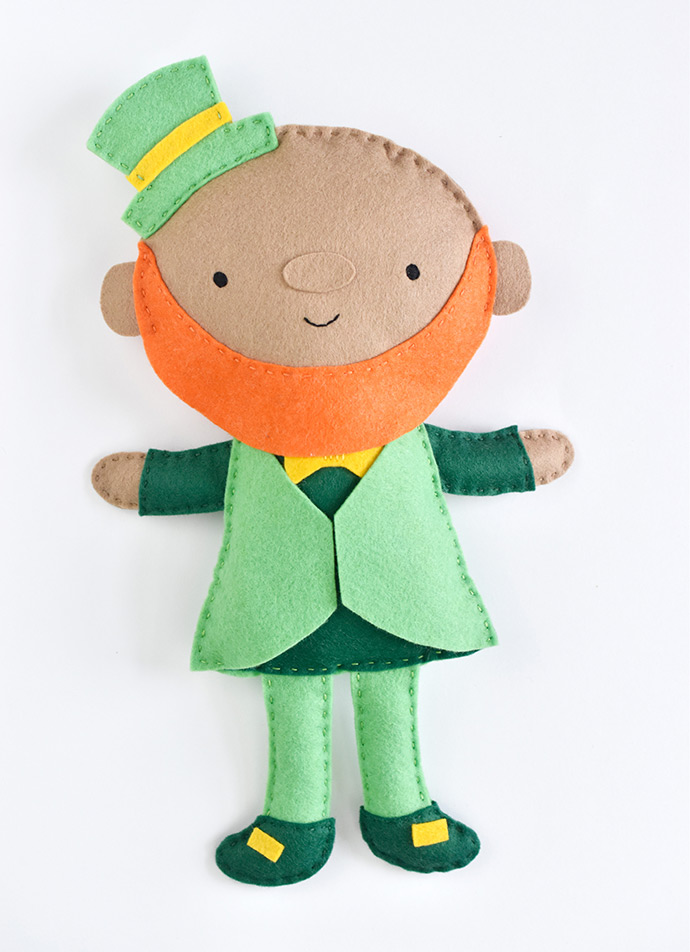
Get ready for St. Patrick’s Day with this adorable felt leprechaun doll pattern! He’s fun to make, whether you’re Irish or not. And with a secret magnet or two, he can magically hold some of his favorite things!

Most of this DIY doll involves hand sewing, but it’s simple enough that kids can help. And if you want to make it faster, there’s an option for less sewing and more gluing. Plan on working on this over a few evenings and read through all the instructions before you begin.
Ready to make your own leprechaun friend? Let’s get started!
what you need:
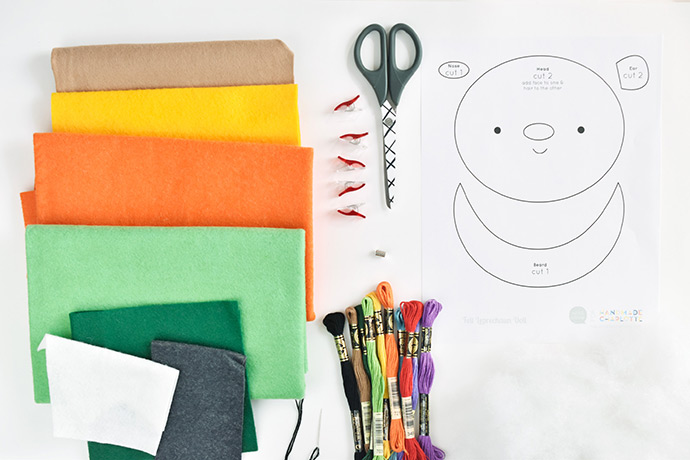
- Green, Tan, Orange, Yellow, Black and White Felt (wool or wool blend is best)
- Freezer Paper
- Pen
- Iron
- Scissors
- Fabric Glue
- Embroidery Floss to Match Your Felt, Plus a Rainbow of Colors
- Needle
- 5 Rare Earth / Strong Neodymium Magnets
- Sewing Clips or Pins
- Stuffing
- Printable template
how-to:

Step 1
Cut out all the pattern pieces from felt. The easiest way to do this is with freezer paper.
Trace the patterns on the freezer paper, grouping them by the color of felt you want each piece to be. Be sure to trace as many as you need to cut out. Iron the freezer paper, shiny side down, to the felt. Cut out the pieces.
For pieces that have embroidery patterns on them, trace those patterns too. Leave the paper on these pieces.
Remove the paper from the non-embroidered pieces.
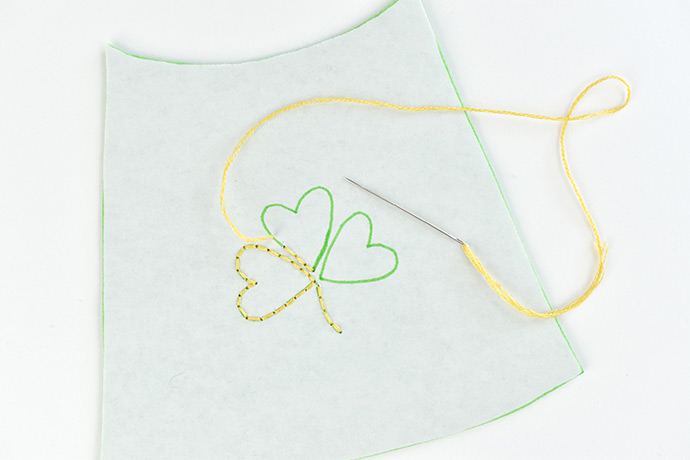
Step 2
Embroider the designs and the face through the paper patterns. Use simple back stitch and satin stitch to fill in the areas.
Carefully tear away the paper when you are finished.
If you want to skip the embroidery, you can paint these elements with fabric paint.
Step 3
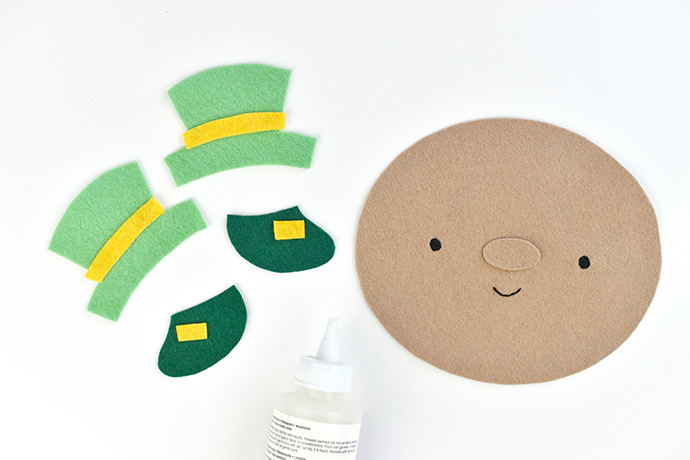
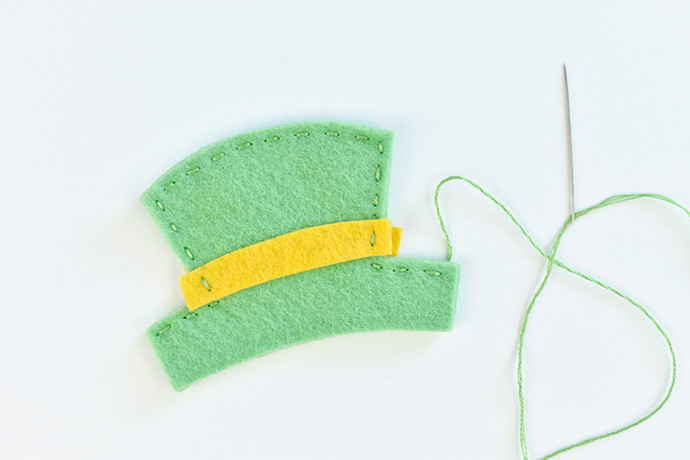
Use fabric glue to attach small elements such as the hat band, shoe buckles, and nose.
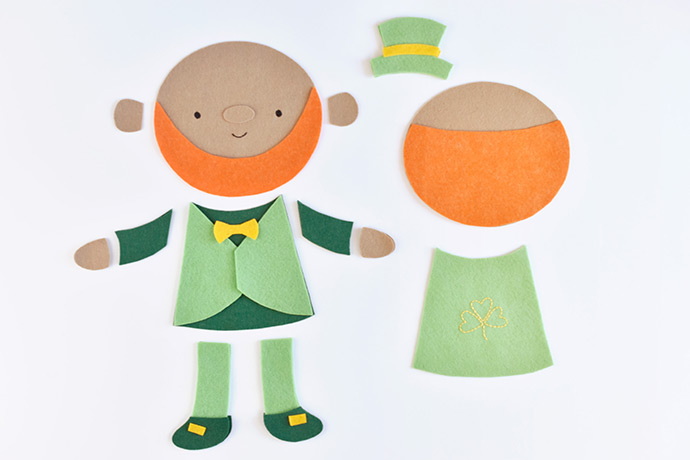
Step 4
Before you start to assemble the leprechaun doll, it’s helpful to lay out all of the pieces. Arrange the front and back, and layer the arms, legs, and hat together.
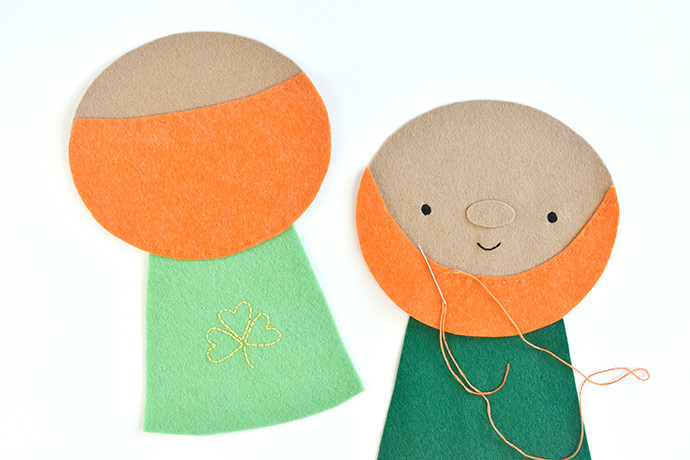
Step 5
Begin stitching the different elements together with 3 strands of matching embroidery floss. Attach the head pieces to the body pieces. Sew the hair at the top and bottom, and the beard along the top edge.
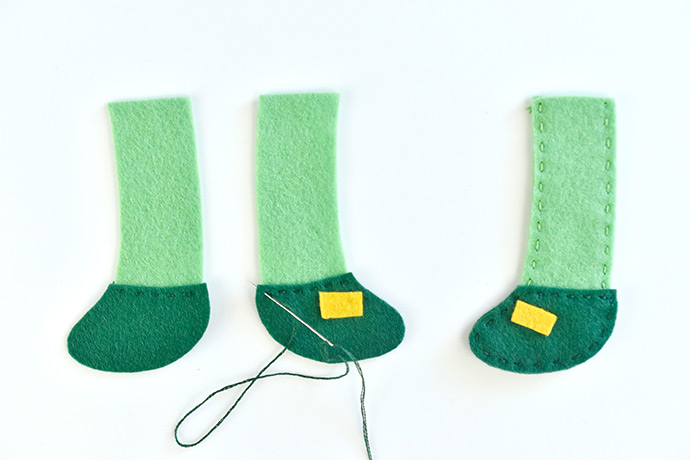
Stitch the shoes to the bottom of the leg pieces and then sew the sides of the legs and around the shoes. Add a small amount of stuffing if you’d like.
TIP: To eliminate some of the sewing from this project, you can glue all of these pieces together instead. For the arms and legs, glue them in the middle and skip the stuffing.
Step 6
Repeat step 5 for the hands and arms, but before you sew around the hands, glue a small magnet to the front inside of each hand.
Be sure to let the glue dry before you add any stuffing.
Step 7
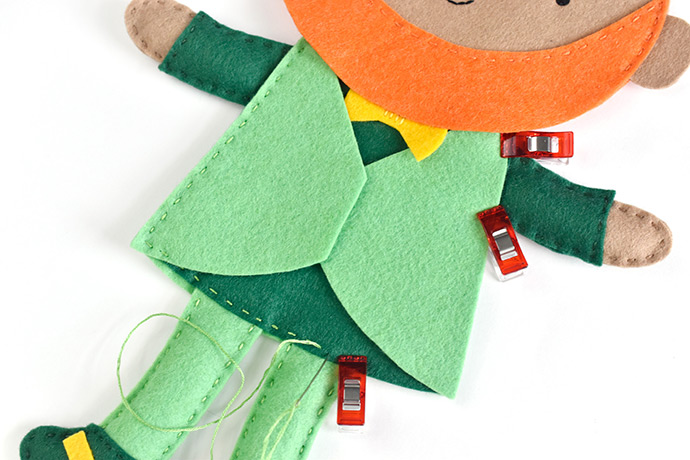
Place the front and back of the leprechaun together with the arms and legs sandwiched between. Lay the two vest pieces on the front. Use sewing clips to hold them in place as you stitch around the sides and bottom of the body.
Stitch the sides of the head together with the ears in place between the layers. Stitch from the top of the beard to the point where the head and body meet. Leave the top of the head open.
Step 8
Sew around the top of the hat pieces, leaving the bottom and two short edges open.
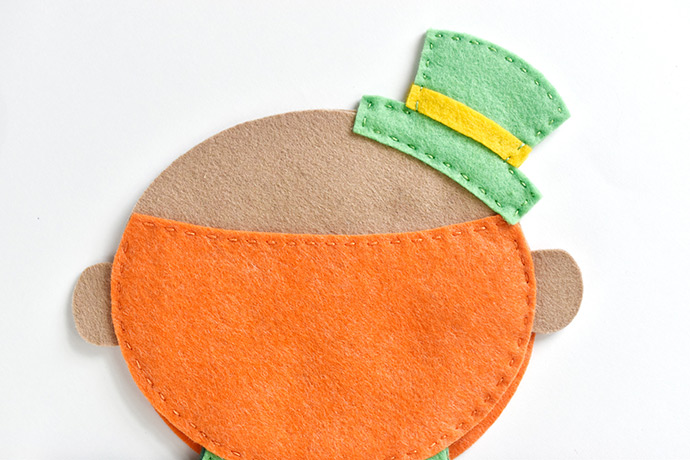
Sandwich the open bottom of the hat around the top of the head so that one side touches the hair/beard. Sew around the bottom of the hat, stitching through the head at the same time.
Step 9
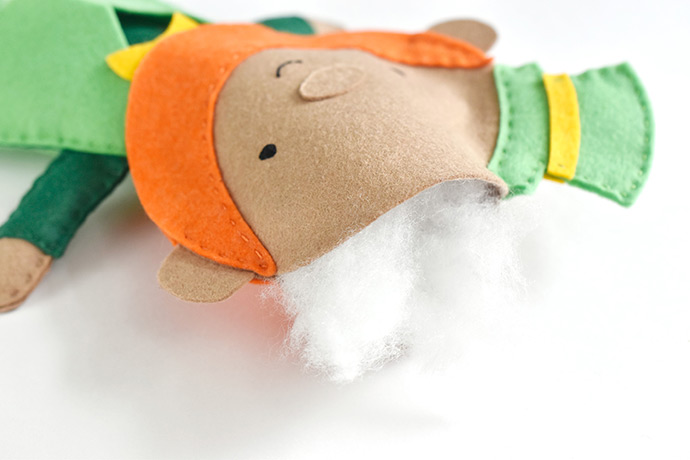
Fill the body and the head with stuffing.
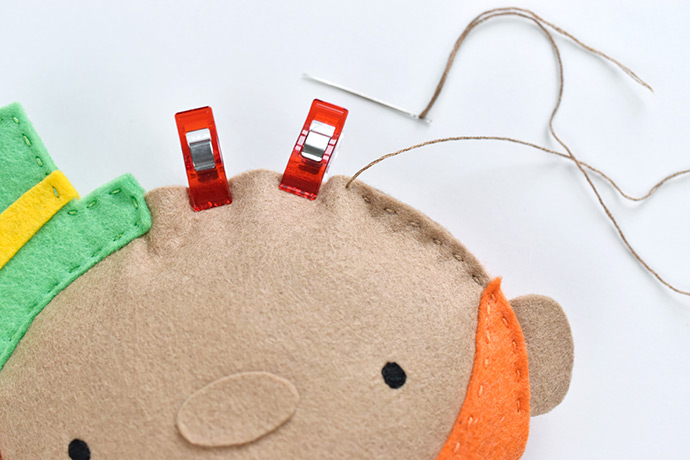
Stitch the opening of the head closed with matching embroidery floss.
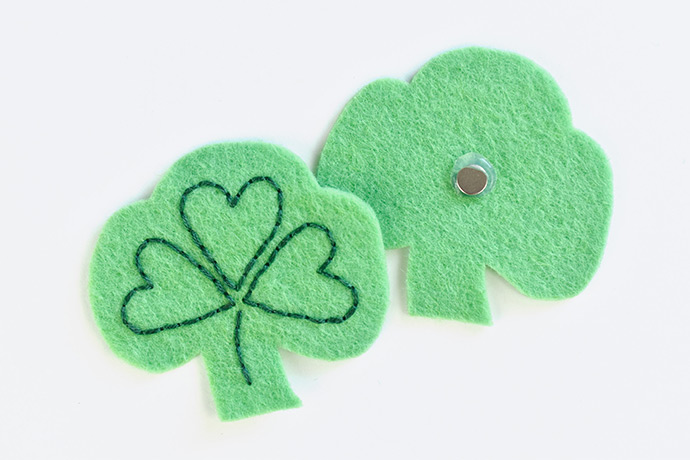
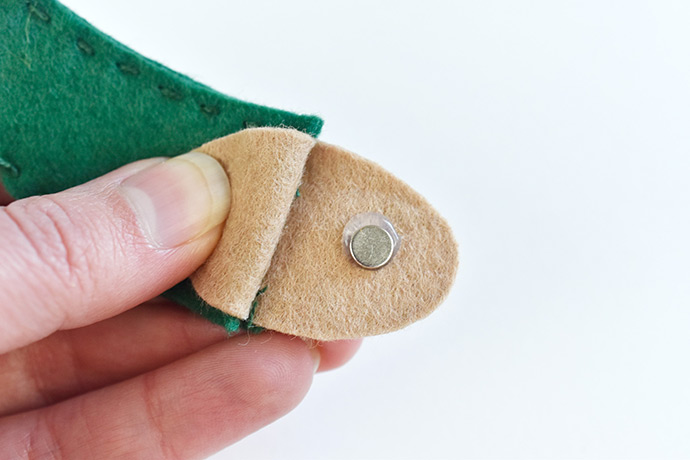
Step 10
To make the accessories, embroider the designs and cut out around the shapes. Glue a magnet to the back piece of each accessory. Pay attention to the polarity of the magnets and test which direction they should go before gluing.
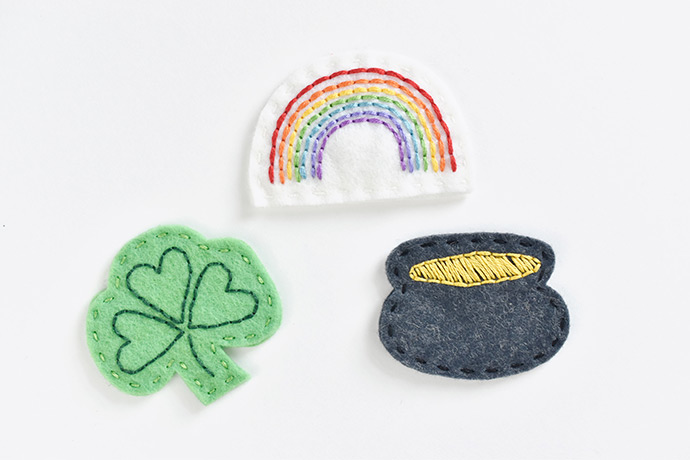
Stitch around each accessory shape to finish them.
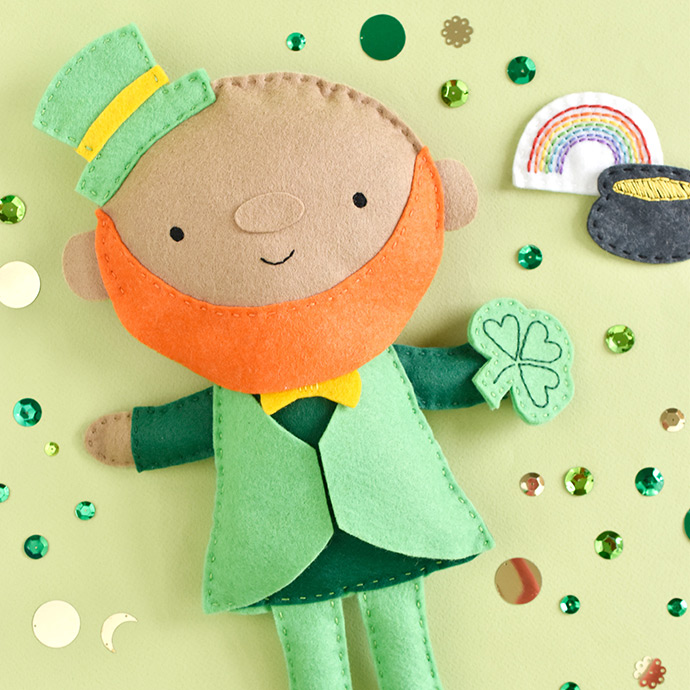
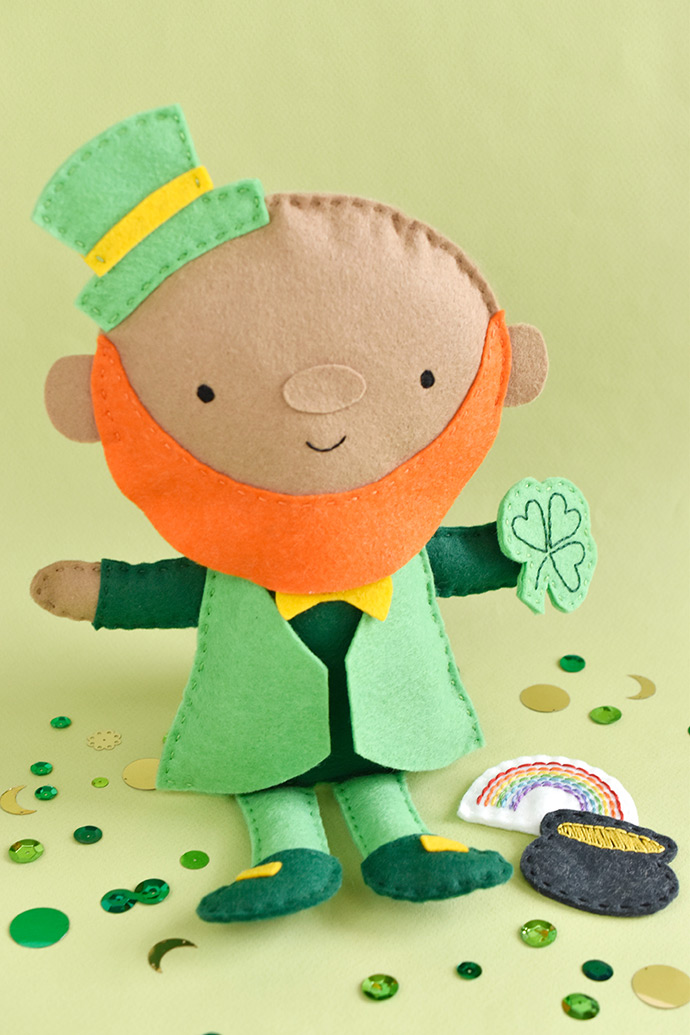
Now that you have your own leprechaun doll, it’s time to play!
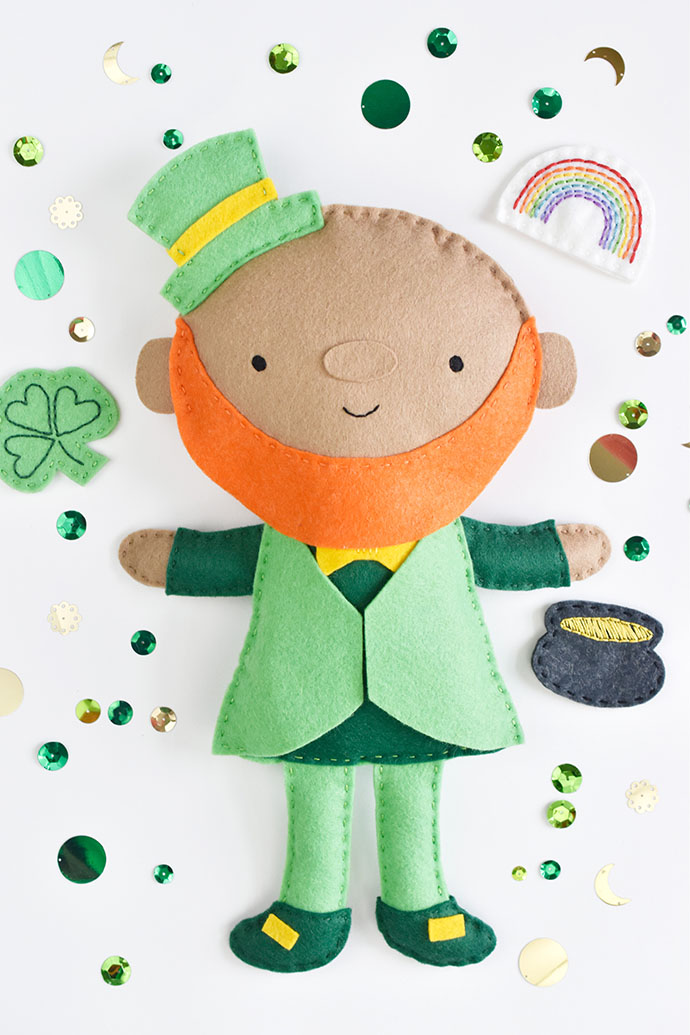
Those super strong magnets make it so your magical Irish friend can hold a shamrock, a rainbow or his pot of gold. That’s a trick that you won’t mind!
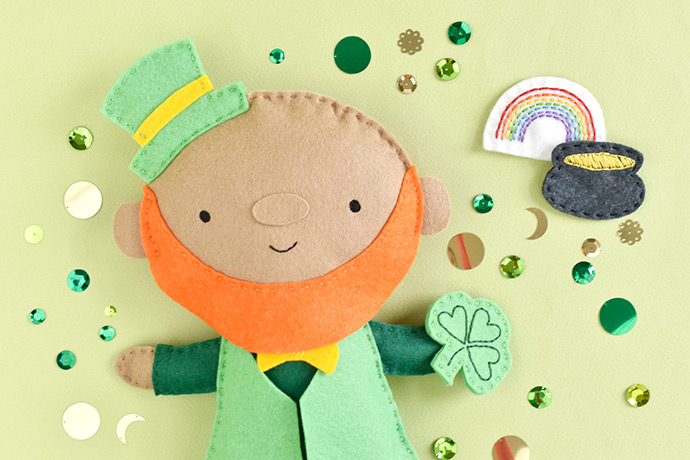
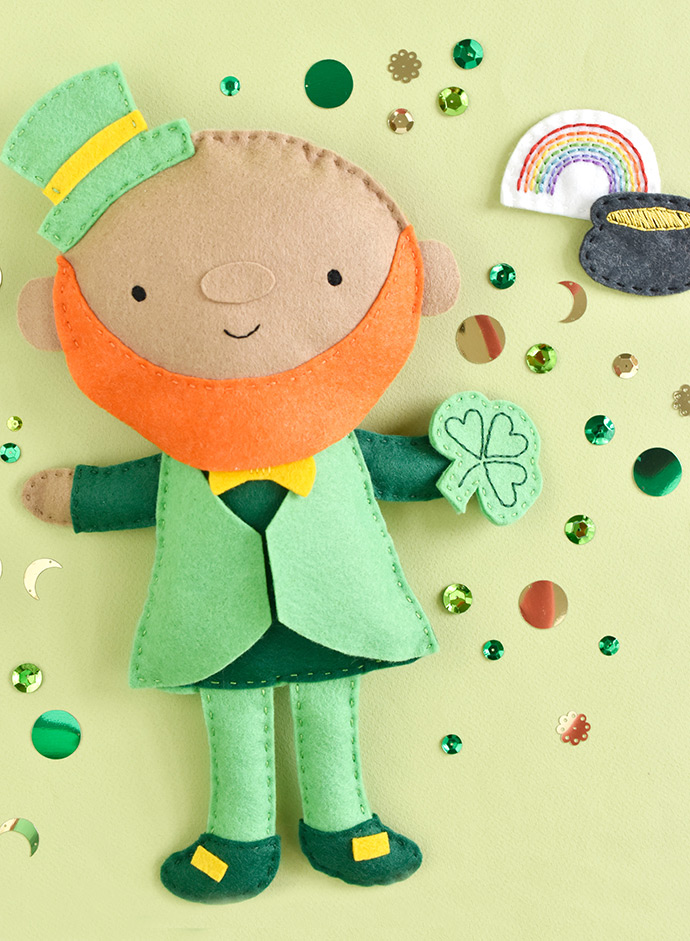
Not only is this leprechaun huggable, but he’s also fun to hide around the house as you get ready for St. Patrick’s Day. You might even find him at the end of a rainbow!
Happy crafting!