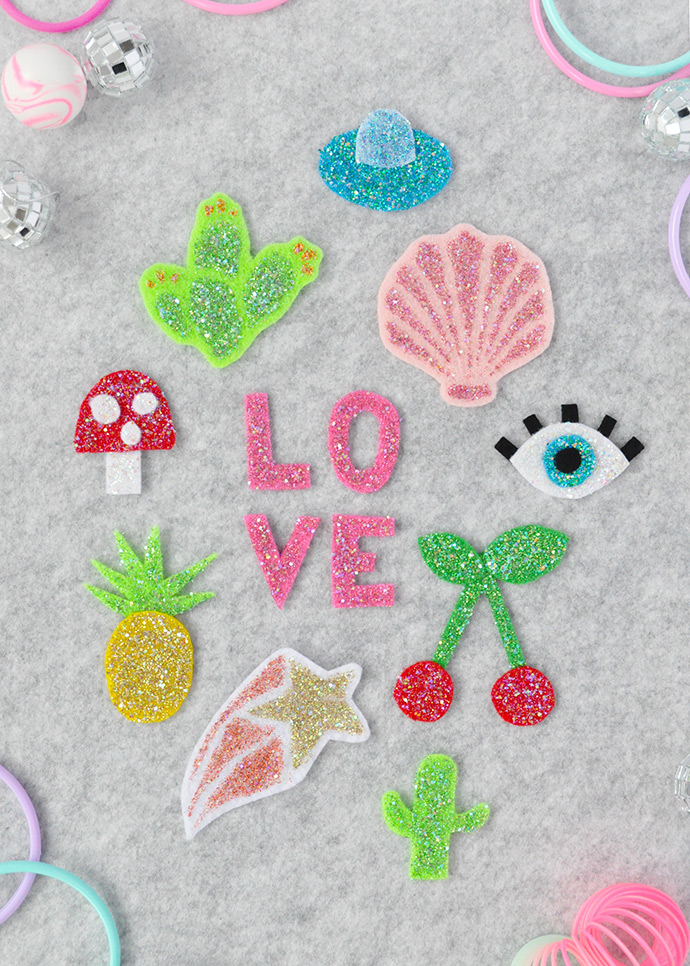
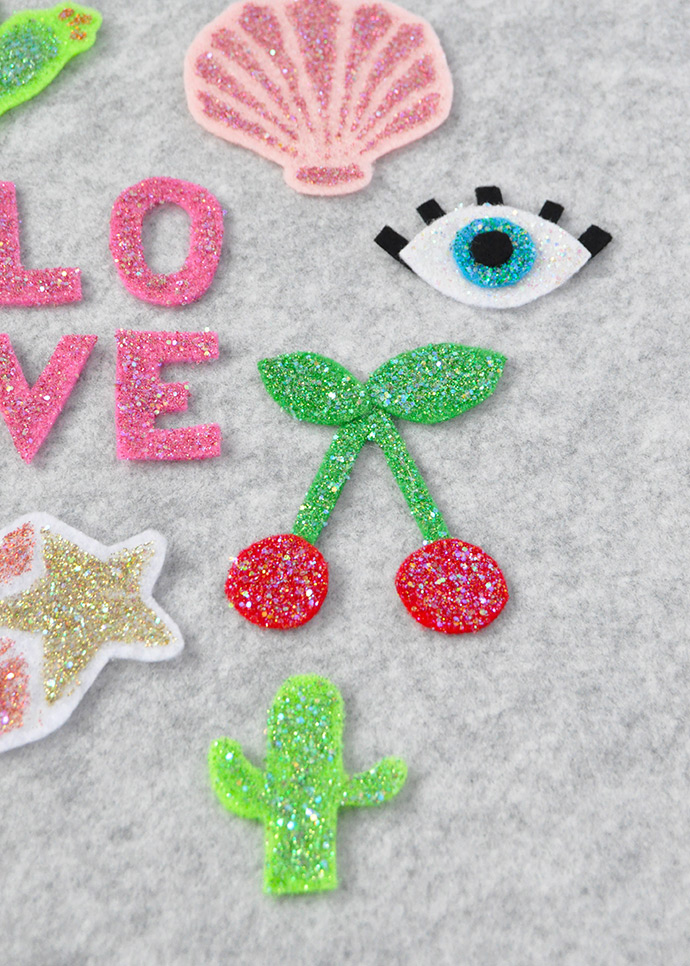
We are huge fans of vintage sequined patches – all the shapes, colors, and designs are so inspiring! They actually inspired today’s DIY project, but instead of going the time-consuming route of sewing individual sequins on, we’re using the new line of Fabric Creations Fantasy Glitter Fabric Paint instead!
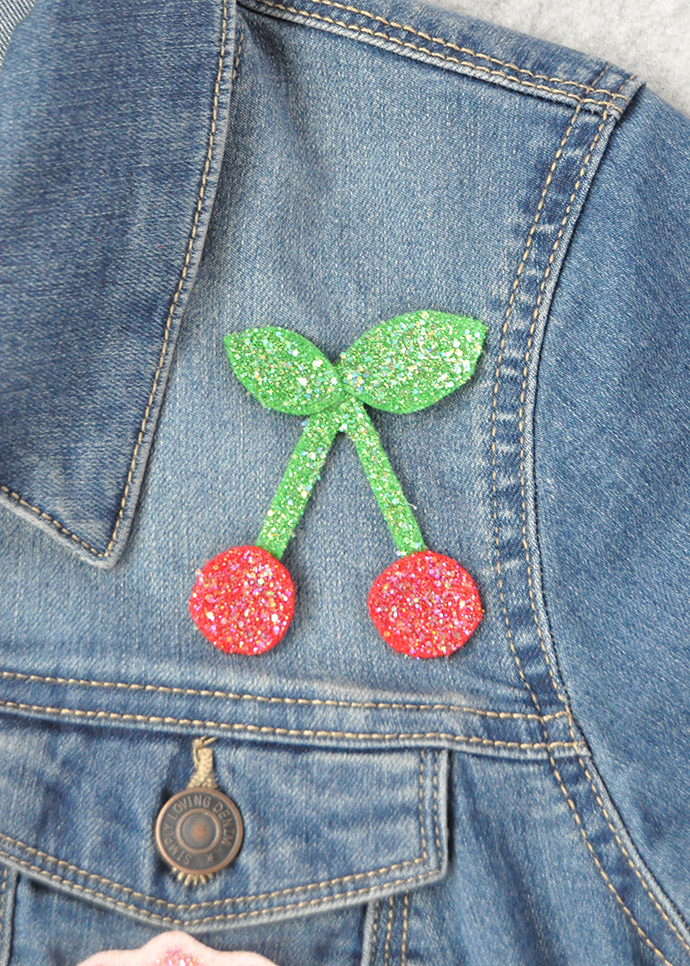
We love making patches this way for a whole bunch of reasons. First of all, it uses up those smaller scraps of felt that we save. Second, you can make and design whatever shape you like, completely custom! And of course third, Fantasy Glitter Fabric Paint is SO much easier to work with than regular glitter, especially with kids. The glitter doesn’t get everything and when it dries, it stays soft and flexible, perfect for jean jackets. Keep reading to learn how to make your own!
what you need:
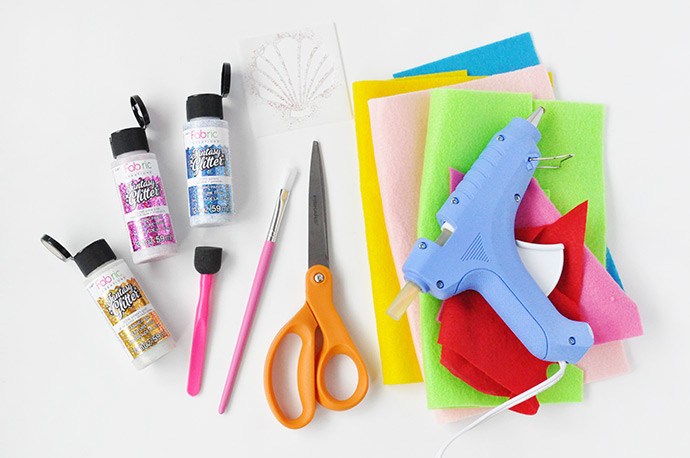
- Fabric Creations Fantasy Glitter Fabric Paint
- Paint brush
- Spouncers
- Stencils
- Scissors
- Felt
- Hot glue gun
how-to:
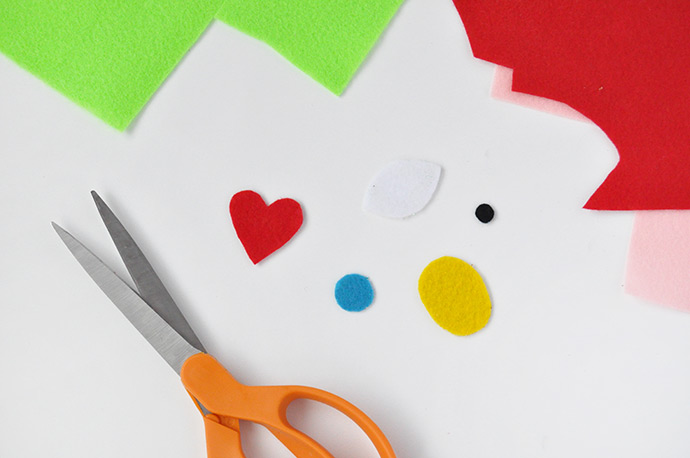
Step 1
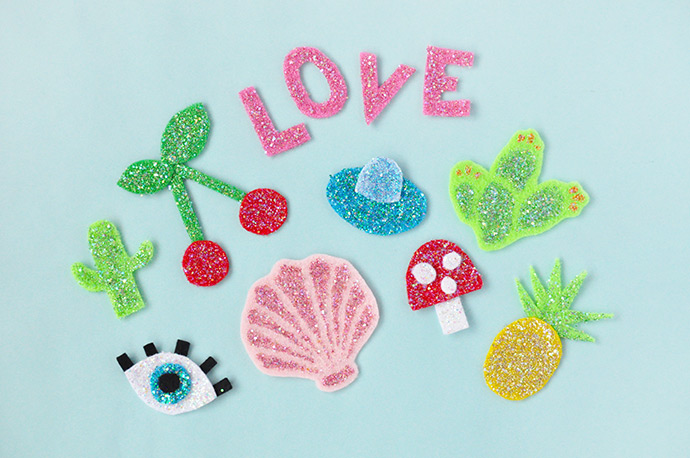
Cut fun shapes out of felt. You can use whatever colors and shapes you like!
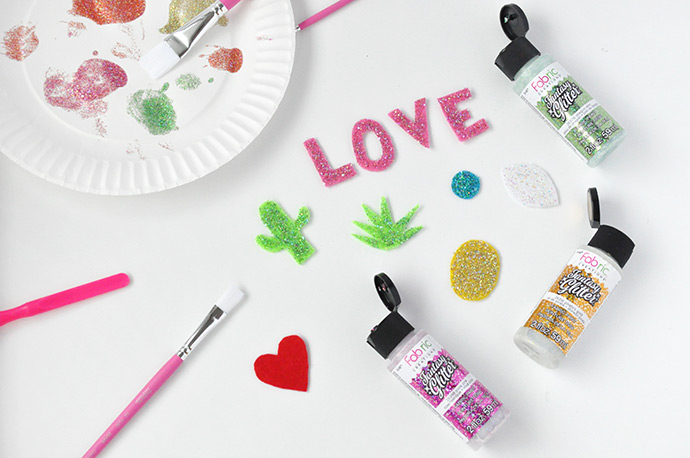
Step 2
Time to add some glitter! Use a paint brush to apply a matching shade of Fabric Creations Fantasy Glitter Fabric Paint onto each felt shape. Let dry completely.
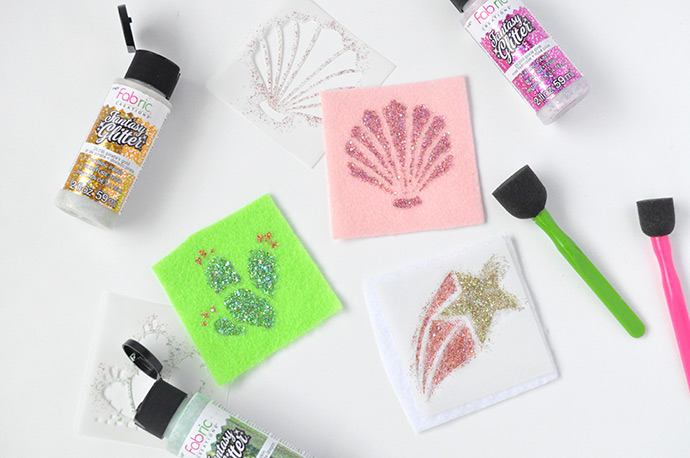
Step 3
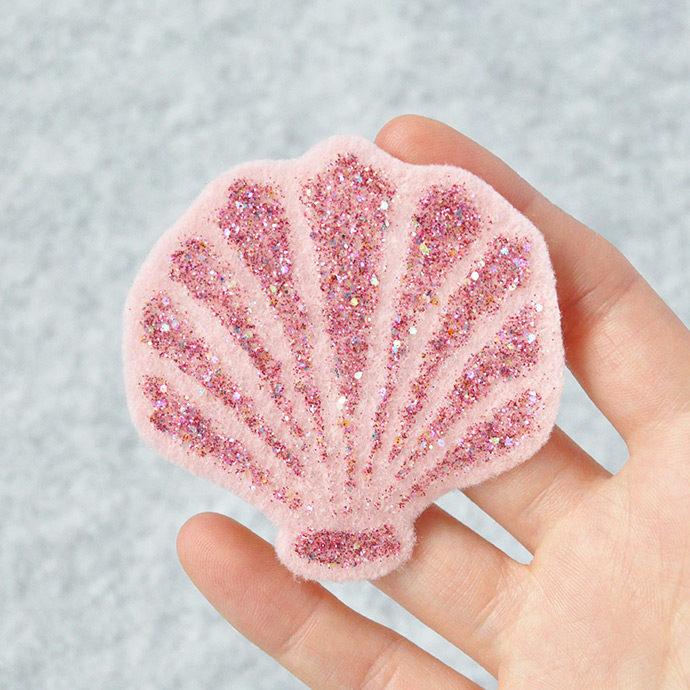
You can also use stencils to make some really fun patches. Pick out your stencil, hold onto a piece of felt, and use a foam spouncer to apply Fantasy Glitter. Depending on the look you want, you can let dry and then add additional layers, or leave as is.
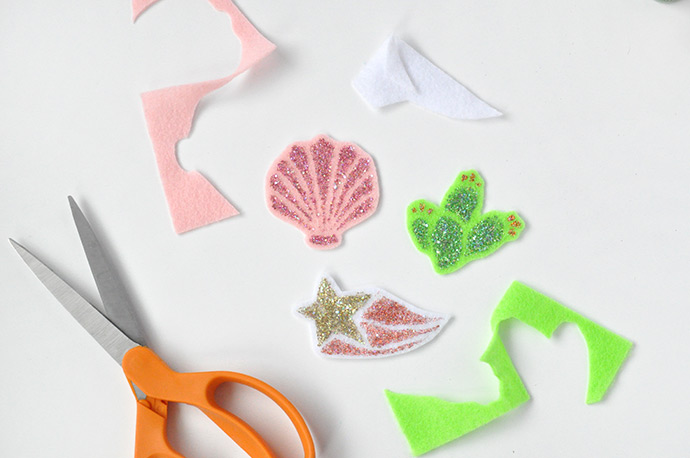
Step 4
When dry, cut the felt out around the shape.
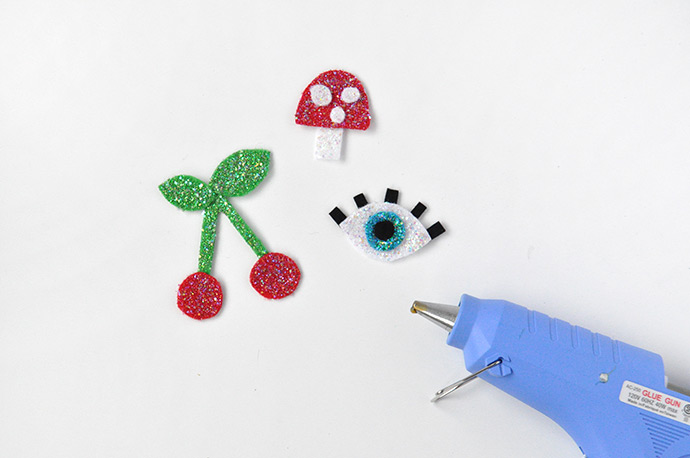
Step 5
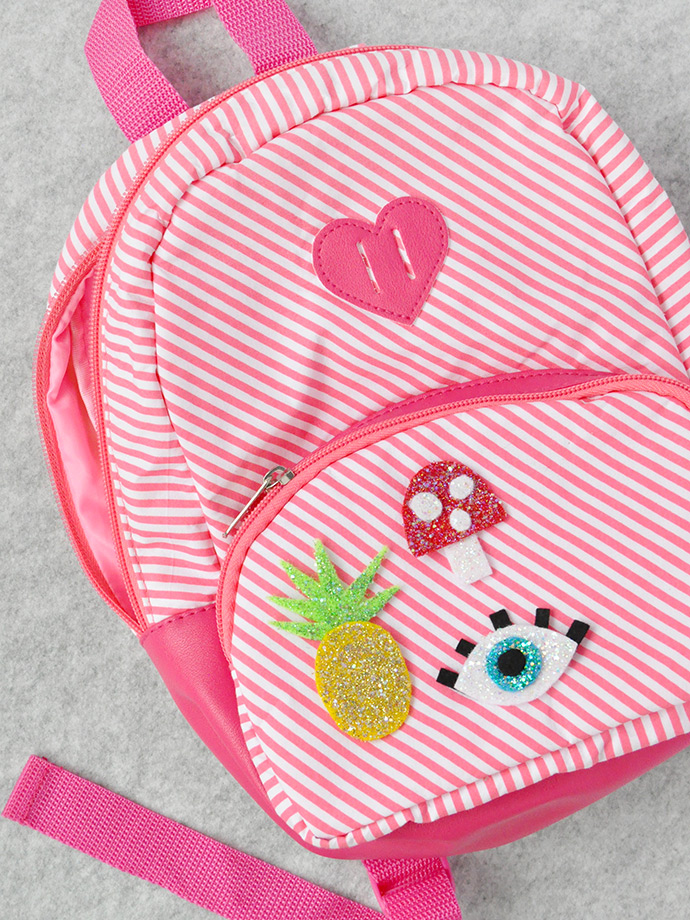
Glue the various pieces of the patches together as needed. You can also glue a pinback onto the patch if you don’t want to permanently attach them to something, or just use fabric glue to stick the finished patches onto your jean jacket, back pack, tote bag, whatever you like!


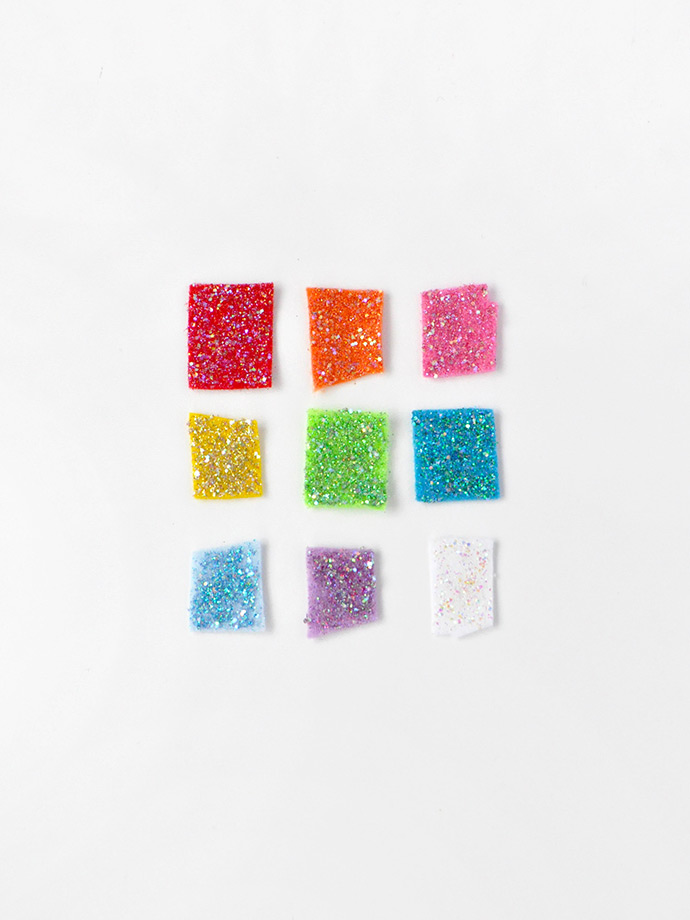
We had fun making a set of glitter samples on our felt – that way you know exactly how each shade of Fantasy Glitter looks on the felt you have. What a cute little rainbow, too!
Happy crafting!!


This post is sponsored by Plaid Enterprises.