Is it just me, or do you crave ice cream in the winter too? We had a crazy cold snap last wee, yet I found myself wandering down the frozen food aisle at the grocery store, hunting for a carton of Ben & Jerry’s Minter Wonderland. The heart wants what the heart wants. Am I right?
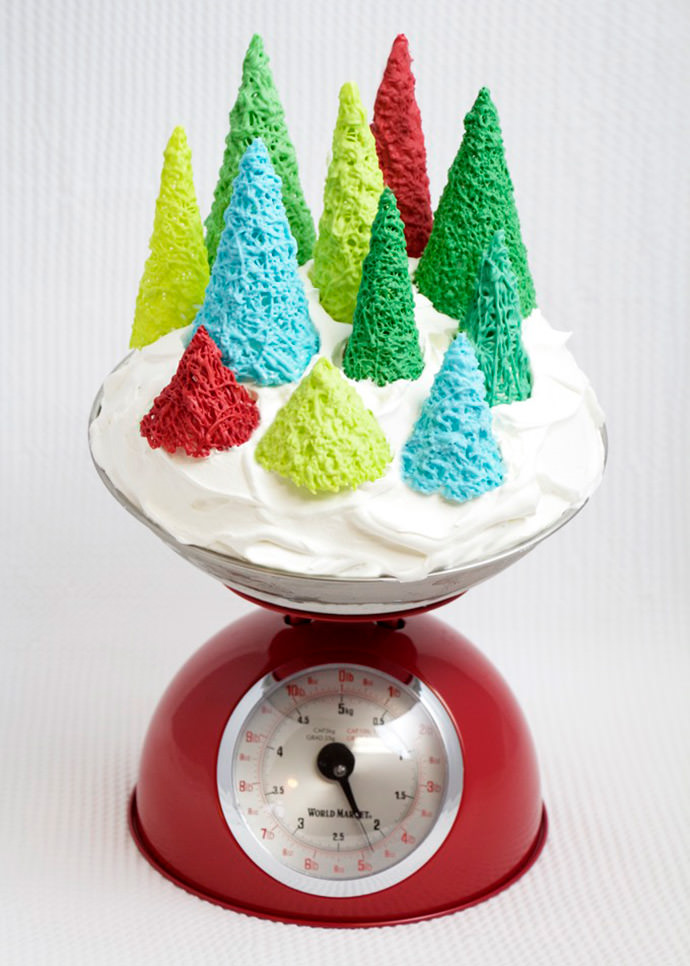
After I enjoyed a bowl (or two), I was inspired to make this minty, winter wonderland dessert — a colorful forest of chocolate candy melt trees, atop a mountain of whipped cream and mint chocolate chip ice cream. This would be a fabulous frozen treat to share with family, friends or co-workers during your holiday gatherings. Plus, it’s an unexpected and delightful alternative to the usual cookies, candies or pies.
What You Need

- Assorted colors of chocolate candy melt wafers (each tree uses approx. 15-20 wafers)
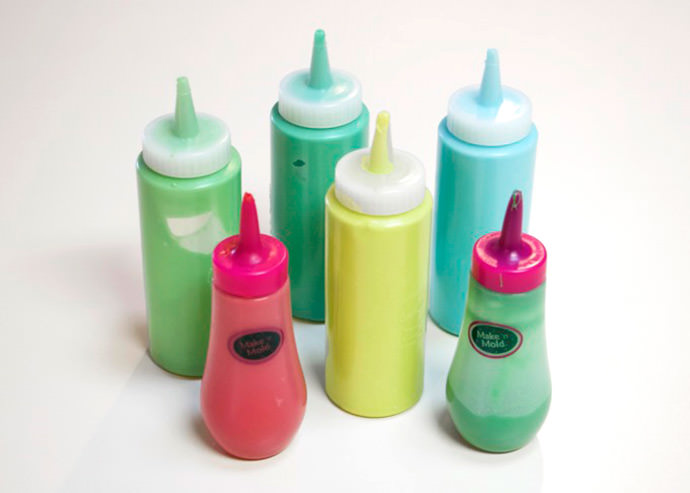
- Small plastic squeeze bottles
- Small assorted cone shapes (ice cream cones, plastic champagne flutes, etc.)
- Parchment paper & tape
- Large bowl or container with sides
- Mint chocolate chip ice cream (or whatever flavor you prefer)
- Whipped cream topping
How-To
Step 1
Start by making parchment paper cones that fit over your assorted cone-shaped items. (I used sugar cones, plastic champagne flutes and mini martini glasses.) Tape the parchment cone closed and trim the bottom with scissors as needed.
Then, in a microwave safe dish, heat one color of candy melts for 30-second intervals, stirring until smooth. Pour into a squeeze bottle. (I used about 15-20 candy melts per tree.)
Step 2
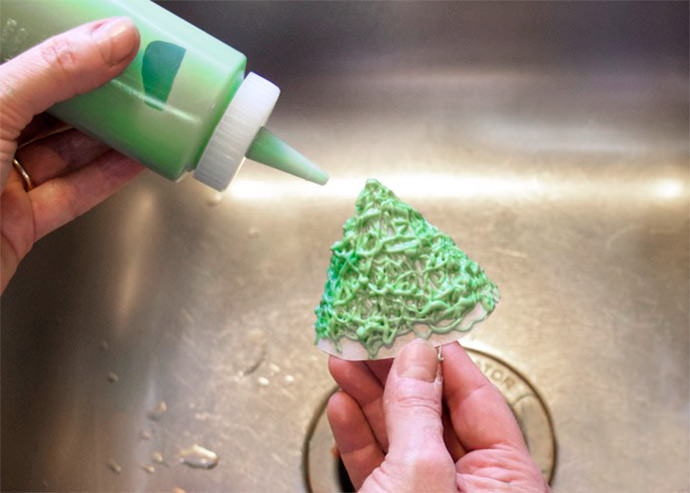
Working over a sink area, drizzle the candy melt over one of your parchment-covered cone shapes. If you drizzle it too thin, the tree will break when you remove the parchment. If it’s too thick, the candy melt will start to glob and slide down the sides. Experiment with the first couple of trees until you feel comfortable with how they’re looking.

Step 3
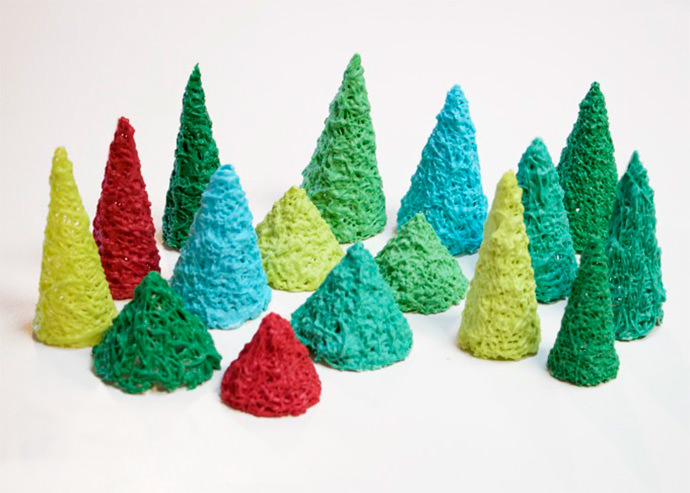
Heat and repeat with the remaining candy melt colors. Place them on a parchment-lined baking sheet and allow them to cool and harden. You can also put them in the refrigerator to speed up the process.
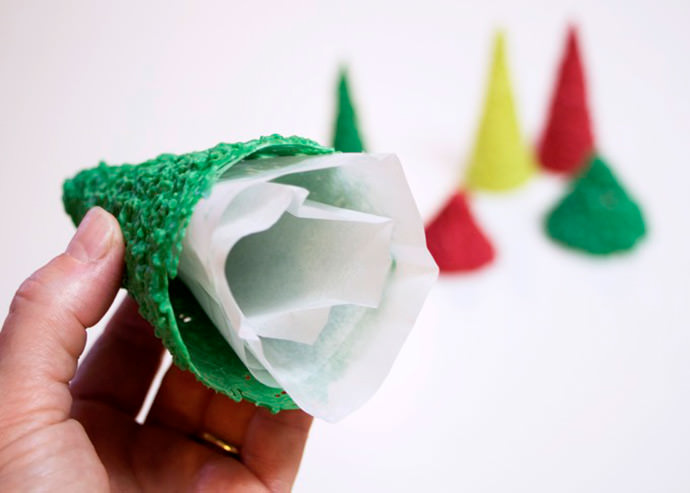
Step 4
Gently loosen and remove the parchment paper cones from inside the trees.

Step 5
Make a mountain of ice cream inside your display bowl or container. Cover the ice cream with a layer of whipped cream topping. It looks just like fluffy snow! (You can place the bowl back in the freezer until you’re ready to top it with the chocolate trees.)
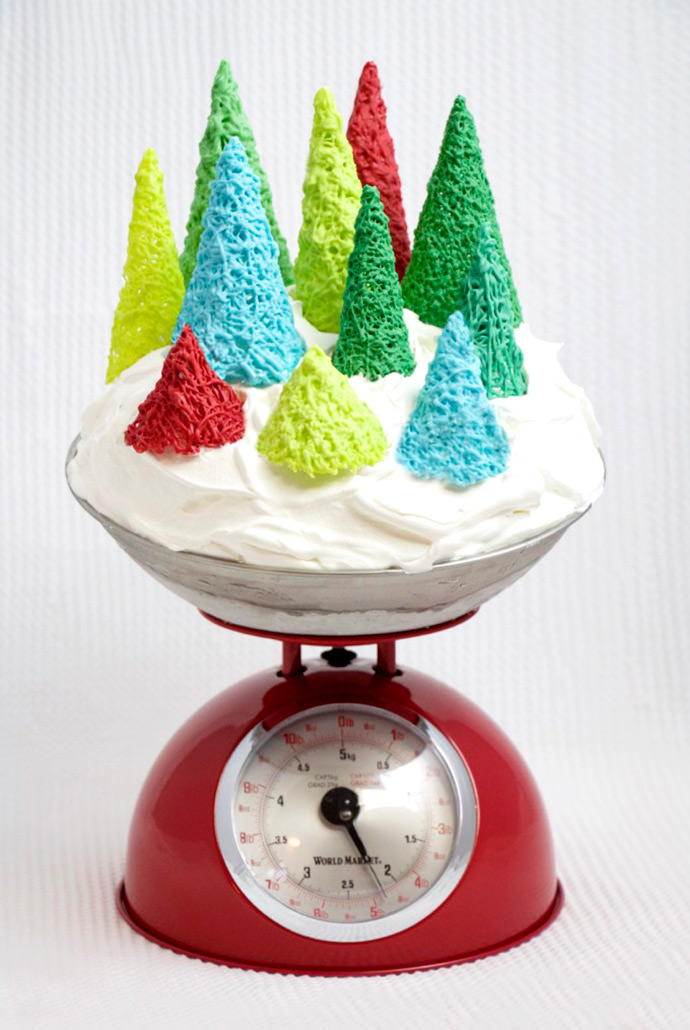
Step 6
Arrange your forest of colorful candy trees as desired. Display your winter wonderland dessert on a playful produce scale or whimsical cake stand.