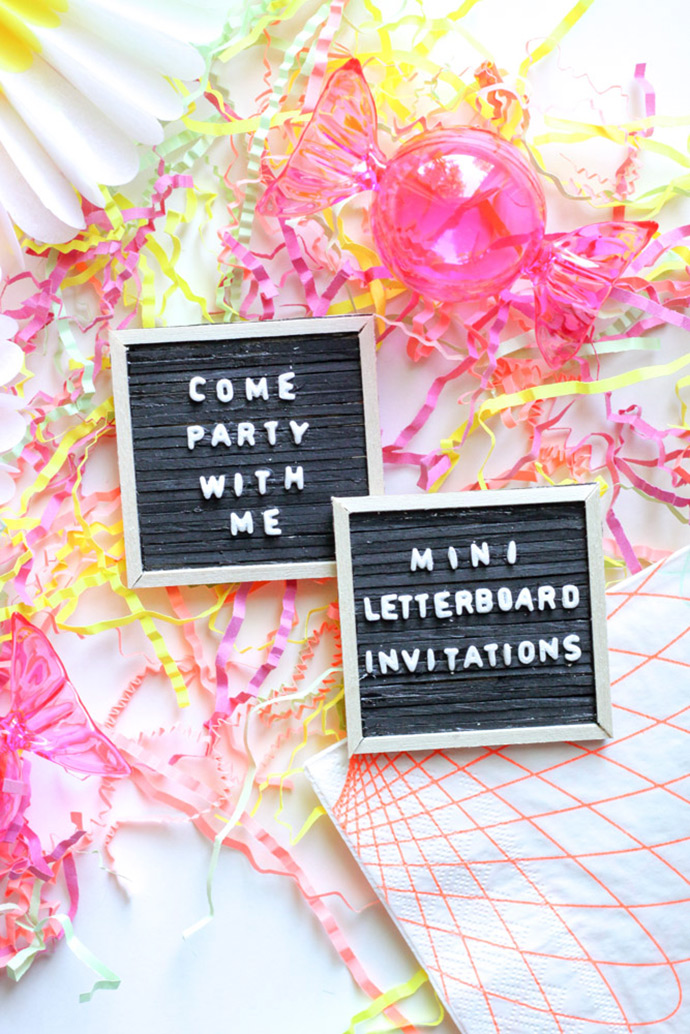
When I was explaining this mini letter board project to my husband, he told me that the company he used to work for had a storage room full of letter boards that they were planning to throw in the dumpster. I felt like he just told me I could have gone on a shopping spree, but I missed my chance. Ha! Well, I came up with a way to create my own, and they’re MINI! Even better.
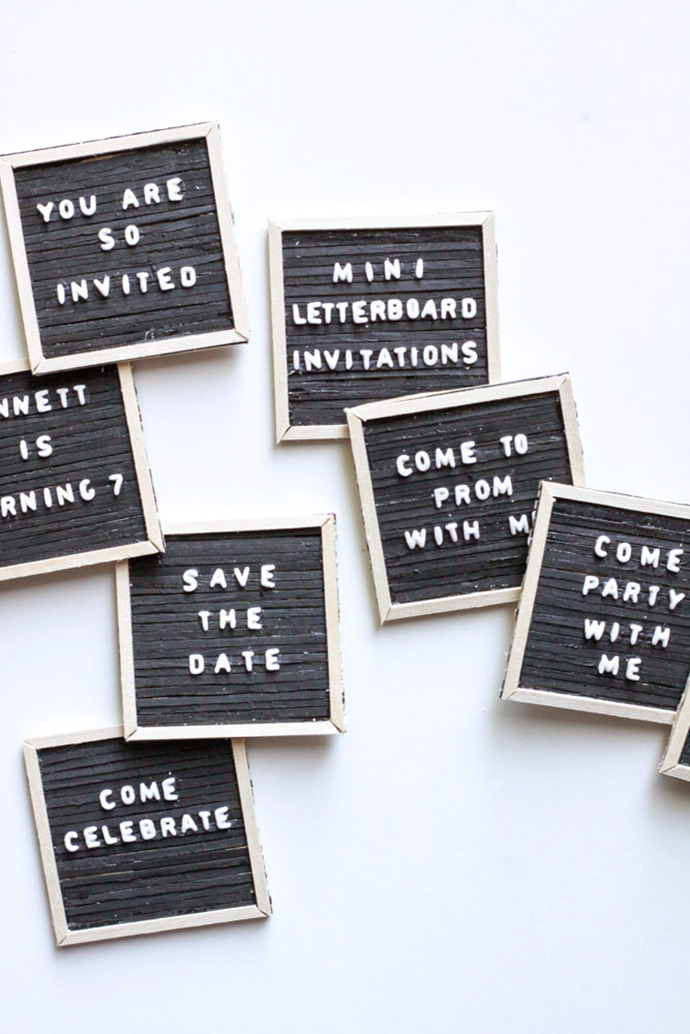
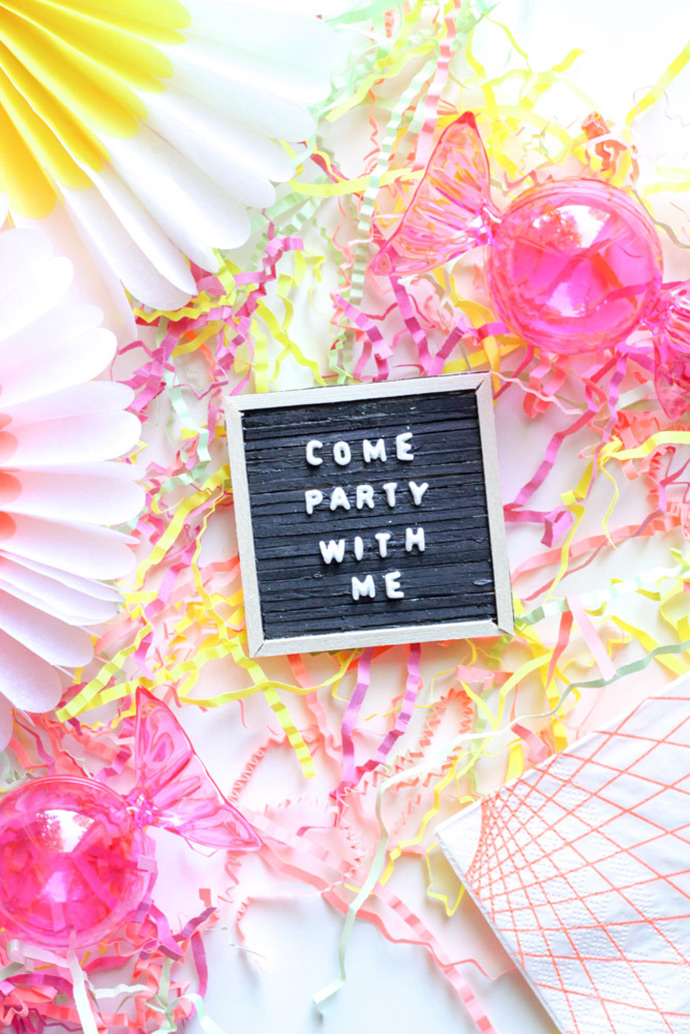
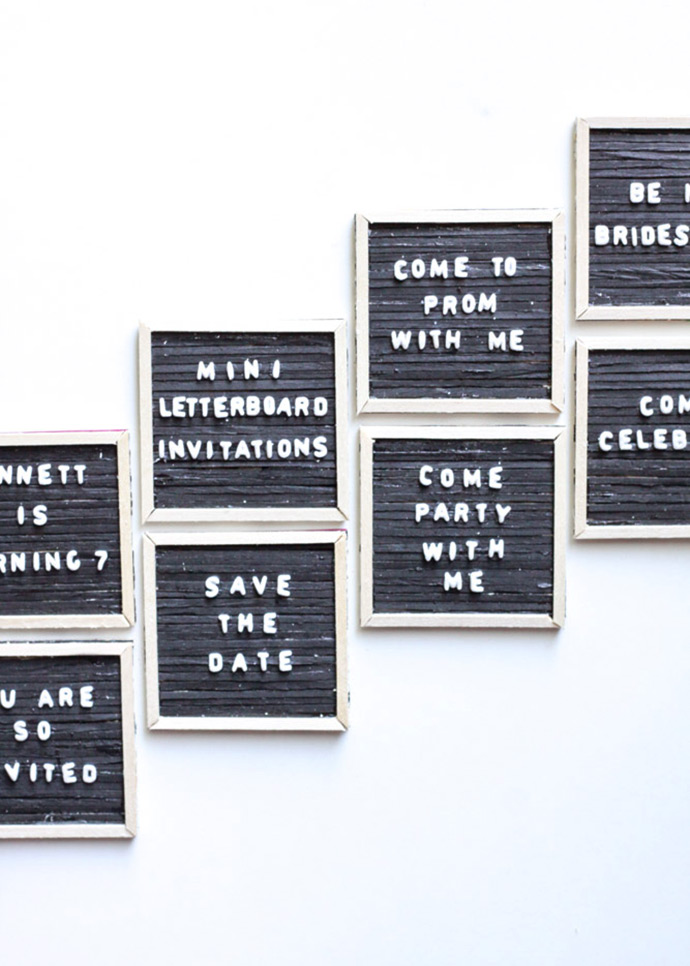
I am sooo excited about the possibilities for these mini letter boards. I created them with my daughter’s 13th birthday in mind, but I seriously can’t stop thinking of useful applications! I mean, who doesn’t love a good letter board? They would be perfect for any party, holiday, bridal shower, baby shower, graduation, or even the perfect craft for tweens and teens to display in their rooms. You can even think beyond invitations, and use them as place cards, a present topper, baby announcements, or ornaments. Stick a magnet on the back and hang them on your fridge! What will you write on your mini letter board?

what you need:
• 2 ½” x 2 ½” piece of cardboard (a cereal box is perfect!)
• Tacky glue
• School glue
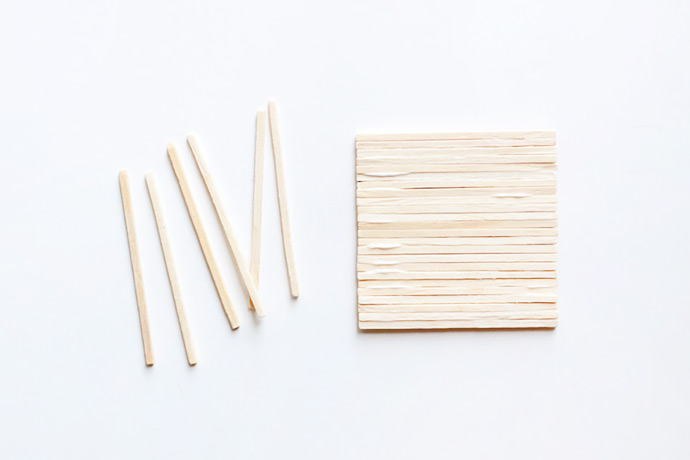
• Wooden match sticks (23-24 per letter board) – These can be found in craft stores, and they are 2 ½” long
• 1/16” balsa / basswood
• Ruler
• Pencil
• Cutting mat (not pictured)
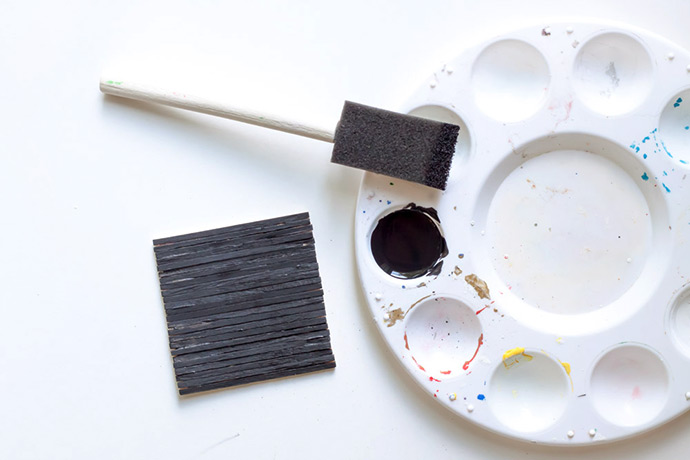
• Folk Art Acrylic Paint (black and white)
• Sponge brush
• Small paintbrush
• Wax paper
• Craft knife
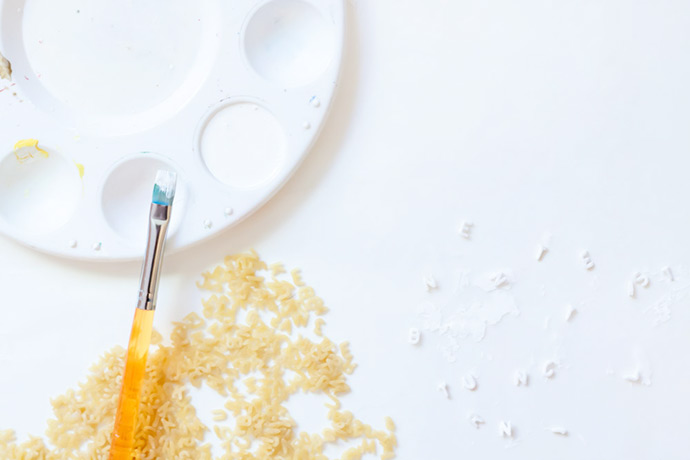
• Alphabet pasta noodles (I found them at the Mexican grocery store Supermercado)
how-to:
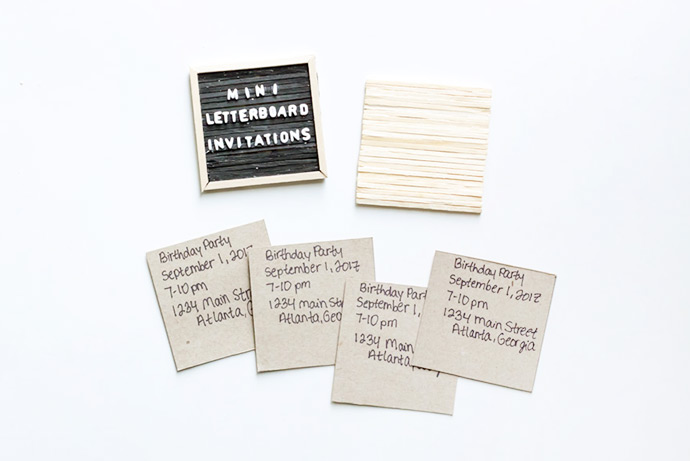
Step 1
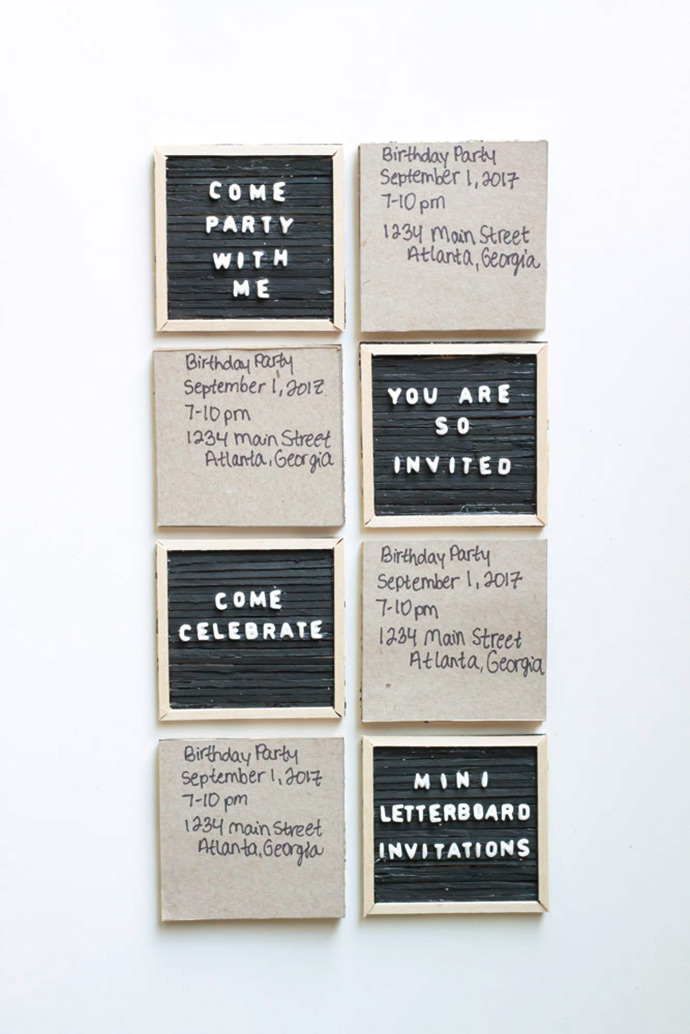
Measure and cut out a 2 ½” x 2 ½” piece of cardboard. Write party details (date, location, time, etc.) on the plain brown side.
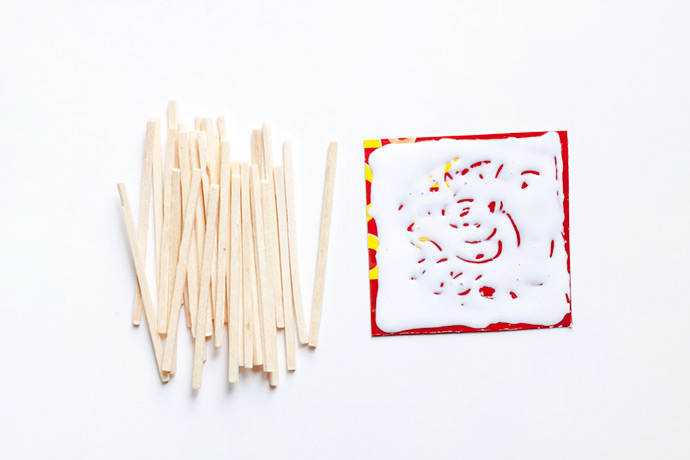
Step 2
Cover your piece of cardboard in tacky glue, and be sure it is the opposite side from the party details. Line the match sticks up side by side on the glue, and squish them together as much as possible. Once they are all on, even them out on the edges, so they make a perfect square.
Step 3
Hold the square by the edges, and using a sponge brush, paint the match sticks black.
Step 4
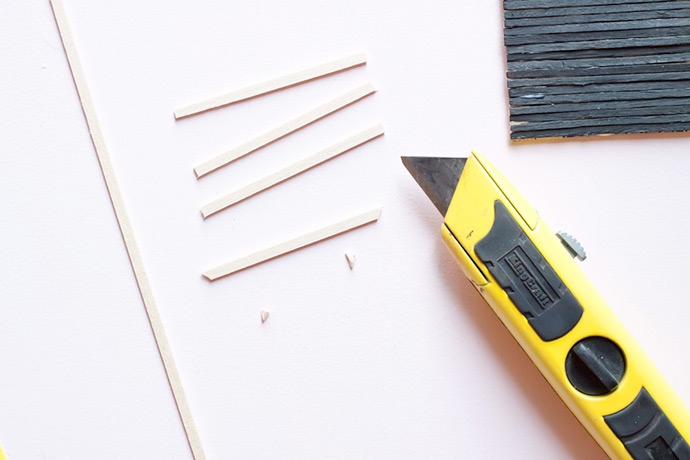
Measure and cut your basswood into four 2 9/16 inch pieces. Next, cut both ends of each piece at a 45 degree angle, and make both angles face inward (from the bottom to the top, toward the middle of the stick). You should only cut off a tiny triangular piece on each end, so that the ends will fit nicely together to create a frame around your letter board.
Step 5
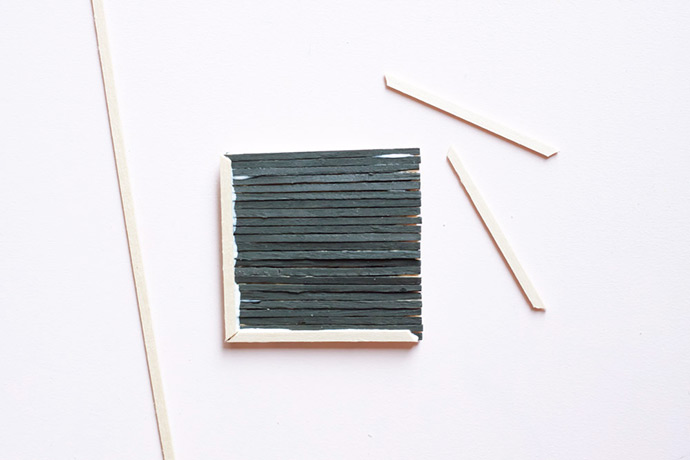
Place the four pieces of basswood around the edges of your letter board, to make sure the angled ends line up evenly. If not, you may need to trim a piece or two, or even cut a new one from scratch. Once they line up pretty well, use tacky glue to attach the frame.
Step 6
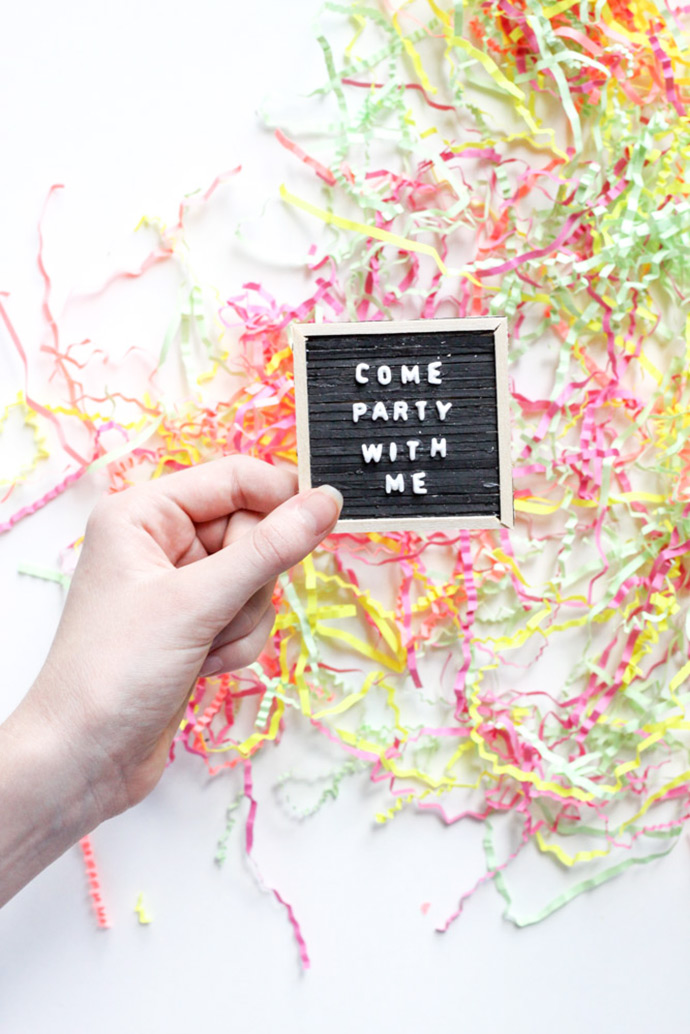
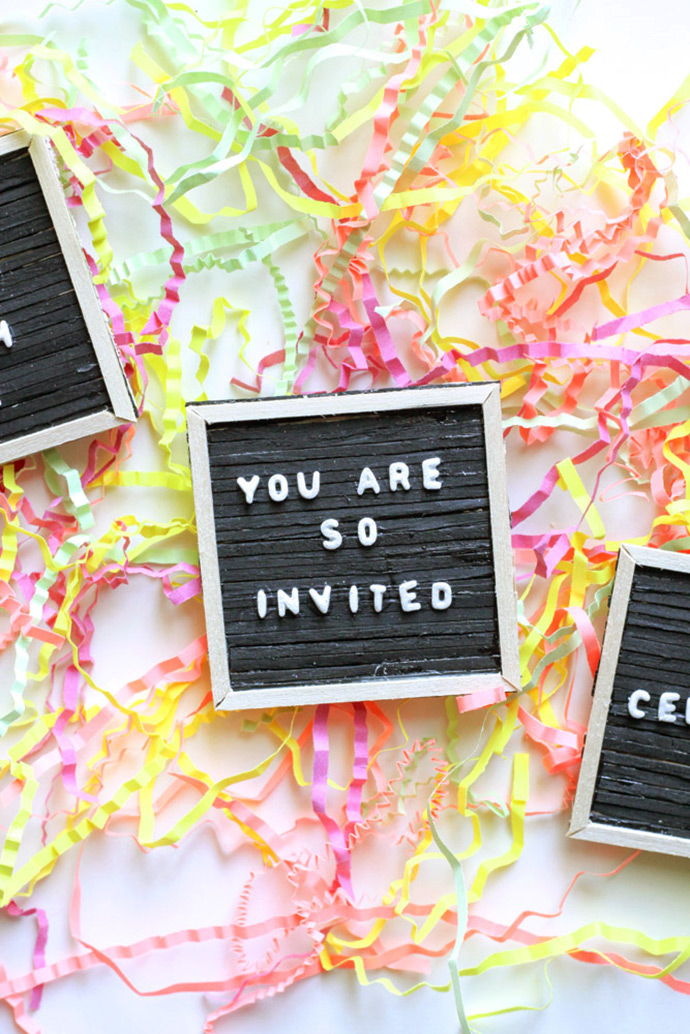
Decide what you want to write on your letter board, and lay out your saying on wax paper with alphabet pasta noodles. Use a small paint brush to paint the letters white. I put each letter on my finger, and just painted it along with my finger. Lay them back on the wax paper to dry. Once they are completely dry, you may need to peel them off the wax paper, and use your craft knife to scrape off any excess paint.
Step 7
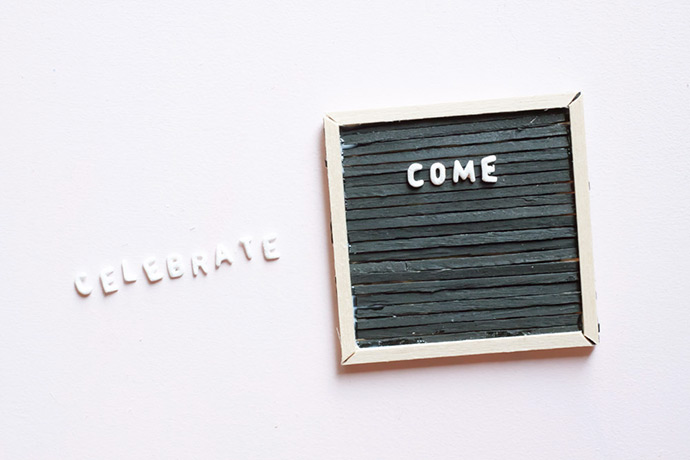
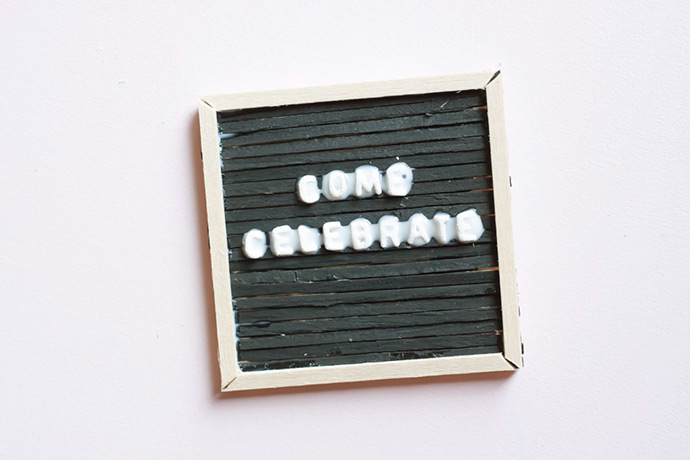
Lay your alphabet noodle saying out on your letter board, and play with the arrangement until you are satisfied with the letter placement. Once you are ready, glue the noodles down (one at a time) using school glue. If you struggle to place the noodles using your fingers try using tweezers. Leave the loose letters in place as a guide while you glue the others down. Tiny puddles of glue under the letters will not be an issue once they dry.
Happy crafting!!