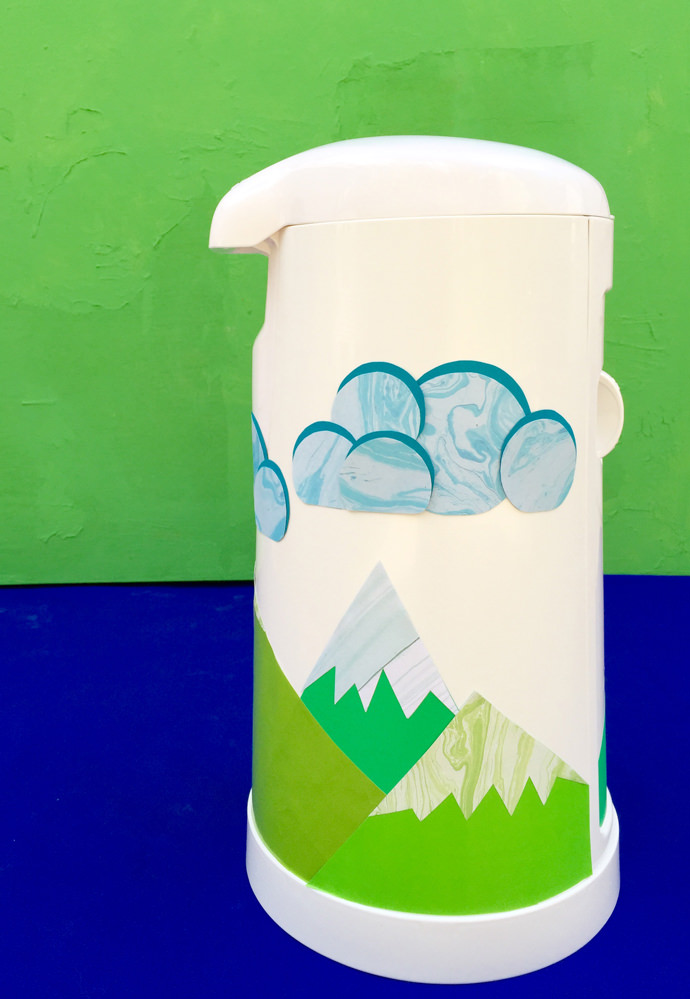
Decorating the nursery has always been one of my favorite nesting activities! I’m a big believer that everything in this sacred space should be fun AND functional (new parents – you’ll quickly learn to appreciate this beautiful balance). Although my kiddos are out of diapers, the Arm and Hammer Diaper Pail by Munchkin blew our minds! With a little bit of maker’s magic, this smell-busting superhero will send those stinky diaps over the mountains, through the woods, to a land far far away from the world of family play.
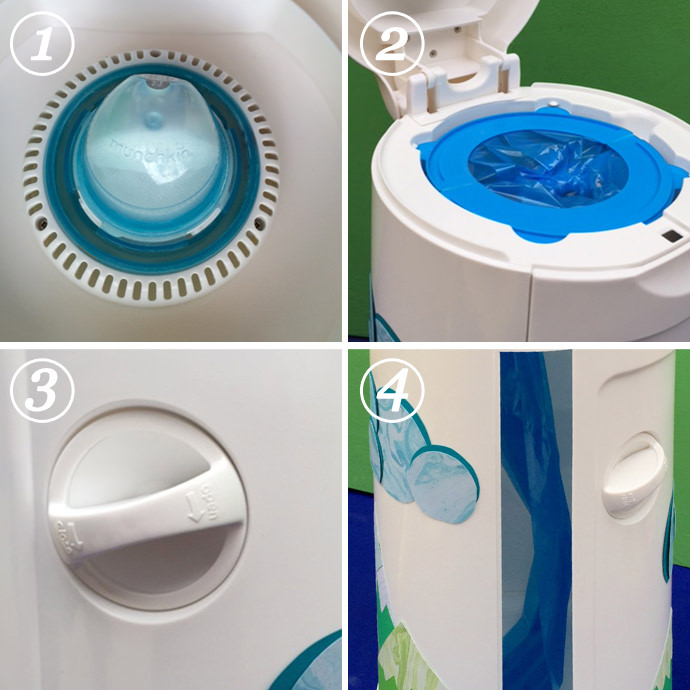
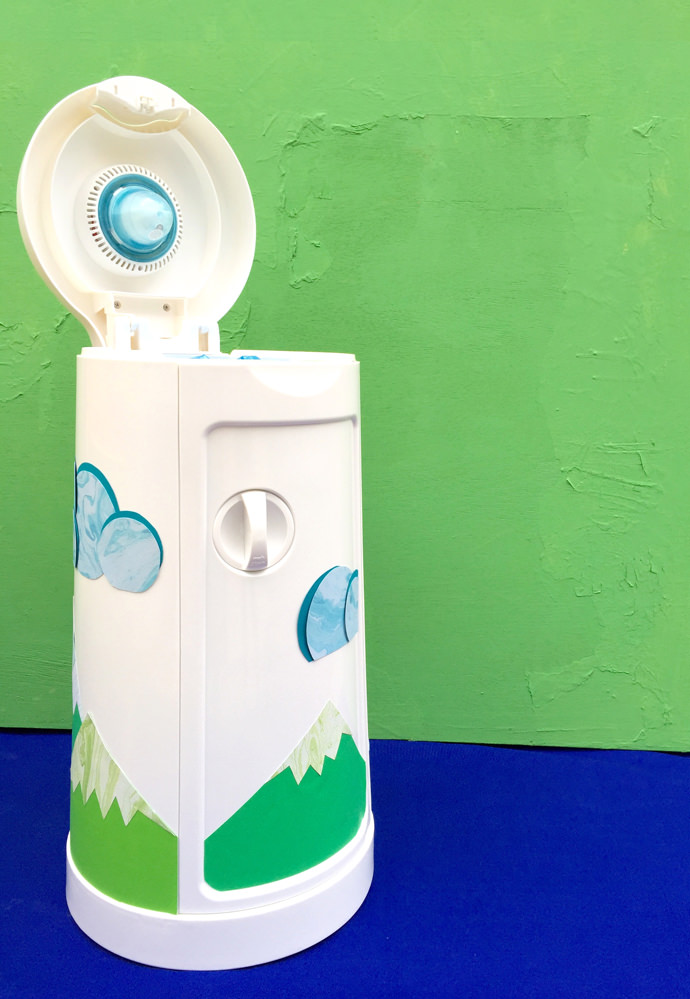
So who is this new nursery superhero – and why is it so super? For one, it comes with a nifty little cup you can fill (and refill) with magic odor-eliminating potion (aka: baking soda, but potion just sounds more fun). Secondly, the bin locks the liner bag in place each time the lid is lowered – sealing the system and making sure all ickiness stays inside. Finally, the easy handle/door combo makes changing the bag swift and simple.
What You Need
- The Munchkin Arm and Hammer Diaper Pail
- A mix of scrapbooking paper in greens and blues
- Different sized round lids for making circles
- Metal ruler
- Titanium Softgrip® Comfort Loop Rotary Cutter (45 mm)
- Tape runner
- Washi tape (optional)
How-To

Step 1
Cut out different sized triangles for the mountain scenes using a rotary cutter and metal ruler. Cut out smaller triangles of a lighter paper for the snow caps. Cut zigzags along the bottom of this smaller triangle to create a jagged effect. Begin arranging your mountains on the diaper pail. (Use washi tape to hold in place while you layout your scene.) After your mountains are aligned to your liking, begin gluing to the diaper pail with the tape runner.
Step 2
Trace and cut out circles for the clouds. Arrange the clouds in round and bubbly shapes! After you get your cloud arrangement glued together, take a rotary cutter and trim it so the bottoms are flat. Use the tape runner to attach the clouds to your diaper pail.
Voila! You’re instantly transported to that far away land I was telling you about :)
This post is sponsored by Munchkin.