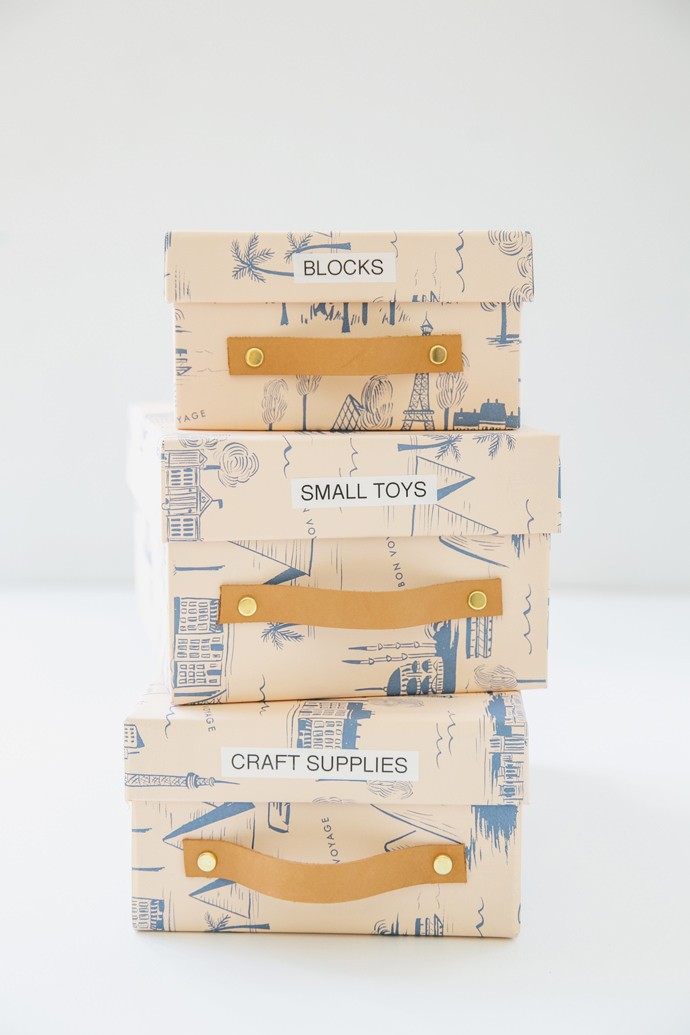
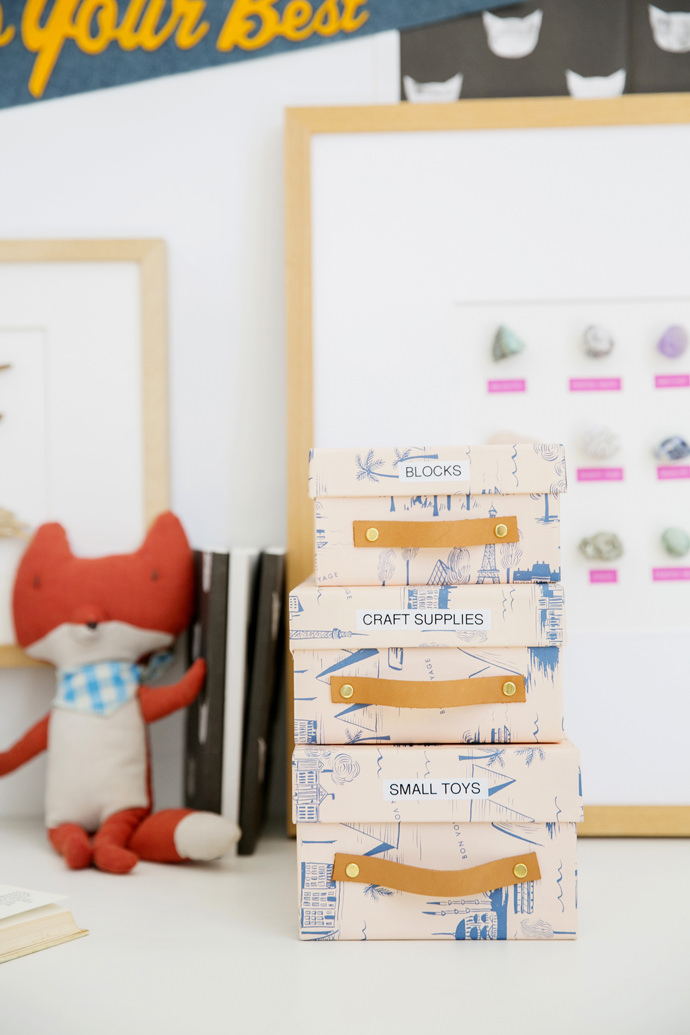
Keeping your kid’s clutter to a minimum may be a challenge, but this clever DIY project is sure to help! All you’ll need are a few old shoe boxes and a Brother P-touch PT-D200 Label Maker to easily organize and store craft supplies and toys. These simple, budget-friendly boxes will look fantastic stacked or displayed on a shelf for easy access. Plus – they’re a great way to keep desks and floors clear from those pesky pileups we know all too well!
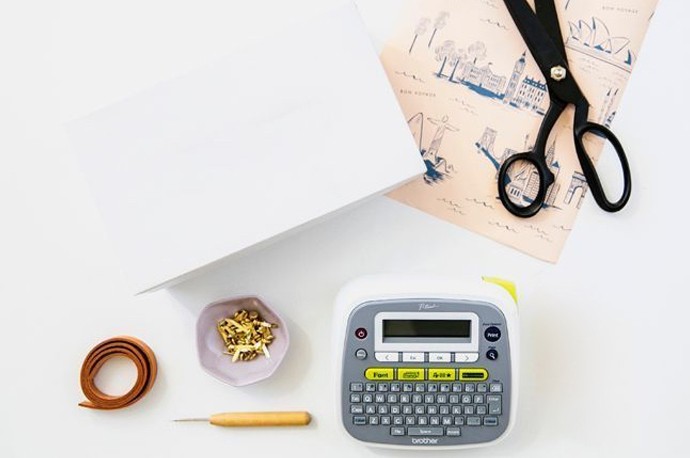
What You Need
- Cardboard shoebox
- Brother P-touch PT-D200 Label Maker
- Decorative paper
- Leather strap
- Metal brads
- Scissors
- Reamer tool or awl
- Glue Stick
How-To
Step 1
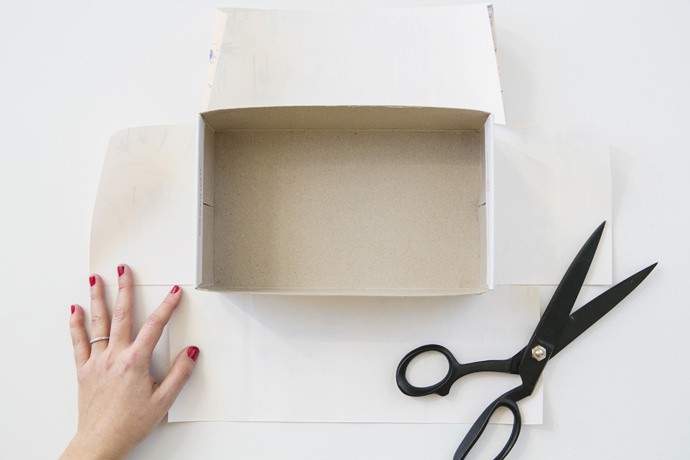
Cut the decorative paper so that it will cover all sides of the box. This can be done by measuring the box and adding the dimensions together, but it’s just as effective to wrap the paper up around the sides of the box and approximate. No need to be perfect – just make sure the paper will be large enough. You’ll want an additional inch of margin around the edges for wrapping at the end.
Now that you have a single piece of paper to cover the box with, cut slits for each corner. Each slit should run straight from the edge of the paper to a corner on the short side of the box. As an optional step, you can trim any excess paper to minimize bulk (as I’ve done for my box).
 Step 2
Let’s start gluing! Apply glue to the bottom of the box and press the glued side onto the middle of the paper. Flip the box over and smooth out any wrinkles.
Step 3
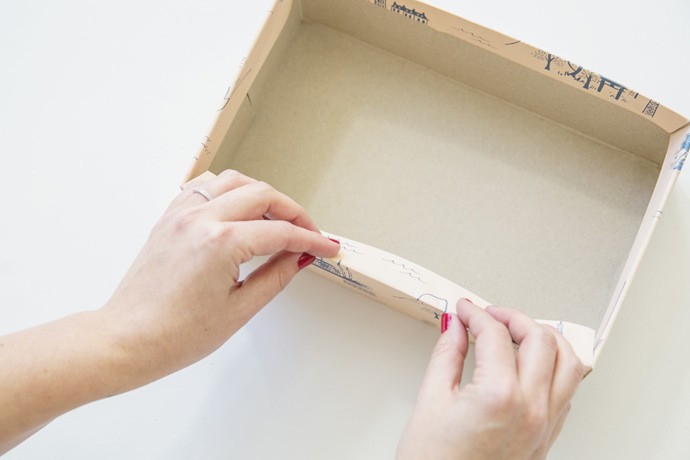
Now apply glue to a long side of the shoebox and adhere the paper, remembering to smooth out any wrinkles along the way. Once the long side is glued down, you’ll want to also glue down the “tails” of the long side to the short side of the box.
This step gives you a nicely covered corner and is really forgiving in case your box is a little misshapen. Repeat this step with the other sides of the shoebox.

Step 4
Once the sides are ready, it’s time to wrap the edges. Cut vents at each corner and glue the paper to the inside of the box.
 Step 5
For a covered box, the shoebox top will need some love too. Repeat steps 1-4 for cutting and gluing the box top with paper.
 Step 6
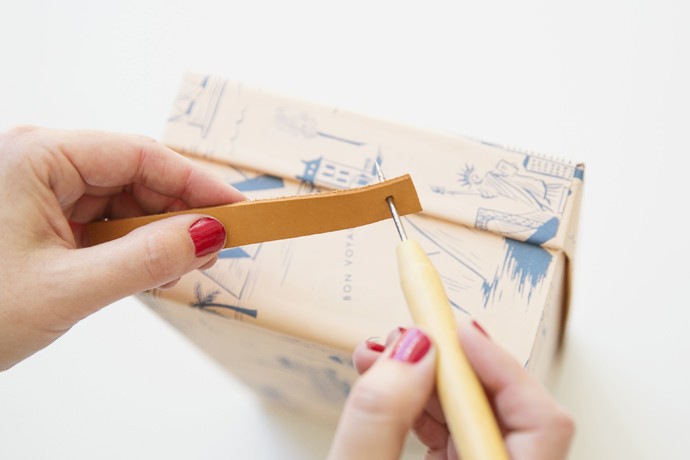
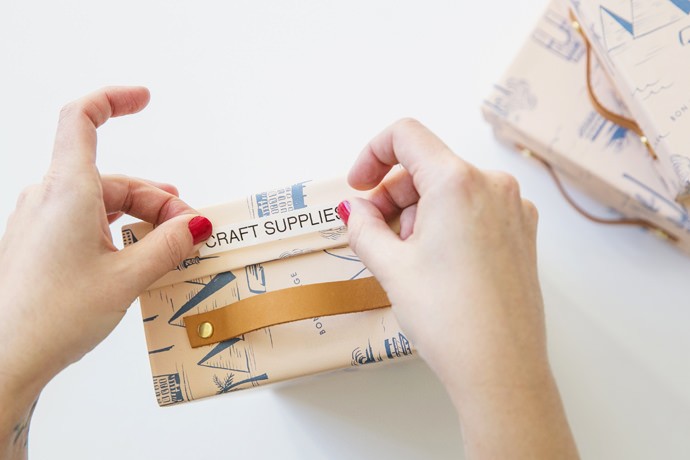
Next, measure and cut a piece of leather strap for the decorative pull. You can also use another durable, non-fraying material. Using the reamer tool, very carefully punch holes in the strap. Then, use the reamer tool to punch holes in the box.
 Step 7
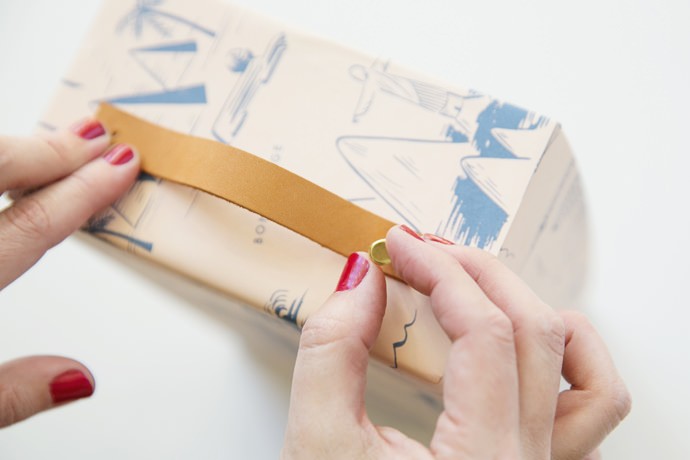
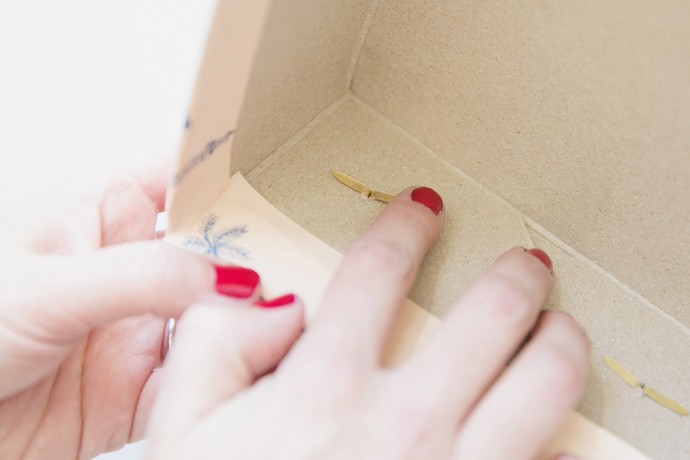
Insert a brad through each hole and open the prongs to affix the brads.
(Note that these straps are meant to be decorative, but you can always reinforce the brads with cardboard and hot glue – on the inside of the box – for extra stability.)
 Step 8
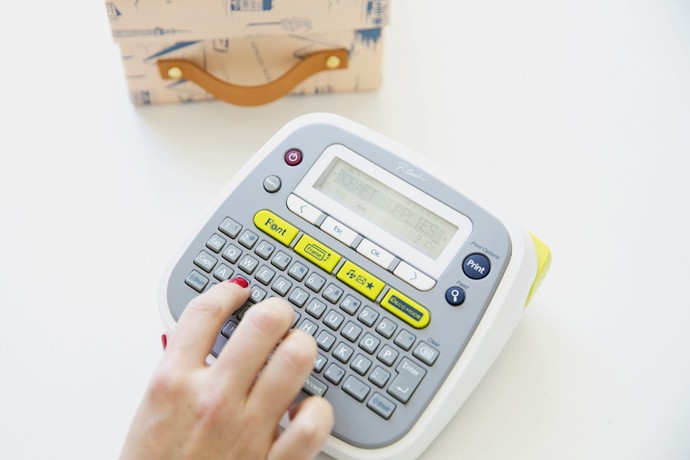
For the final touch, use the Brother P-touch PT-D200 to label your box.
There are plenty of fun fonts, symbols, and decorative borders to try, and tons of colorful tape options too. So you’re sure to find a match for any rooms decor.
Tip: Get kids involved by having them create the labels for each box, and they’ll be that much more attached to the idea of staying organized and cleaning up after themselves.
For more amazing Brother crafts, check out our boards on Pinterest here and here!
Photography by Heidi Geldhauser
Craft production assisted by Linda Jednaszewski
Art direction, styling, and concept by Brittni Mehlhoff
This post is sponsored by Brother.