Okay, I’ll admit it. I’m a fool for the Fall. Come October, I’m hunting for any little hint that the season is changing—a slight chill in the air, a red leaf hanging from an otherwise green tree. And the minute that mercury drops, I make a beeline to the pumpkin patch!
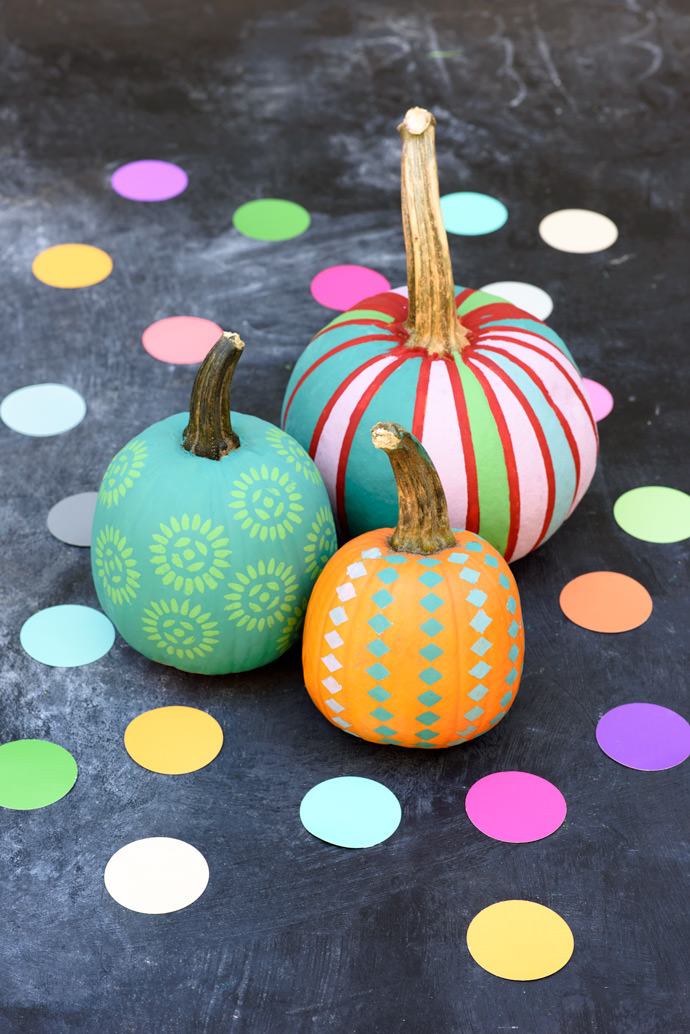
This is where the “fool” for Fall comes in. Every year without fail, I buy our pumpkins early, the kids and I have a crazy pumpkin gut-slinging good time carving them, and two days later the temperature rises and the pumpkins are reduced to a stinky mushy mess on our front porch. Determined to get more mileage out of our pumpkins, we decided to try a new pumpkin decorating technique this year. Enter the Mini Painted Pumpkin Patch!
Sure, everyone loves a big, round pumpkin. So why use tiny pie pumpkins? Because everything’s better mini! Not only do these tiny painted pumpkins run laps around their carved cousins, they make adorable handmade gifts that will warm the homes of your friends and family.
If you’ve ever tried painting pumpkins before, you know how hard it is to get the paint to stick. We have the perfect solution: FolkArt Home Décor Chalk Paint and Handmade Charlotte stencils. The paint adheres to just about anything without priming or prep, and the peel-and-stick stencils make clean, precise designs a snap. Pair the two together, and you have an easy-as-pumpkin-pie art project for the whole family!
What You Need
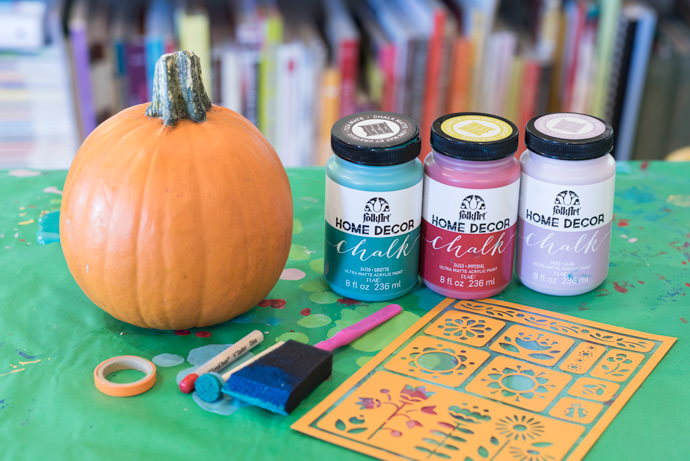
- FolkArt Home Décor Chalk Paint
- Handmade Charlotte Stencils
- Paint daubers
- Sponge brushes
- Mini pie pumpkins
- Painter’s tape
How-To

Step 1
Clean the pumpkin with a damp sponge and wrap the stem with painter’s tape. Make sure the pumpkin is clean and dry before you begin to paint. Once you have planned your design, you can begin painting! Use the sponge brush to apply a solid coat of paint. It shouldn’t take more than two coats.
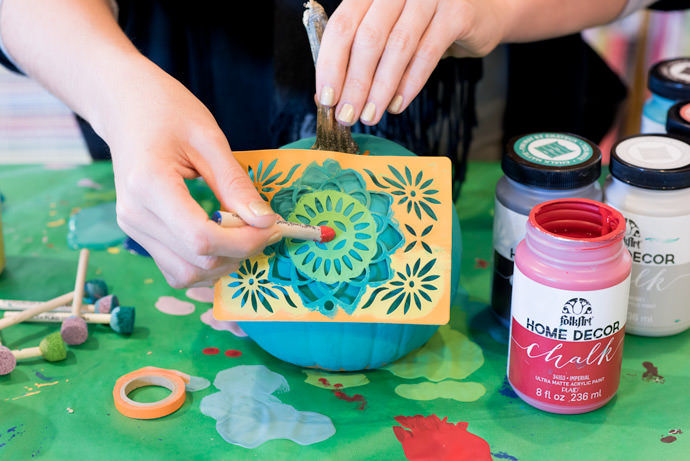
Step 2
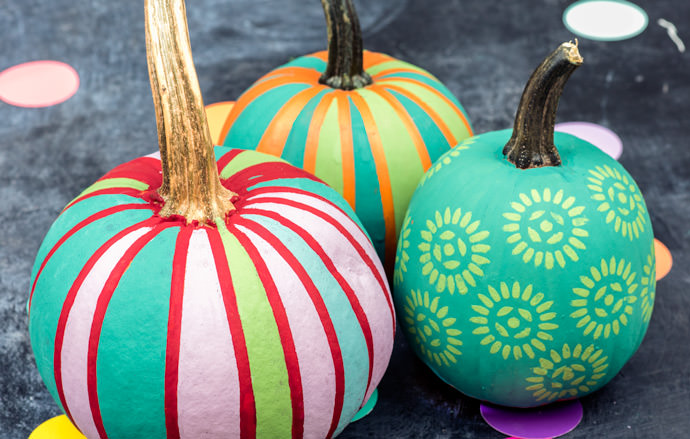
After the paint has dried, apply the stencil. Lay your stencil flat over the pumpkin. Make sure there are no edges sticking up. Apply the paint in repeated, small dabs with your dauber until the area is completely painted. Wait for the paint to dry before removing the stencil. Repeat until your pattern is complete!
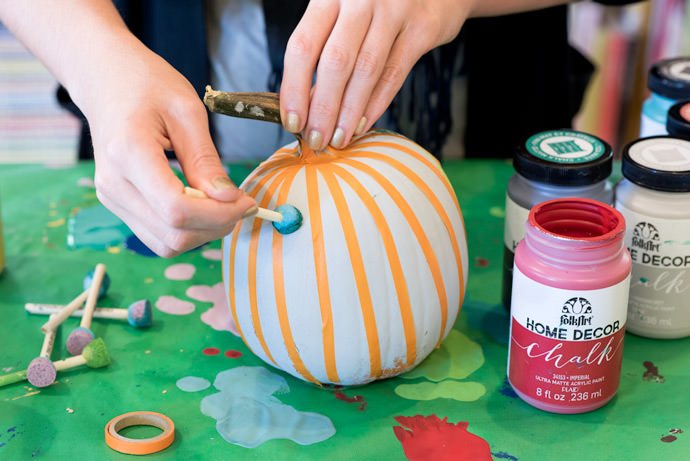
Step 3
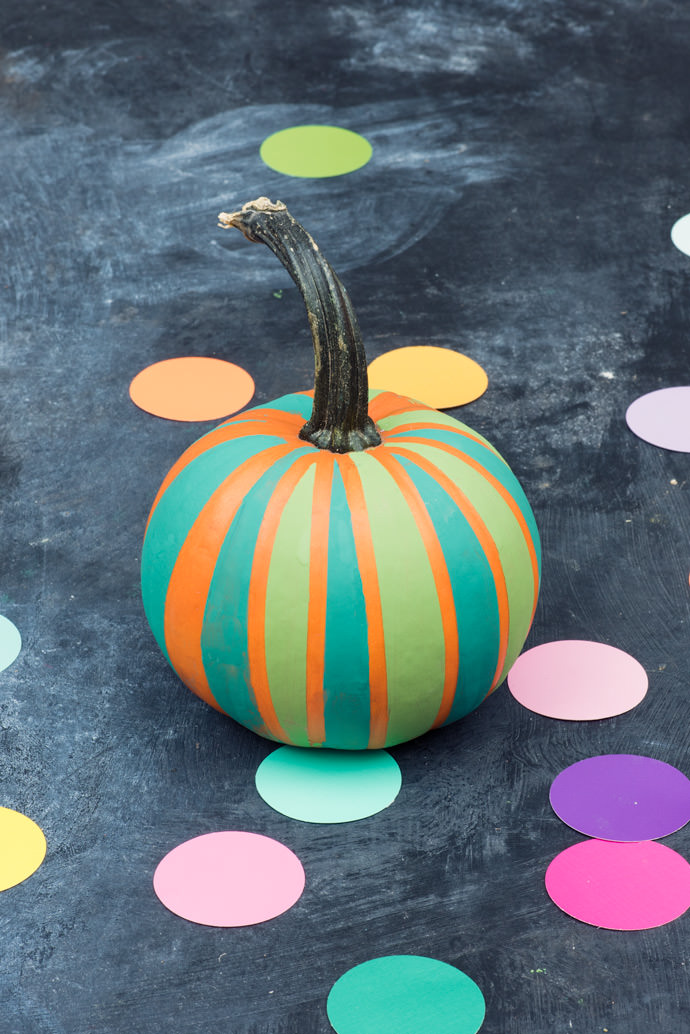
For a striped pumpkin, use painter’s tape to create stripes down the side of the pumpkin. Apply paint to the exposed areas with your sponge brush. Wait for the paint to dry before removing the tape.
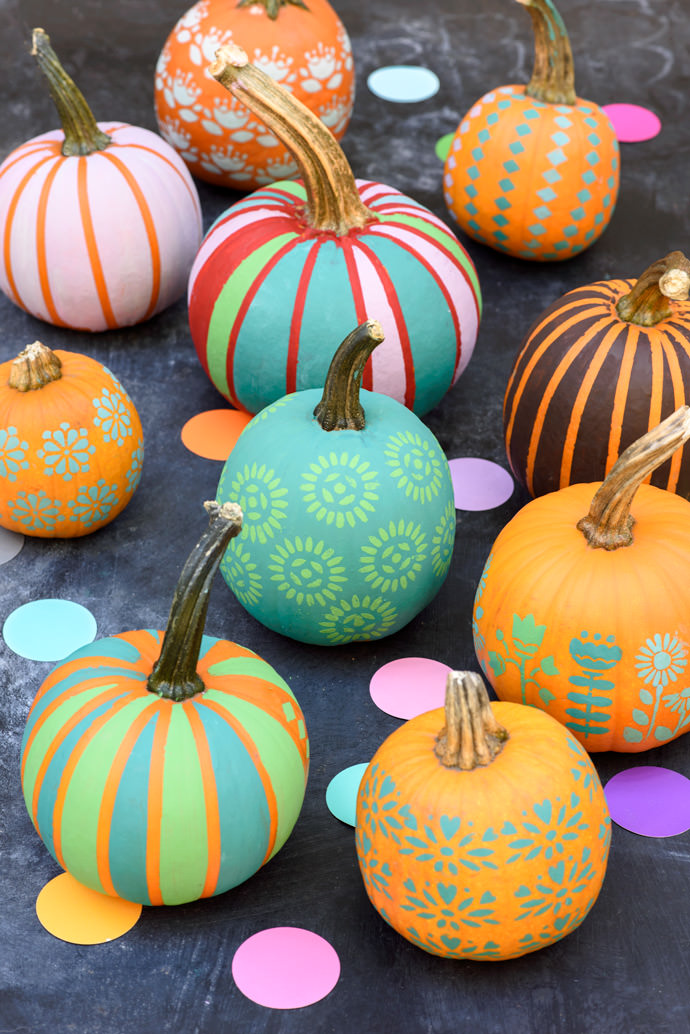
With FolkArt Home Décor Chalk Paint and Handmade Charlotte stencils this is a no-fail project, so don’t be afraid to go totally wild with this super cool pumpkin patch.
Happy crafting ;-)