
Can you believe fall is almost here already? I know the rest of the year is going to fly by, as always. For now though, fall is a great season for crafting with the nature. This year I’ve decided to great creative with pumpkins! I had so much fun playing with colors for this project.
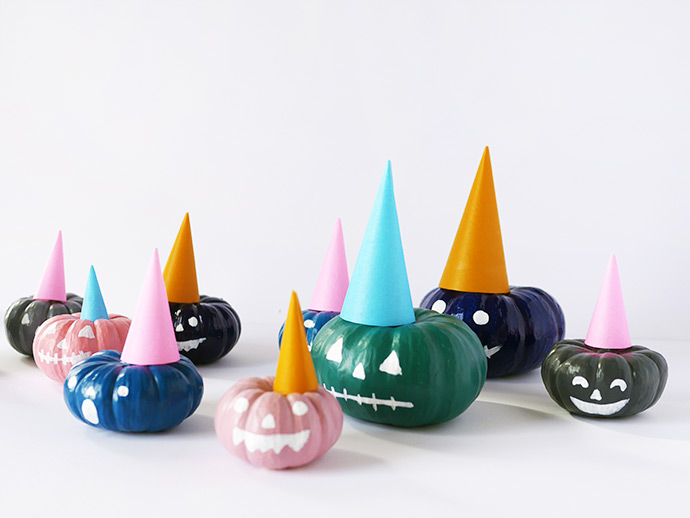
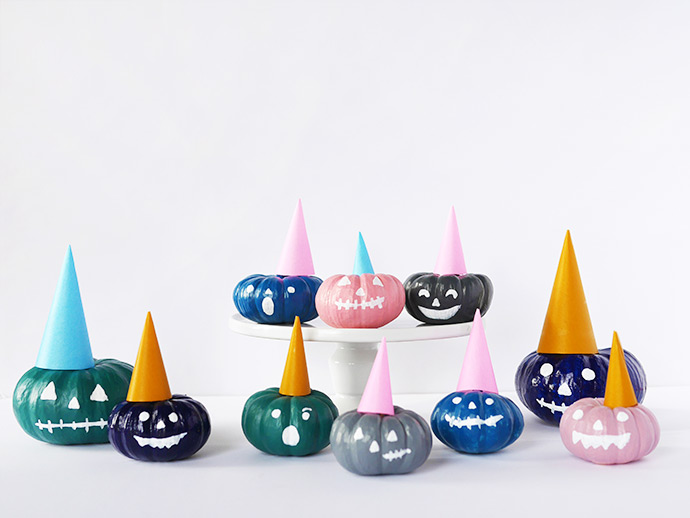
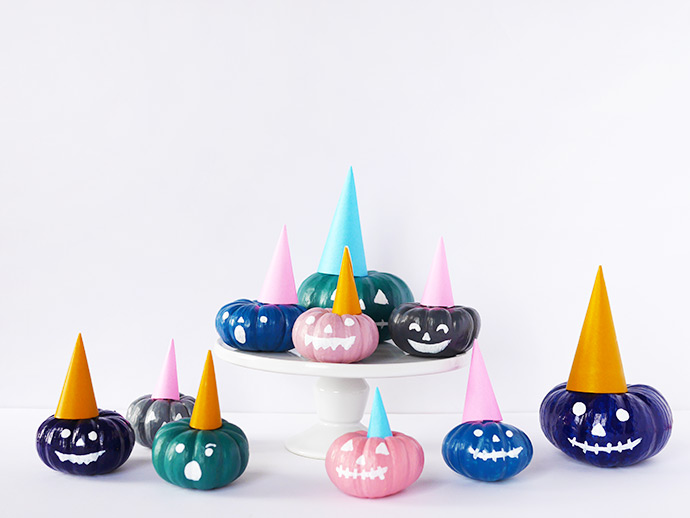
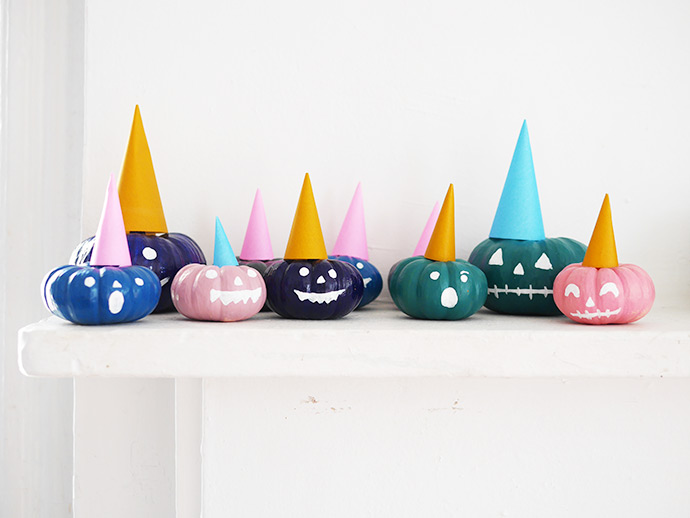
It was very grey and rainy the other day and all I could think about was color. It was the perfect day to add some fall decorations around the house! In no time, these painted party pumpkins were born! I choose colorful but muted shades: deep blue, a grey green, dirty pink, and grey of course. A few minutes later their playful faces were painted on but something was missing: they needed party hats! Suddenly the colored pumpkins turned into fun characters. I did a bunch of them in different sizes and put them all around our house to celebrate fall!
what you need:
- Different sized pumpkins
- FolkArt Outdoor Acrylic Paint
- Paintbrushes
- Glue
- Colored construction paper
- Scissors
- Compass
how-to:
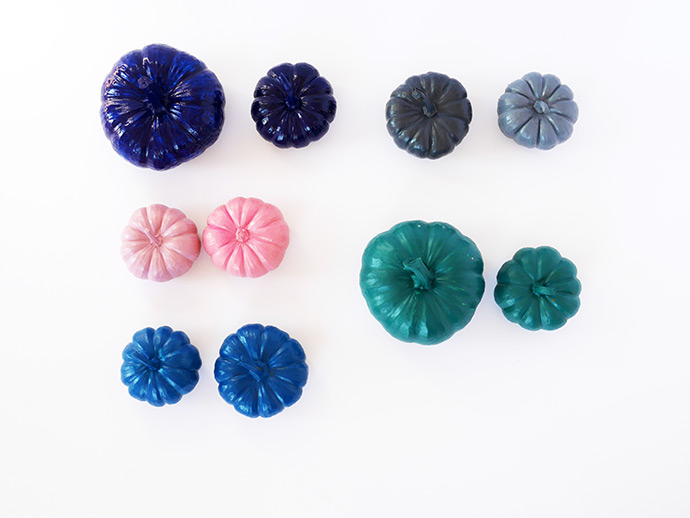
Step 1
Paint your pumpkins. Pick the colors you like. And then let dry.
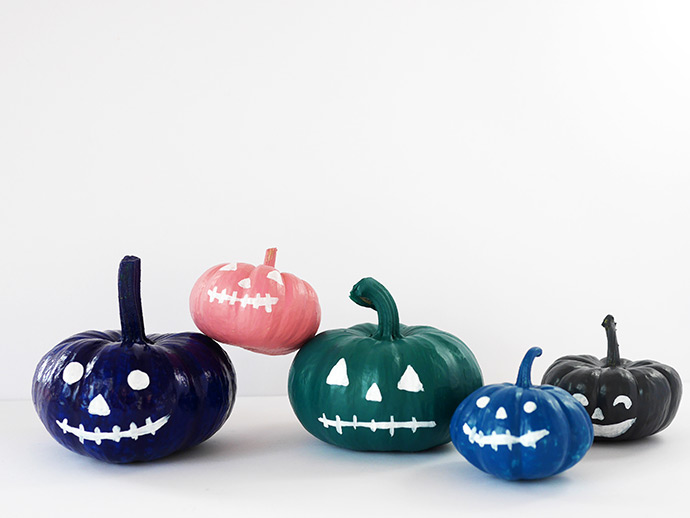
Step 2
Now you can paint faces on them! Go ahead and have fun – don’t forget to get your kids involved. Let dry.
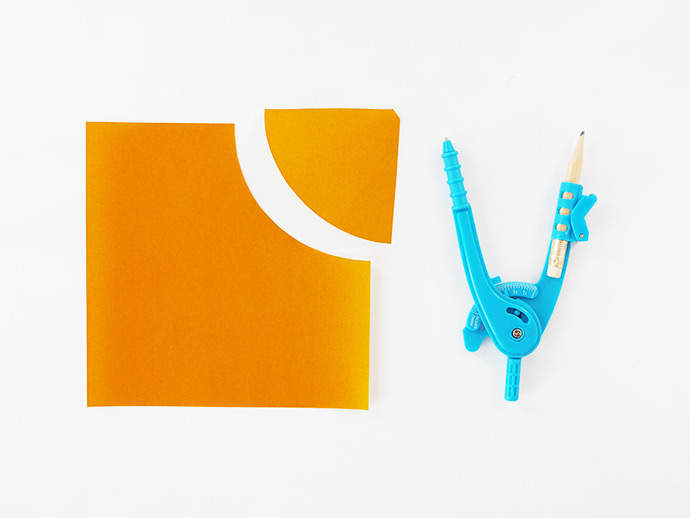
Step 3
To make the party hat, use your compass to draw a quarter of a circle on the corner of the construction paper. Cut, fold, and glue together. Tip: the bigger your circle is, the taller your party hat will be.
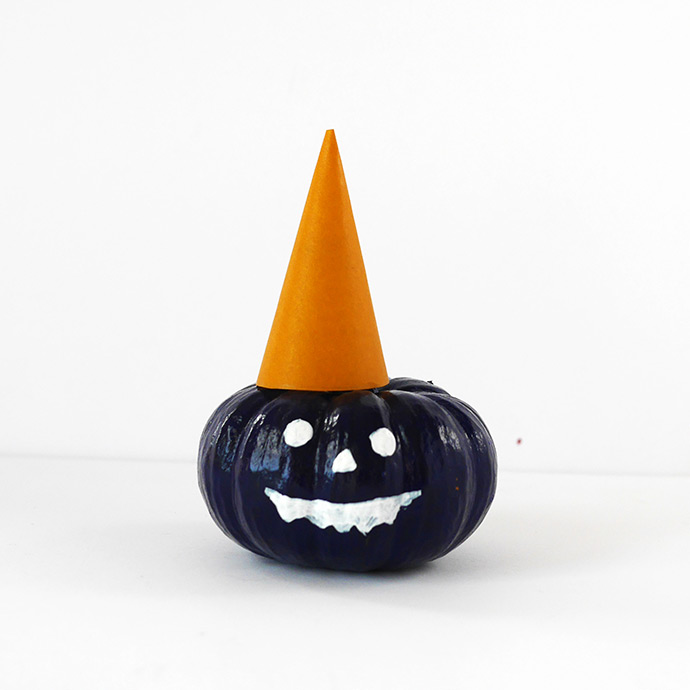
Step 4
Place the party hats on the pumpkins.
Happy crafting!