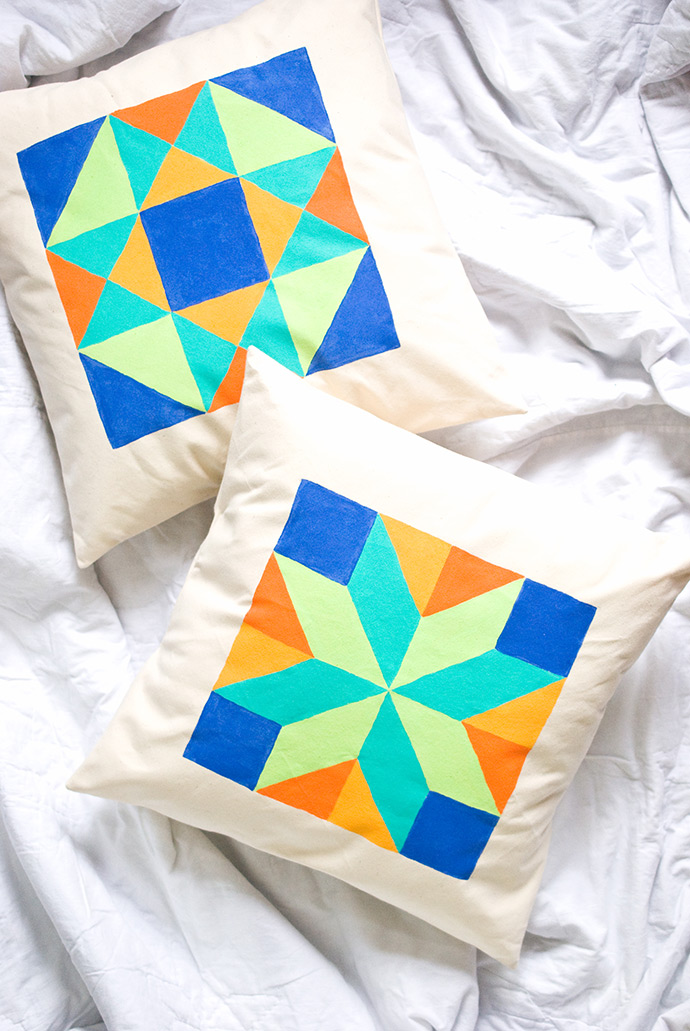
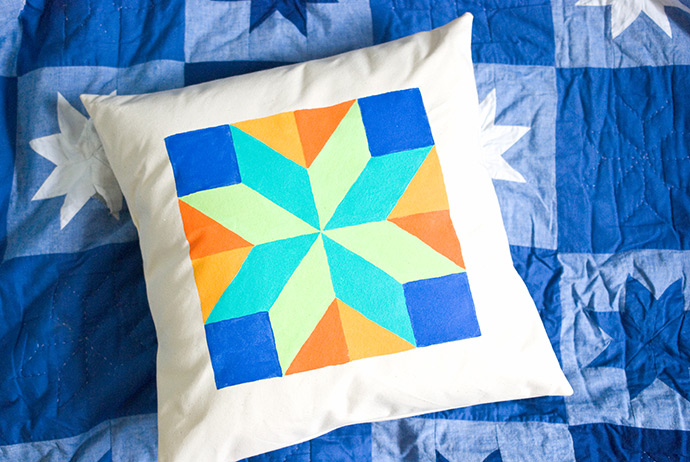
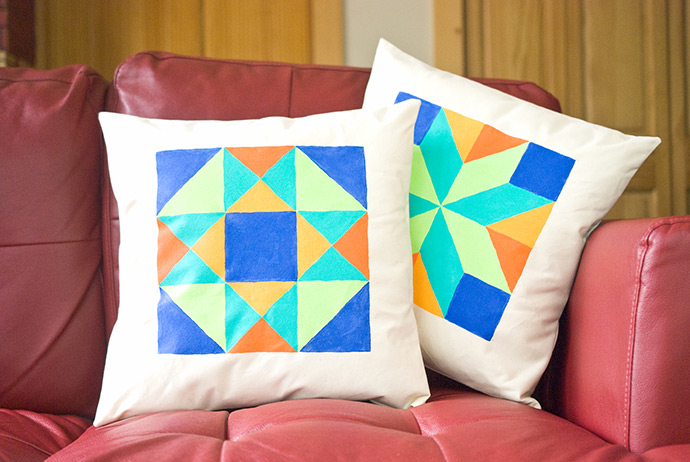
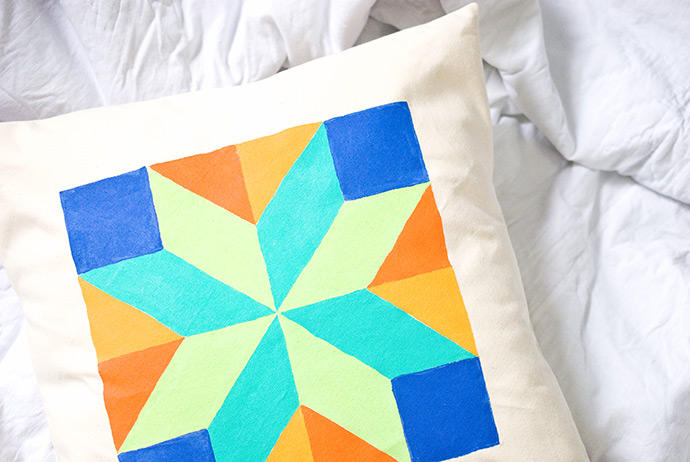
Traditional quilt blocks take on a new look when you make them with paint instead of pieces of fabric! And while this project does require a bit of sewing to form the pillow covers, kids of all ages will enjoy painting in the sections of these classic quilt designs.
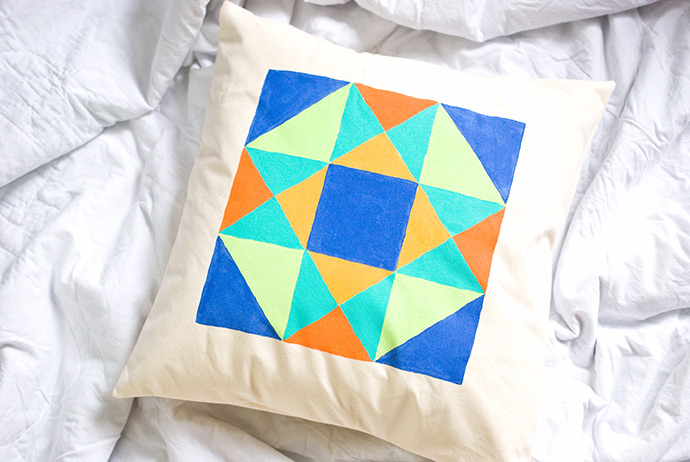
You’ll love displaying their finished masterpieces on your family room couch. Perhaps your kids will even want to show them off on their bed along with a favorite stuffed animal!
Quilters know that when they’re sewing together all the pieces of a quilt, it’s important to be precise. But you shouldn’t worry too much about that when you’re making these quilty pillow covers. If the paint lines aren’t exactly straight or the seams are a little off, it’s totally okay!
what you need:
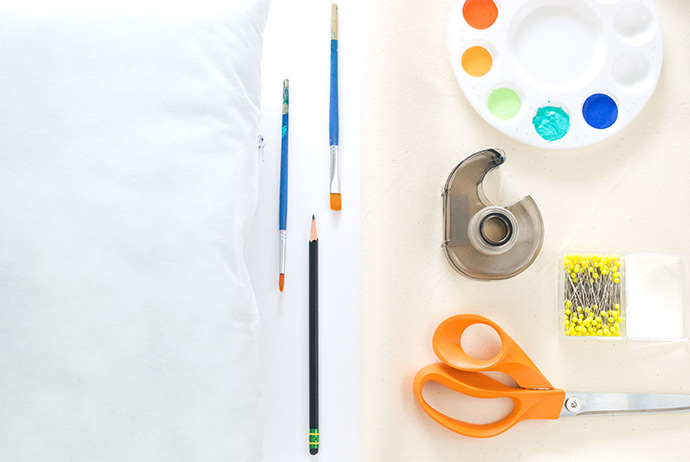
- 1/2 yard heavy cotton fabric, such as canvas (pre-washed and dried)
- Martha Stewart Crafts Multi-Surface Acrylic Craft Paint
- 16in pillow insert
- Tape
- Scissors
- Ruler
- Pencil
- Paintbrushes
- Iron & Ironing board
- Kitchen towel
- Sewing machine
- Basic sewing notions
- Printable quilt block template
Note: makes one pillow
how-to:
Step 1
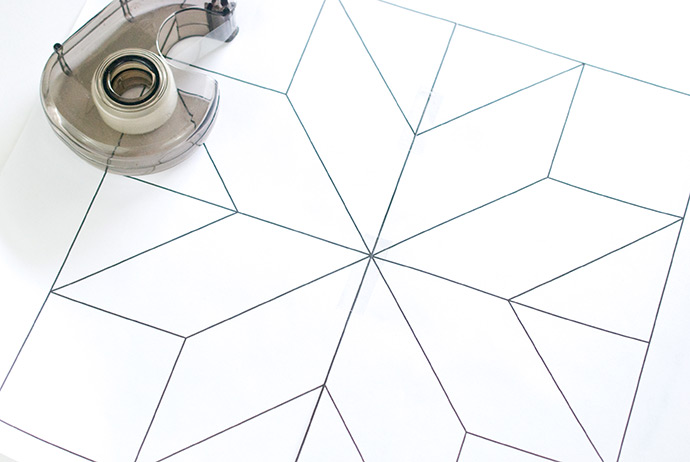
Choose one of the quilt block patterns from the template PDF and print two copies. Cut the left side off of one copy, turn it around so the design matches up with the second copy, and tape it in place.
Step 2
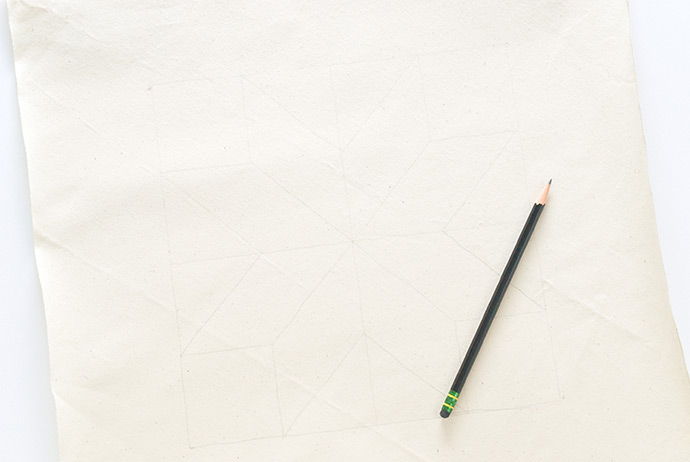
Cut a 17in square of fabric and two 17in x 12in rectangles of fabric. Set aside the smaller pieces until step 5.
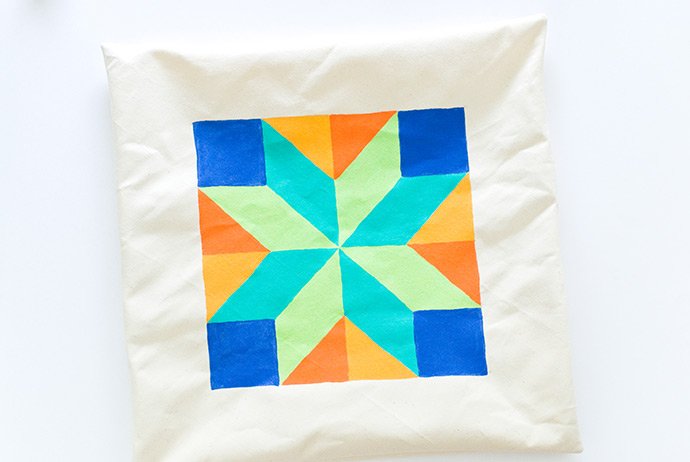
Trace the quilt block design to the center of the square of fabric. A bright window and a sharpened pencil work well for this. Trace carefully and lightly. The lines don’t need to be perfect, but you won’t want a lot of stray lines to cover or remove.
Step 3
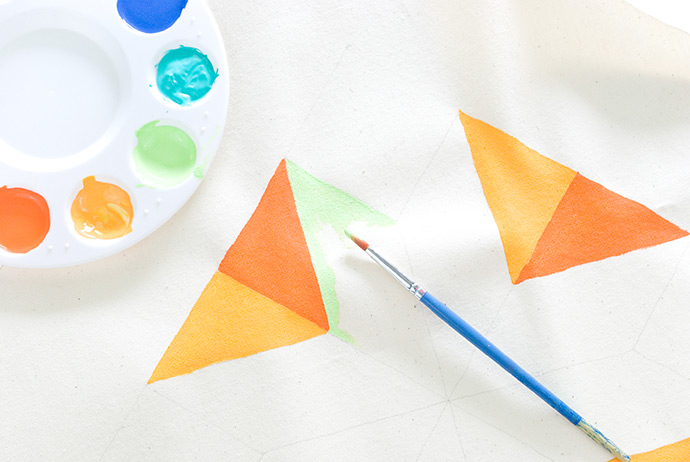
Follow the instructions on the textile medium to mix it with the acrylic paint. This mixture will make the paint flexible and permanent when it drieds.
Start painting in the quilt block design, working on a protected surfaces. Begin with lighter colors, then fill in the darker areas.
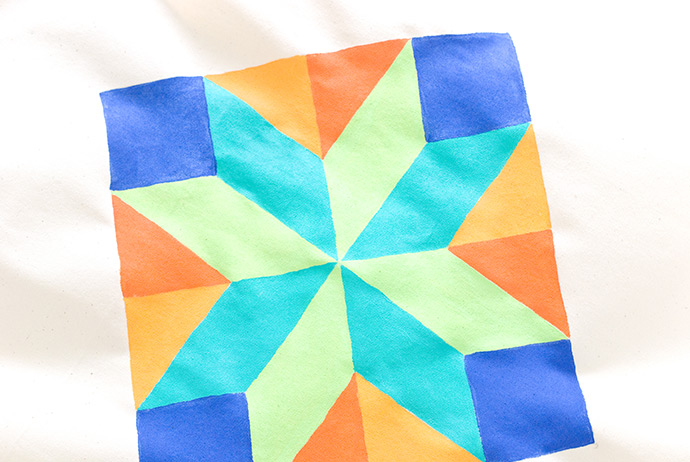
Let the paint dry for a few hours or overnight. The fabric may ripple as the paint is drying. That’s normal, so don’t worry!

Step 4
Once the paint is dry, place a kitchen towel over the design and iron the entire pillow front. This will smooth out the ripples and set the paint to make it permanent.
Step 5
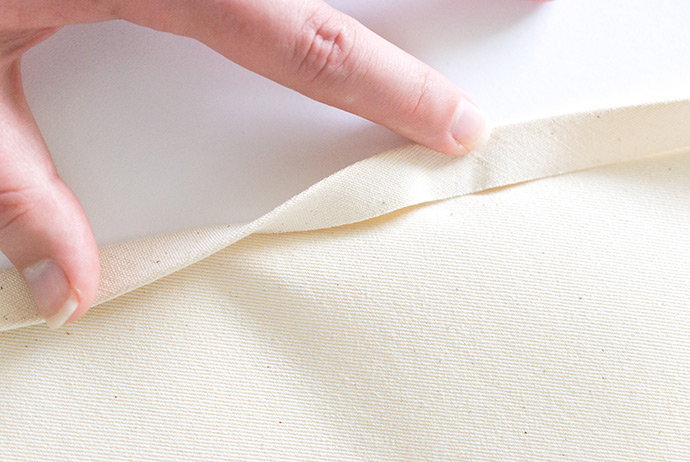
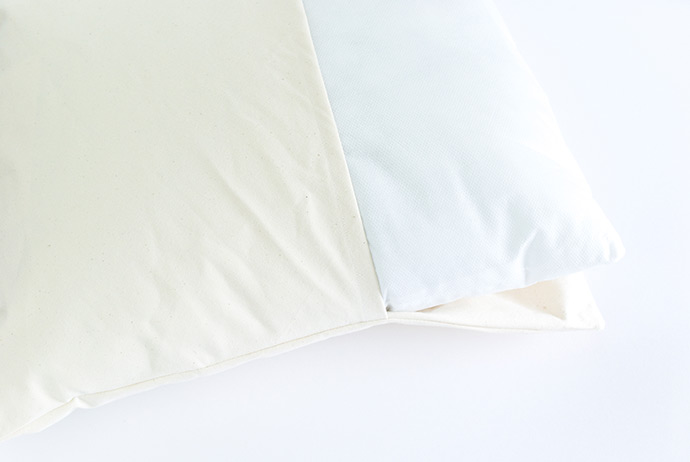
On each of the two smaller pieces of fabric, fold one of the 17in sides in 1/2in and press with the iron. Fold it 1/2in again and press once more.
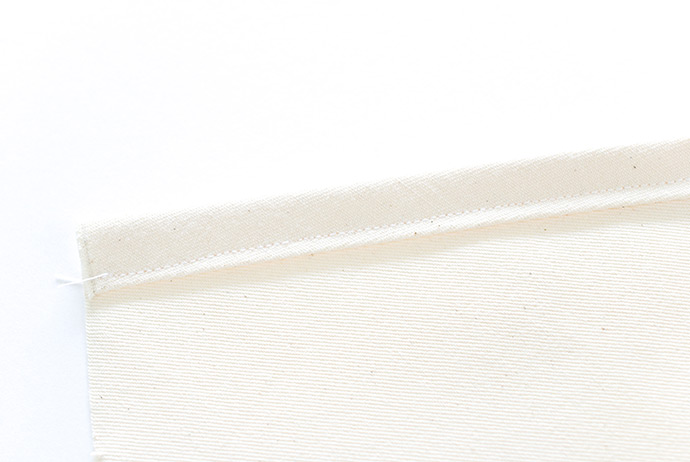
Sew along the folded edge to secure the hem.
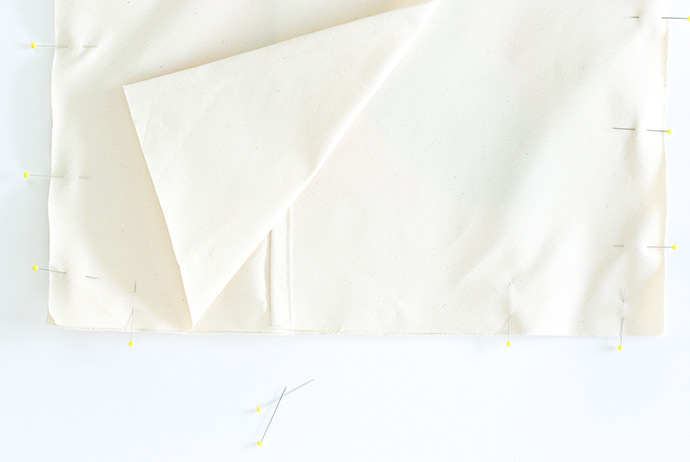
Step 6
Place the two hemmed rectangles right side down on the painted pillow front. The raw edges should match up with the edges of the square and the hemmed sides will overlap. Pin around the four sides.
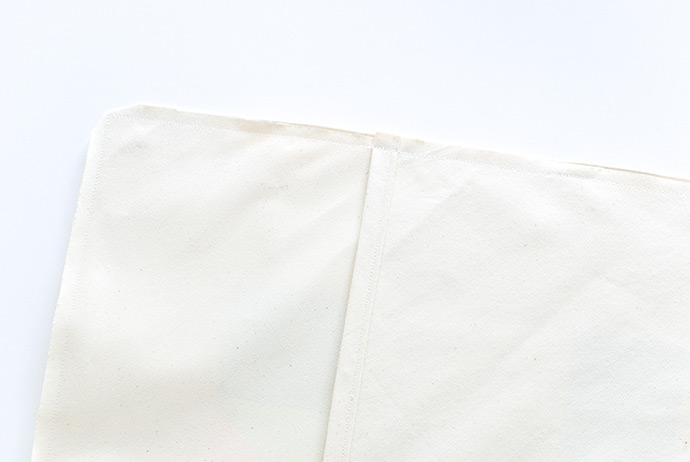
Step 7
Sew around the four sides of the pillow with a 3/8in seam allowance.
Back stitch over the hemmed edges of the back pieces. This will strengthen the seams in an area that will get more stress when the cover is going on and off the pillow.
Trim the corners so there’s not extra fabric that makes the pillow corners bulky.
Step 8
Turn the pillow cover right side out. Use the handle of a paintbrush to poke the corners into shape.
Push the pillow insert into the cover and slide it around until it’s fitting nicely.
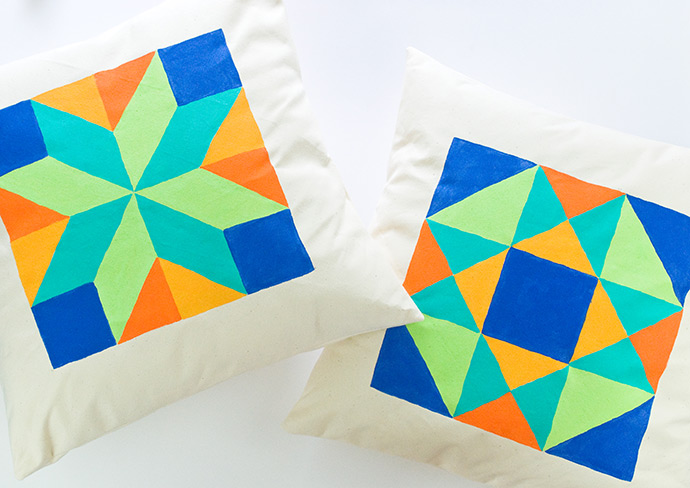
One pillow looks good, but you might just want to make a few pillows for on a bed or sofa! Use similar colors on all the different quilt blocks you paint and you’ll have your own version of a sampler quilt!
Happy crafting!