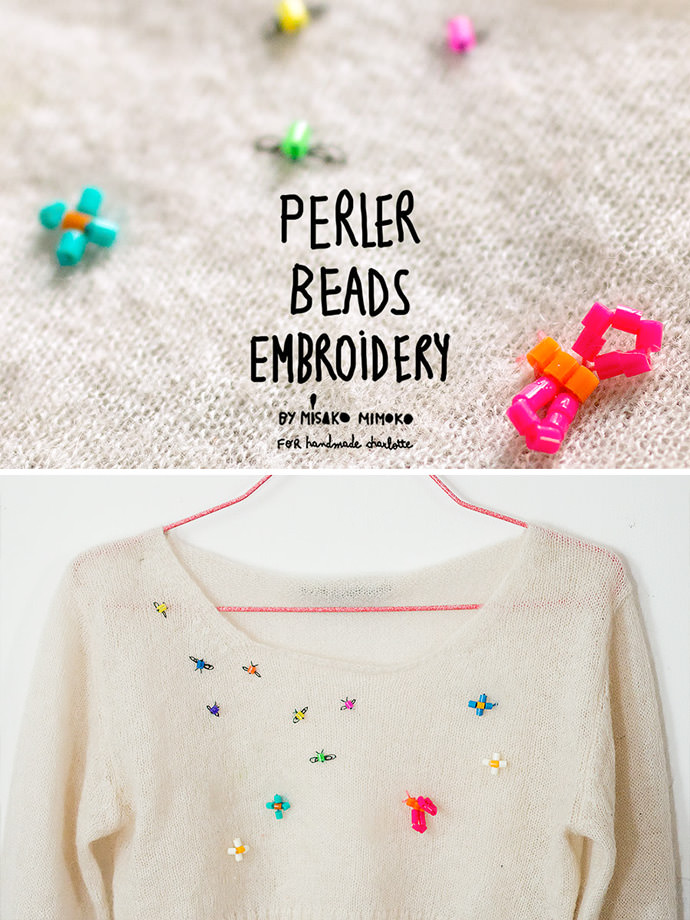
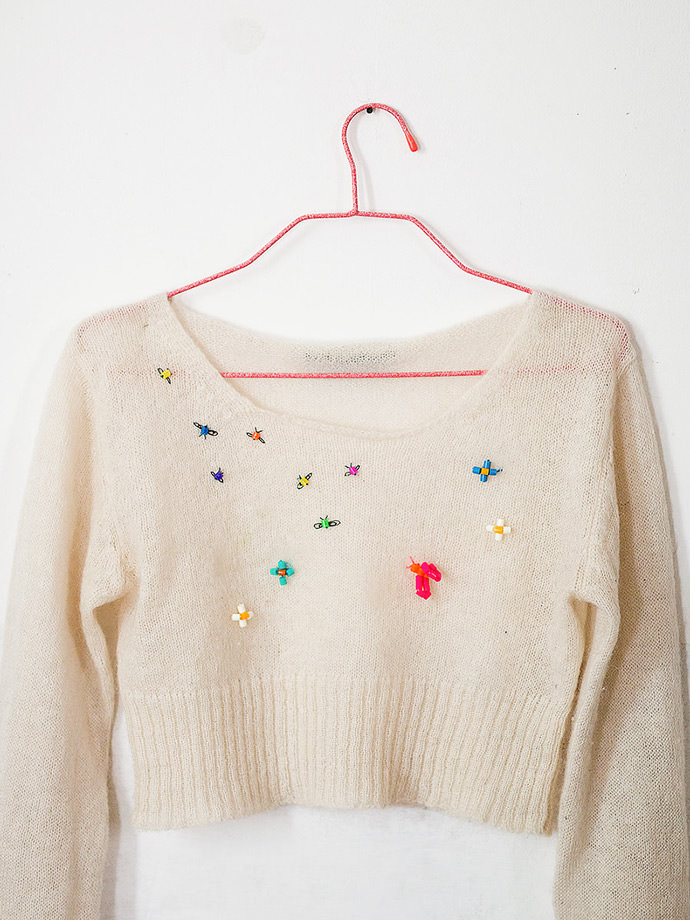
Looking for a fun way to use all of those lovely Perler beads? Stitch them together to create butterflies, flowers, and more! You can follow any cross-stitch or Perler pattern. Make a style statement and customize a sweater, bag, or anything else you can imagine. The possibilities are endless!
This fun sewing activity is suitable for children of all ages. Just grab some fuse beads, embroidery thread, and choose a top, t-shirt, or bag to decorate.
Let’s get started!
What You Need

- Perler beads
- Sweater or top
- Embroidery floss
- Scissors
- Needle
- Water-soluble marking pen
How-To
Step 1
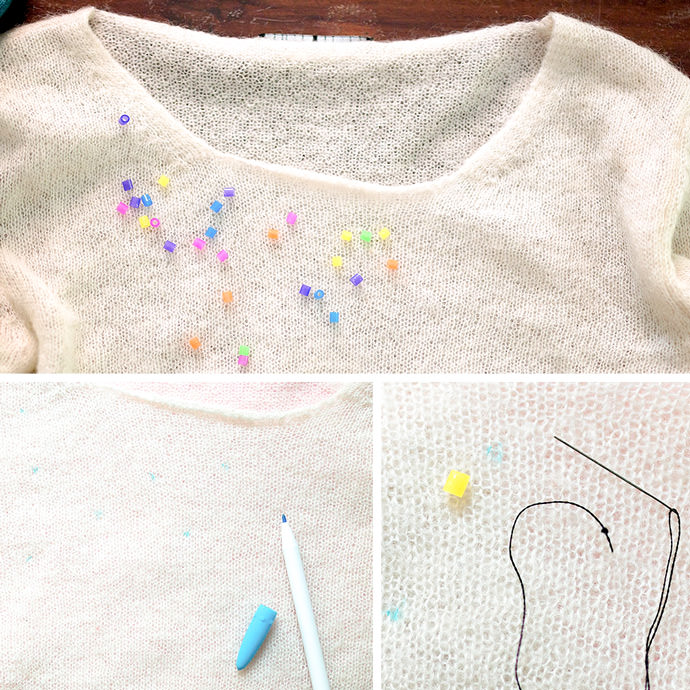
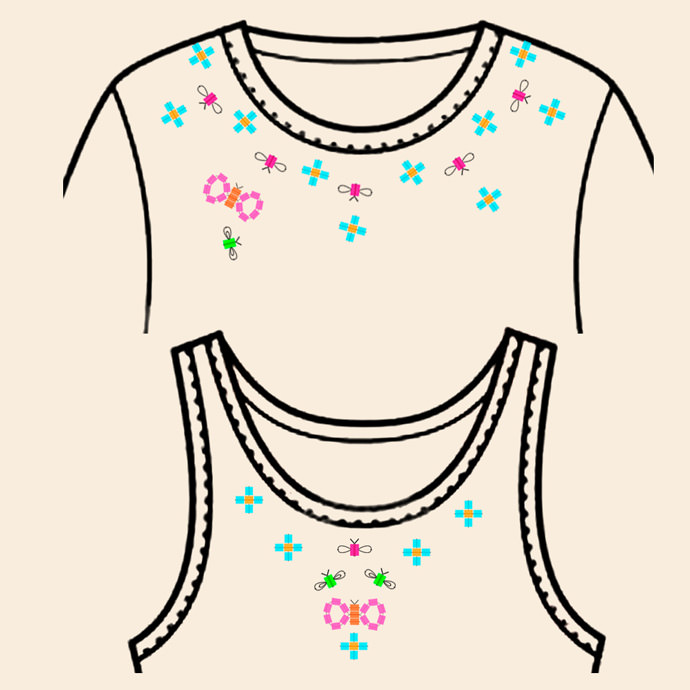
Lay your sweater on a table. Then place some fuse beads on it to get a nice composition.
The most important thing while working on knitted clothes with an open weave is always to poke your needle through the fibers. Don’t use the weaving holes for passing through. This way you’ll fix the position of the stitches better.
Using a water-soluble pen for fabrics, mark the position of each embroidered element. Thread a needle with some embroidery floss. Then tie a knot at the end of the thread and start embroidering. Finish each pattern by passing the needle through the backside stitches several times to fix your embroidery before you cut the thread and start another design.
Step 2
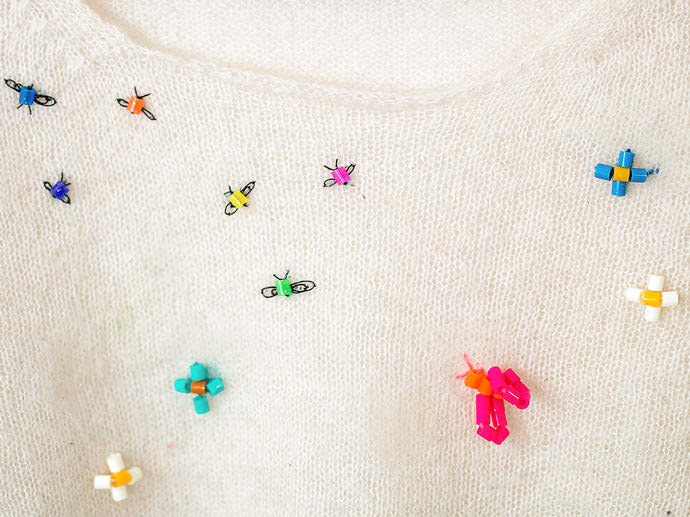
I’ve made three different designs for you to embroider: a flower, two flies, and a butterfly. Work on the bug or flower designs separately. Make sure to finish each element by passing the needle through the backside stitches several times to attach your embroidery before moving on to another design.
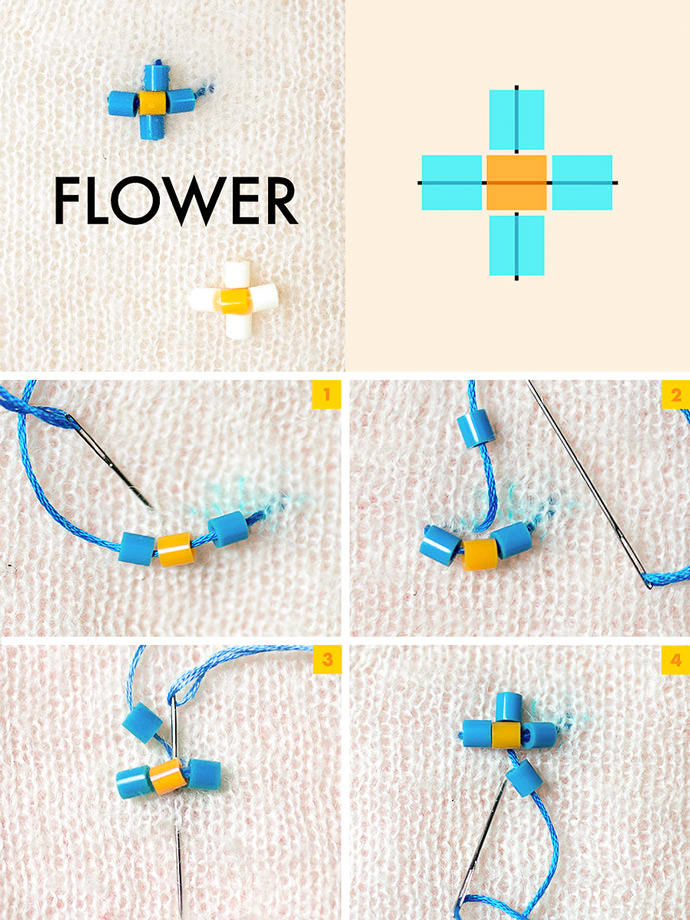
Step 3: How to Make a Flower
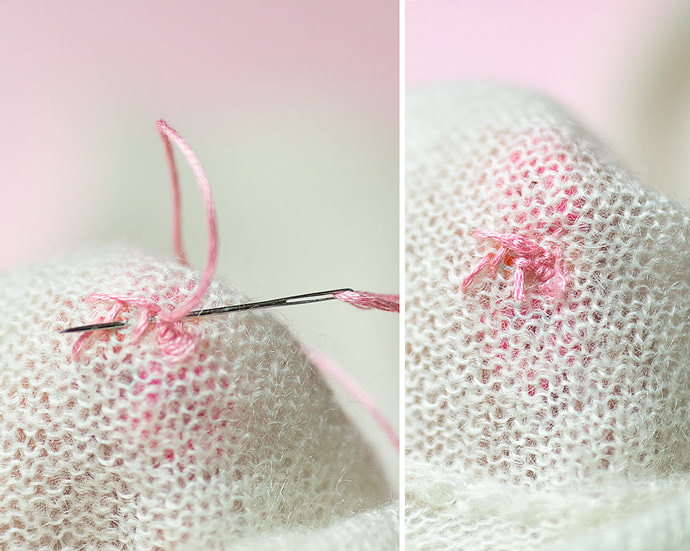
Here’s a simple motif I created from a classic cross-stitch flower pattern. You need five fuse beads and the whole floss (six strands). I used two colors, one for the petals and another for the center.
You’ll fix the beads to the fabric, working with straight stitches.
- Starting on the inside, bring the needle and thread to the front of the fabric. Load three beads: One petal bead first, then the central colored bead and another petal bead after. Pull them along the thread and take the needle and thread to the back of the fabric, creating a straight beaded line.
- Bring the needle out at the middle top of the beaded line and load a bead.
- Take the needle and thread to the back of the fabric to stitch the top perpendicular petal bed.
- Bring the needle out of the fabric in the middle of and below the beaded line. Load the last bead for the bottom petal and take the needle to the back of the fabric to finish.
- Fix the stitches.
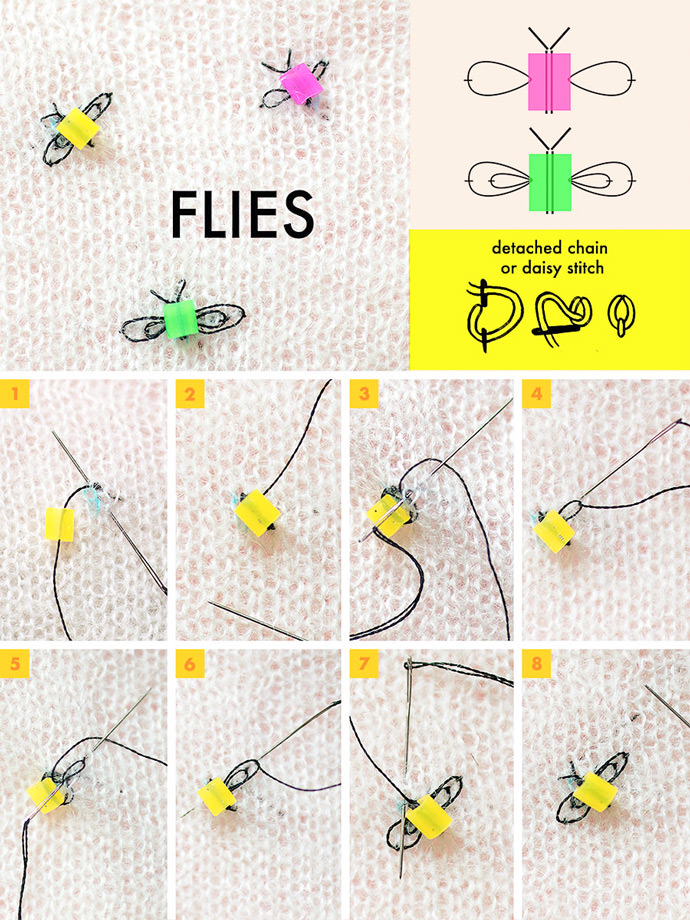
Step 4: How to Make Flies
These tiny flies are so cute and addictive that you’ll want to stitch more than two. You need only one fuse bead and one strand of embroidery thread. Use black floss for a nice color contrast.
Each wing is made with a single detached chain stitch, aka a lazy daisy stitch, or working one detached chain inside a larger one.
The antennas are made using straight stitches.
- Starting on the inside, bring the needle and thread to the front of the fabric. Load one bead and take the needle and thread to the back of the fabric, working a straight stitch to fix the bead to the fabric.
- Bring the needle out at one side of the bead, just in the middle.
- Make a detached chain stitch and with a straight stitch make sure the thread forms a loop underneath the needle.
- Pull the needle and thread all the way through to the inside. Then pass them through the fabric just outside the chain to tie it down, bringing the needle back up at the same place you started working the first detached chain stitch.
- Start a bigger detached chain, so the first chain stitch is inside it, repeating the same process as before to complete the double chain wing.
- Bring the needle and thread out at the opposite side of the bead and work two chain stitches to make the other wing.
- Make the antennas by working two straight stitches aligned with the end of the bead.
- Take the needle to the back of the fabric to finish and fix the stitches.
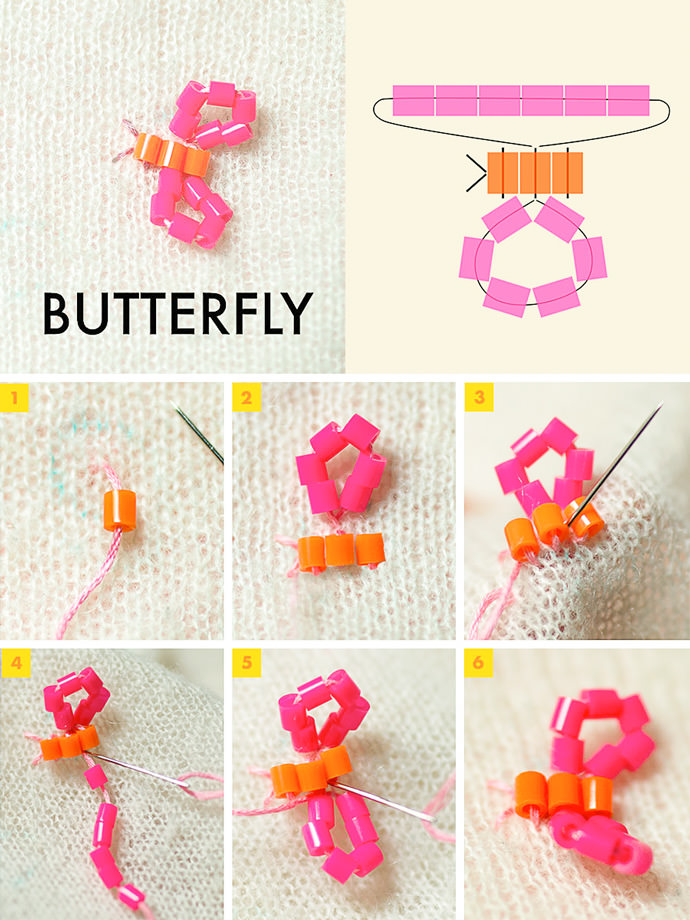
Step 5: How to Make a Butterfly
You need three beads for the body and six beads for each wing. Use the whole floss (six strands) of embroidery thread.
- Start by making the body by adding three beads stitched together separately.
- Stitch two straight stitches for the antennas, aligned to the top end of the body.
- Bring the needle out at one side of the middle of the body.
- Load six beads and poke the needle right where the thread comes through the fabric.
- Pull them along the thread and take the needle and thread to the back of the fabric, creating a beaded loop for the wing.
- Bring the needle and thread out at the opposite side of the body and stitch the other beaded loop wing.
- Take the needle to the back of the fabric to finish and fix the stitches.
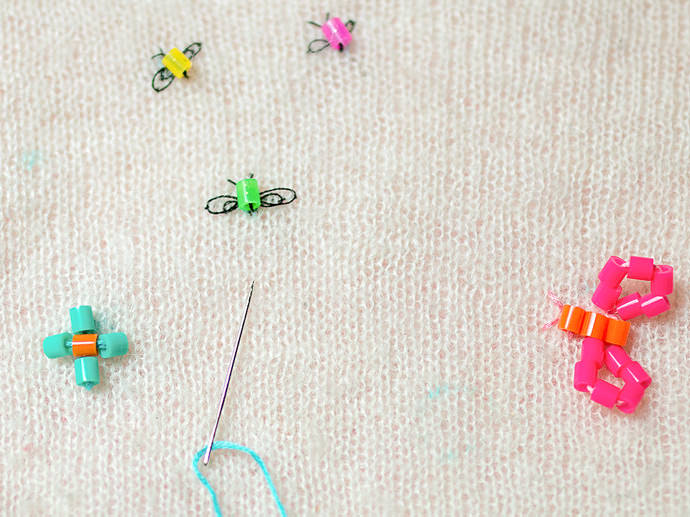
Step 6
Combine fuse bead colors and color threads to give different effects. Compose your own geometric designs or use free ones for each new customization. The possibilities are endless! Hope you enjoy this easy and fun embroidery craft.
Happy crafting!