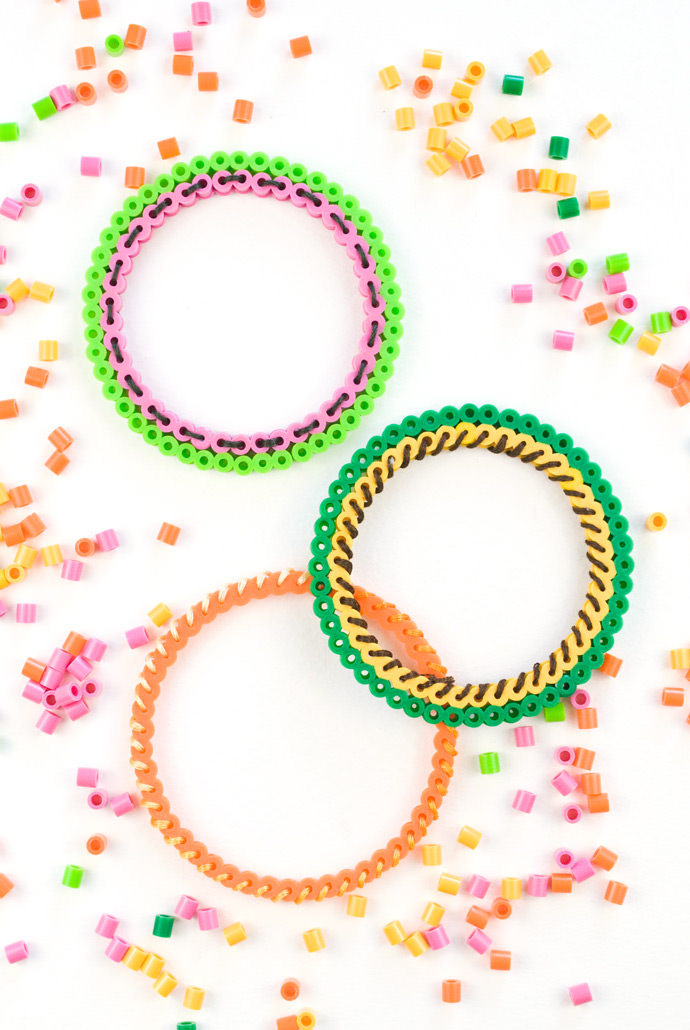
Everywhere you turn, you’ll find fruity goodness. So why not make some fun fruit bracelets to wear your favorite flavors? They come together with Perler beads, and for an extra touch, embroidery floss.
First you’ll need to select a fruit as your inspiration. Look for the colors and elements that you can apply in an abstract way.
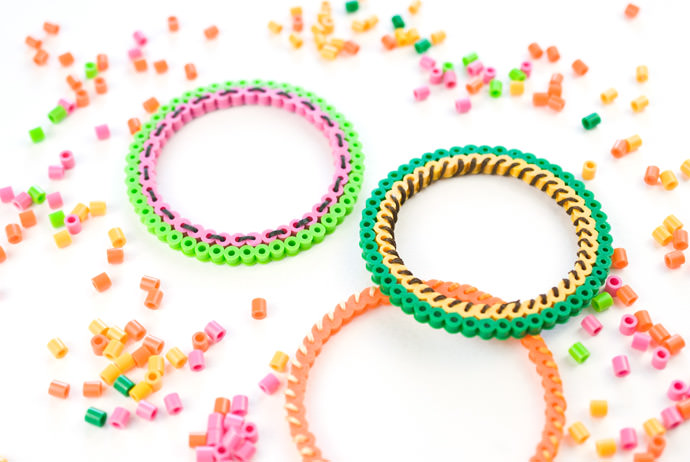
For example, a pineapple has green at the top, yellow on the inside, and some brown points on the outside. Green and yellow beads and a wrap of brown embroidery floss bring those elements to the bracelet.
Pull out those Perler beads and start making your new accessories!
What You Need
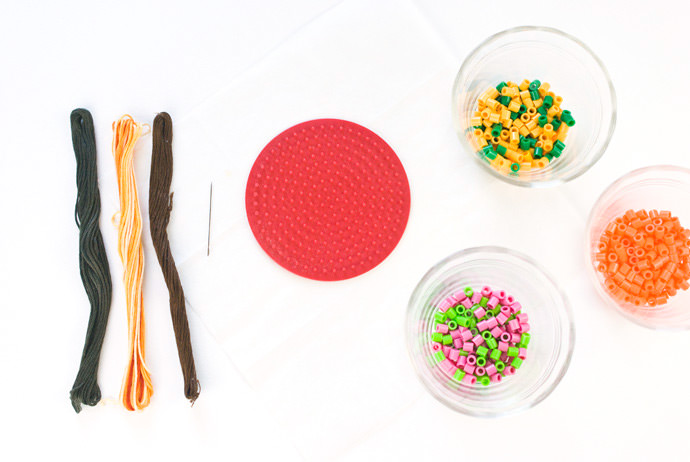
- Perler Beads or other fuse beads
- Circle board
- Iron
- Embroidery floss
- Large needle
NOTE: Circle boards come in different sizes. The one shown here is small, but still larger than some. To make a bracelet that fits, it should be able to make a circle that has 48 beads around. You may need to use a large board to achieve this.
How-To
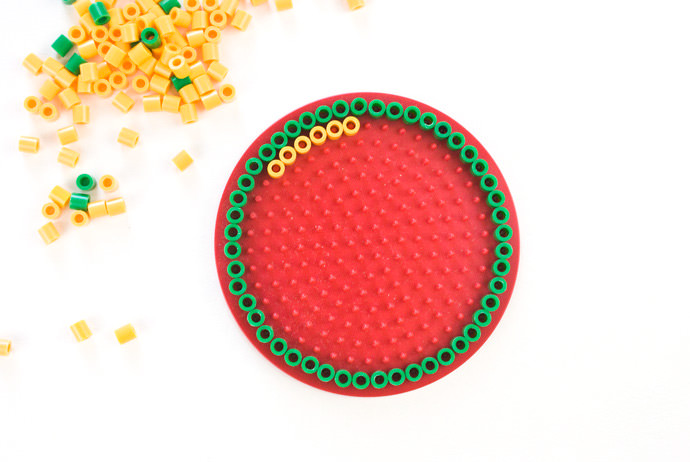
Step 1
Choose some fruity colors of beads and make two rows around the board. This one will have a pineapple flair.
For a small bracelet, make the outside of the bracelet on the row with 48 beads, and the second row just inside. For a large bracelet, make the inner row to have 48 beads and add the second row on the outside.
Step 2
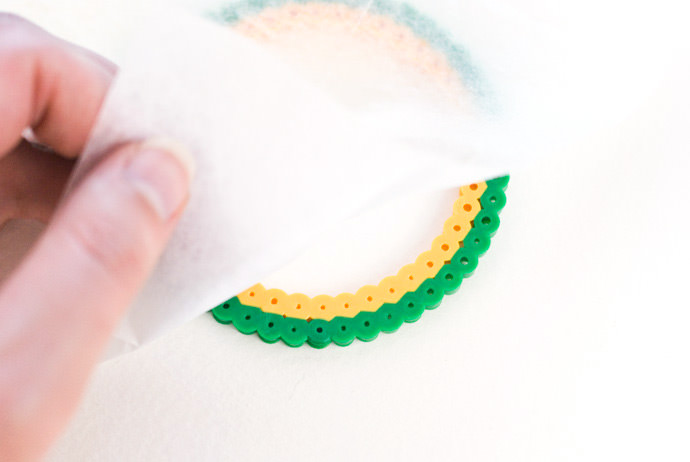
Place the ironing paper that came with your beads over the board. Set your iron to a medium setting. Gently iron the beads, keeping the iron moving in a circular motion.
Check the progress every few seconds. The beads should fuse along the edges, but not so much that the hole in the center closes up.
Let the beads cool for a minute, then carefully peel away the paper. Flip the bracelet over, place it on your ironing surface, and repeat to iron the second side.
Step 3
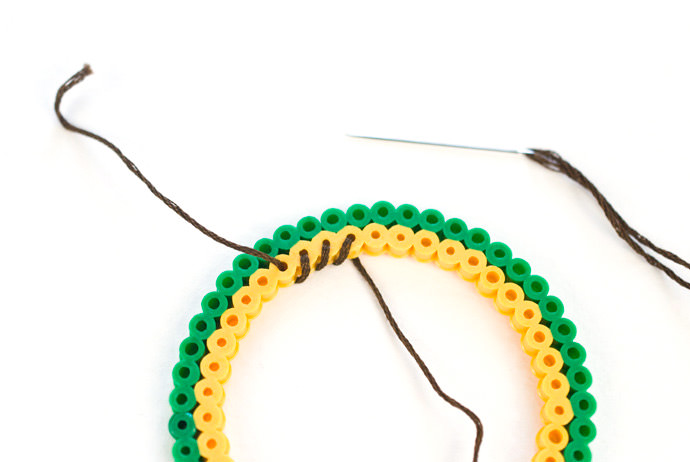
Thread a 36-piece of embroidery floss through the needle. Choose a color that complements or adds to the fruit you’re using for inspiration. Draw the needle through one of the holes of the bracelet. Leave a tail that is about 3 inches long, and then start stitching through the beads.
Wrapping on the outside is a little easier, but adding the brown to the yellow section here gives it more of a pineapple feeling.
Step 4
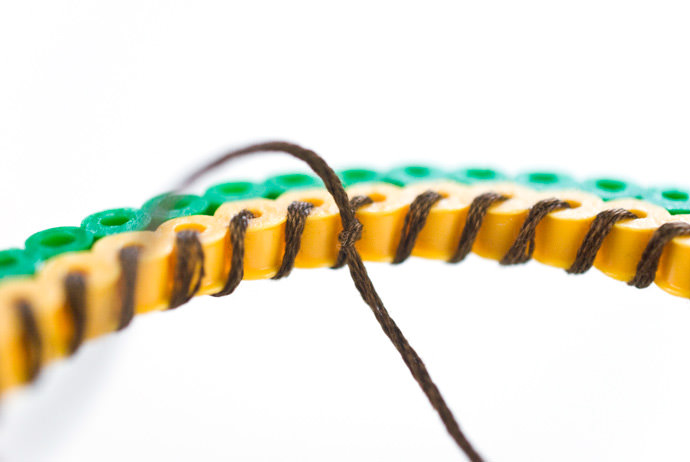
When you have stitched around the bracelet and reach the first bead, tie the ends together with a strong knot. Trim the ends.
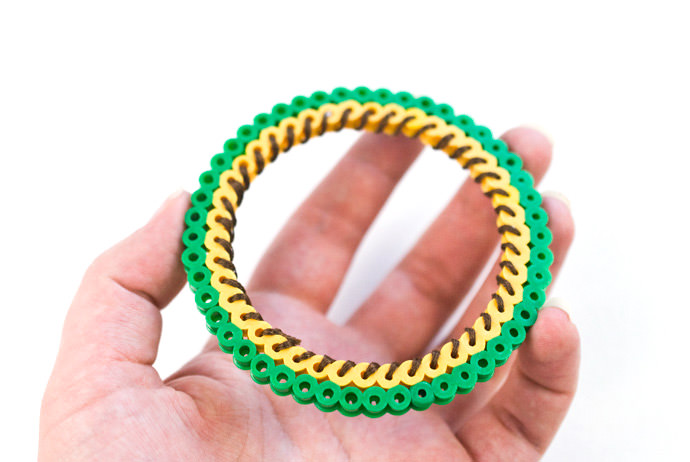
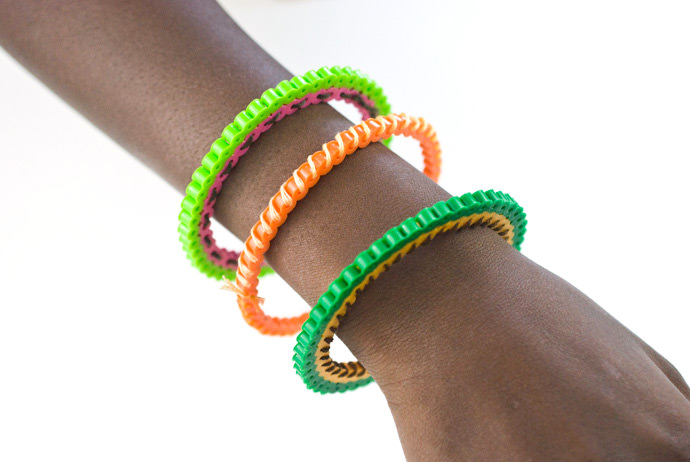
Your bracelet is =ready to wear! This is a smaller size, and fits a child. But it can still fit an adult with small hands if you carefully slide it on.
Take care not to push or pull on these bracelets too much, not matter what size you are making.
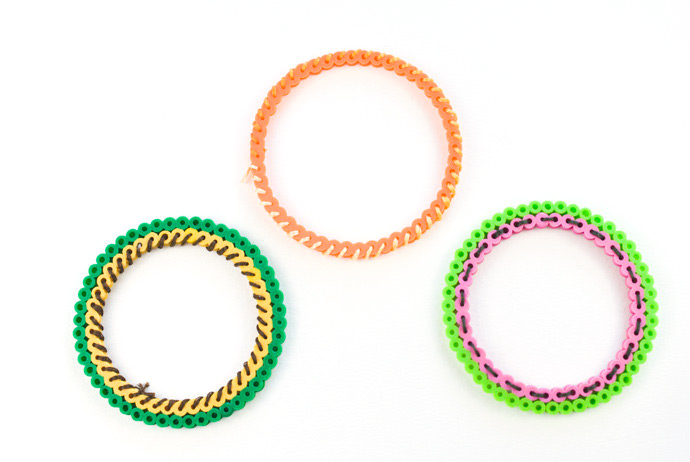
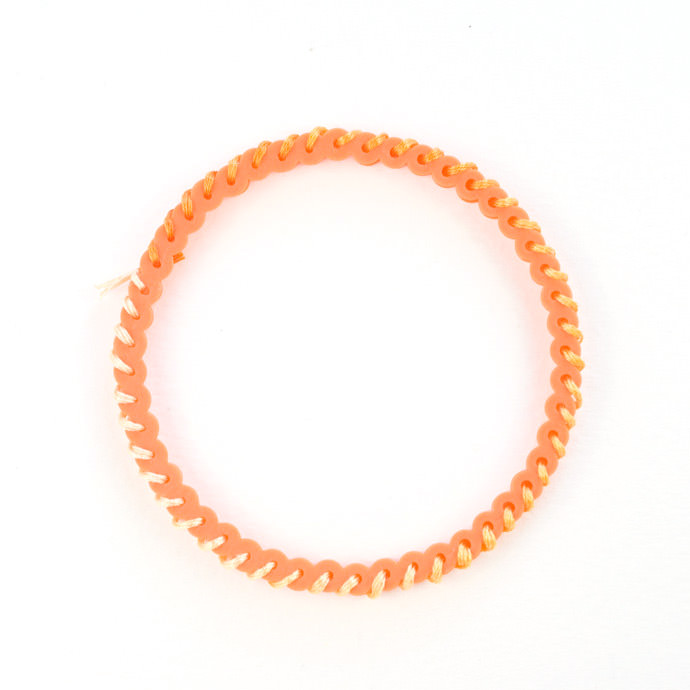
Now you can start making other kinds of fruit bracelets! The orange bangle is just one row (in the larger size) which means less beads. To add extra dimension, you can try variegated floss.
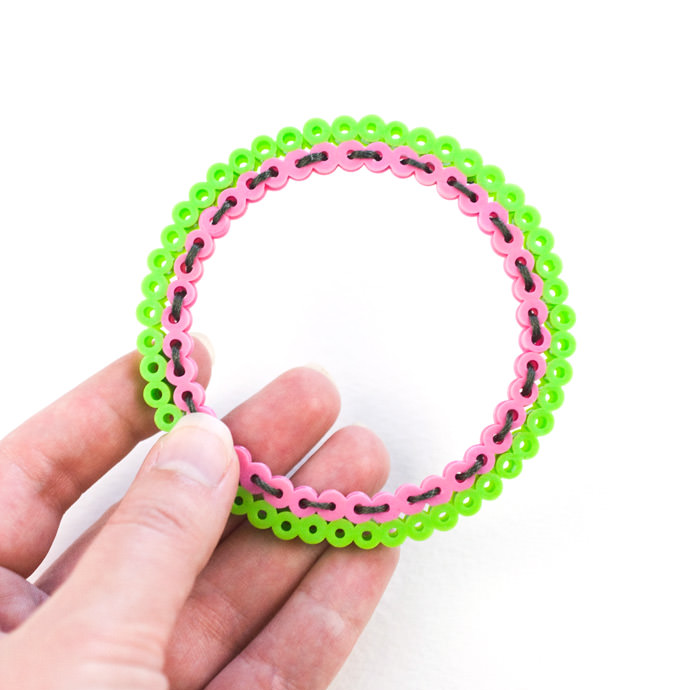
For this watermelon bracelet, the stitching goes back and forth through the beads. The result looks a bit like seeds!
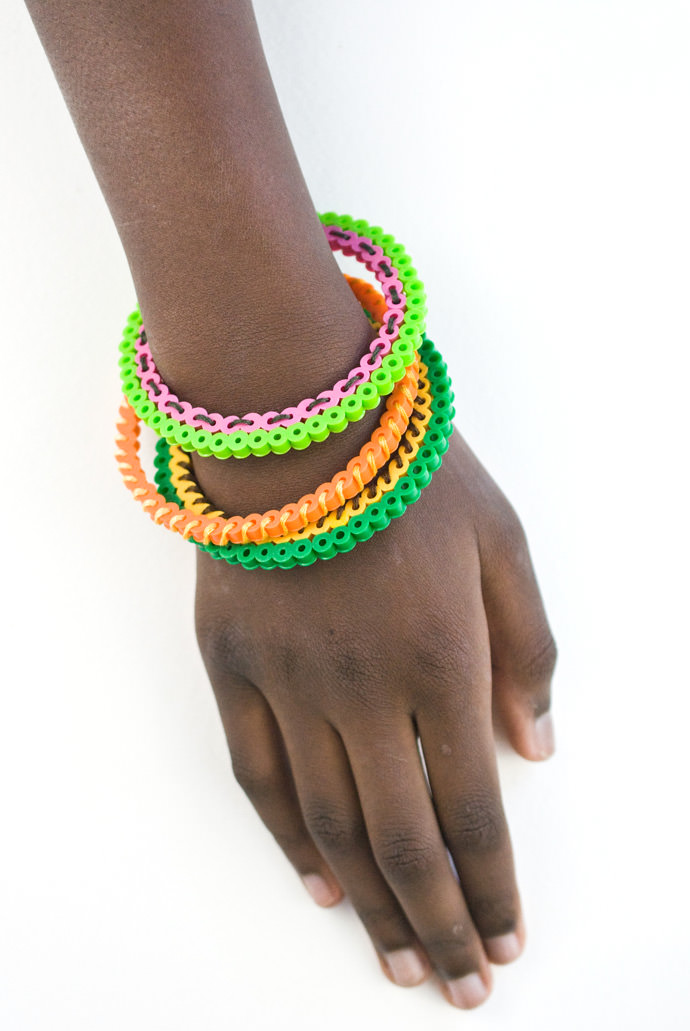
Make bunch of them and you can wear a whole fruit salad on your arm!
Happy crafting!