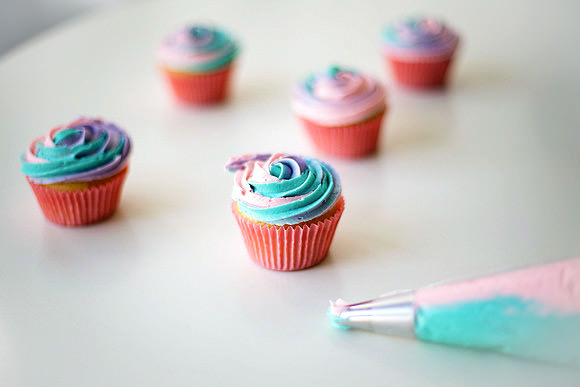
Rainbow parties are all the rage these days. Ever wondered how cake decorators manage to get three colors into one cupcake swirl? I’ll show you how in this rainbow rosette piping tutorial!
I love how you can adjust the colors that make up your rainbow to match any theme. These pretty pastel shades would be perfect for a little girl’s tea party birthday and would rule the table at an Easter brunch, too.
Woot woot! Cupcake party train comin’ through!
What You Will Need
- 1 dozen baked and cooled cupcakes
- 1 batch of vanilla buttercream divided into three bowls
- Pink, purple, and blue gel food coloring
- 1 piping bag fitted with an open star 1M tip (or equivalent)
- 1 liter yogurt container
- Spatula
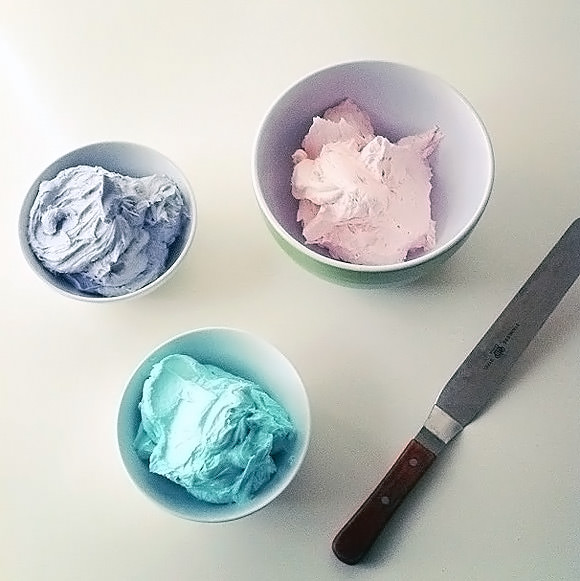
Step 1
Divide your buttercream into bowls. Using a touch of gel food coloring, tint each of the three buttercreams a different shade, mixing it with a spatula until it’s tinted.
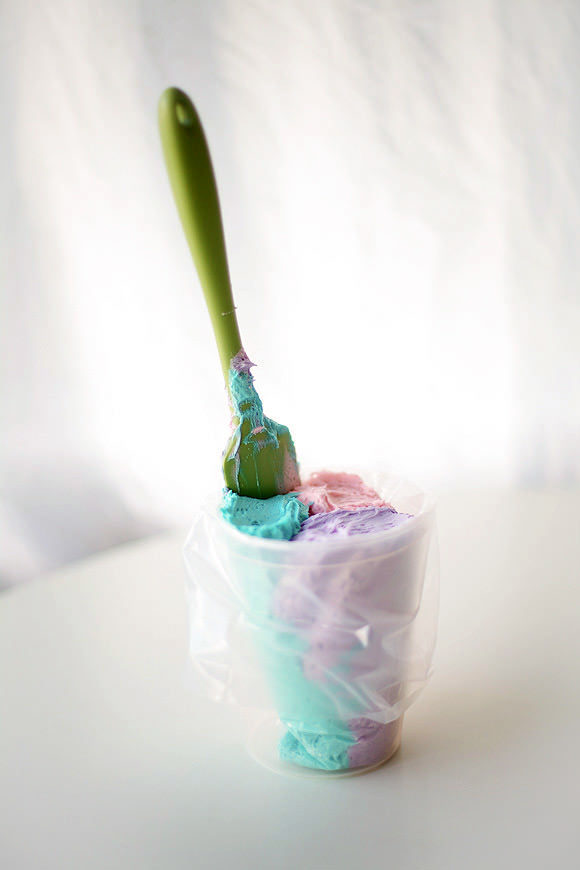
Step 2
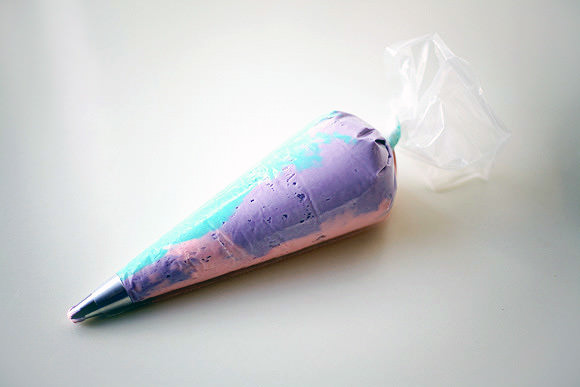
Fold the edges of your piping bag open over the edges of the yogurt container. This will make it easier to fill your piping bag. Using your spatula, place the pink buttercream vertically in a 1/3 of the piping bag (as shown above). Next, place some blue buttercream in the piping bag, and finally, insert the purple buttercream. Don’t worry too much about perfectly dividing them into thirds as the colors will all run together once you start piping anyway.
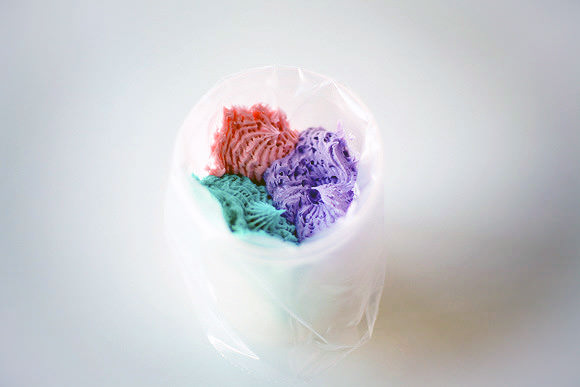
A view from above—our colors all nestled into the piping bag!
Step 3
Remove your piping bag from the yogurt container and twist the end. Squeeze the piping bag, letting the colors run. You can test this on a paper towel or a plate. Okay—you’re all set!
Step 4
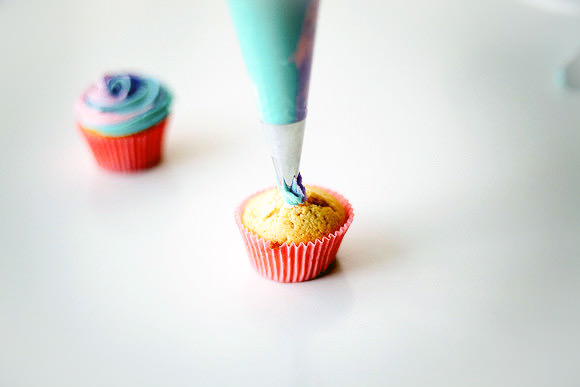
We’re going to pipe the rosette swirl. Basically we’re making a counter-clockwise swirl on the top of the cupcake. Start in the center of the cupcake and start piping.
Step 5
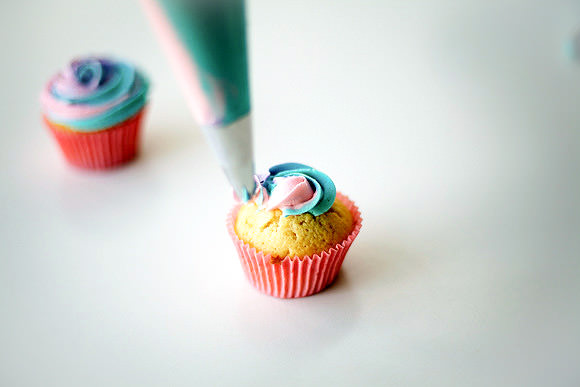
Continue piping in a counter-clockwise motion. This is the first rotation.
Step 6
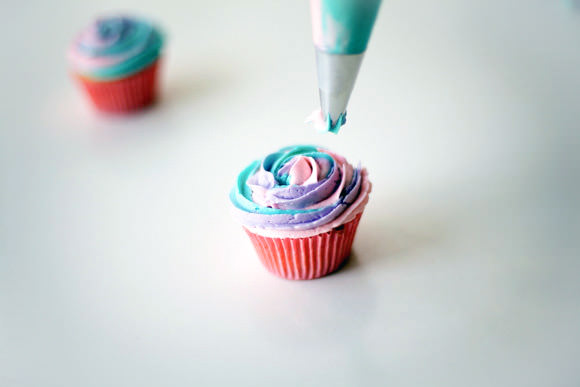
Continue piping a second rotation, pulling away quickly. This should all be done in one fluid motion—practice makes perfect!
You just piped a pastel rainbow rosette! Good job!
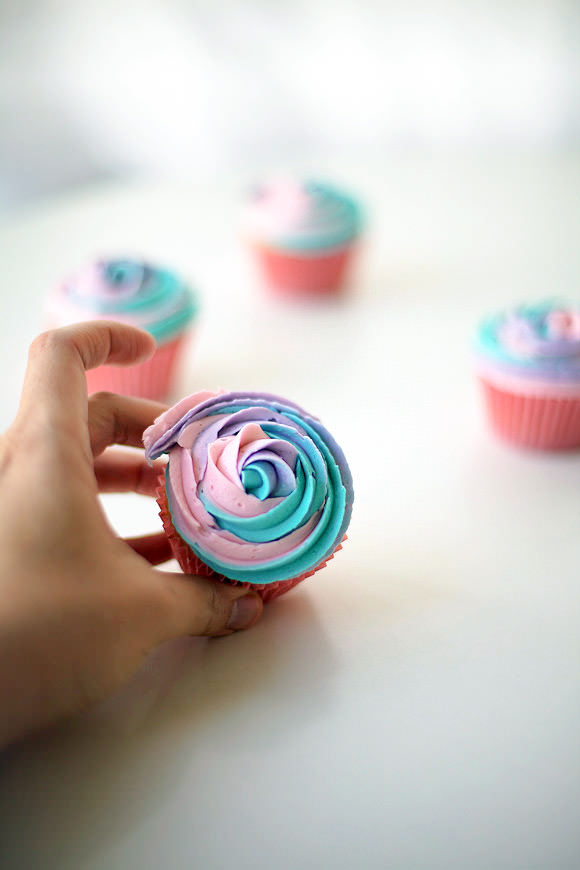
Now keep on piping those beauties and get all excited to serve up the cutest pastel rainbow rosette cupcakes ever!

Hope you enjoyed this piping tutorial. Let me know how it works out for you!
See you soon with another cakey fun DIY!