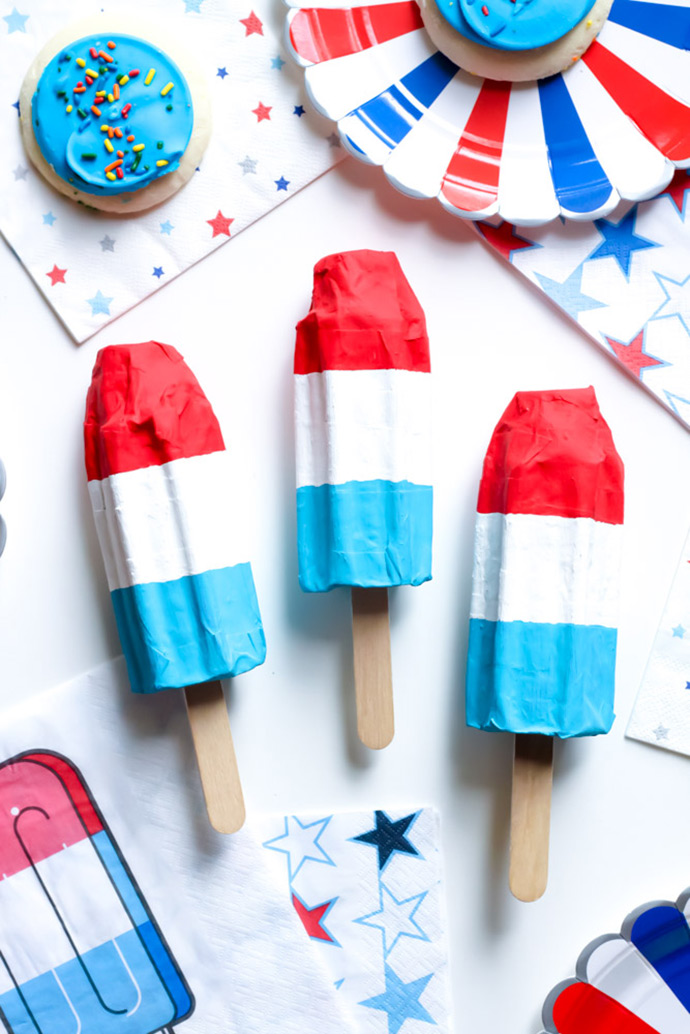
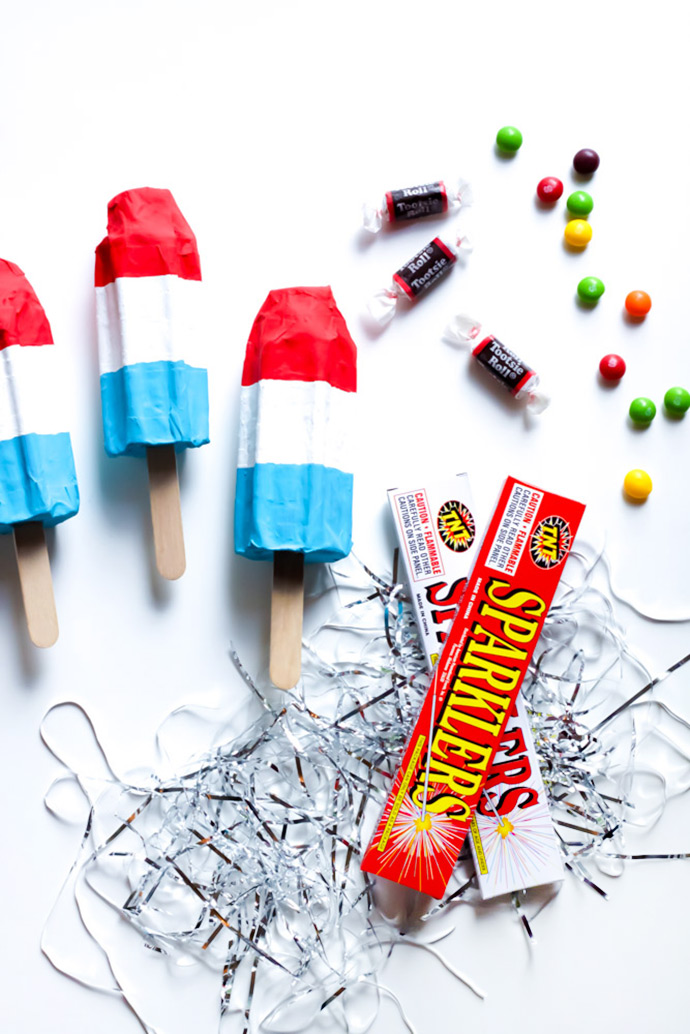
I have to say that my second favorite holiday has to be the Fourth of July! Christmas is definitely first, but the Fourth isn’t far behind. My parents live in a neighborhood directly across from a river where they shoot off fireworks, so it’s an annual tradition for my mom to host a big cookout with family and friends. We walk down to the river at the end of the night for the best fireworks ever!
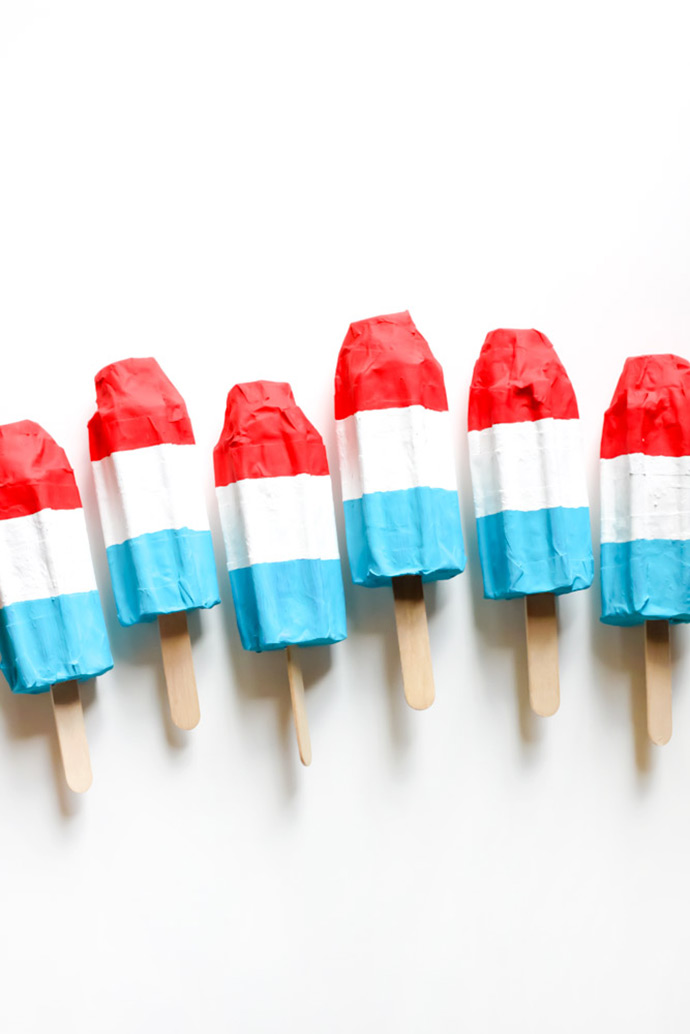
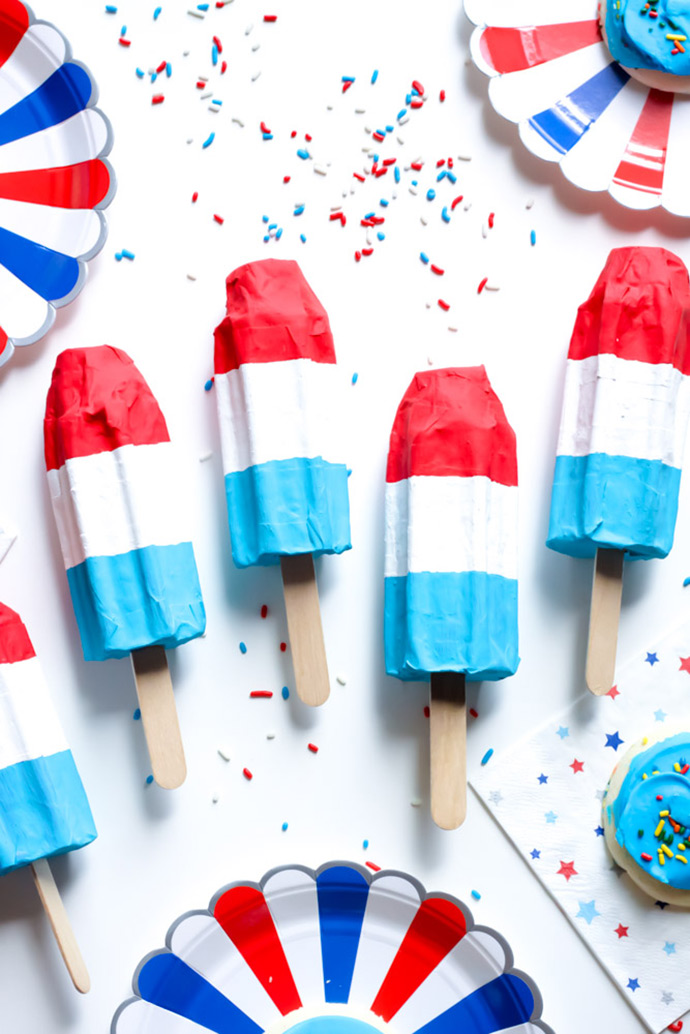
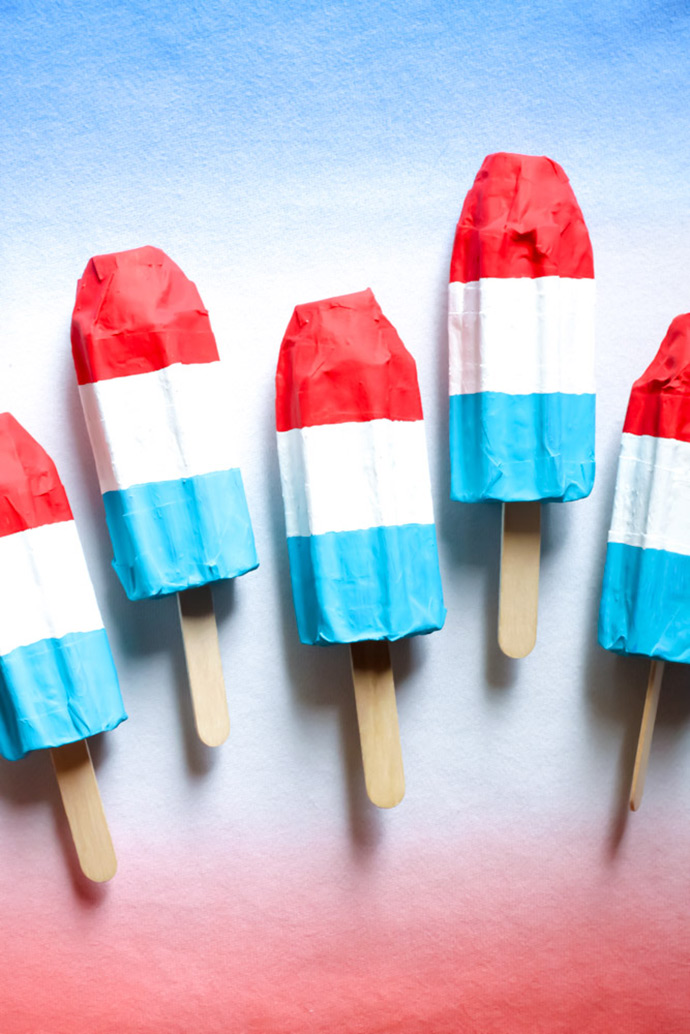
I am feeling extremely sentimental this year, because my parents are getting ready to put my childhood home on the market, and this will probably be the last time they host the Fourth in that house. Boo-hoo! Anyway, I decided that I want to bring some extra-fabulous goodies to the celebration this year, and go out with a “bang”, at our last annual cookout. My kids love the classic rocket pops, so I thought it would be fun to create some using paper mache and fill them with holiday prizes and candy. They’re almost too cute to bust open, so another option would be to turn them into a reusable garland!
what you need:
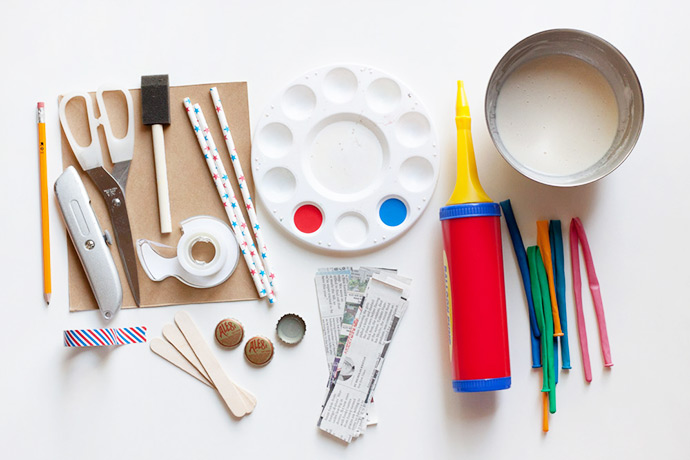
• Twisty balloons
• Newspaper strips
• Paper mache paste (1 cup flour, 1 cup water)
• Paper straws (3 per popsicle)
• Wood craft stick (4 ½” x 9/16” x 1/12”)
• All-purpose glue
• Balloon pump
• Bottle caps
• Pencil and/or permanent marker
• Tape
• Washi tape
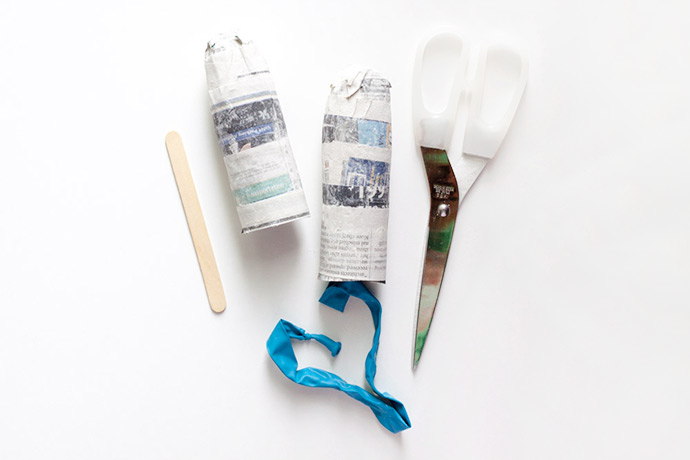
• Scissors
• Cardboard
• Sponge brush
• Box cutter
• FolkArt Acrylic Paint (red, white and blue)
• Small prizes or candy
• Drying rack or wax paper (not pictured)
how-to:
Step 1
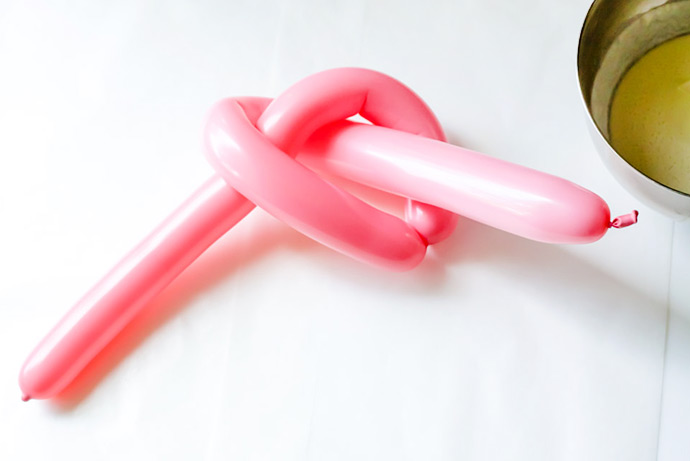
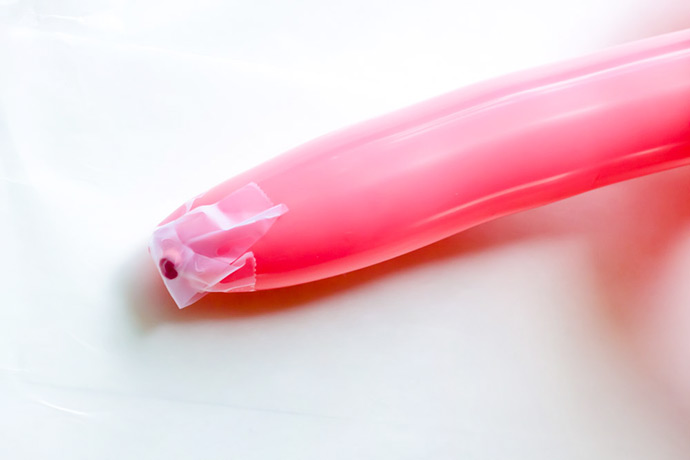
Use a balloon pump to blow up your twisty balloon, and tie a knot at the end when it is fully inflated. Squeeze the top of the balloon a bit to make it more narrow, and tape down the tip if it becomes deflated. Tie the balloon in a knot if you would like to make it more compact, and easier to paper mache.

Step 2
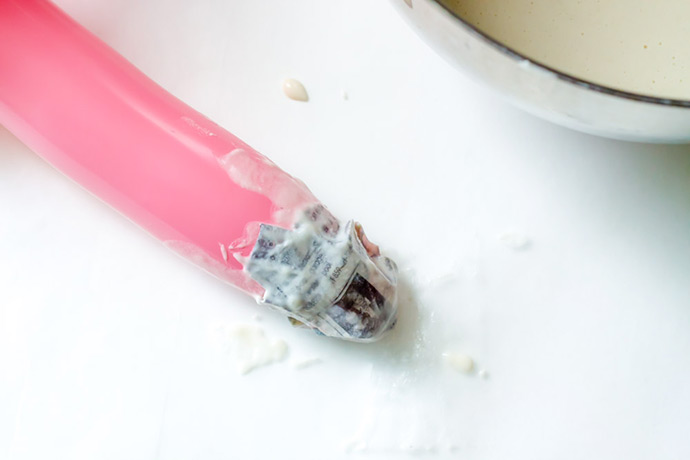
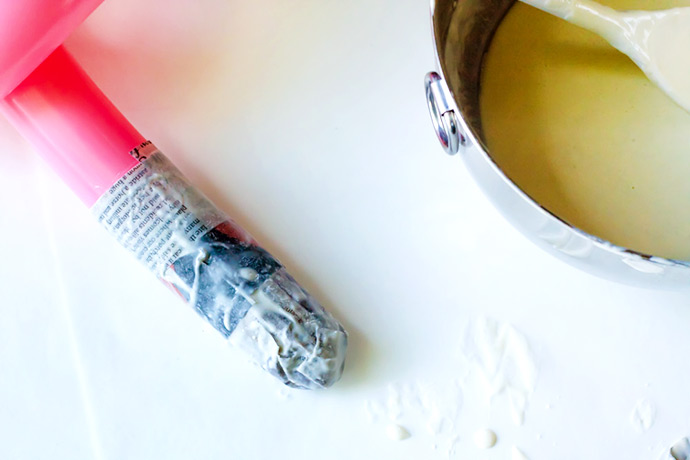
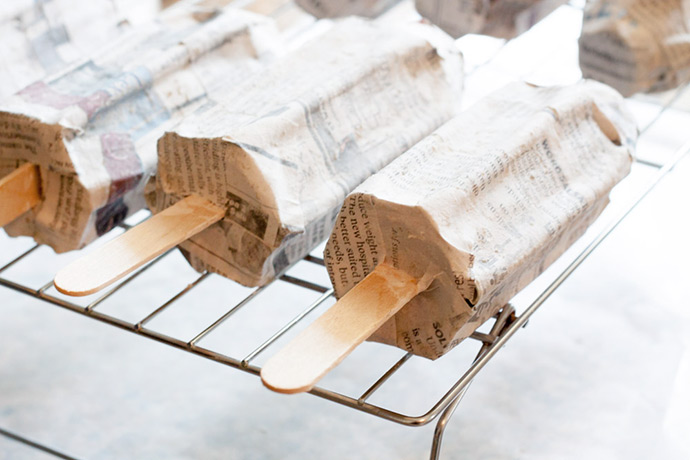
Dip a newspaper strip in your paper mache paste until it is completely immersed, then slide two fingers over the strip from the top to the bottom to wipe off excess paste. The strip should be damp, but not dripping. Now place the damp newspaper strip over the top end of the balloon, and repeat this step with another strip of newspaper. Place the second strip perpendicular to the first over the top of the balloon. Once the two strips make an “x”, use your fingers to smooth them onto the balloon, and make them lay as flat as possible. Continue to use newspaper strips dipped in paper mache paste to wrap around your balloon, starting at the top. The balloon should be completely wrapped from the top, to about 5-6 inches down. Use a paper towel to wipe off excess glue at the end so the newspaper will dry more quickly. If you have a drying rack, lay the covered balloon on that to dry. If not, wax paper works too.
Step 3
Allow your balloon to dry for about 24 hours, and then repeat step 2 to create a second layer. Once the second layer is dry, cut the balloon, and it should easily slip out of the dried newspaper.
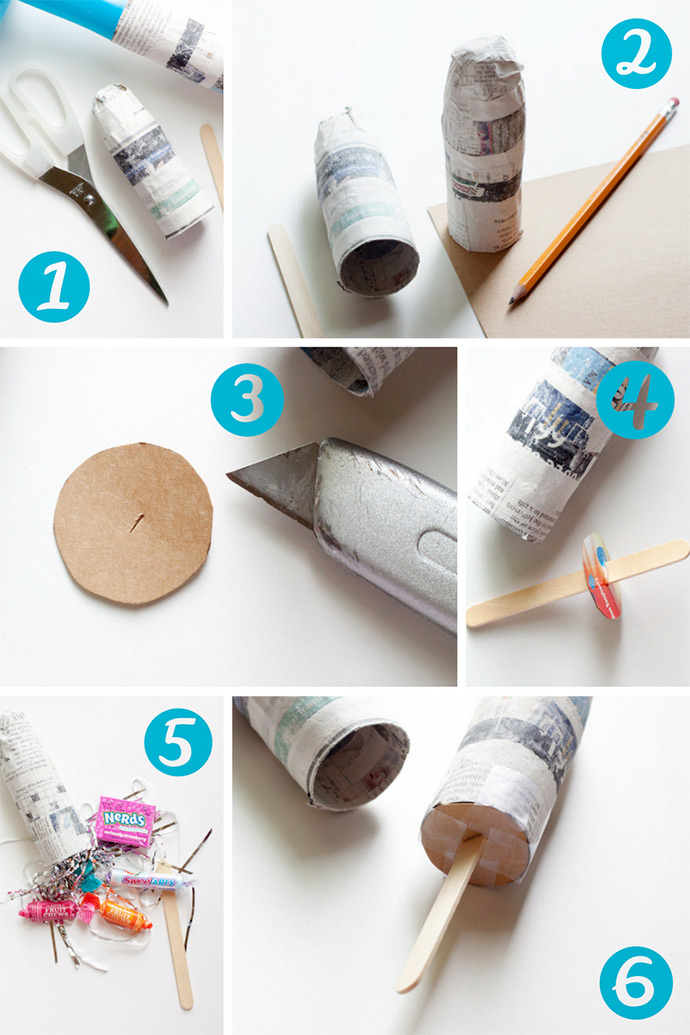
Step 4
Use scissors to cut down the popsicle on the end to even it out if needed, and to make sure all of your popsicles are the same length. Trace the circular bottom edge of the newspaper popsicle onto a piece of cardboard. (I used a cereal box.) Cut out the circle, and use a box cutter to make a small slit in the very center. Slip a wooden craft stick through the slit, leaving about 2 ½” sticking out. Fill the popsicle with small prizes or pieces of candy. Now slip the other end of the craft stick into the popsicle, and tape the circle to the bottom.

Step 5
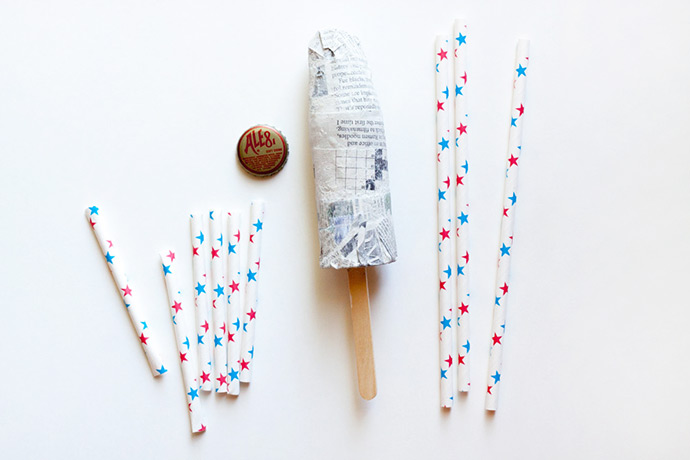
Cut three paper straws in half, and squeeze each end of the halves together, until every end is as flat as possible. Use a pencil to mark six evenly-spaced dots on the bottom of the cardboard circle around the perimeter. Glue the paper straws to the side of the Popsicle from the bottom edge. Use the six dots as a reference for placement. Now, glue a bottle cap to the top of the Popsicle.
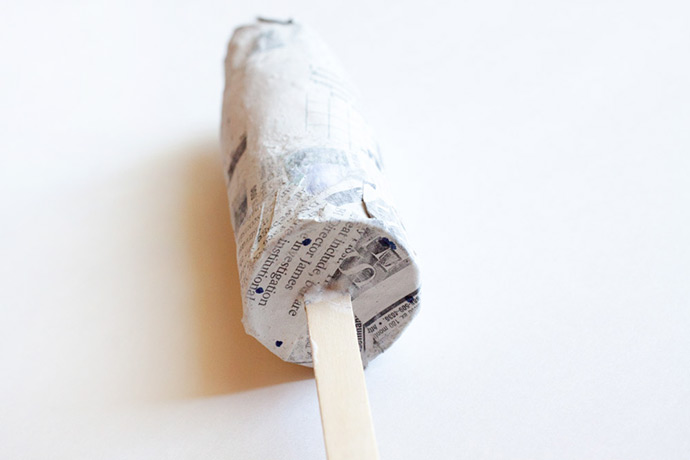
Step 6
Allow the glue to dry for a while, and then use newspaper strips dipped in paper mache paste to completely cover the popsicle one more time. You will have to make an “x” over the top once again, and then paste strips all the way down the popsicle. You may cut the strips in half to cover the bottom, and you may want to do two layers on the bottom to hold it together more securely. Smooth out every piece of newspaper around the sides as much as possible, and tightly wrap the pieces around the straws to create more definition.
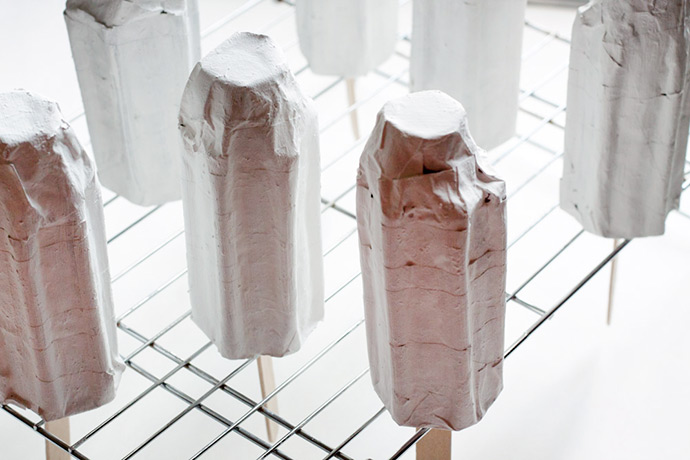
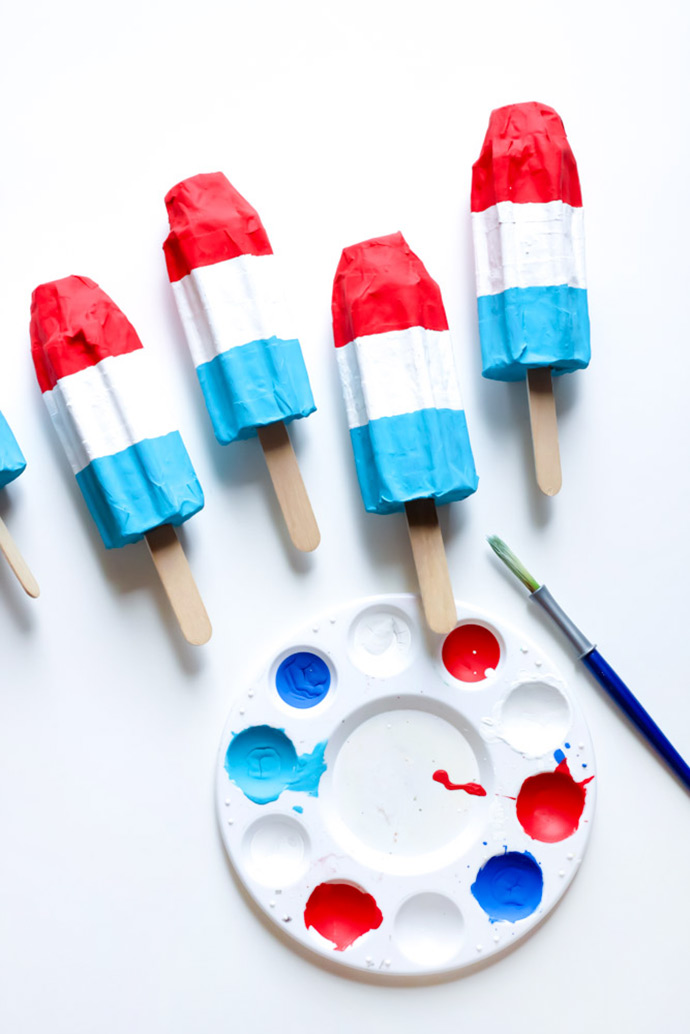
Step 7
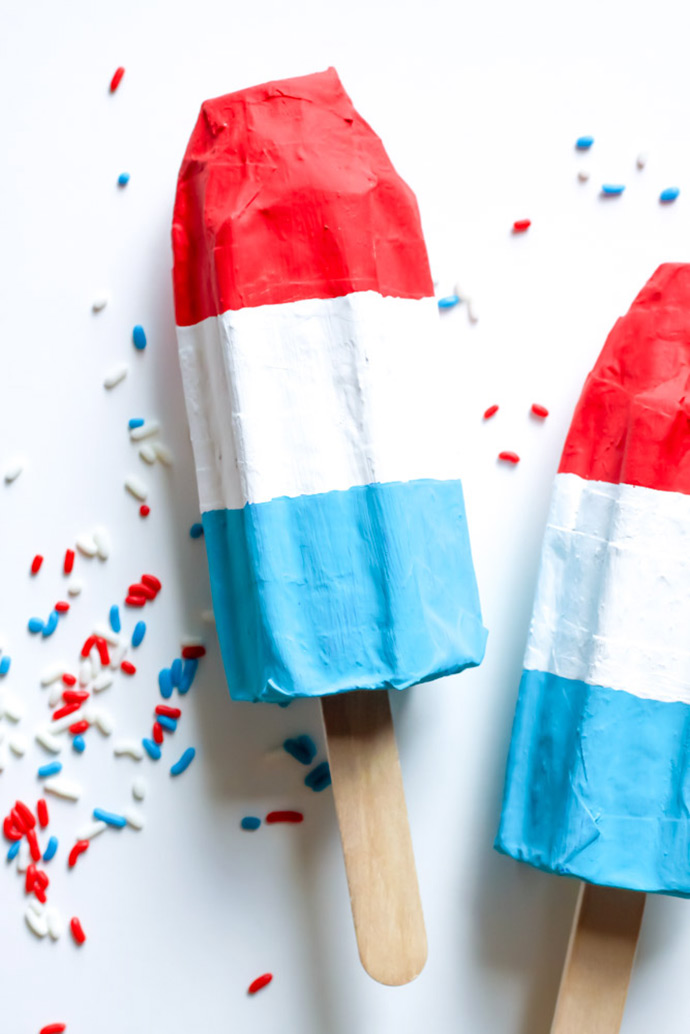
Once the final layer of paper mache has dried, paint the entire popsicle using white acrylic paint and a sponge brush. Allow it to dry, and then use washi tape to divide the popsicle into three equal sections. Paint the top section red, leave the middle section white, and paint the bottom blue. Allow your popsicle to dry.
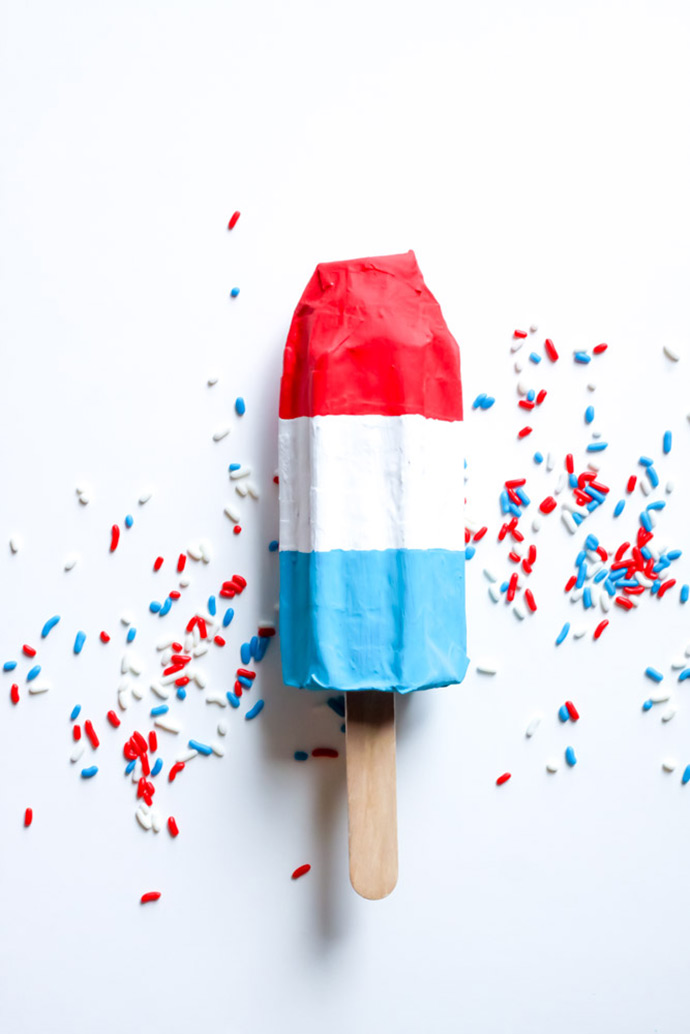
Happy crafting, and happy Fourth of July!