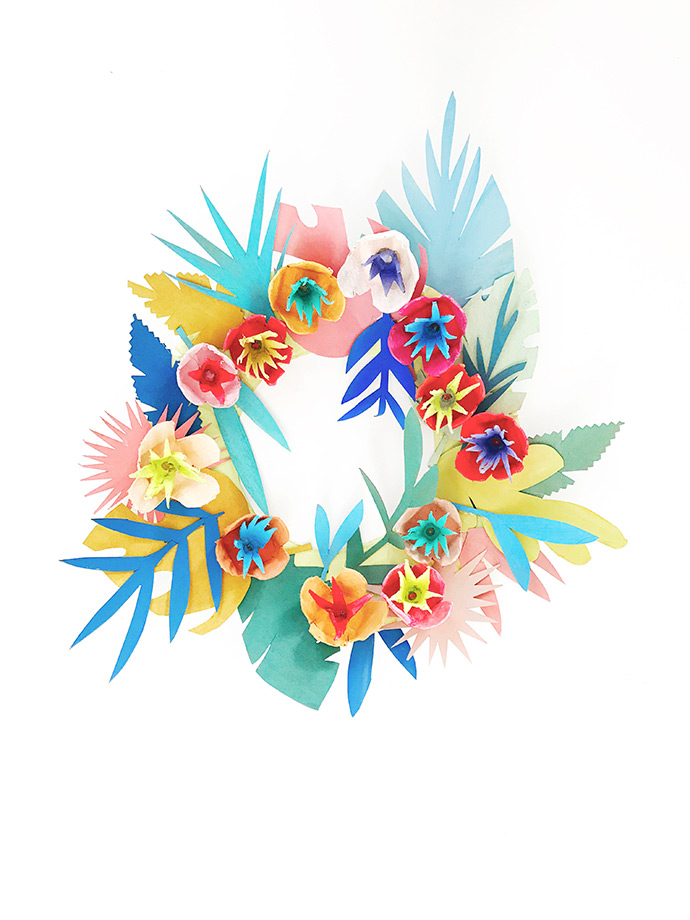
As a mobile art studio owner and mom of two very cool girls, I feel like I get a bird’s eye view of “what’s trending now” and let me tell you that summer time = luau, mermaid, Moana parties… oh and unicorns, they’re always in season. So I thought it would be fun to do a fresh, island-themed DIY using recycled materials. Cue the Moana soundtrack, track 7 (“You’re Welcome” as sung by Dwayne “the Rock” Johnson)!
what you need:
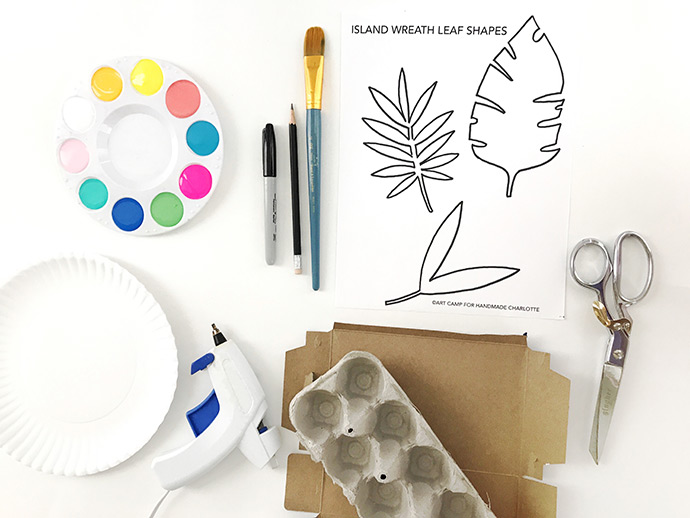
- 2 recycled fiber egg cartons
- 1 paper plate
- Apple Barrel Acrylic Paint (in tropical colors)
- Paint palette
- Scissors
- Glue gun
- 2 thin cardboard food boxes (cereal, oatmeal, popcorn, etc)
- Paint brush
- Printable leaf template
how-to:

Step 1
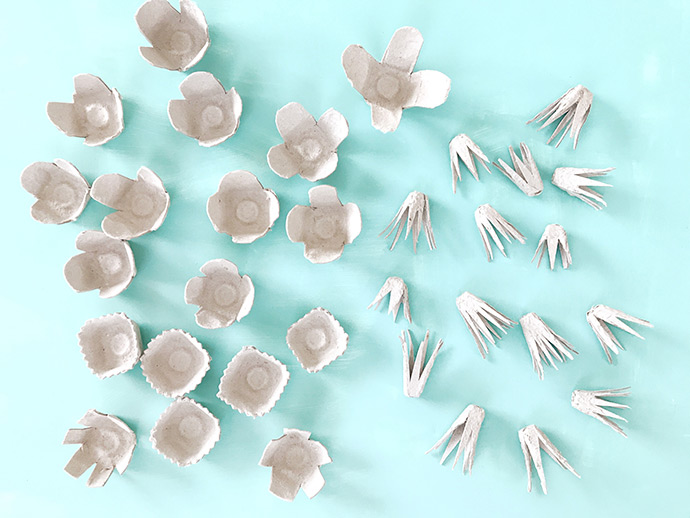
Break down your egg cartons into two sections: cups and points. We made 12 flowers for our wreath but you may decide to have more or less on yours.
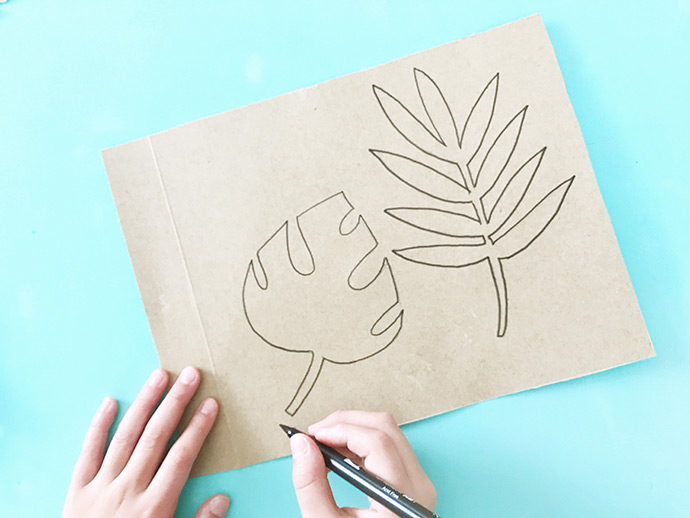
Step 2
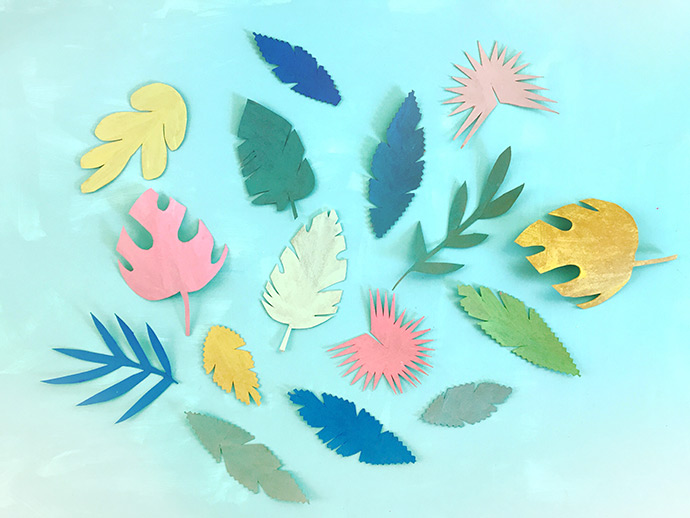
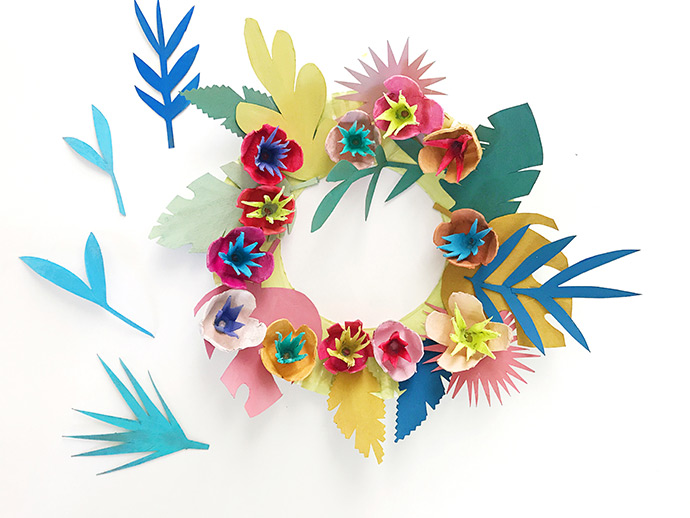
Draw your leaf shapes on your thin cardboard boxes. Use the printable template if you want to use some of our shapes for your wreath. You want approximately 20 leaf shapes of varying sizes and shapes for this project.
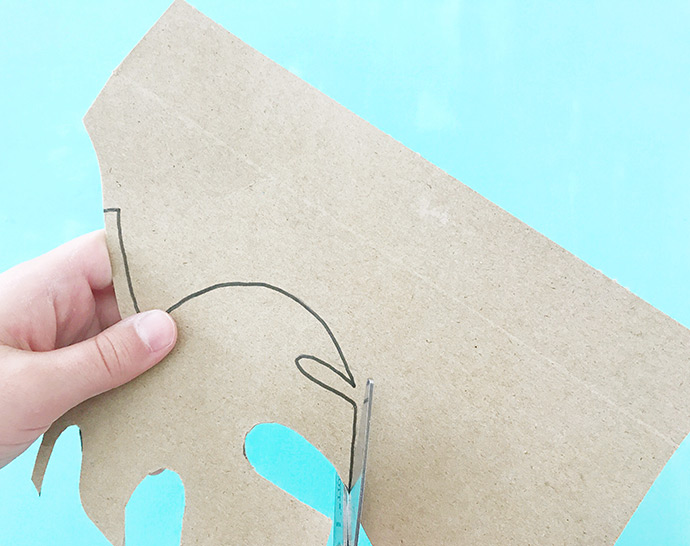
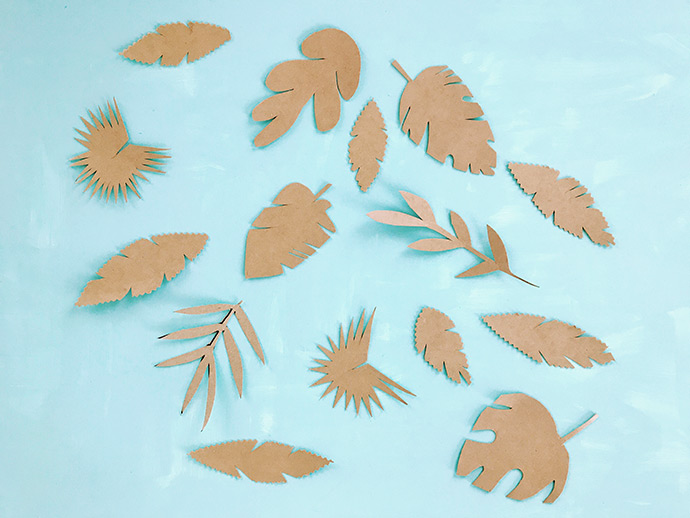
Step 3
Cut out your leaf shapes with a pair of good scissors.
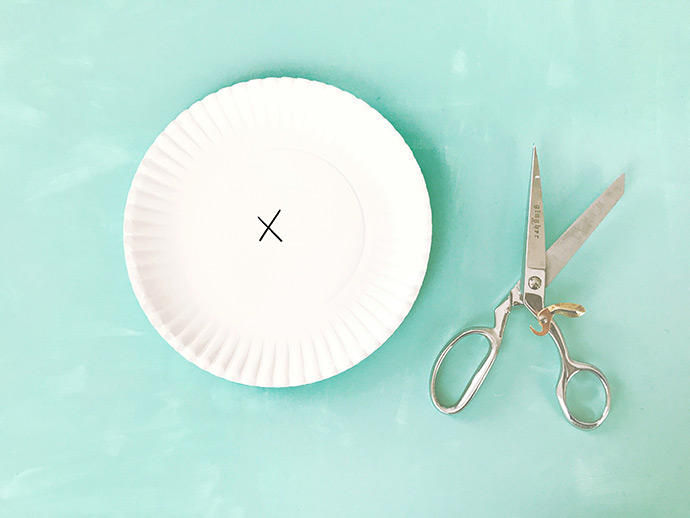
Step 4
Cut out the center of your paper plate. You can do this by carefully piercing a hole through the center of your plate with a utility knife or the tip of your scissors. Once you have created an opening, simply cut the center out. The outside rim will become the base of your wreath.
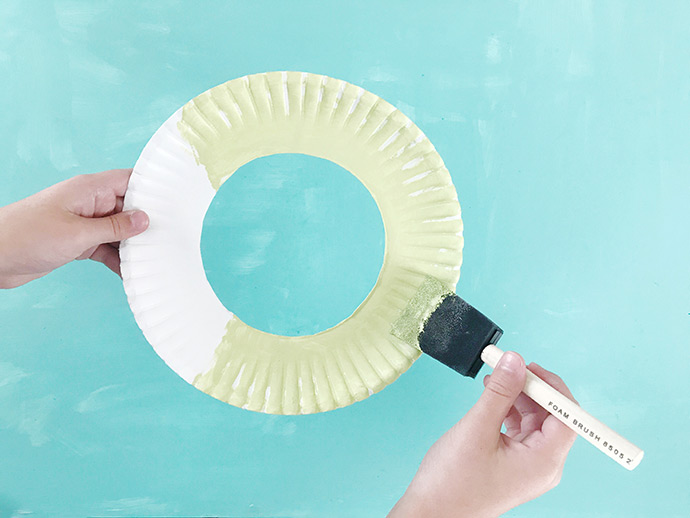
Step 5
Paint your paper plate ring and set it to the side to dry. We decided to paint ours green so that any little peeks of plate would blend in with our tropical foliage.
Step 6
Trim your your egg carton cup sections into flowers and your pointed sections into the stamen (pointy center section).
Step 7
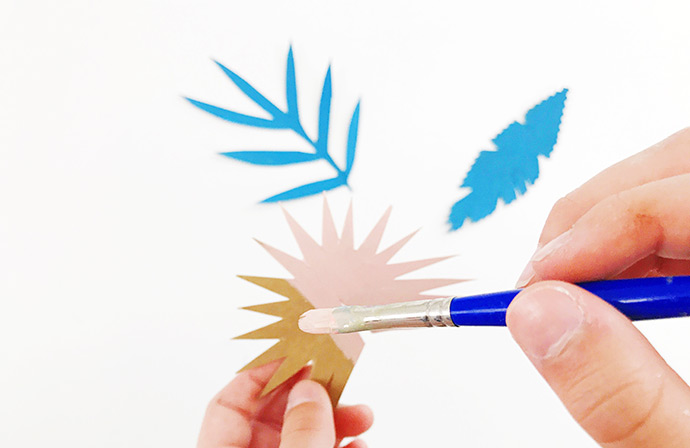
Paint your leaves and set them to dry.
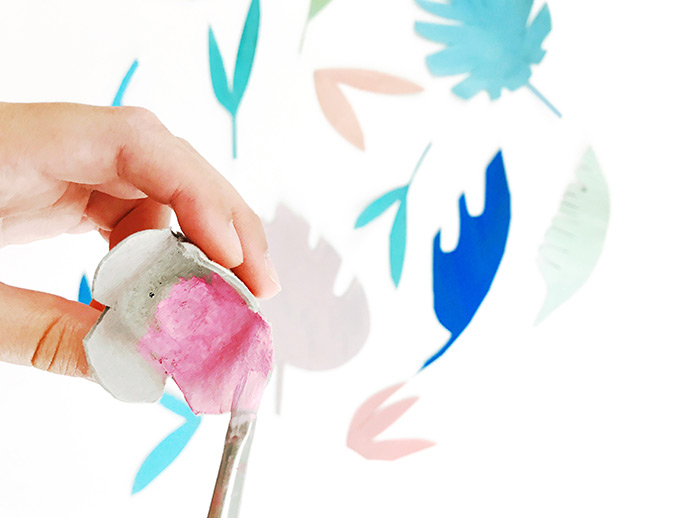
Step 8
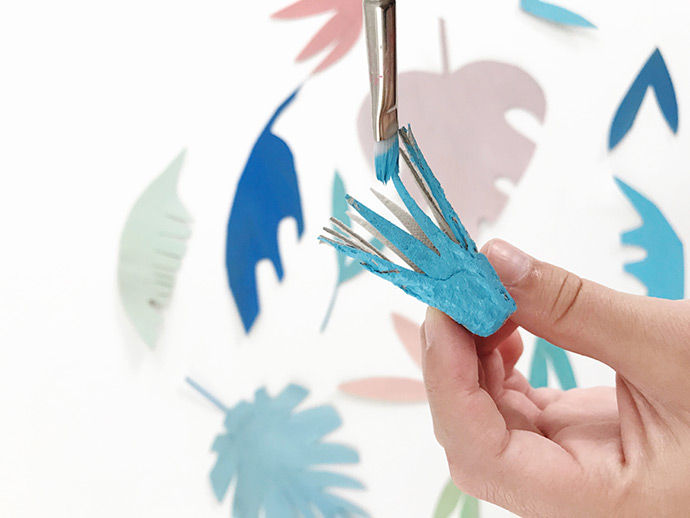
Paint both sections of your flowers. We liked the idea of our stamen being painted in a contrasting color to the outer petals.
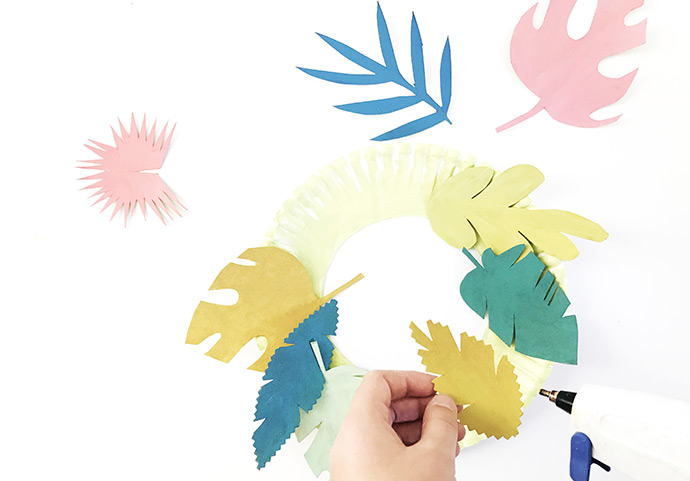
Step 9
Start by laying out your bigger leaves on your plate ring. Once you are satisfied, you can start to glue them down. Please note that you want to leave your smaller, delicate leaves and a couple of medium size leaves for later on in the build.
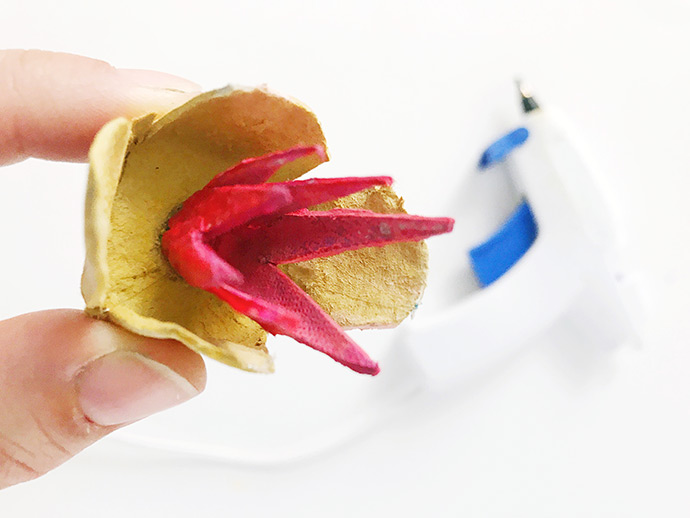
Step 10
Attach your stamen section to the inside of your flower cup with a dab of hot glue. We pushed the back side of a paint brush inside the stamen section just to ensure that the two parts were firmly attached while the glue set.
Step 11
Once you have glued the first layer of your leaves onto the plate, you can move on to attaching your flowers.
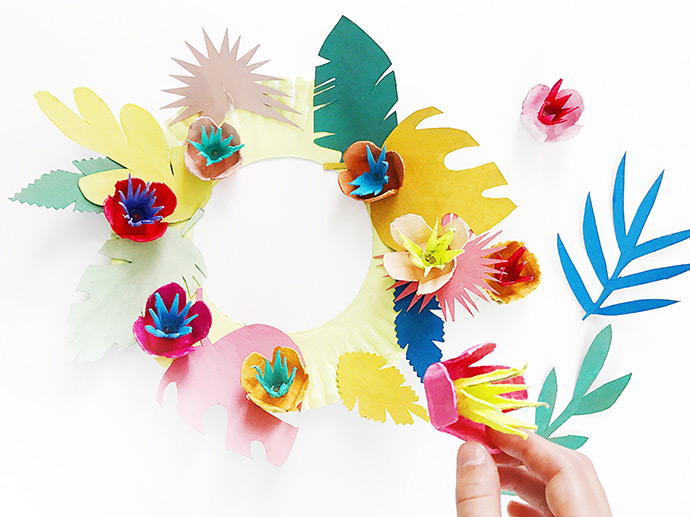
Step 12
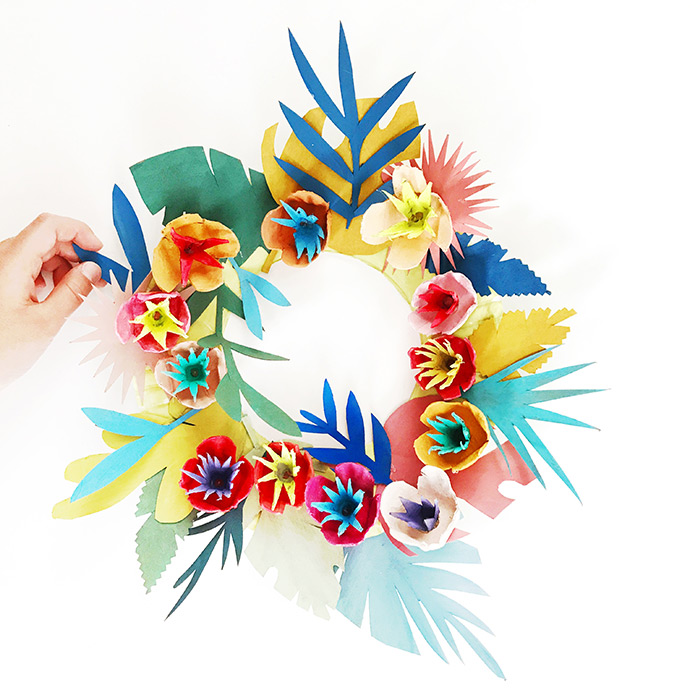
Now start to add the smaller, more delicate leaves in between your flowers. Also, consider bending some slightly to give your wreath more visual interest and depth.
Step 13
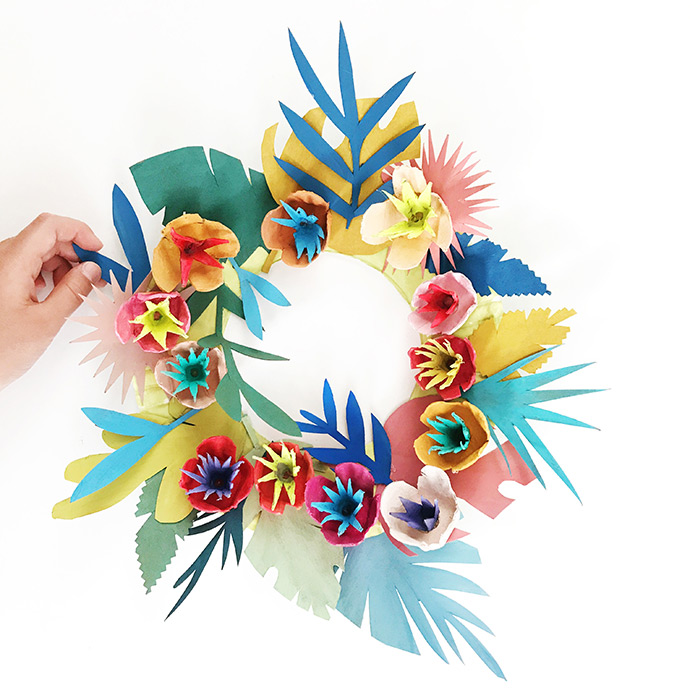
The final step is to add all remaining leaves behind your wreath. This will create a fuller looking wreath. So to review: you have leaves on the bottom of your plate, delicate ones in between the flowers, and a few medium leaves peeking out from behind your wreath to create fullness.
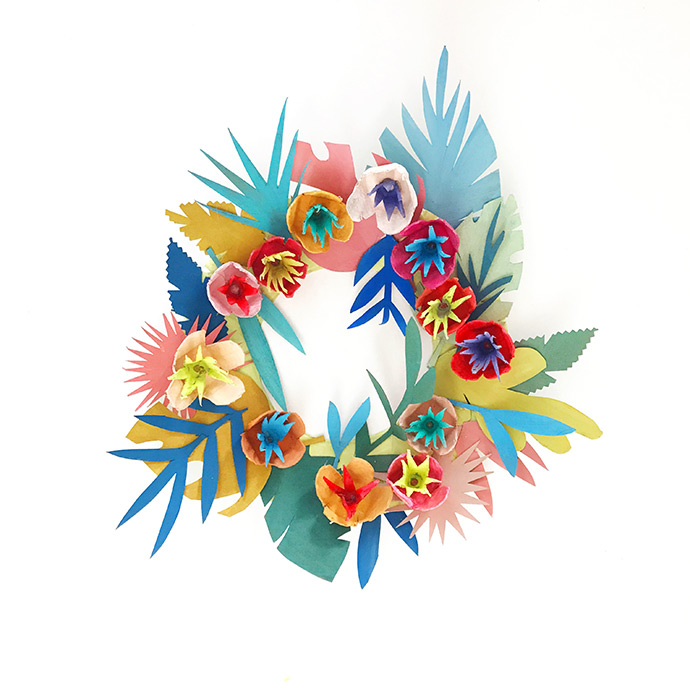
So maybe it’s not quite as dreamy as a Polynesian vacation, but it’s pretty darn close. This would make a great collaborative project at a Moana or luau-themed party and I could also see it taking center stage at ladies craft night … pass me a Mai Tai!