
While I have a handful of different sized chalkboards in my home, they are all square or rectangle in shape. I wanted to find a very fun and unique shape to have as a chalkboard, something a little more eye catching than a framed gray board.
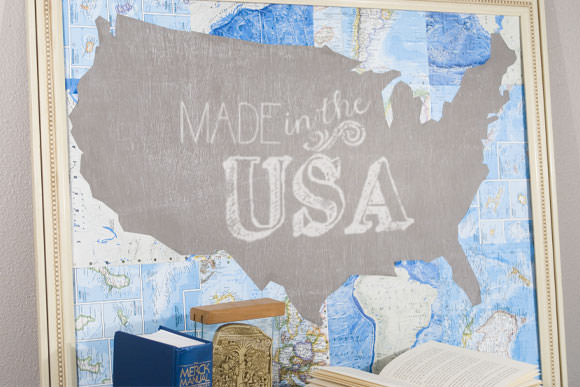
That is when I decided to make a United States map-shaped chalkboard. You can too, just follow these simple instructions.
Materials
- Large chalkboard – I bought a 33 x 27 inch wooden board and painted it with chalkboard paint
- Printable U.S. map (download here)
- 12 sheets of 8.5 in. by 11 in. old maps
- Modge Podge
- Scissors
- Brush
Step 1
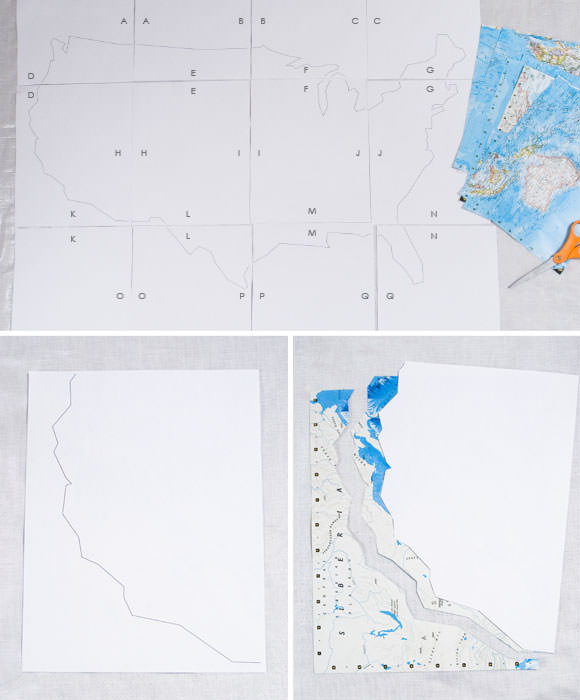
Print out the USA map printable. Match up the letters to help you lay your map out. Be sure to start by putting your map out on large surface area.
Step 2
Take one sheet at a time and layer it on top of a 8.5″ x 11″ piece of map. Cut out the map and return it to it’s spot. It is easy to turn this part into a giant jigsaw puzzle, so just try to stay organized.
Step 3
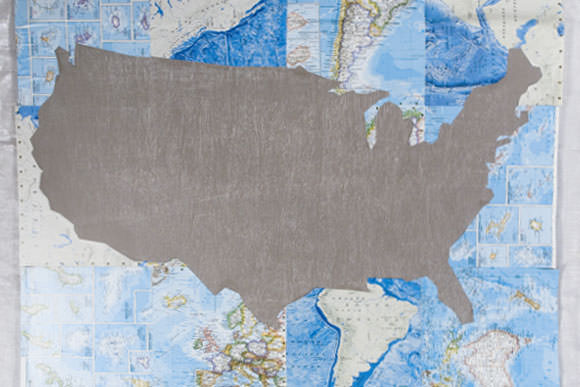
After cutting out your map, pick each piece up, one at a time, and brush the back of each cut map with modge podge. Glue the map onto your chalkboard. Continue around until you have glued on every piece.
Once you have glued your pieces on, let the glue dry before framing or writing on the chalkboard. I plan on helping my daughter learn the states by drawing them on the chalkboard.
Happy crafting!